How to make dreamy synths and retro drums like Com Truise
As the revered producer’s iconic chillwave compilation, In Decay, turns 10, we show you how to harness synths like Seth Haley.
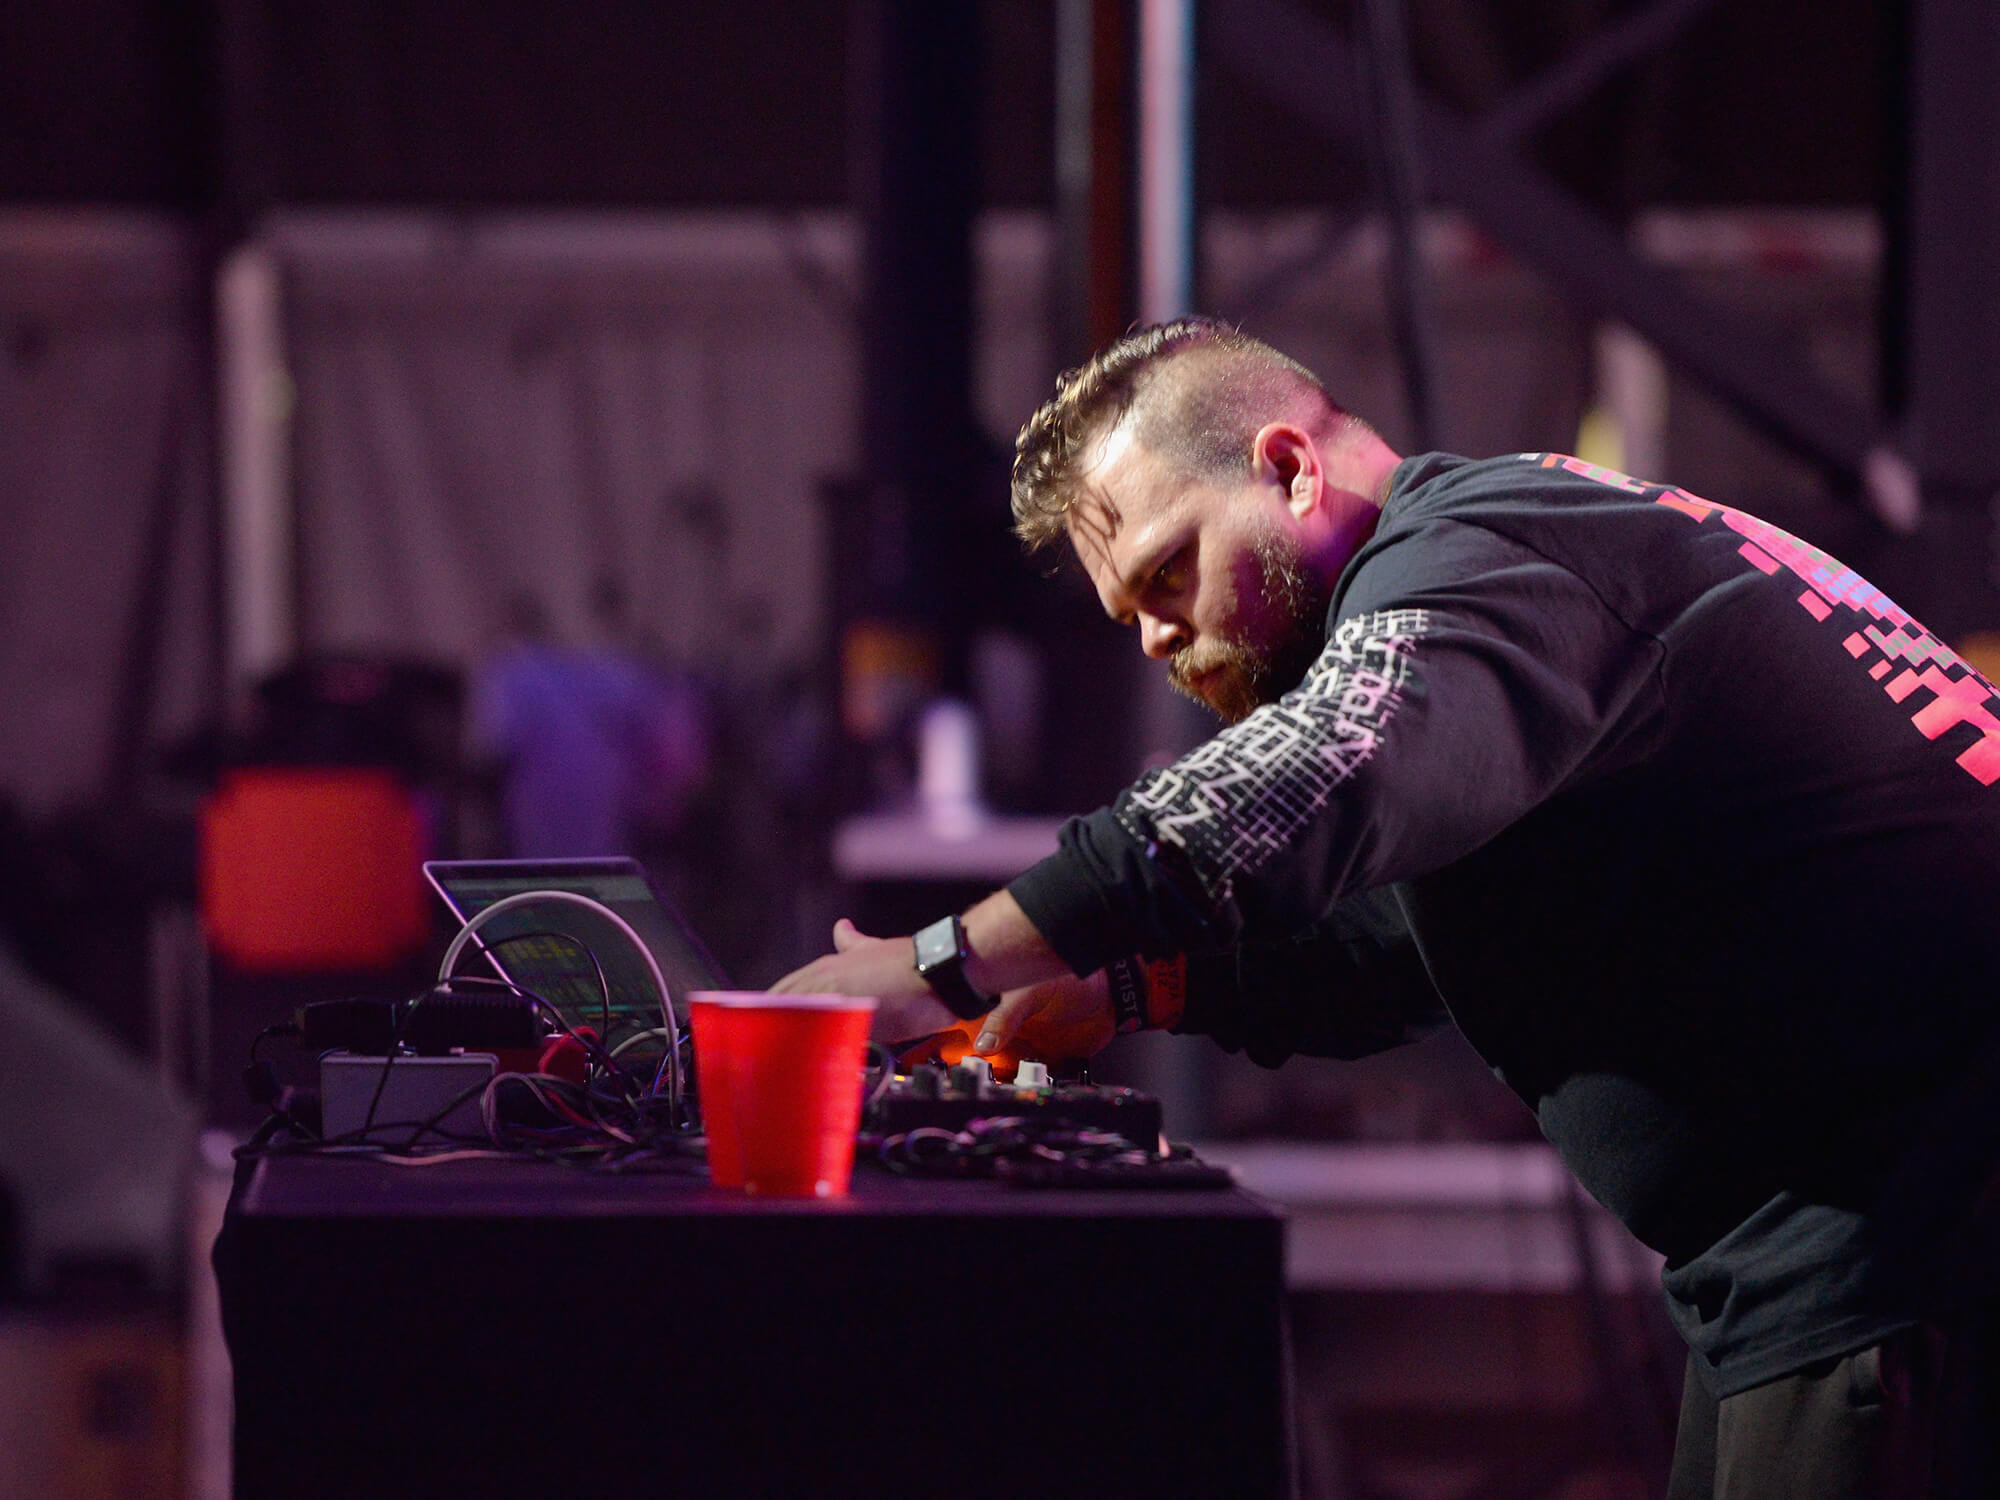
Image: Vivien Killilea / Getty Images for Adult Swim
If you’re a synthwave or chillwave aficionado, Com Truise should need no introduction. The US native (also known as Seth Haley) is one of the most celebrated artists in his genre, with a heavyweight discography of three albums and four EPs, as well as a lengthy list of remixes for top-tier artists such as Deadmau5, Charli XCX, Daft Punk, Kris Menace and Deftones.
Haley recently celebrated the 10th anniversary of his seminal 1992 album In Decay and, following our recent interview with him, we’re digging deeper into his sound to show you how you can make your own take on his iconic tones in your studio.
So what exactly is the sound of Com Truise? When it comes to the modern masterpiece that is In Decay, the palette Haley drew from comprised dreamy 1980s-tinged synths alongside retro drum machine beats, expansive effects and lo-fi engineering.
To truly get under the hood of his unique sound, we’re exploring beatmaking, synthesis and effects techniques that not only pay homage to In Decay but can be used when making many other styles of music – particularly since 1980s synth sounds are still hot property right now.
This tutorial is DAW agnostic, so you can follow along with whatever software you’re using and craft your very own lush sounds.
Retro drums
The key to crafting convincing Com Truise-style synthwave drums is the use of classic 1980s drum machine sounds as a base. From here, apply the appropriate processing to amp up the 1980s vibes. Get started by setting your DAW’s BPM to 85 and select a Roland TR-707 drum kit as your source sound.
Check out the drum pattern we’ve programmed in the video below. It features a simple two-step beat for three bars, then a more complex drum fill on the fourth. Apply a little swing to make your drums sound less straight, then separate the component parts onto their own channels so that you can process them individually.
Hard-pan the toms used for the fill to add some stereo width – pan the high and mid toms hard left and right respectively, then pan the low tom slightly less. Next, add some classic gated reverb to the snare. Duplicate the snare channel, then put a reverb on the duplicate – we’ve opted for Valhalla’s Room’s Medium Gate preset – and turn the volume down to -12dB to blend it in nicely.
To finish, group the drums and add a channel strip plug-in. We’ve used Focusrite’s SC strip here, as it has a seriously classic sound. Set the high-pass filter to about 10kHz to smooth the high frequencies, then push the THD amount to -30dB to add drive and warmth and better glue the kit together.
Bass
Next, create a warm, rounded bass to go with the retro drums. We’re using u-he’s analogue-sounding Diva for this, but you can apply these techniques to any virtual analogue synth. Begin by opening Diva and selecting the INIT-June 60 – a Roland Juno-60-inspired preset – from the preset menu. Diva allows you to mix and match oscillator, envelope and filter types from different classic analogue synths.
The initial preset already has a similar tone to the bass used in Closed, with the PWM waveform selected by default, but we can do much more. Set the filter ladder mode to 12dB/octave so that the high frequencies aren’t cut off as abruptly. Then reduce the filter cutoff to 109, with a subtle bit of resonance set to 20. This will remove the highest frequencies without dulling the bass.
A big part of the Closed bass is the filter envelope movement, where the filter gradually closes as the note rings out. We can program this by using envelope 2 to modulate the filter. Set the envelope mod depth to -90, then increase the attack to about 74. Reducing the decay amount slightly adds to the desired effect.
To finish this sound, set Diva’s accuracy to divine. You’ll hear the sound take on added depth and richness at the expense of extra CPU usage. Finally, add a little analogue-style saturation courtesy of Kush Audio’s Omega N, which is modelled on a classic Neve preamp and adds unmistakable British warmth.
Plucked lead
Creating a cool, synthwave-flavoured plucked lead in the style of the one from Colorvision is easy when you know how. As with the other sounds in this tutorial, you can use most synths to create this, but we’re going for Xfer’s Serum.
Load Serum and call up the init preset. You’ll need a sawtooth wavetable for this sound, so the default on oscillator A is perfect. Increasing the unison voices to three adds some much-needed thickness to the sound.
To get that trademark plucked sound, use an envelope to modulate the filter cutoff. Turn on the filter, then assign envelope 2 to the filter cutoff. Set the attack to a fast 0ms, dial in about 500ms of decay, then turn the sustain down to 0 per cent. Next, slightly increase the filter resonance, then push the drive amount up to about 40 per cent to give the lead more grunt.
Now increase the amp envelope’s attack to about 100ms, taking the initial sharpness from the lead. Open Serum’s effects tab and turn on the phaser to make the plucked lead slightly more distant while adding increased stereo width.
Dial in some delay to add more character to your raw synth tone. Load up Soundtoys EchoBoy or similar, and set the delay time to quarter triplet notes. Setting the wet/dry mix to 10 per cent and feedback to 0.4 will give you a sound that closely matches the delay heard in Colorvision.
You’ll need to turn the high-cut to full and add some saturation to make your delay tails ring out without them sounding too bright. To finish, load Kush Audio’s Omega A preamp after the delay effect; this should saturate the lead and delay tail, bringing out the delay and adding a nice analogue vibe.
Gliding lead
The final sound you’ll be creating is the gliding lead from Data Kiss. This lush sound is easily achievable via u-he’s Diva. Load it back up and choose the INIT Jupe-8 preset to set the synth up in a similar way to a classic Roland Jupiter-8. Start by setting up the glide between notes, as that’s a core part of the Data Kiss lead. Set Diva to mono mode and increase the glide time to about 40 so that the notes glide effortlessly into each other.
Next, tweak the amp envelope so that your lead sounds epic. Increasing envelope 1’s attack time to 25 and release to 45 should give you a less sharp attack, alongside a longer tail. A key part of the Com Truise synth sound is the use of filter modulation. To dial some in, reduce the filter frequency to 110, then set the filter modulation from envelope 2 to 40.
Now increase envelope 2’s attack to 50, decay to 70 and sustain to 60, which will make the filter gradually open up over the run of notes, making the sound more exciting to listen to. Finally, employ a splash of Diva’s onboard chorus, set to ensemble mode, to give your lead more stereo width. Increasing the depth to 75 will embellish the effect further.
More tips on how to sound like Com
The In Decay vibe is lo-fi yet chunky, which is well worth bearing in mind when you’re creating your own take on the sound. Think analogue warmth and relatively restrained brightness, as opposed to a full-on cassette tape aesthetic.
Rolling off your highs at 10-12kHz using a gentle 6 or 12dB/octave filter when mixing will undoubtedly help too, and if you find that your final mix lacks a little detail, a small 20kHz air boost using something like Maag’s EQ4 air band will grant you a balance, detailed mix that doesn’t sound purposely dull.
Com uses Soundtoys effects in his productions, and we can see why; they have a rounded tone that suits his vintage style perfectly. If you don’t have any Soundtoys plug-ins, mimic the sound by placing some analogue-style saturation after a digital-sounding chorus, phaser or flanger to take the strident edge away.
For more guides, click here.