Exporting options in Ableton Live
A finished piece of music needs to be released into the world, and to do that you need to export it from your project. Let’s take a look at the options for getting our music out of Live…
Unless you’re going to keep your precious musical creations trapped in a little bubble, sooner or later, you’ll need to create a finished mix so you can get them out into the real world. There are two methods – the first is to play through the arrangement in real time and capture it into a tape machine or some kind of digital recorder, or – more likely – export it as a stereo file to the same computer you created it on! At various times, this process will be called export, render, or bounce, but they all mean the same thing.
Slice and dice
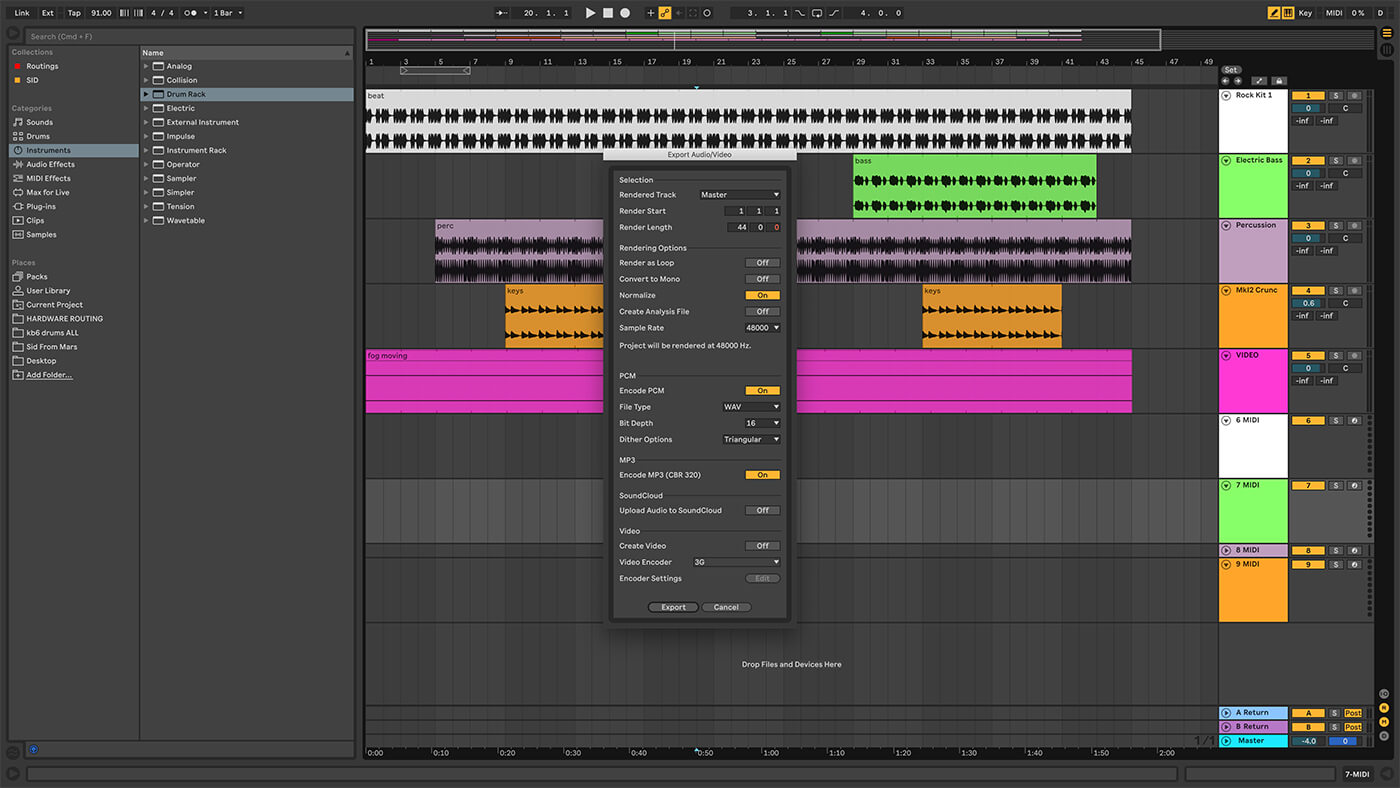
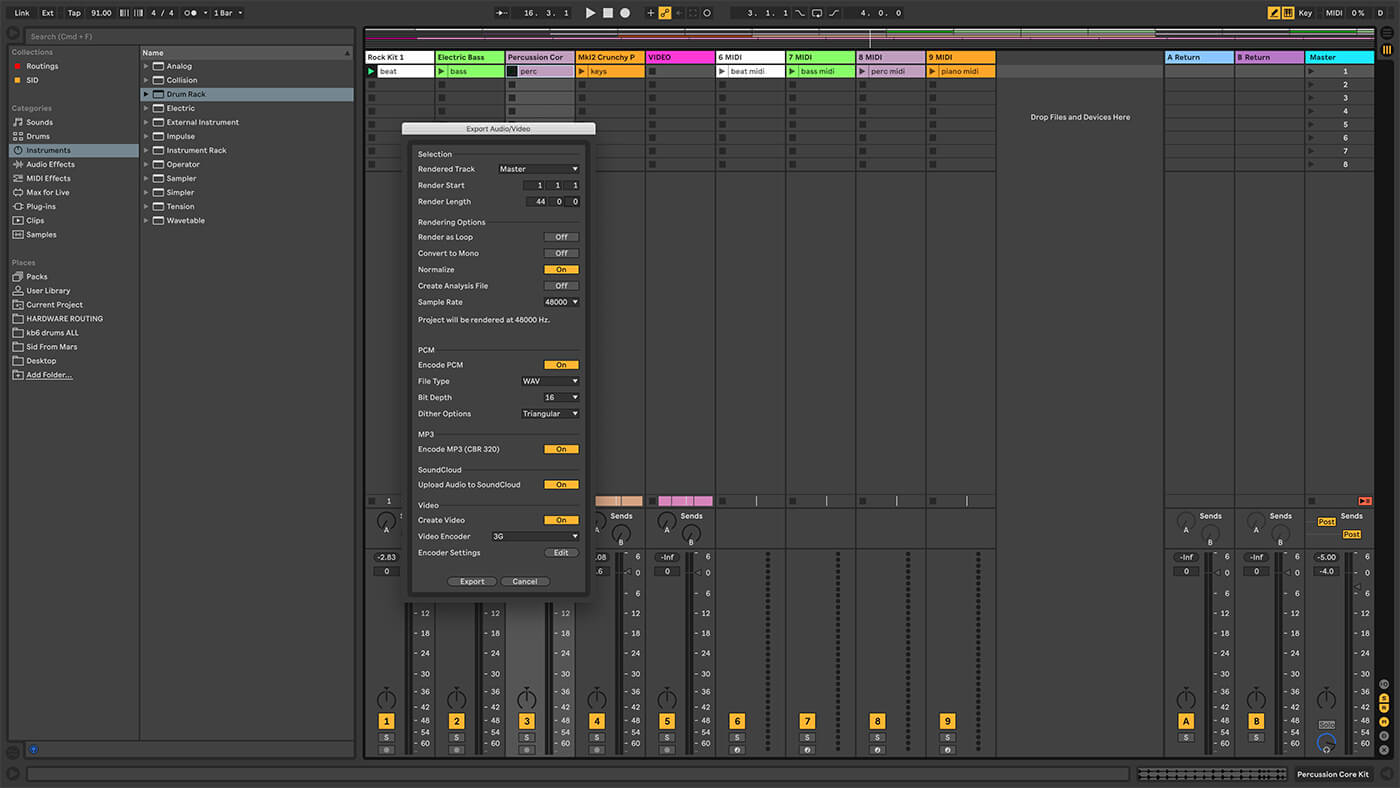
If you want to render just a section of your arrangement, click and drag in Live’s Arrangement View to highlight the selection, or type the bar values in the Export Audio/Video box. You don’t have to highlight anything if you’re exporting the entire arrangement, but often it’s best to use the Select All function to highlight the whole thing, so you can visually check what’s happening at the end of the song. This is a fast way to find out if there are any forgotten bits of clips or automation hanging around at the end.
In many cases, the default export settings work fine; they’ll provide a CD-quality stereo file that contains the entire mix, with any relevant effects and automation. If you intend to do further mixing or mastering, then avoid normalising at this stage (that’s when the loudest part of the file is boosted to the maximum without incurring distortion and brings everything else up in proportion).
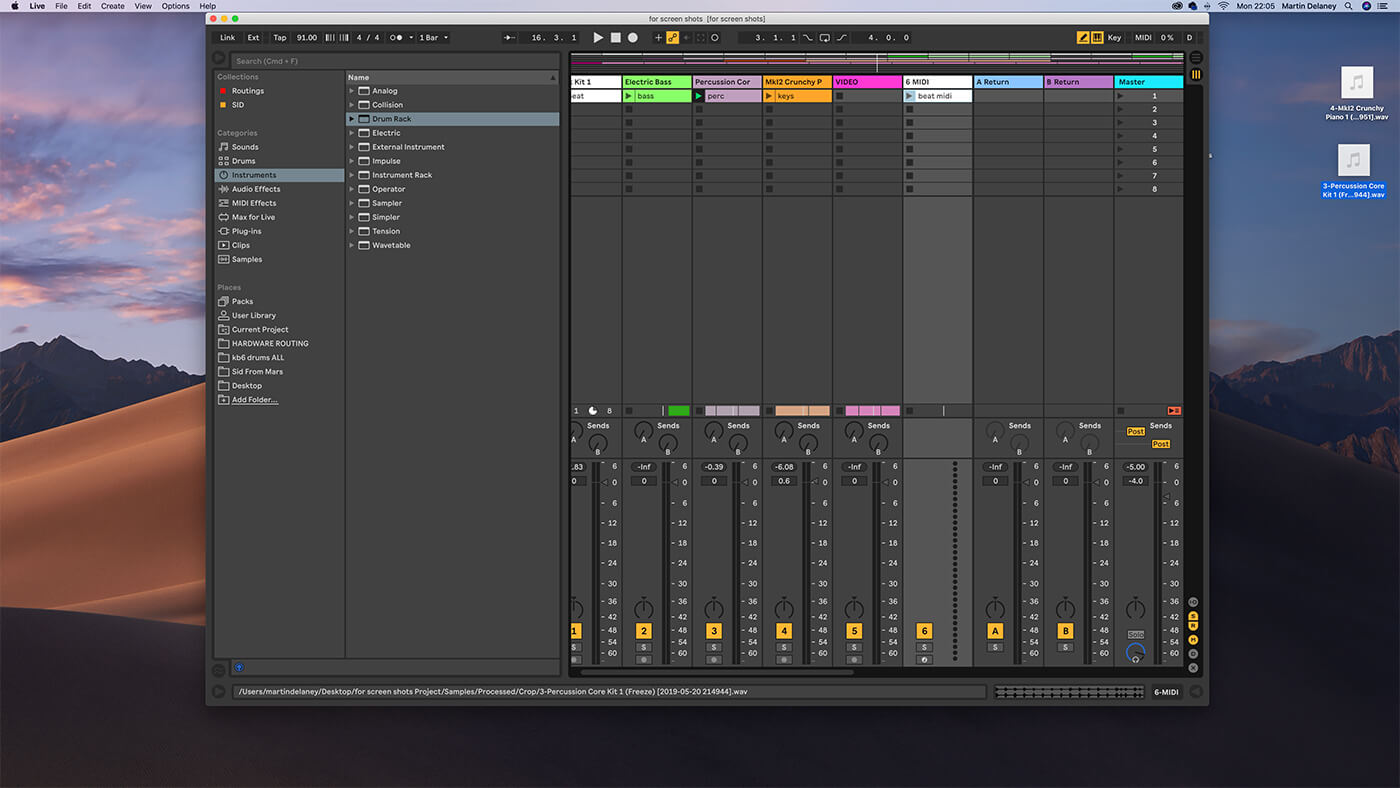
Before exporting, make sure your mixer settings, including solos and mutes, are correct, because that’s how they’ll come out the other side. Export formats include AIF, WAV, and FLAC, and MP3, if you want a lower-res version for faster file sharing/uploading purposes. Do not use MP3s for mastering, or for live performances. Really.
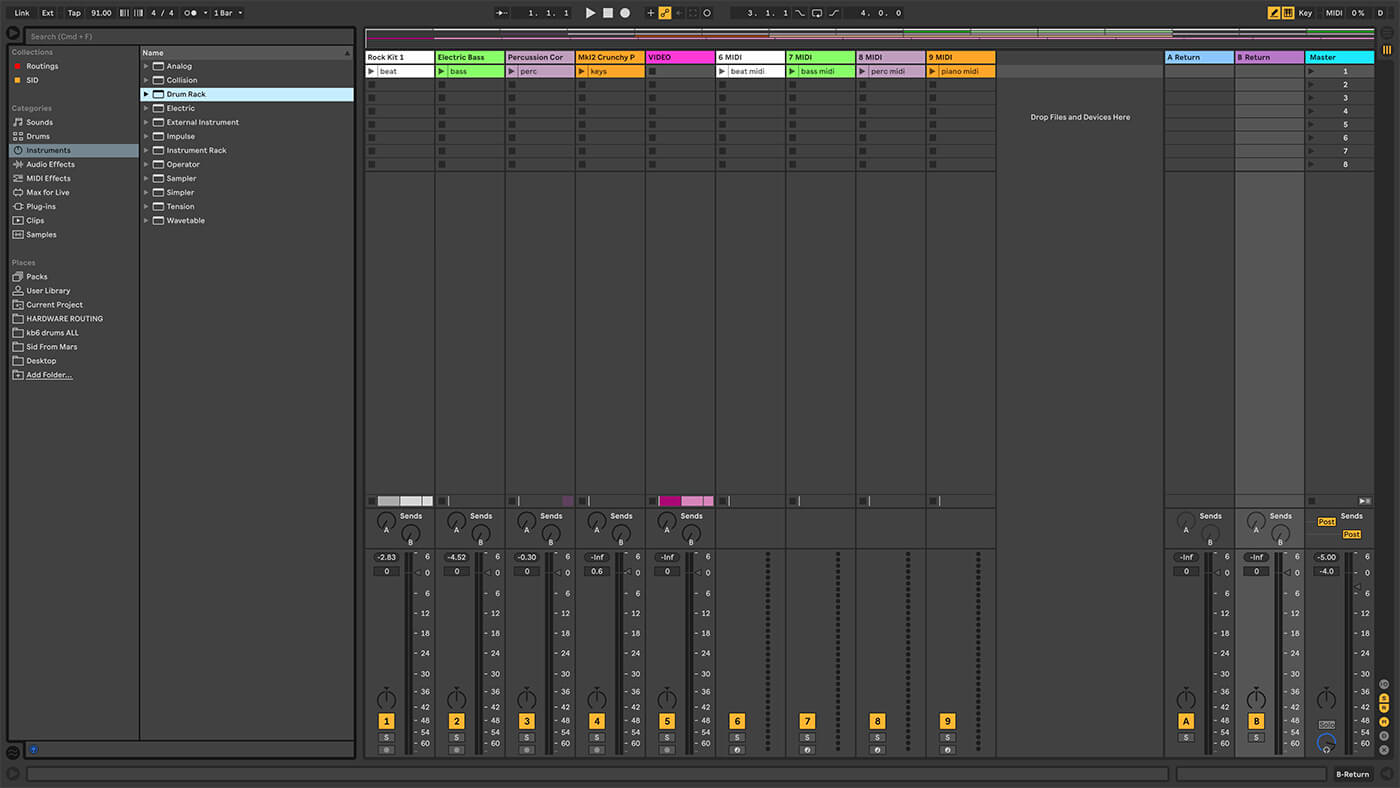
The Rendered Track box is where you choose what gets saved to disk. The options here are Master, All Individual Tracks, Selected Tracks Only (my current favourite), Groups, and Returns. If you’re working with somebody using another DAW (shame on them!), select All Individual Tracks. Every track in your project, including returns, will be exported as stereo files of the same length, so they’ll match up easily later.
Dithering
Most of the export settings are fairly self-explanatory, but dithering might not be so obvious – this is a process that introduces imperceptible noise to your audio, which sounds like a weird counterintuitive idea, but it helps avoid audible artefacts when converting audio to a lower bit depth. If in doubt, leave it at the default Triangular setting. If you’re rendering from Live at 32-bit, you’ll see that Dither is greyed out, because no reduction is taking place.
Another thing that further complicates audio export is when you’ve used external hardware instruments or effects in the project and they’re routed through Live tracks. You have to make sure everything is properly connected and configured, then it’ll be included in the mix as you’d hope, but it’ll have to export the song in real time – it’ll have to play through the entire thing. It works fine, but can be tiresome if you’re the impatient sort. Time for a cup of tea.
Mr Freeze
If you’ve done tweaking those parts, you could freeze and flatten the tracks that rely on hardware, resulting in an audio file-only version that’ll be faster to work with and won’t require the other gear to be connected. ReWire, which we talked about in a recent tutorial, also comes into effect when rendering, but it’s actually very simple, and smoother than when you’re using connected hardware; when you render from the ‘master’ application, everything in the ‘slave’ project will automatically be included.
When it comes to video projects then serious video editing is best handled with dedicated software such as Adobe Premiere or Apple’s Final Cut Pro, but Live has a handy little utility for stretching video if necessary, and doing it the other way round, that is stretching audio to fit the video. It’s sometimes quicker to import a low-ish resolution version of the movie and work to that, then add the audio to the master version in FCPX.
Working with video is a whole different ball game in terms of computer hardware. A computer that works fine for stereo mixes and laptop jams can be grossly underpowered for regular heavyweight video rendering. We’re using an iMac and a MacBook Pro here, but it’s advisable to shop elsewhere if you’re doing video all day every day; a faster computer will save you hours of waiting around.
That aside, Ableton Live 10, in particular, has the audio quality and all the tools you need to mix and master your music, there are world-class mixers and mastering engineers out there who use nothing but Live now. It can be done!
Exporting from Ableton Live: step-by-step
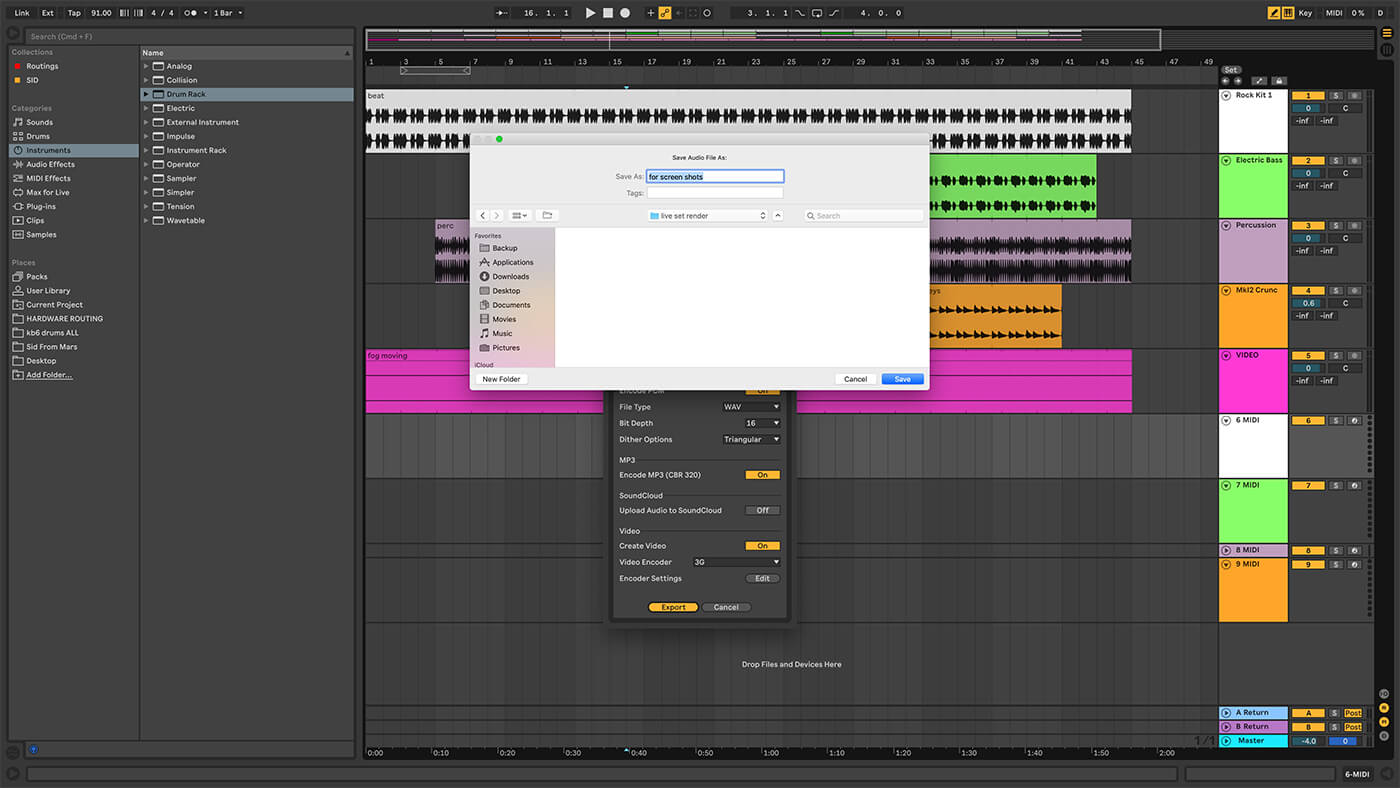
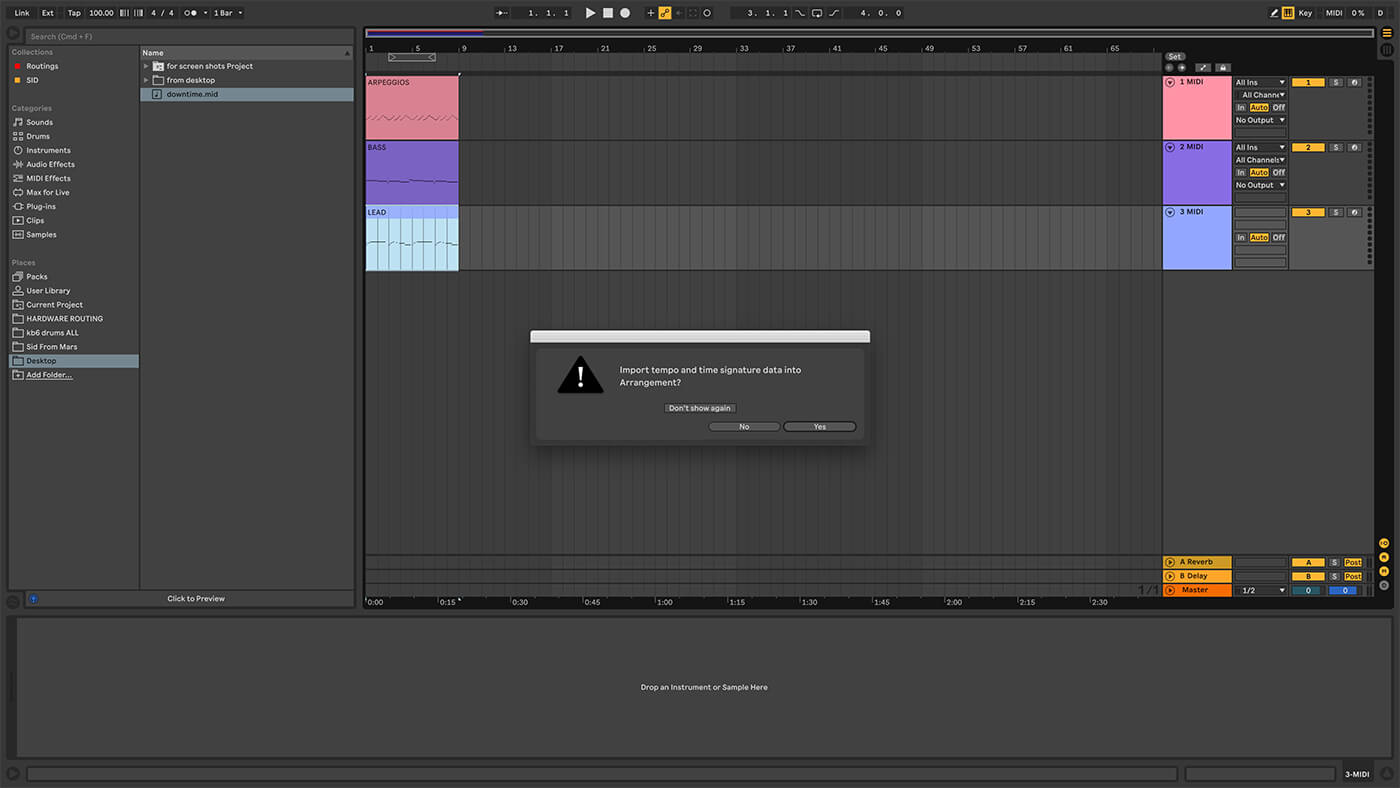
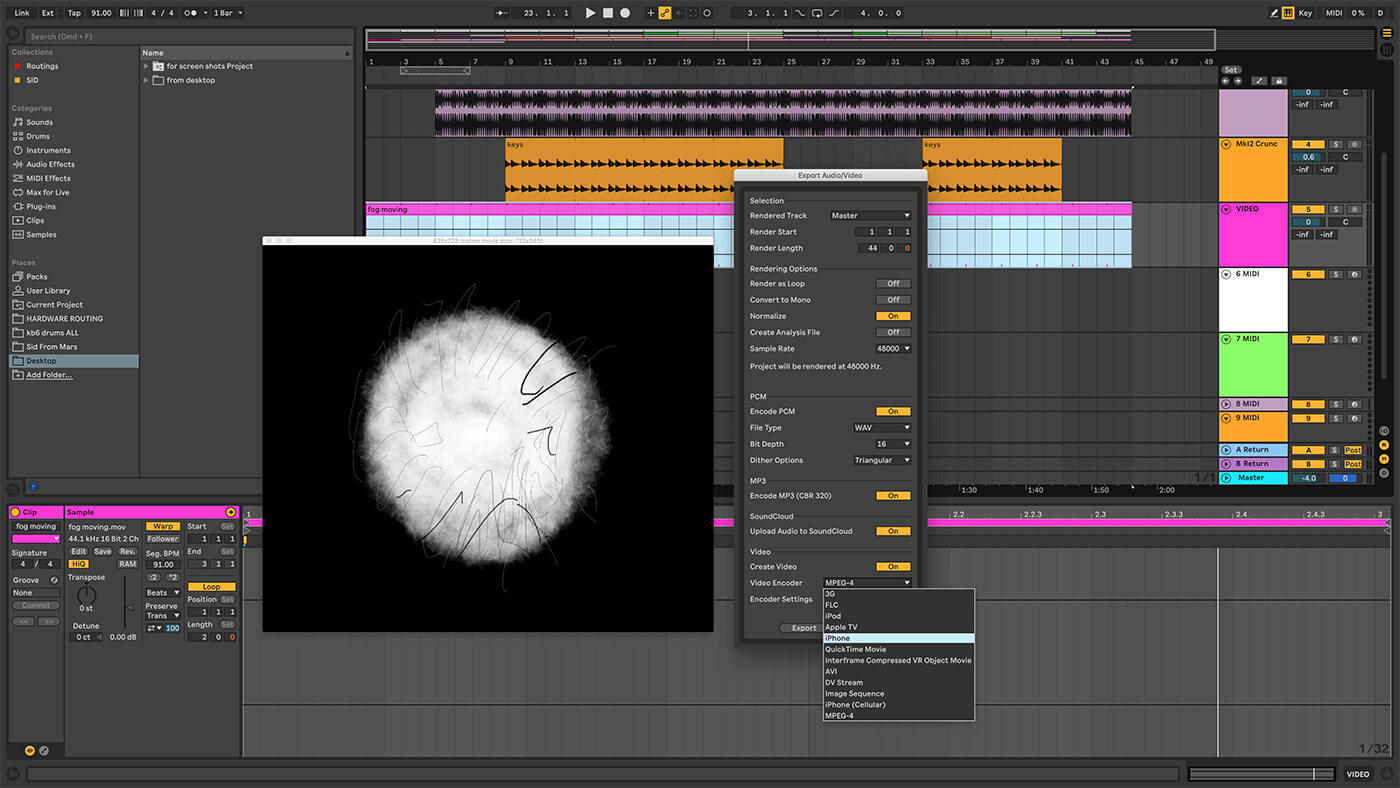
1. Let’s begin by exporting audio from Live’s Arrangement View. We’ve provided a Live set with some example content for you to play with. Use Tab to switch to the Arrangement View if necessary, then type shift-cmd-r to see the Export Audio/Video box.
2. If you don’t highlight a specific section of the timeline, Live assumes you want to export the entire contents of the arrangement. We can use the default export settings to get a standard CD-quality stereo file reflecting the master track in the project.
 3. If you want to create an MP3 file at the same time, just enable that in the Encode MP3 checkbox, and you’ll end up with two files. You can also upload to a SoundCloud account simultaneously – you’ll need to sign in, the first time you do this.
4. How long export takes depends on what’s in the project. If you have a long piece with a lot of tracks, instruments, and effects, or even video, then it’s going to take longer. The newer and faster the computer, the less time this will take.
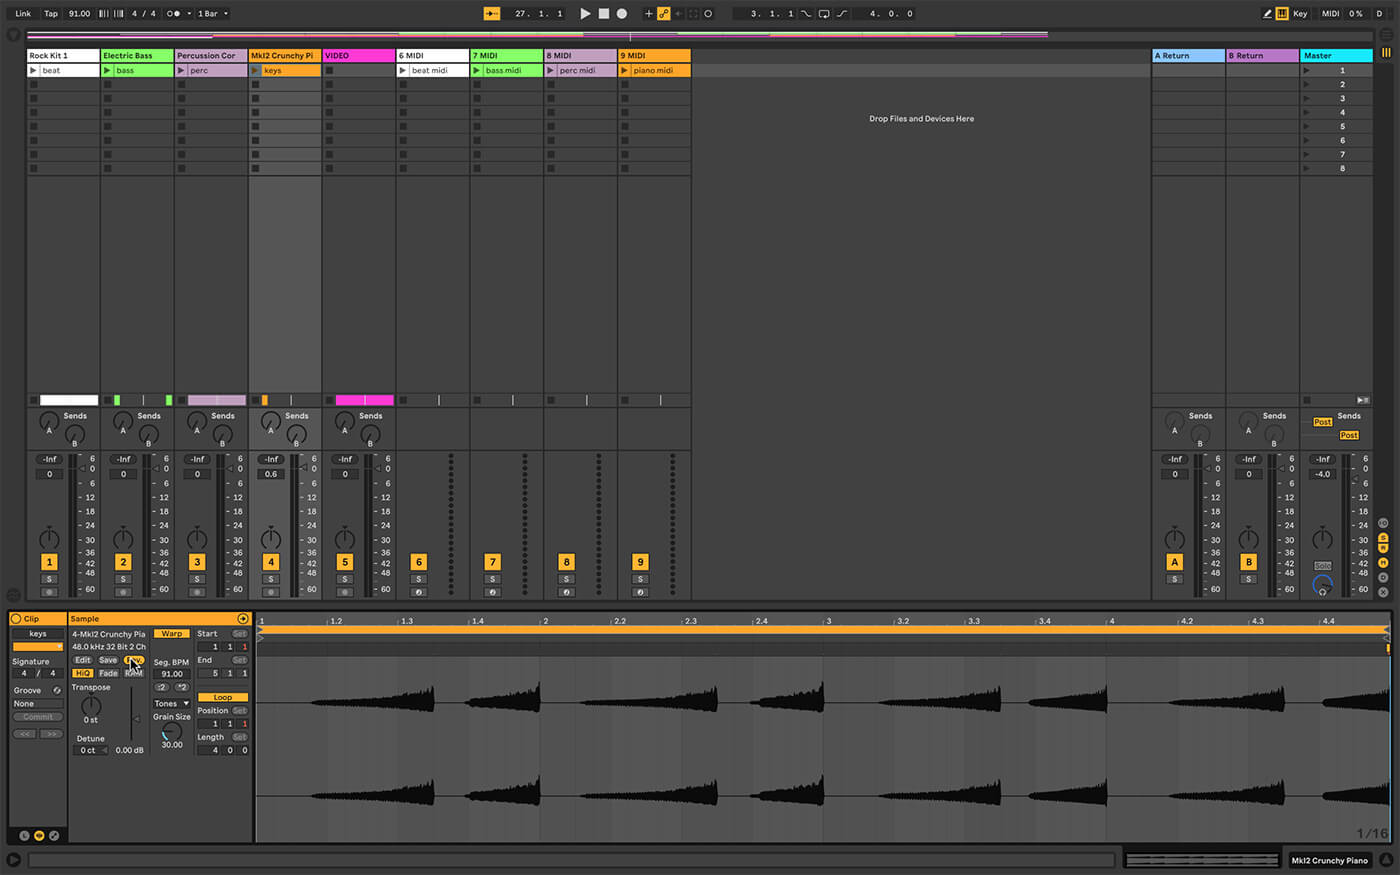
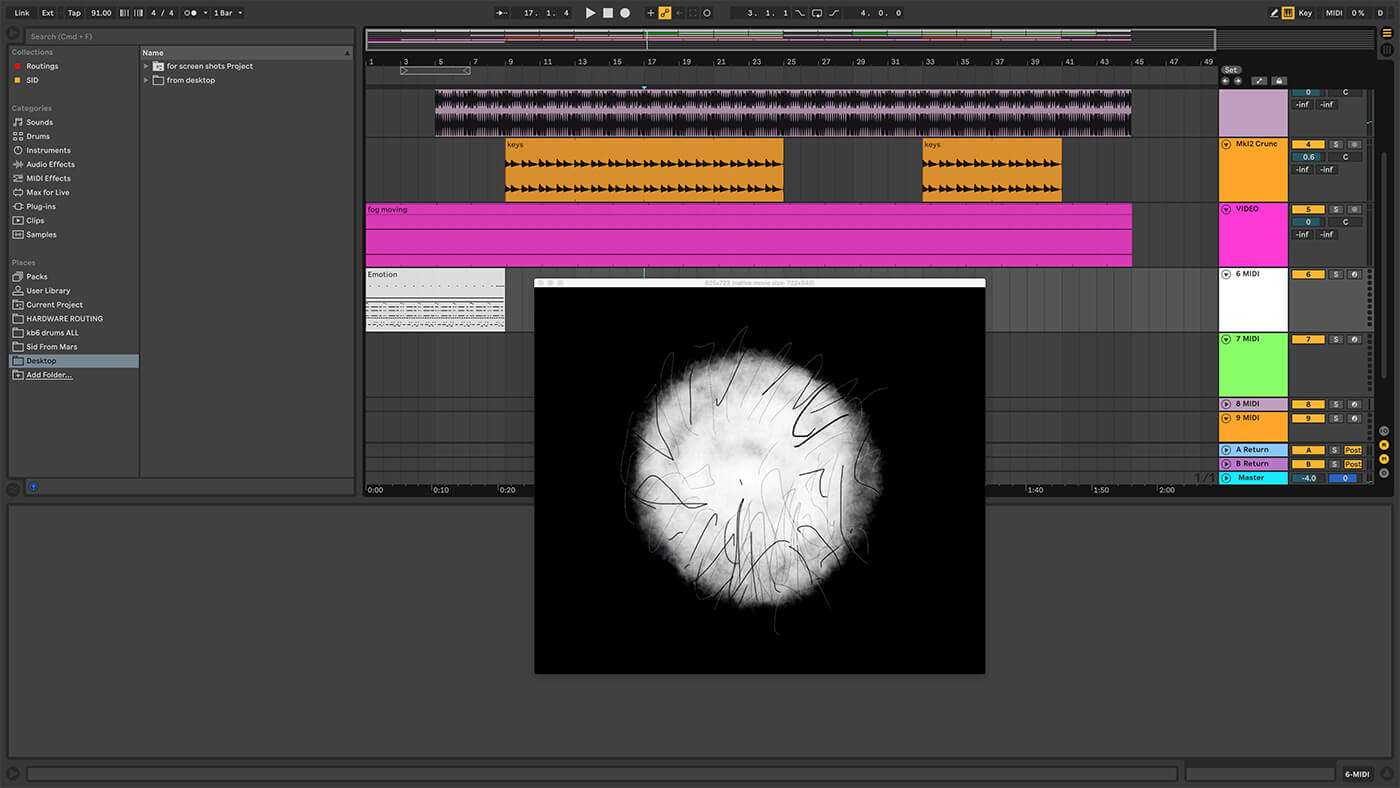
5. It’s also possible to export from Session View. The procedure is similar in terms of making settings, but only the active clips will be exported (the ones with the play button illuminated). Looping clips will be repeated across the length of the specified bars/beats/16ths.
6. Still too slow? Once again, if you want fast export, click on the chosen clip and drag it straight to your desktop. This’ll give you just the raw audio sample, without any effects from the track, although processes such as cropping and reversing are included…
![]()
BIN PEAKS Are you bored with people telling you to avoid red peaks in your audio? Well, stop doing it. You should be extremely careful with unwanted distortion. With digital audio, you can generally record quiet for rendering, then boost it during mastering and it shouldn’t create any further noise.
7. …because they create a new sample when applied. There’s another limitation to this very direct method – you can’t drag more than one audio clip out of Live at a time, which might limit the usability, but it’s good for a quick one-off!
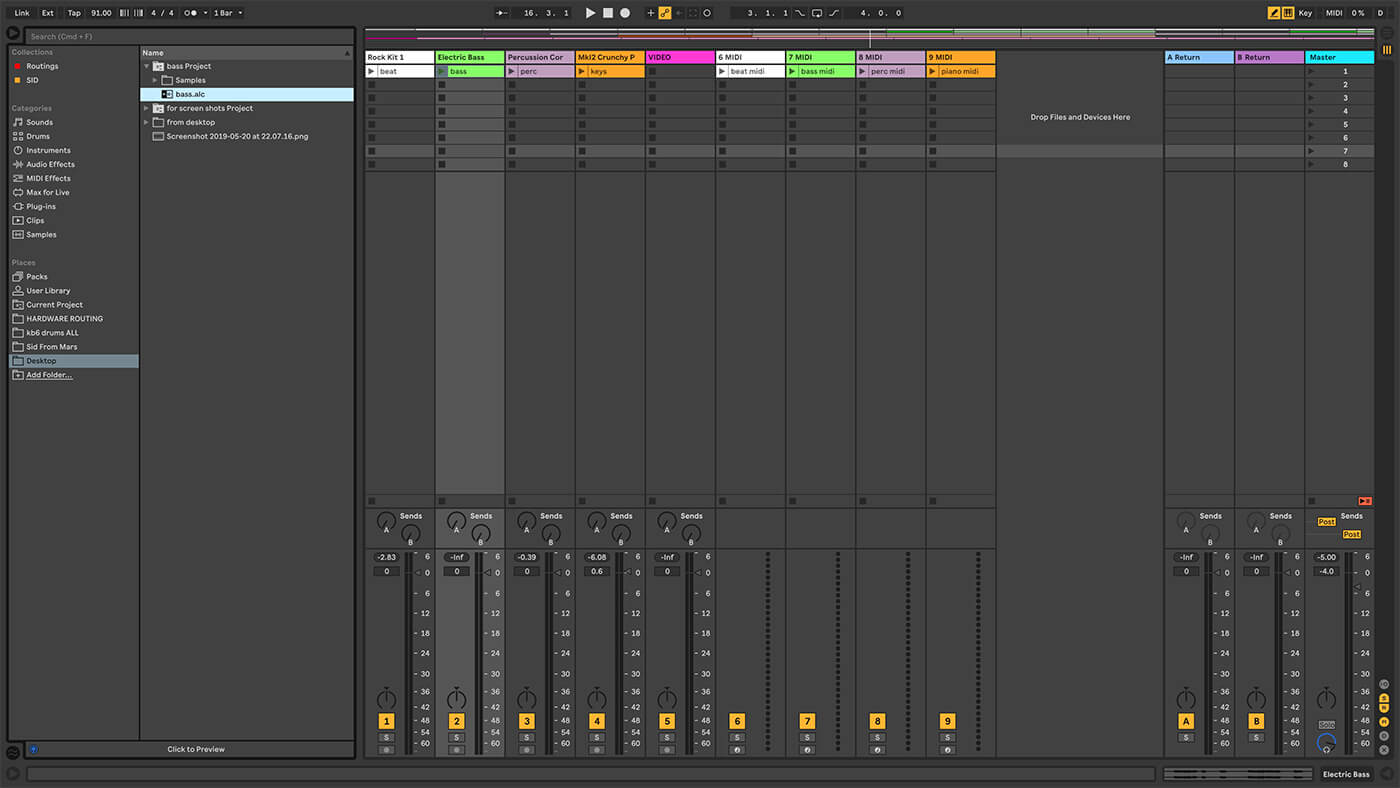
8. You can also drag an audio clip straight into a folder via Live’s Browser, but this behaves a little differently – you get a new folder, containing an .alc (Ableton Live Clip file), as well as another Sample folder containing the actual sample.
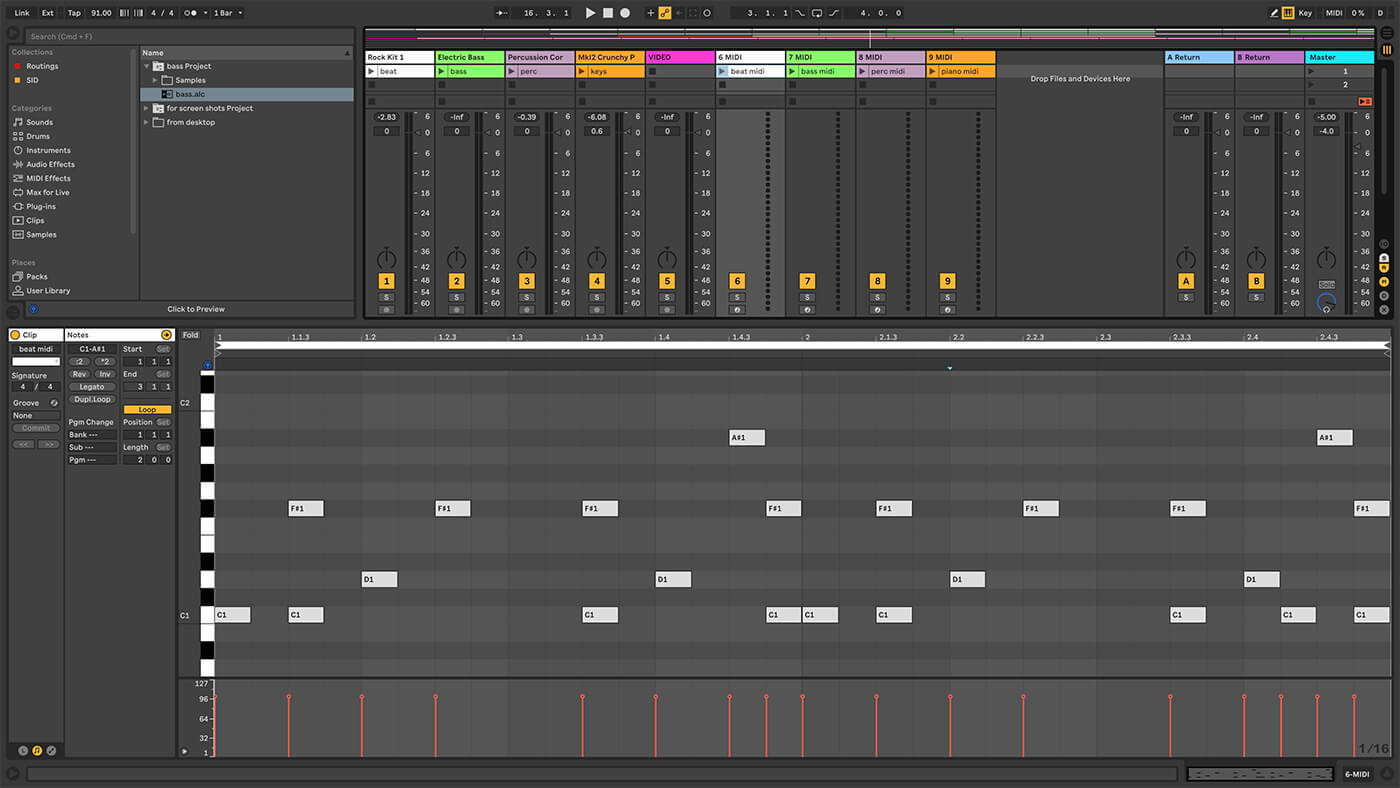
9. Most of Live’s MIDI-related excitement derives from the MIDI effect and routing possibilities rather than deep traditional composition, so exporting MIDI clips reflects that. It’s quite rudimentary, sometimes frustratingly so – like how it’ll export individual MIDI clips but not an entire composition…
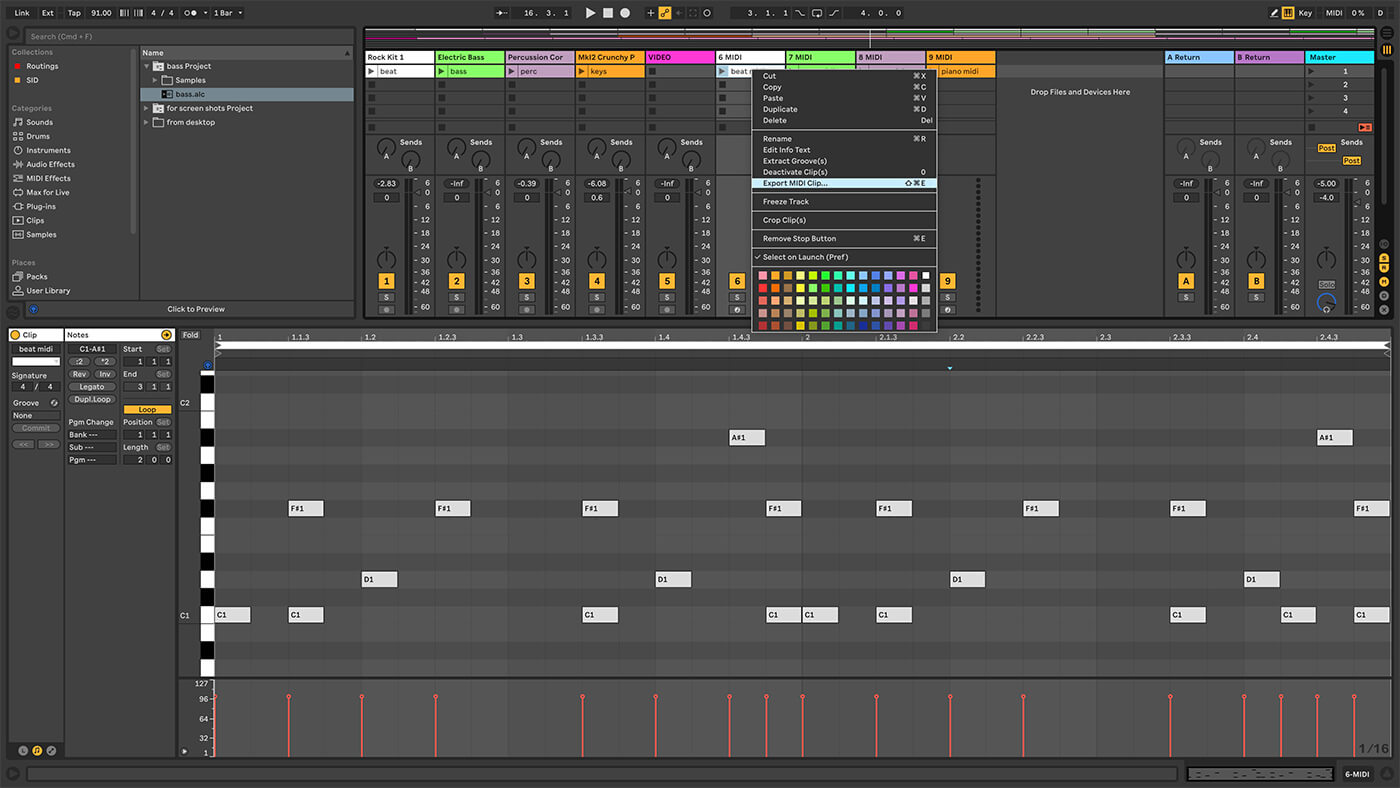
10. …which is really not cool or user-friendly if you want to get the MIDI parts to other software or hardware. In Arrangement or Session View, you can right-click a MIDI clip, or use File/Export MIDI Clip, to export individual clips only.
11. A few steps back, we mentioned dragging audio clips from Live’s Session View straight to the computer desktop – well, that doesn’t work with MIDI clips either, I’m sorry to say, and there’s no way of embedding Live’s MIDI effects in any kind of export situation.
![]()
LIVE AND LET LIVE There are many third-party mixing and mastering applications you can use and some of them even work. However, what we’re doing here comes before the mastering stage, and it’s also a good discipline to practise using only Live’s built-in audio-effect devices.
12. More positively, Live can import multitrack MIDI files – type 0 or type 1 – and preserve the track separation, which is great when you’re reviving an old project maybe, or working with hardware. And those MIDI effects are killer for production or performance.
13. Live is great for fitting audio to video, especially if you need to do a bit of sneaky time stretching. Then, of course, you’ll have to export the result, containing the audio and video in one file and maybe the audio separately as well.

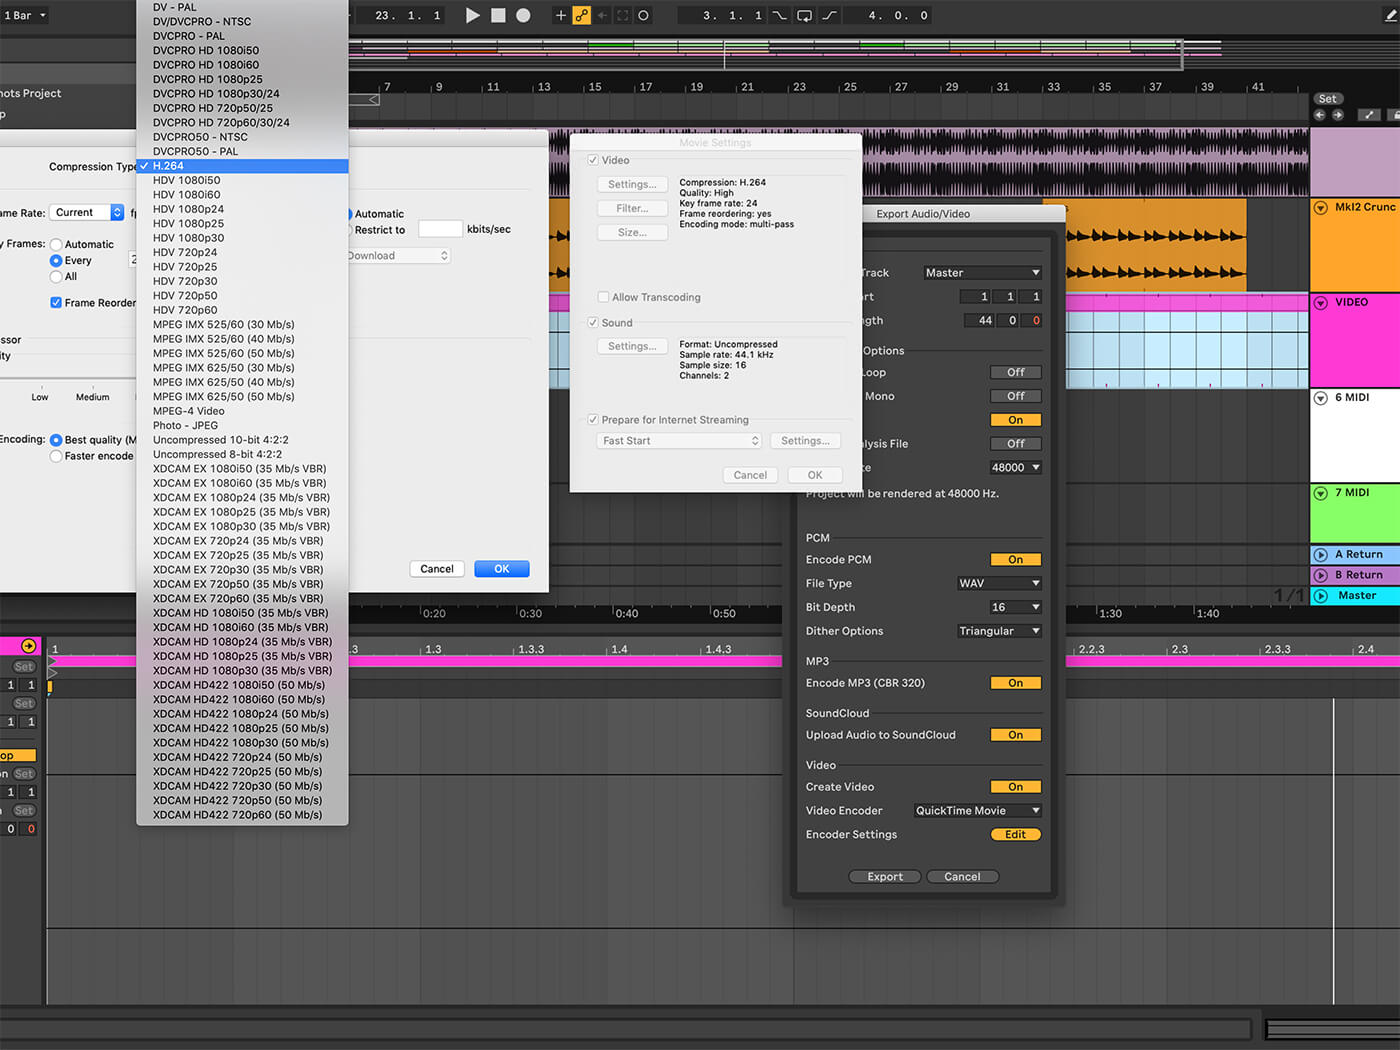
14. You’ll be using video in Arrangement View – because it doesn’t work in Session View. The export process begins as usual with the Export Audio/Video window. As well as making all the usual audio-export settings, you can specify video export requirements as well.
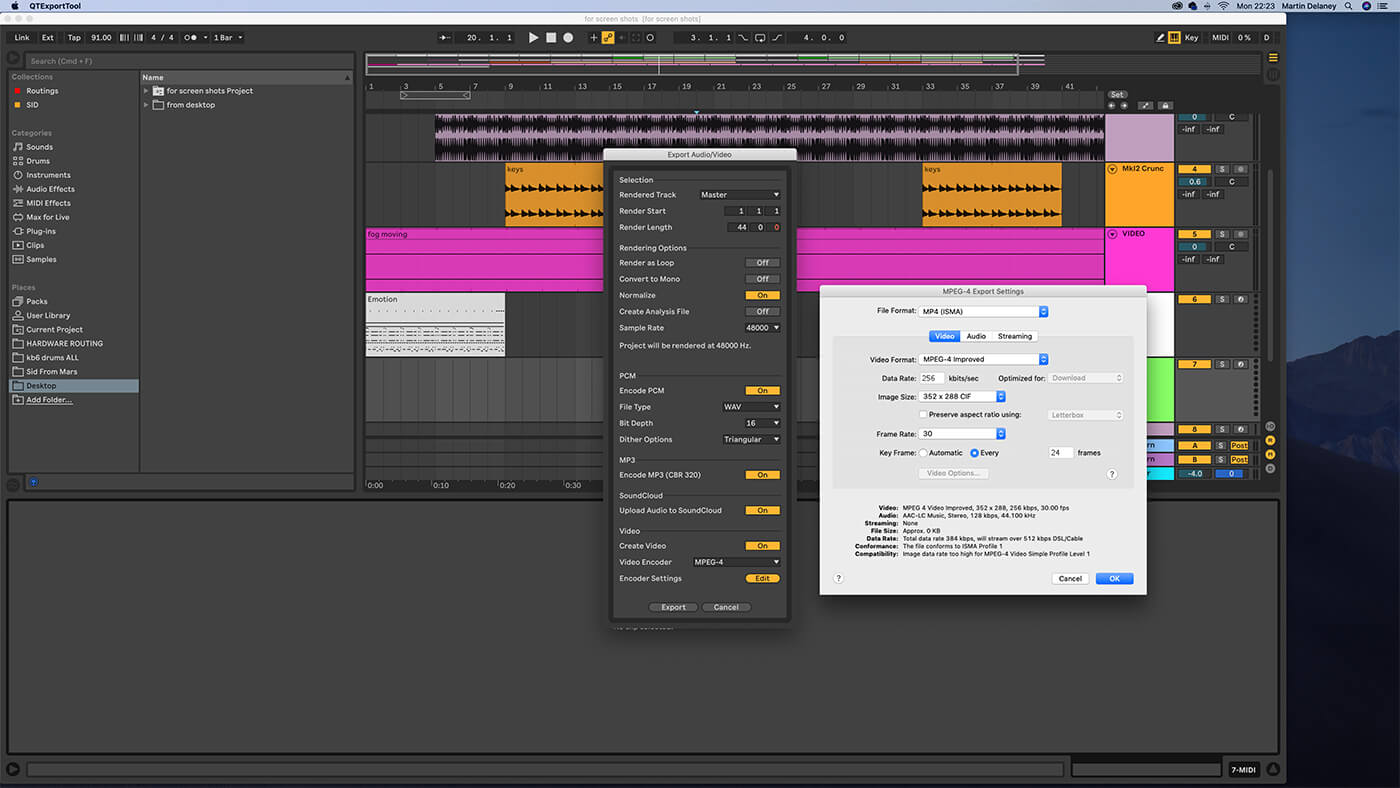
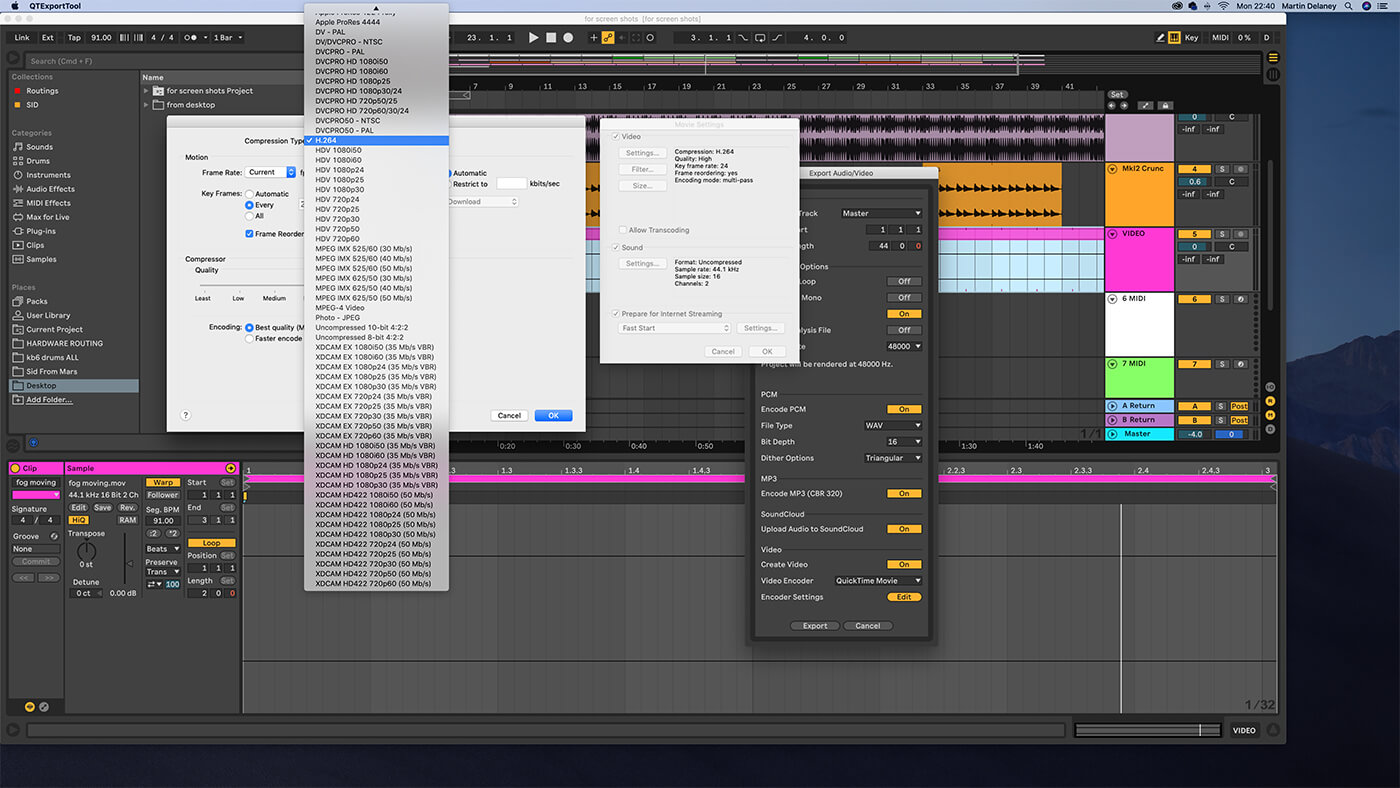
15. Click on the Create Video button near the bottom of the Export window, then you can choose the video encoder and the relevant settings. What you see here depends on your computer hardware and operating system and what you do depends on your project’s needs.
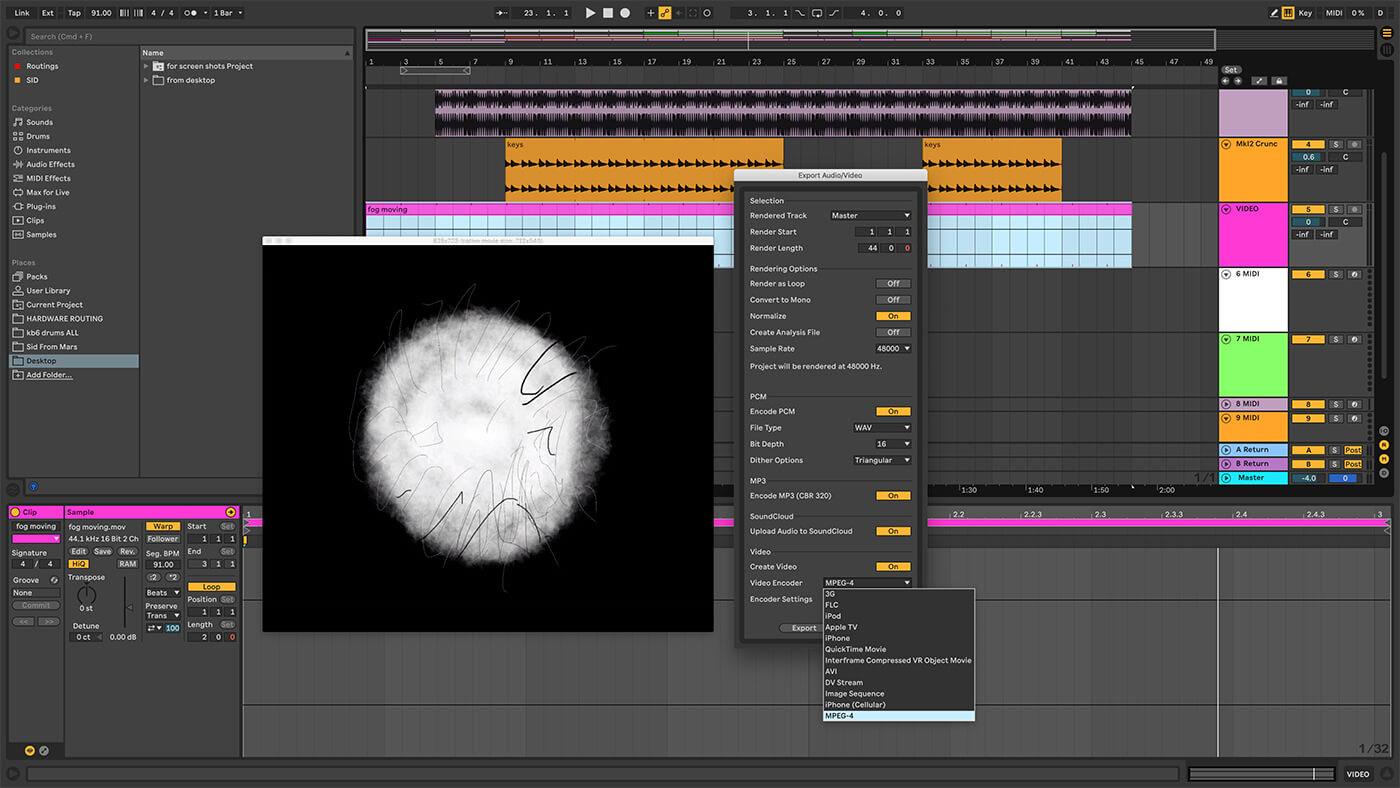
16. The Video Encoder list shows a selection of export formats such as ‘QuickTime Movie’, ‘Apple TV’, ‘DV Stream’, and so on, reflecting your hardware/software setup. Most of these will let you use the Encoder Settings button to view and edit the export settings.
17. If you’re working on a project for yourself, just use whatever’s convenient, it doesn’t matter. It’s sometimes more convenient to use low-res video for this, then replace it with the full-quality product later when I load the audio in Final Cut Pro X.
18. If you’re working for a client, and the video has to go to a specific destination, whether it’s a DVD release, movie soundtrack, web tutorial, or anything else, they should give you detailed specifications for your video-delivery format, otherwise you’re just on a wild-fishing expedition.
For more Live tutorials and workshops, check here.