How to use limiters on your mixes and masters
It’s easy to overcook your mixes and masters with limiting – get to know this essential tool and save your tracks.
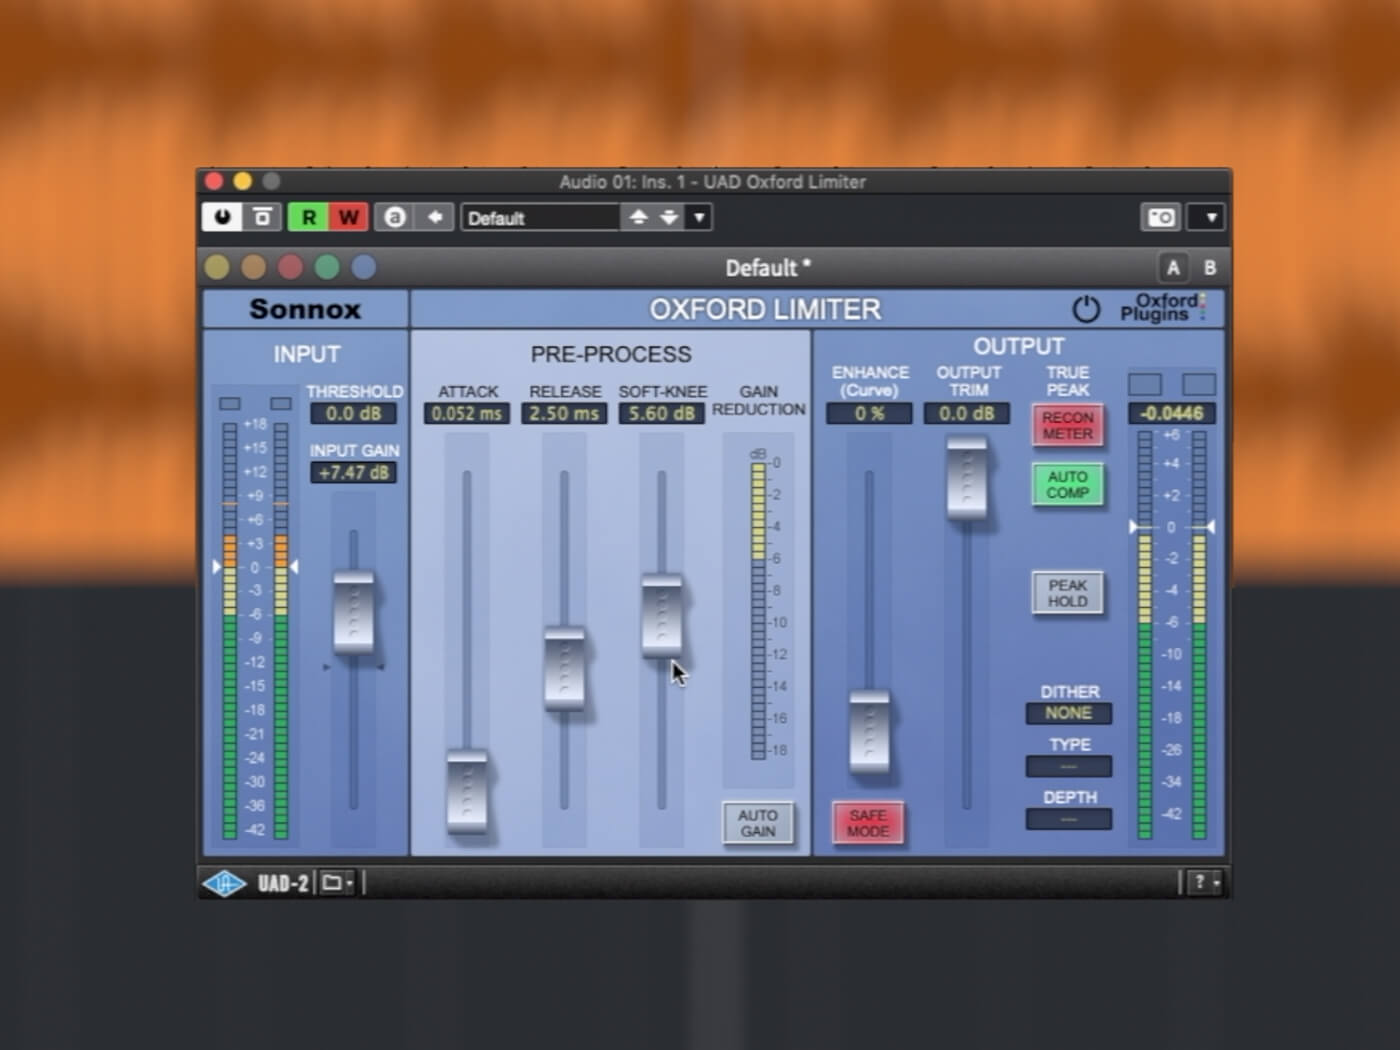
Limiters Tutorial Hero image Sonnox
Dynamics processors can be tricky to get to grips with. Their results can be subtle and hard to detect, yet cranking them up to the point where the results are clearly audible usually means you’ve overcooked things.
With limiters, the line between “just right” and “overdone” can be an exceptionally fine one, and you will end up with many ruined mixes and masters before you learn to get it right first time. But don’t fear, with these simple principles, you can learn how to use limiters in your mixes and masters without making a mess.
1. Catching the peaks
Limiters are very close relatives of compressors, and so, like compressors, it’s best to think of them as automatic volume controls. They reduce their output level in response to increases in input level. But where a compressor’s primary job is to even out amplitude changes over longer passages of material, limiters are most commonly used to forcibly prevent a signal from exceeding a given amplitude.
To achieve this, limiters react very quickly when the signal exceeds or falls back below the threshold level (or “ceiling”). They clamp down with very high-ratio gain reduction of at least 8:1, and normally much higher, although it’s common for limiters not to provide a ratio control at all.
If configured correctly, this behaviour allows a limiter to catch the very short transient peaks that can get past a compressor. These peaks are often so short as to be imperceptible. However, their high amplitude limits the amount of gain that you can apply to a signal without causing clipping. And, in a digital audio system, such clipping will be perceptible.
These very fast peaks can typically be an issue when using a compressor to fatten a submix/stem, full mix, or master. The solution is to add a limiter to the signal chain following the compressor. Set the limiter’s attack time (if it has one) to its fastest setting, and a release time of 5ms or less. Then, with a threshold typically between -0.5dB and -1dB (depending on the specific processor – some may need a lower threshold), increase the limiter’s input level until its gain reduction meters are active only when there are loud transients in the signal. Get this right, and you can make the signal significantly louder without any pumping, distortion, or other undesirable artefacts.
2. Brick-wall limiting
One form of limiting that became much overused during the so-called CD Loudness Wars is brick wall limiting. Not all limiters can do this effectively, but the idea is to drive the signal into the limiter to consistently exceed the threshold, and configure the limiter to cap everything at a smidgen below 0dBFS. The speed of a limiter’s response means that this doesn’t create the pumping effect that an over-cooked compressor would, but the signal does become increasingly distorted the harder you drive it; go far enough, and you’ll end up with little more than a square wave!
Such dynamics-crushing shenanigans are – generally – frowned upon these days. However, brick wall limiting still has its place in some forms of music, particularly at the heavier end of metal, and can be helpful as a special effect.
To do it well, make sure you use a limiter with lookahead capabilities, and start with a threshold of between -3dB and -6dB. Push the input level to the point where the distortion is becoming unpleasant, then back things off by lifting the threshold until the output signal is sitting just below 0dB. This way, you can find a good balance between distortion and loudness.
3. Limiting amplifiers
Limiting amplifiers were an early take on dynamics processing and sit somewhere between compression and limiting. Attack and release times are in the realms that you’d find on a compressor, but they’re effective at creating very even, controlled output dynamics, with compression ratios that reach into limiting territory.
This middle ground can work well on guitars, synth lines, vocals, and spoken voice but tends not to work as well on full mixes and other broadband sources.
Whether working with a digital model or hardware, limiting amplifiers (such as the 1176) need a slightly different approach than a modern plug-in dynamics processor. Rather than having a threshold level above which gain reduction is applied, a limiting amplifier provides input and output level controls; increasing the input level will increase the gain reduction (at a ratio which, unlike with most limiters, is selectable), and we can then dial-in an optimised output level using the dedicated control.
For limiter-like operation, select a ratio of at least 8:1 and dial in the fastest attack time. Use a relatively slow release time to smooth the gain reduction response, thereby avoiding any pumping effects. When setting the output level, leave a bit of headroom to allow for sudden loud transients that may sneak through. You can also consider adding to the signal chain a modern limiter configured to catch those occasional peaks.
4. Knee to know
Dynamic processors often have a “knee” setting or are described as being “hard knee” or “soft knee”, and limiters are no exception. This refers to how the gain reduction is applied as the signal approaches and then exceeds the threshold level. With a hard knee, no gain reduction is applied until the signal amplitude exceeds the threshold, at which point gain reduction is applied at the full ratio used by the limiter.
With a soft knee, gain reduction begins at a low ratio as the signal amplitude approaches the threshold, and doesn’t achieve full-ratio gain reduction until the signal is a few decibels above the threshold.
The difference in results can be pretty subtle. Perhaps counter-intuitively, a soft knee limiter tends to be better at catching errant peaks than its hard knee counterpart, because gain reduction begins from a lower decibel level than it would with a hard knee limiter. You can explore this by sending a transient-rich sound through a limiter with a variable knee. Try adjusting the knee setting while listening to the results and keeping an eye on the meters and peak output levels.
For more tutorials, click here.