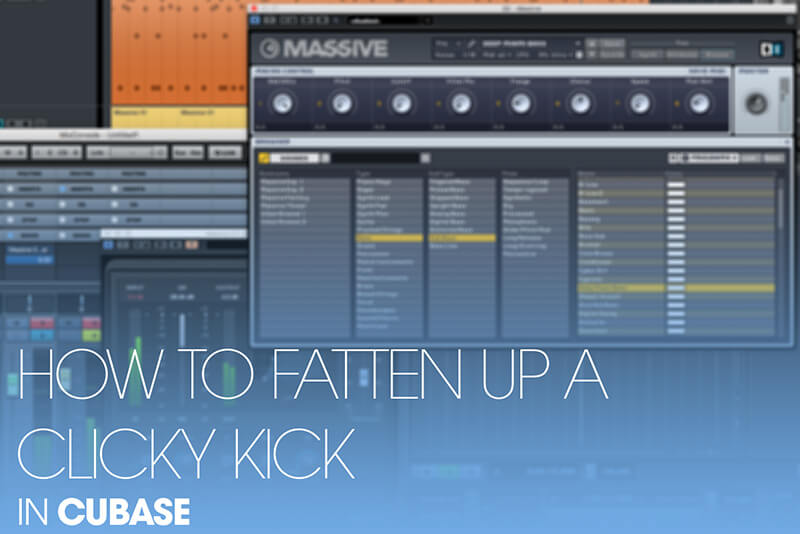
How To Fatten Up A Clicky Kick
Sometimes, a kick or other drum sound you’re using may lack a bit of depth or thump. Adam Crute shows us how to fatten up a clicky kick a using a synth… Big, fat, low-down kick drums are all well and good, but there are times when something a bit higher-pitched, even ‘clicky’, is needed […]
Sometimes, a kick or other drum sound you’re using may lack a bit of depth or thump. Adam Crute shows us how to fatten up a clicky kick a using a synth…
Big, fat, low-down kick drums are all well and good, but there are times when something a bit higher-pitched, even ‘clicky’, is needed to cut through and balance with a mix. Such kick sounds can work really well, but can also leave the low end sounding a bit weak. Another scenario you may encounter is where you have a drum kit recording in live, where the kick lacks fullness and depth. If the lower frequencies aren’t captured by the mic, then trying to crank them on with EQ will do little but boost noise.
A solution to both these situations is to use a synth to generate some of the missing low frequencies, and to use dynamics processing and side-chaining to make the synth trigger in time with the kick.
Fatten up a clicky kick: step-by-step
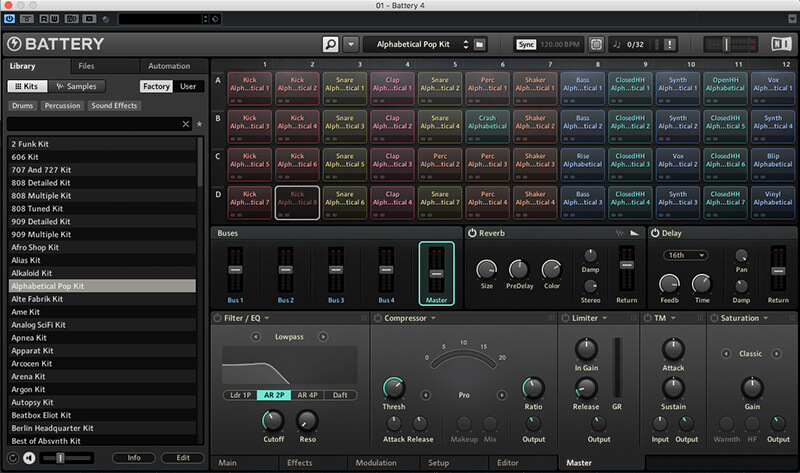
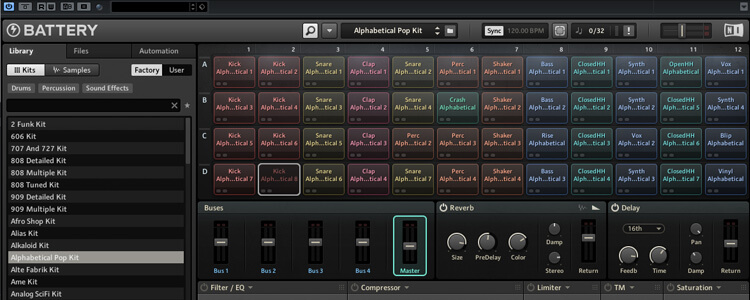
1. Fire up your DAW and create a new session or project. I’m going to use a MIDI drum pattern playing through NI Battery. What you use is up to you, but there needs to be a way to isolate the kick (or other trigger instrument) signal.
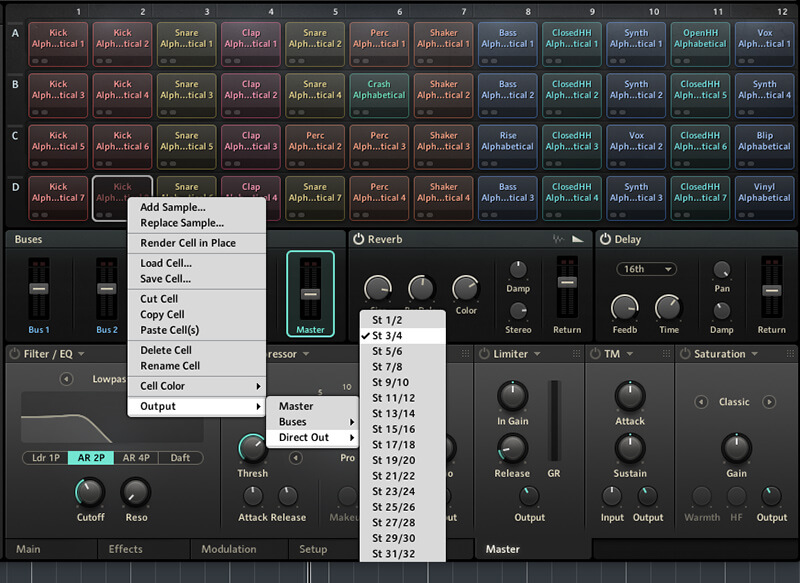
2. If you’re using a sampler, as I am, then enable an additional output channel and assign the kick drum to that output. Create a mixer track in your DAW for this output channel, if one isn’t created automatically.
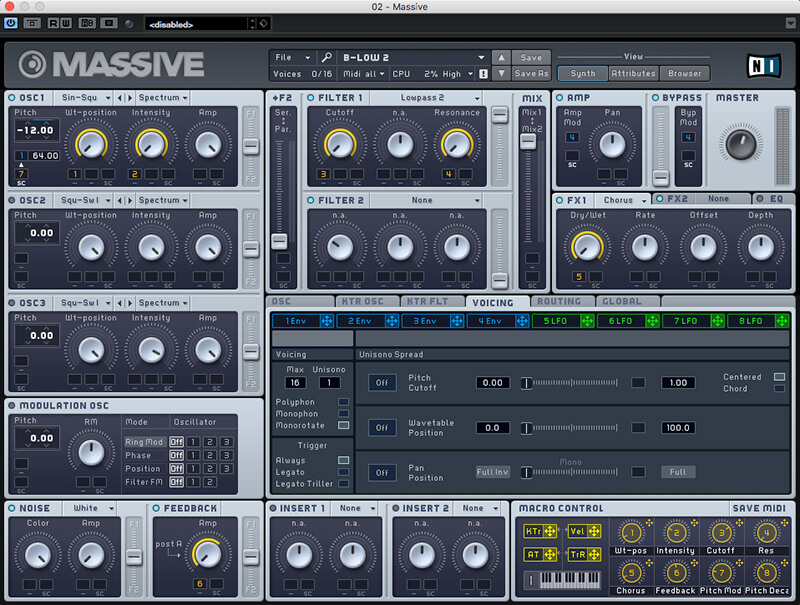
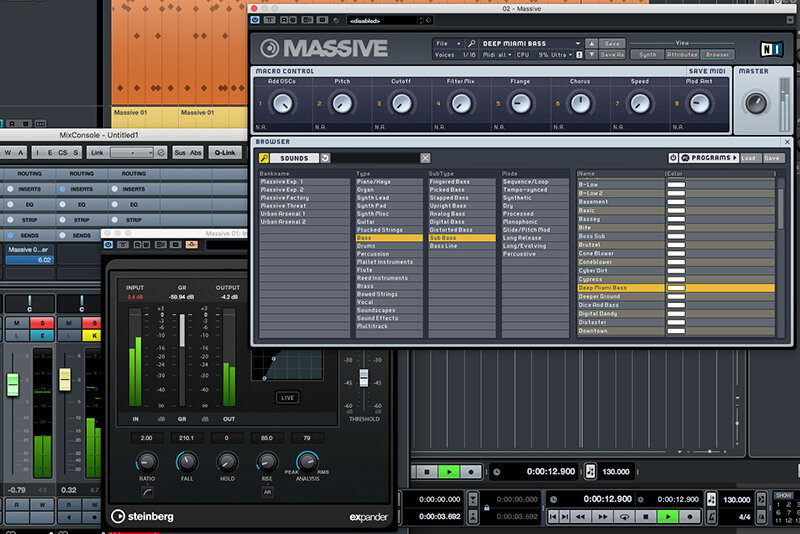
3. Add a synth plug-in to your project. Choose a synth that’s good at making low frequency sounds. I’m using NI Massive, but any analogue-style (or actual analogue, if you have such) instrument should do the trick.

4. In the synth, load up or create a low, sustained sub-bass sound – square and sine waves will work well here. Then, on the synth’s track, create a one bar long, sustained low note – somewhere between C1 and C2 should work well.

5. Duplicate the part containing the sustained note so that it covers the full length of the drum pattern or part. Don’t be tempted to create one long note that spans multiple bars, or it may only trigger if you play your track from before the MIDI note-on occurs.
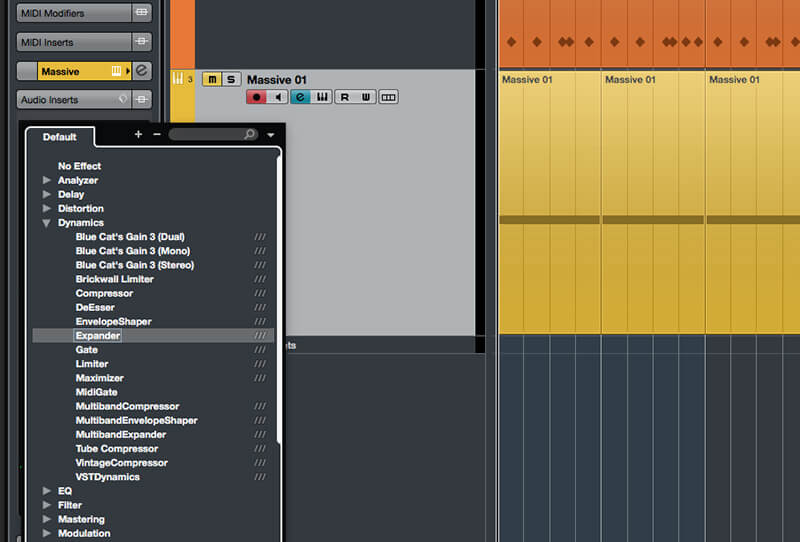
6. Insert an expander plug-in on the synth’s track (you could also use a gate, but an expander is better). Enable the processor’s side-chain input. How you do this will depend on your DAW, so consult its docs if you’re unsure.

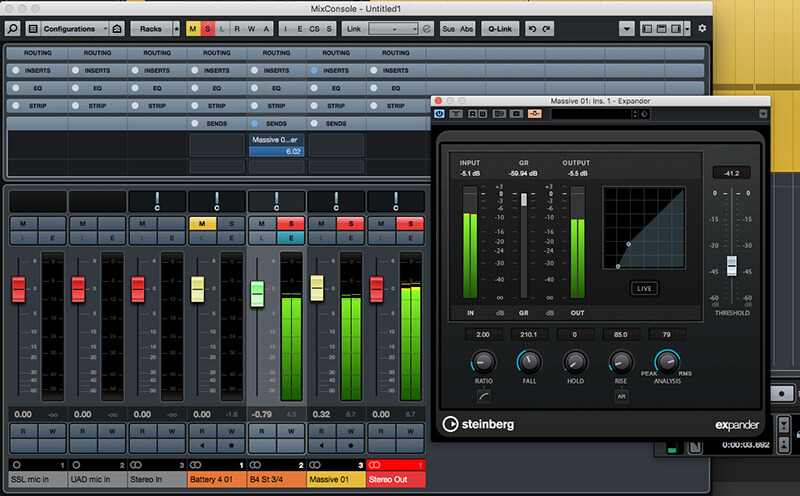
7. In your DAW’s mixer, locate the additional output channel created in Step 2 (or, if using a multitrack drum recording or similar, locate the track that’s handling the kick drum). Add a pre-fade send to the track, and route it to the expander’s side-chain input.
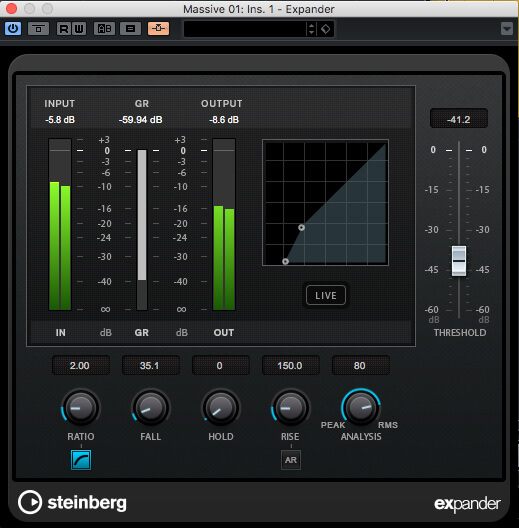
8. Solo the kick drum and synth channels, open the synth track’s expander, and start playback. Adjust the expander’s threshold so that the kick drum arriving at the side-chain input exceeds the threshold value.
9. Start with an expander ratio of 1:2, and then adjust the attack and release times to create an envelope for the synth bass. Keep tweaking the expander controls until you get close to a sound you’re happy with.
10. Now that you’ve got things set up, un-solo all tracks and go back to the synth and try out different sounds to find something that works well with your track. You can also adjust the pitch of the sustained note, and there’s also no reason why the note must stay the same throughout a track.
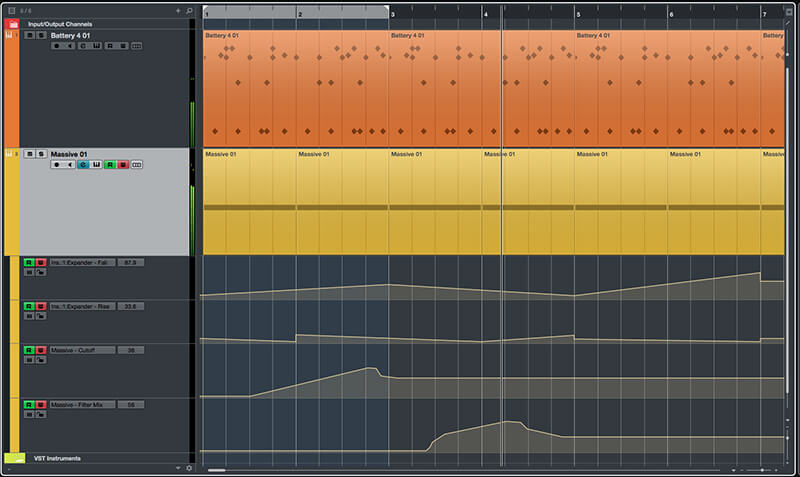
11. You can take this technique a stage further by automating the expander and synth settings, and making adjustments to them as the track plays. This can create a lot of nuance and character in the low end of your track.