How To Connect Guitar Pedals in Ableton Live
The popularity of modular synth rigs has fuelled the desire for guitar pedals and that alluring hardware vibe. Martin Delaney outlines the why and how of connecting guitar pedals to your Ableton Live set-up. No guitar required! Guitar pedals are showing up in electronic music setups all over the place. While there’s a minimal beauty […]
The popularity of modular synth rigs has fuelled the desire for guitar pedals and that alluring hardware vibe. Martin Delaney outlines the why and how of connecting guitar pedals to your Ableton Live set-up. No guitar required!
Guitar pedals are showing up in electronic music setups all over the place. While there’s a minimal beauty in the classic computer/controller/interface setup, there’s a glorious mad scientist kind of excitement to having synths, pedals and cables strewn across the table. It’s all about options. You don’t have to use it all, but it will expand your horizons. It’s also about fashion, as the use of guitar pedals with modular synth rigs is incredibly popular. Additionally, if you’re a guitarist or bassist as well as a producer, you must already have some pedals. So why not double-dip and use them with your synths too?
More is better
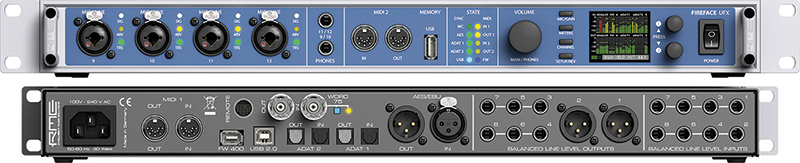
This tutorial applies to any recent version of Ableton Live, although Live 10 gives us the ability to name inputs and outputs – useful if you’re working with complex setups. You can test the principles discussed here with almost any audio interface.
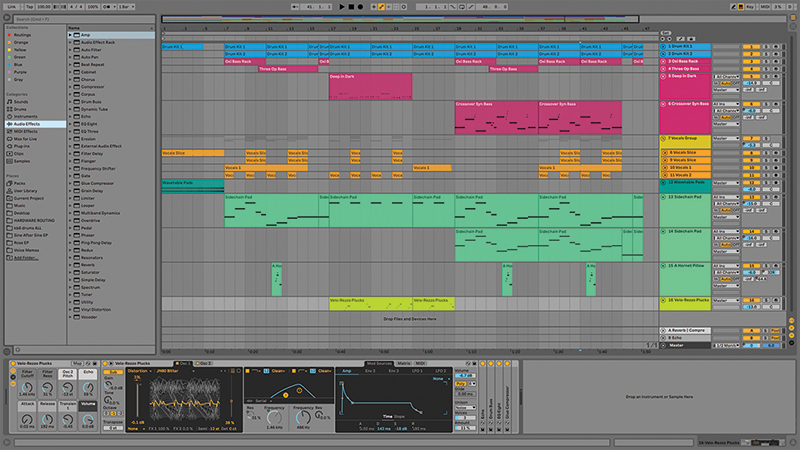
Live’s External Audio Effect Device is what makes hardware connections easier and recallable. It means you only need to devote one track to the task, although if you want to record the input, you’ll still need another track for that. I’ve created External Audio Effect presets with routings for all my external synths, drum machines, and effects, and I have them in a folder in my browser, ready to load at any time. Start experimenting with a simple guitar pedal, which has a mono in/out arrangement.
Mains street
In my experience, distortion-type pedals don’t work so well in this position in a setup. They’re better in hardware rigs connected directly to a drum machine, for example. Most other types of effect will produce some kind of interesting result. I used a Boss Fender ’63 Reverb, and a Zoom MS-100BT, purely because they were close at hand. You can power most pedals from mains or a 9v battery. The latter keeps things portable and reduces the number of adaptors and cables involved, but I wouldn’t count on batteries for serious gigs.
It’s easy to get a cheap adaptor for a couple of pedals, and more expensive versions will power more devices, sometimes across a range of voltages and with cooling fans and surge protection. Connecting such pedals to the rest of your setup is mostly like using any other type of external effect – cables in and out to your interface, managing the levels with the knobs on the pedals and with the controls inside your live tracks and devices.
On the level
Getting the right levels with pedals is really important. With pedals, there’s more chance of noise being introduced to the chain, so add another pedal in the shape of a noise gate, or use something like Live’s built-in Gate effect. This can be automated through the song or performance. We can save routings to our pedals in rack presets, and include any plug-ins that we want too. Most pedals don’t have onboard presets, but Live does, so we can use the onboard effects and some automation trickery to keep things interesting and evolving.
There are stereo pedals, such as the Eventide Factor range and the Boss 500 series. Factors and 500s are also MIDI-compatible, with presets, so there’s another level of complexity and sound design rewards, as you enjoy the lush stereo sounds and send MIDI to the devices to recall presets or to automate parameter changes, such as dry/wet mix for example. The Boss and Eventide pedals also have software editors, so you can manage and update them easily from the computer.
Micro-sized
The world of pedals is diverse, so as well as these beautiful sounding and generally classy high-end units, there’s the cheap and the downright weird. Micro-sized pedals are popular, as they’re cheap and you can fit more on a pedalboard. They also include features for the imaginative user, like the Mooer Micro Groove Loop, which features preset beats, with a looper.
If you can manage using an audio interface with multiple inputs and outputs, I’d recommend it, as you can cable up several pedals at once, assign each to a different external effect device, then bring them in on separate tracks or mix and match by dropping the effects into the same track in various orders.
Sometimes, guitar pedals are about the sounds, sometimes about the new perspective they bring to sound creation… and always about the fun!
Stompbox with your groovebox: step-by-step
1. We haven’t provided an example Live set this time round, because your routings and equipment will obviously be different from ours. Live 10 is recommended because it lets you name audio/MIDI inputs and outputs.
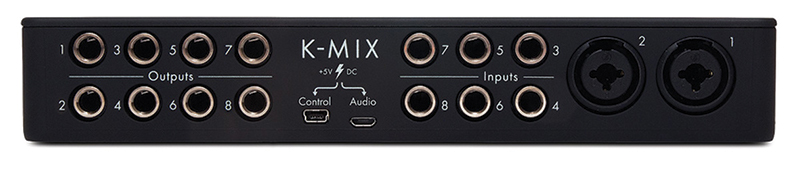
2. Apart from a computer running Live, you’ll definitely need an audio interface for this one. You can build a simple effect loop with just a two-in/two-out device, but more connections bring more flexibility.
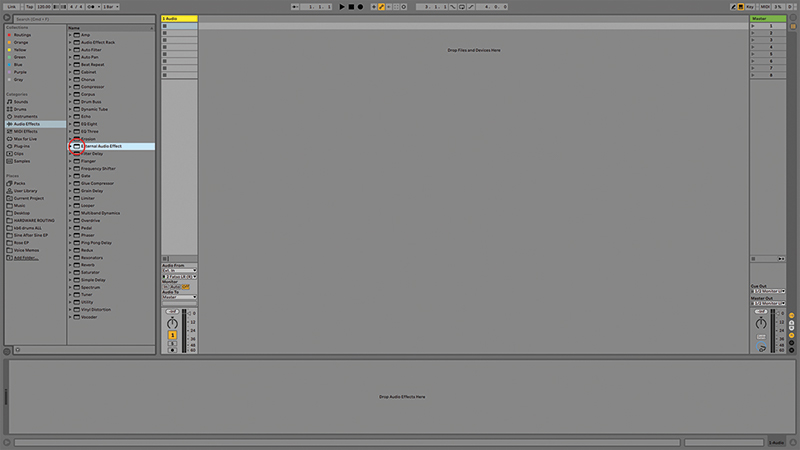
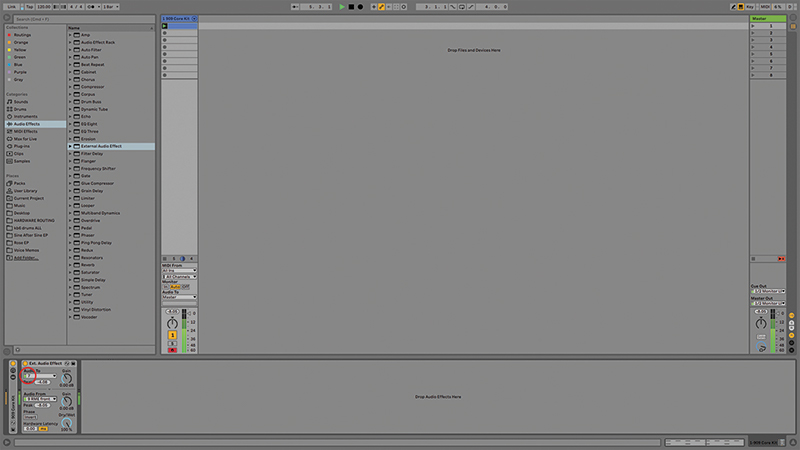
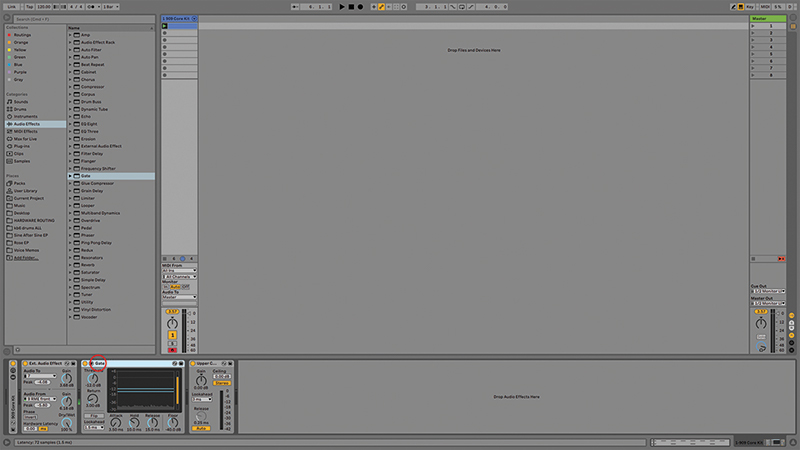
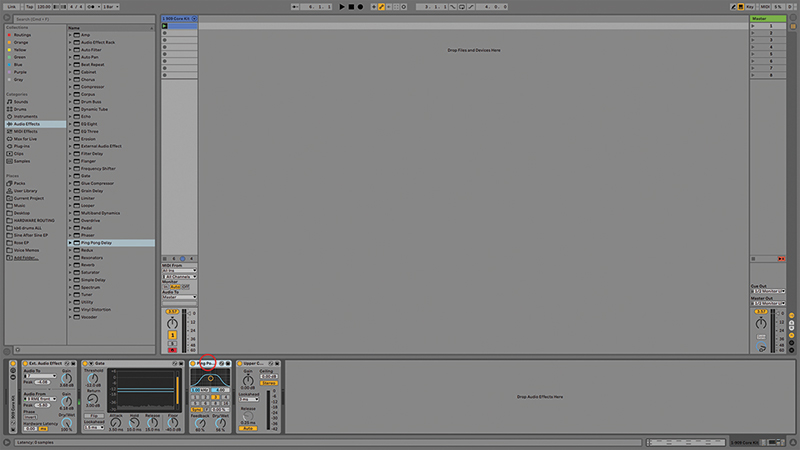
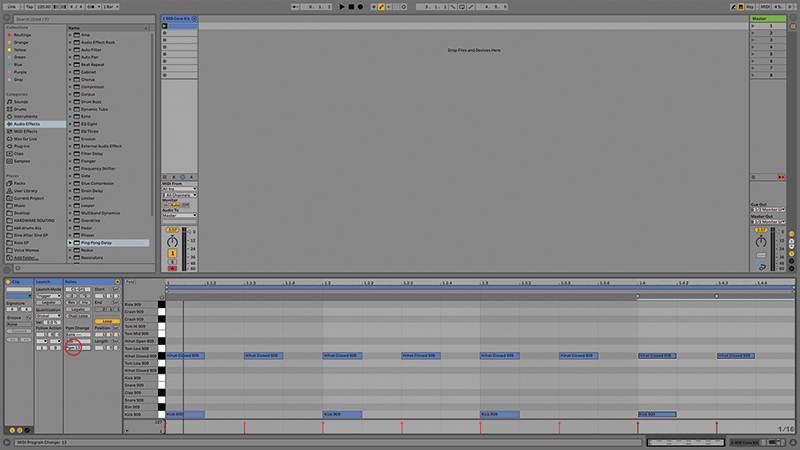
3. The key feature in Live that makes all of this work is the External Audio Effect Device, which is located under the Audio Effects category in the Browser. This will contain all routing and gain information.
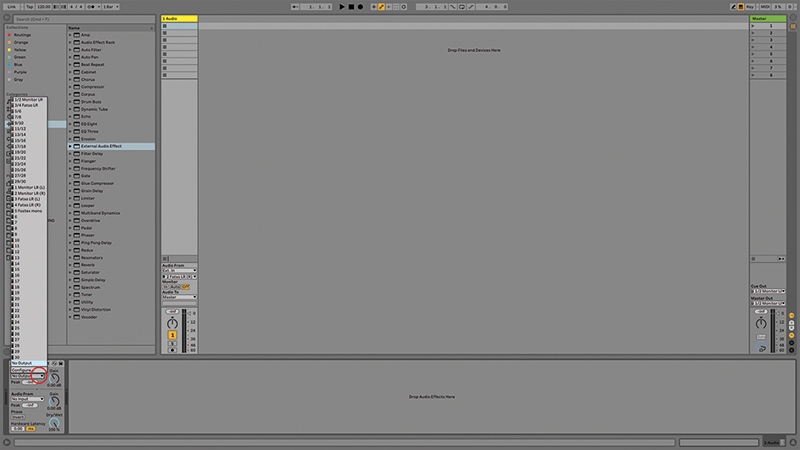
4. By having ins/outs/gain contained in a single device, it means that you don’t need to configure the track using the In/Out View, and also that it can be saved as a preset.
5. Being an audio effect, you can drop this equally onto MIDI instrument or audio tracks, and it will process whatever is coming out, and bring it back in on the same track.
6. This means it’s keeping everything contained and tidy, and reducing the number of tracks you have to commit to effect routing. Then of course you need to actually connect a pedal or two.
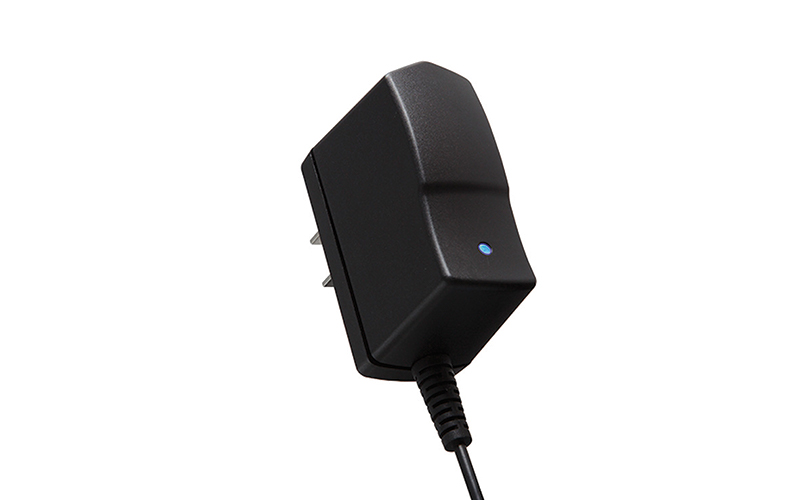
7. Let’s assume we’re working with a basic mono guitar effect pedal. First it’s going to need power. You can either run it off batteries or from a 9v mains supply.
8. Take output 1 from your audio interface and then connect that to the input on the pedal. Then use another lead to connect the pedal output to input 1 on the interface.
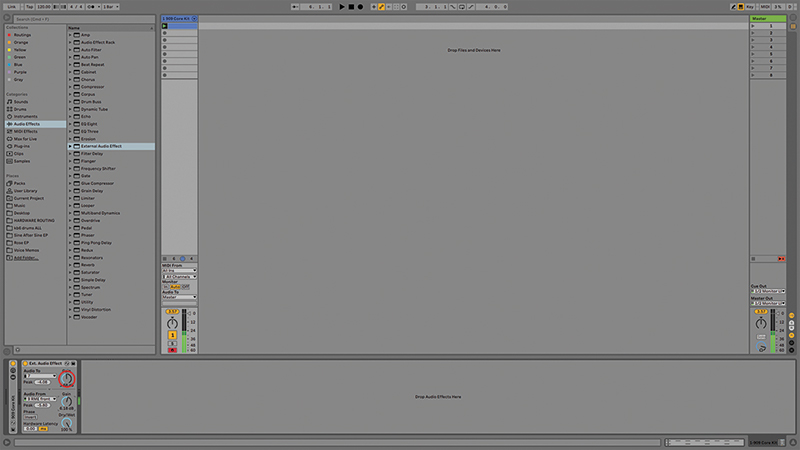
9. Inside Live, load the external audio effect into an audio or MIDI track. Choose the relevant output and input within the external audio effect device. Launch a clip in that track.
![]()
Sonic Character Sure, you could do most of the same thing with AU or VST plug-ins running inside Live, but that’s really not the point. You might get similar sounds but you don’t get the quirkiness and hardware vibe of using pedals.
10. Adjust the output gain to the pedal until you know it’s getting a good healthy signal. Likewise, adjust the input back in, so it’s not too quiet, and definitely not too loud – no red peaks!
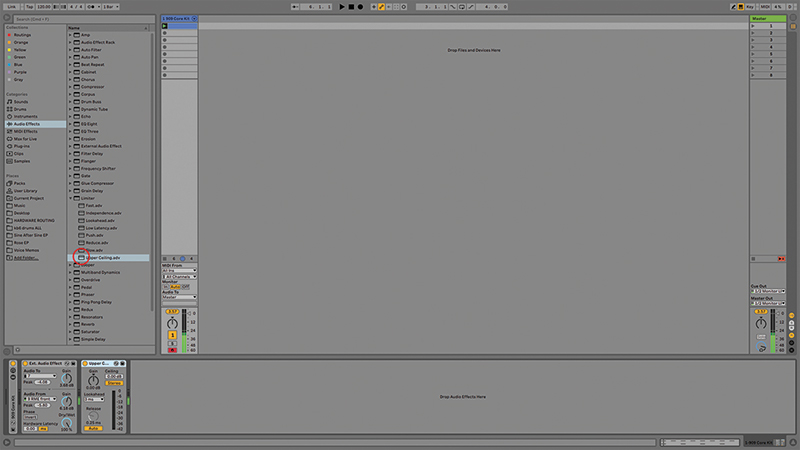
11. Personally, I always add the Limiter/Upper Ceiling preset after this, so I can put a cap on the maximum output level. It can prevent nasty, loud, surprises during a gig.
12. You might also want to use Gate for hissy pedals. Remember that you can automate the parameters, or deactivate it entirely when necessary, so it doesn’t have to be a one-size-fits-all setting.
13. You can of course apply Live’s audio effects to the returning audio signal, so add anything else you want to this chain, including amp simulations and delays (like Live 10’s fabulous Echo).
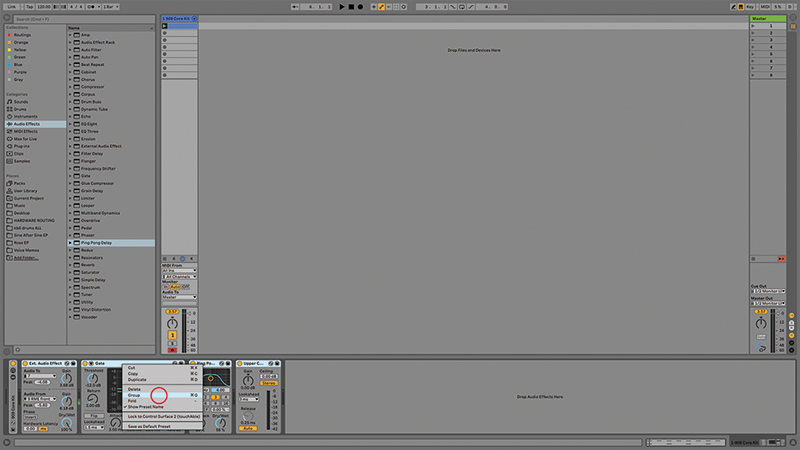
14. Once you’ve configured your routings and added other audio effects, select all of them together and use cmd-g to save an audio effect rack into the rowser, so you can recall the whole lot later.
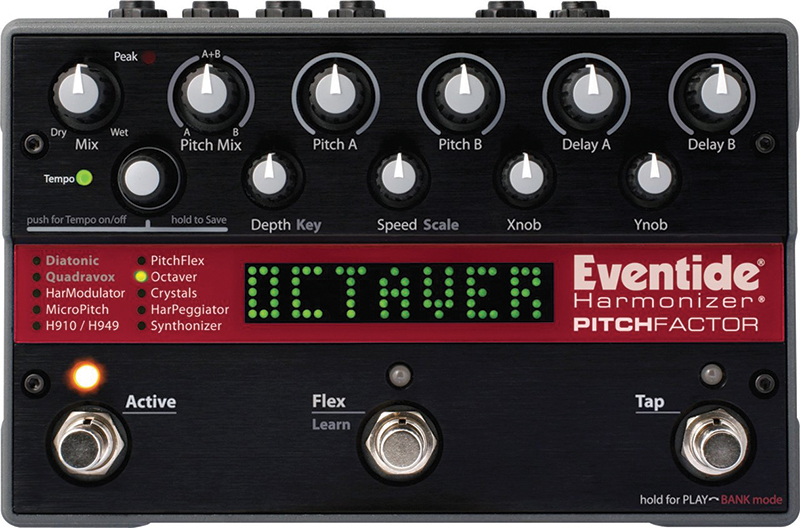
15. If you’re using some of the few guitar pedals that respond to MIDI (for example the Eventide H9 and Factor series), naturally you can send MIDI from Live to control them.
16. Send Program Changes from MIDI clips to load different sounds as the appropriate clip is launched, and send MIDI CCs from clip envelopes to automate changes to specific parameters inside the hardware.
17. If you do have an interface with several inputs and outputs, that’s where you can really go deep by having different effect pedals on different tracks, so you can mix and match them more effectively.
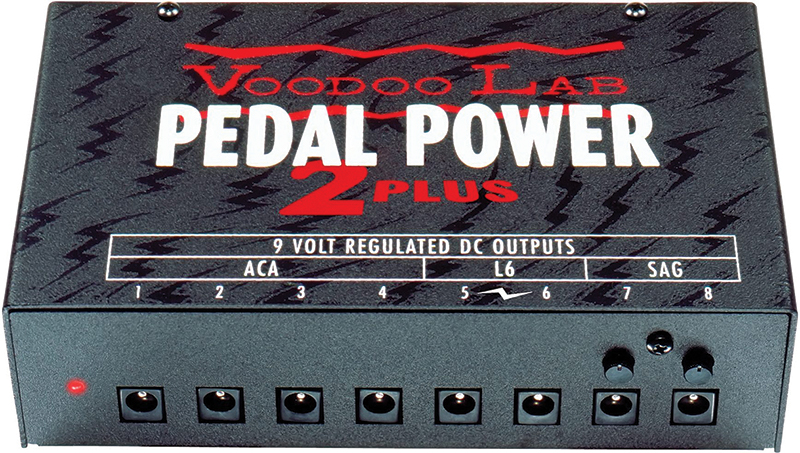
18. We mentioned power earlier. I’d recommend mains power, especially for gigs. Older pedals in particular can sound different when run from mains or battery, and worse, their sound can change as the battery runs down.