Cubase Tutorial: Become a Power User 9 – Music to Picture
Cubase doesn’t restrict you to working solely in the aural domain – it’s equally capable of working with pictures, too. Tim Hallas takes a front-row seat… One of the pieces of advice that I hear my students being given most often when they ask what they can do with a degree in music tech is […]
Cubase doesn’t restrict you to working solely in the aural domain – it’s equally capable of working with pictures, too. Tim Hallas takes a front-row seat…
One of the pieces of advice that I hear my students being given most often when they ask what they can do with a degree in music tech is to become a composer for TV, film and other media. Indeed, I myself have a degree in composition for film and have written scores for a few independent films shown at festivals around the world, but all the lessons I had focused on the music and neglected the technical skills needed with a DAW to record it.
Pretty much all film music is now recorded using a DAW of some flavour, whether it’s played by a bunch of soft-synths or a full orchestra, the basics are pretty much the same. The composer synchronises the music to the images on the screen and tries to match the mood and actions onscreen to support the director’s vision. I won’t spend time in this article reiterating how to do this as it has been covered before many times in MusicTech.
This article will simply focus on the practicalities of how to capture and generate music in Cubase and attach it to a video file rather than concentrating on the musical skills required. Cubase is well equipped to deal with both the extremes of soft-synths and full orchestras. However, what very few of us have access to is a full symphony orchestra, a room big enough to house them, plus all of the equipment to capture them accurately.

In this tutorial we will focus on the ability to add and synchronise data, in whatever form, to images. I will be mostly using software synths as the main instrumental source and will then create a template from which you can generate your own scores.
The first thing we need to establish is the difference in Cubase between hit points and Hitpoints. As film composers we are used to referring to the points we want to highlight in the action onscreen as hit points, but Cubase refers to the transients in audio as Hitpoints – they are not the same, so make sure you don’t use them interchangeably. But I digress. Let’s get started on making music for film in Cubase…
Setting Up For Video
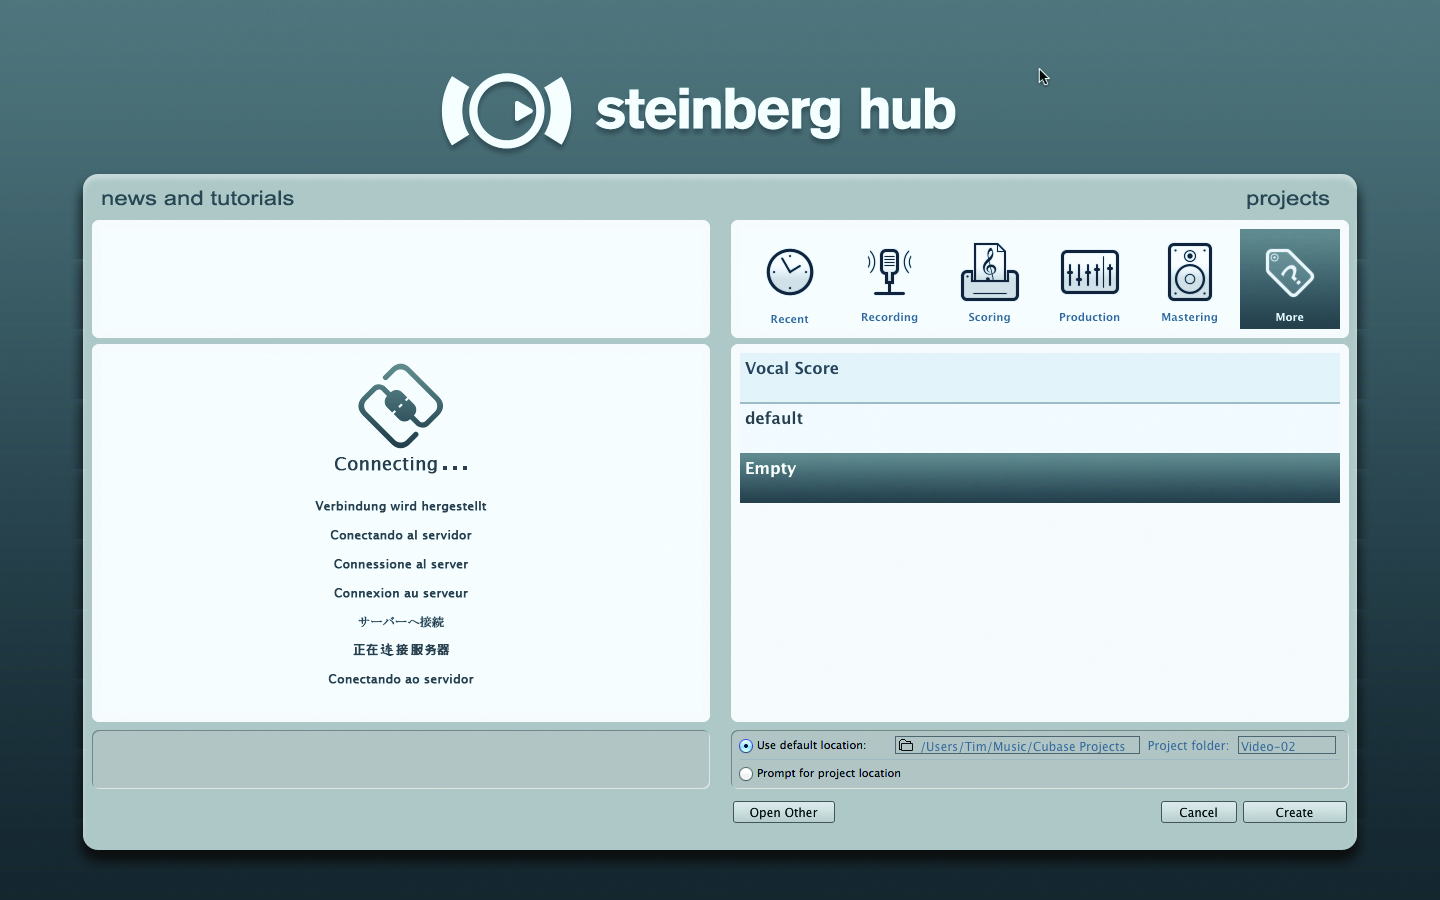
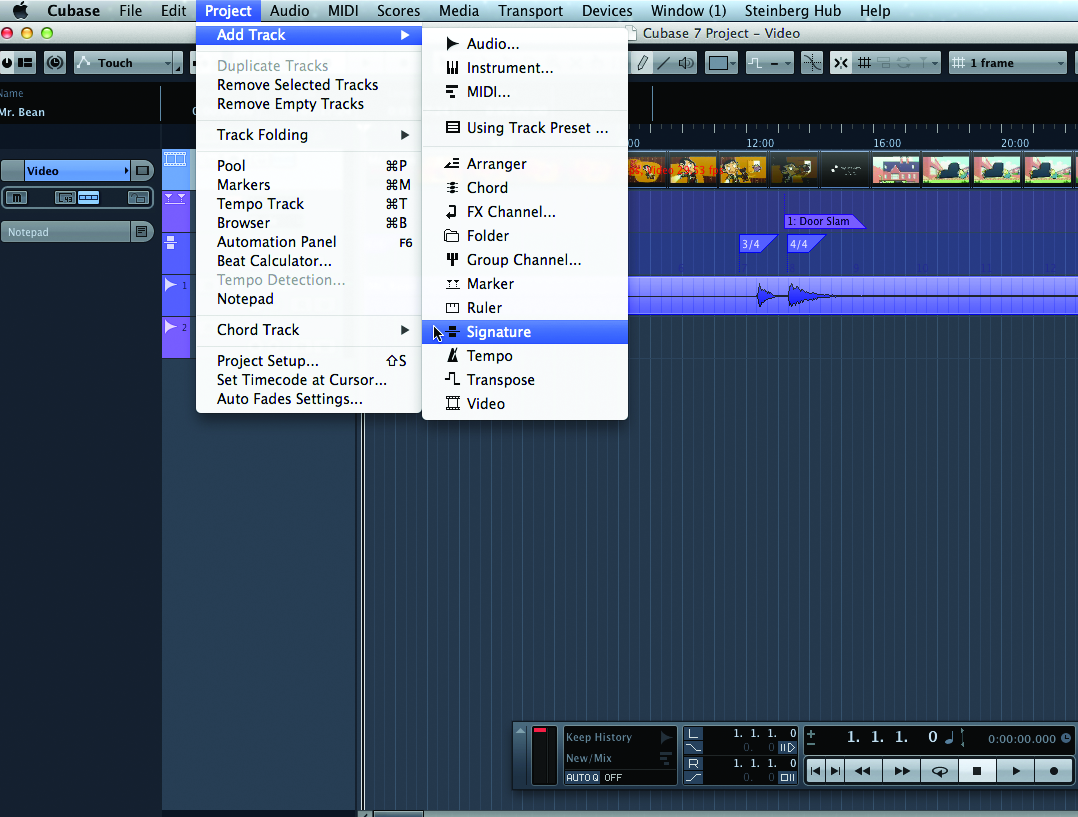
1:Begin by loading a new project using the Empty template in the Steinberg Hub and loading up software instrument tracks or audio tracks by selecting Project>Add Track>Instrument (or Audio). Assign these to the output or instrument you want to play so you can make some music once your video file is loaded.
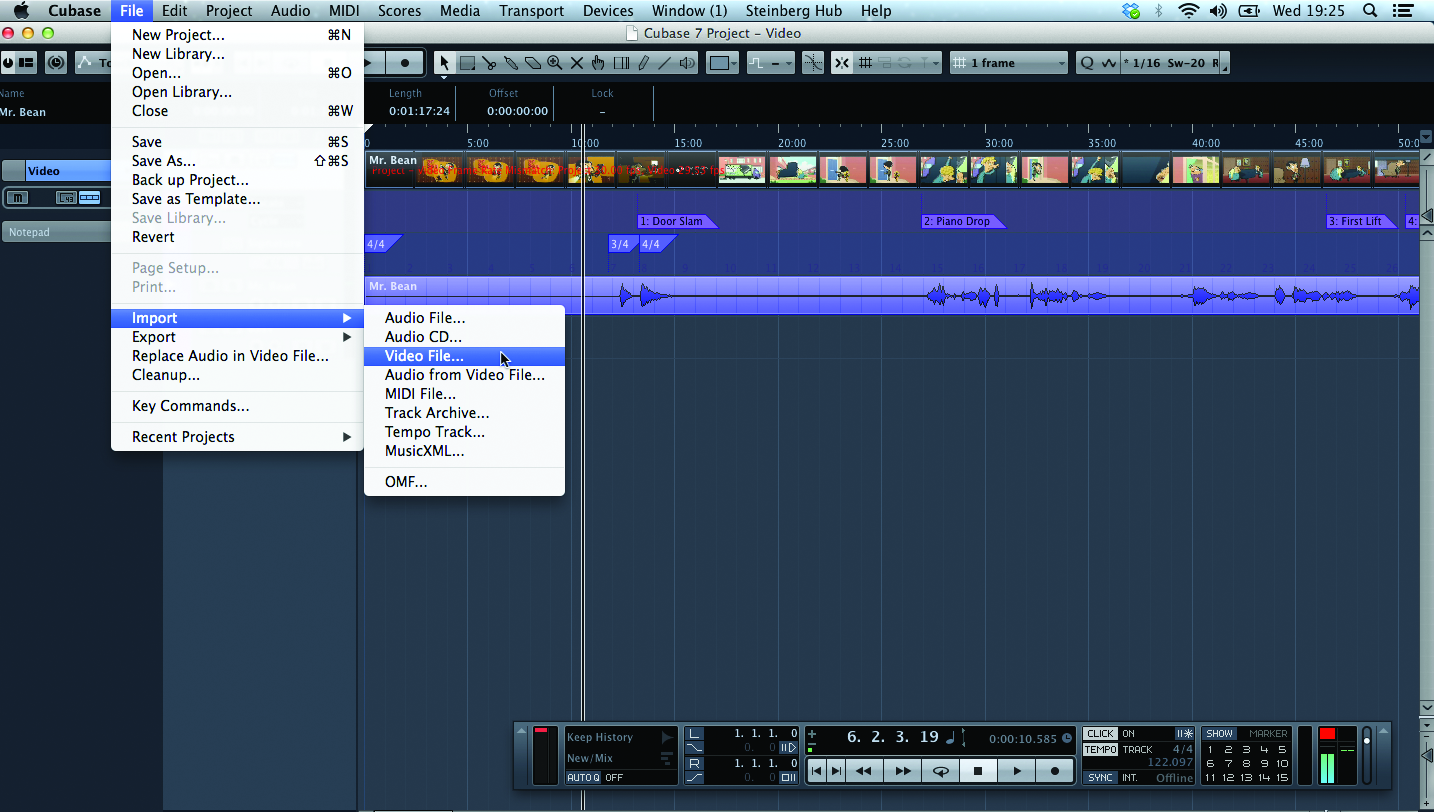
2: To load the video file into the Arrange window you need to import it into the project. Choose File>Import>Video File; this opens a dialog box to locate the video you want to use. Once this has been done it will separate the visuals and the audio file (dialogue and foley etc) onto separate tracks.
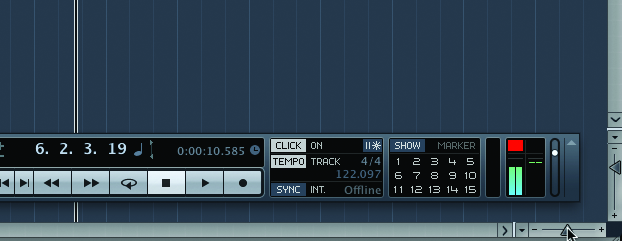
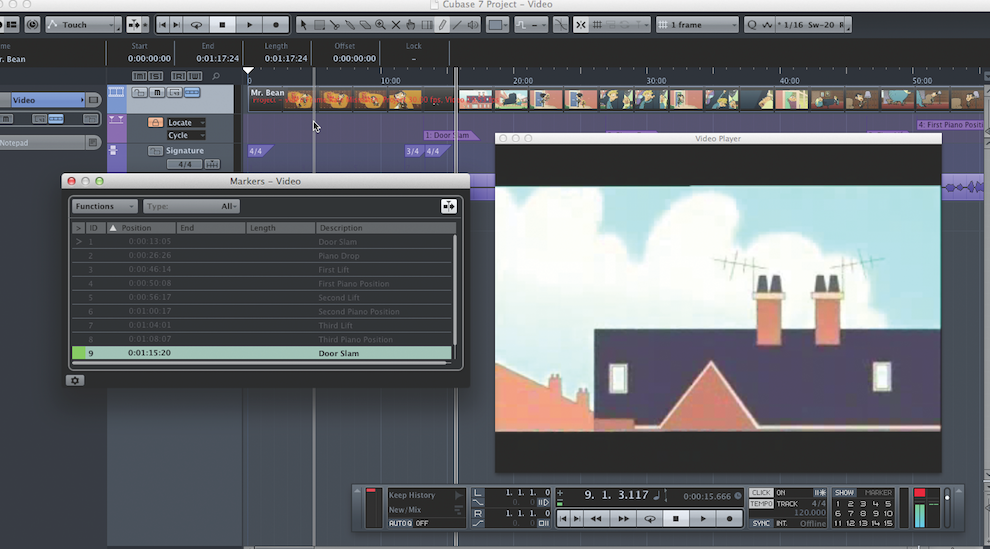
3: Cubase will display the thumbnails in the Arrange window. To view the video as it actually appears, click on Devices>Video Player [F8] or double-click on the thumbnails. To view the thumbnails in more detail, zoom in using the sliders in the bottom-right of the screen for greater accuracy when adding markers to generate hit points.
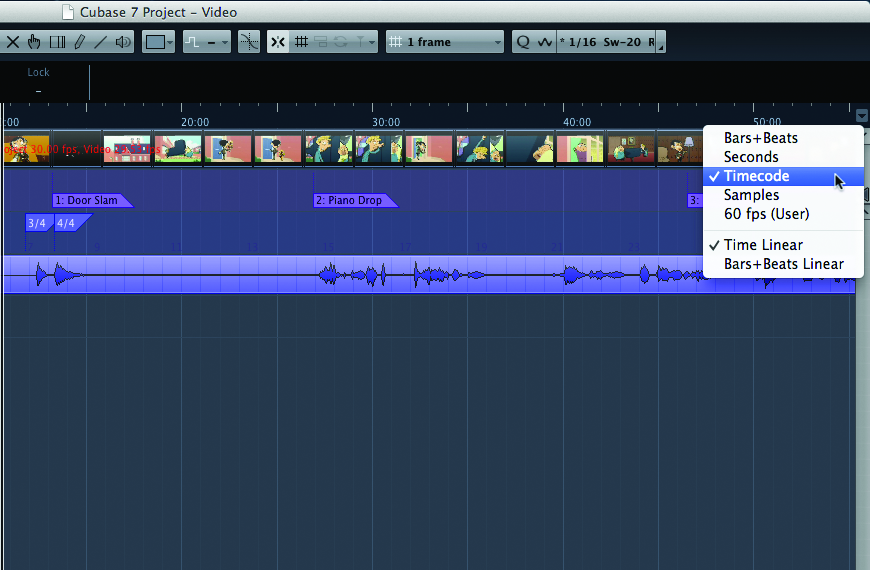
4: When working with video, rather than working in bars and beats to generate hit points it is best to work with time code, and we can then move back to bars and beats later. To change the view, click on the dropdown menu in the top-right of the Arrange window and select Time Code. The view can be swapped throughout the composition process.
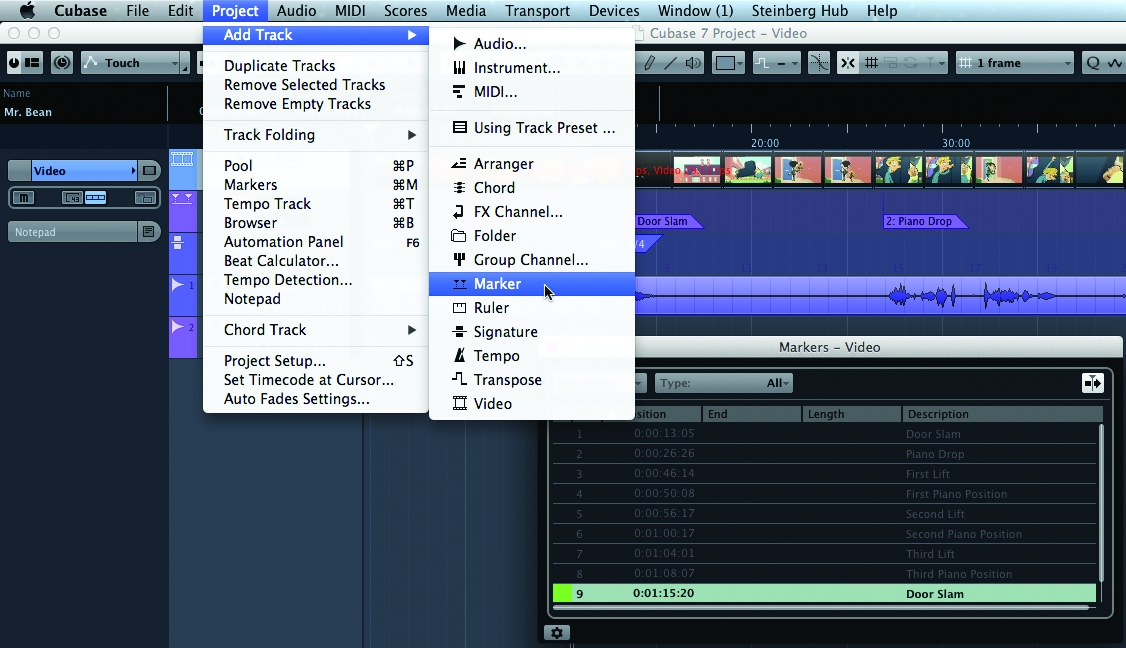
5: To generate a marker, either open the Markers window by clicking on Project>Markers [Ctrl]/[Cmd]+[M] or view the Marker track by clicking on Project>Add Track>Marker. Markers can then be either added into the Arrange window by drawing them in with the Pencil on the Marker track, or by clicking on Insert Marker in the Markers window at the point of the playback head.
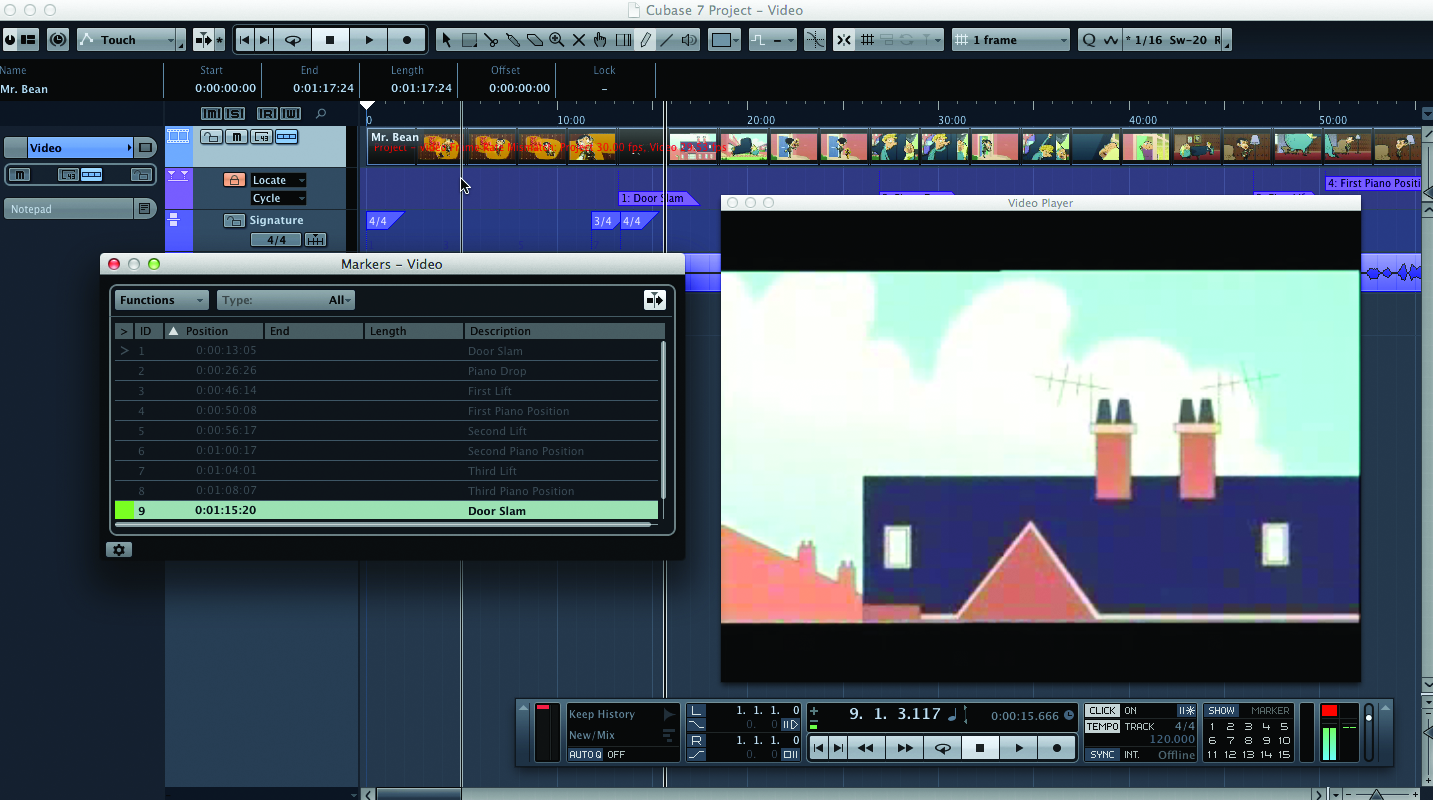
6: By dragging the playback head around with the main video window open and the Markers window open, it is a relatively quick process to add hit points into the Marker track. The project is now ready to have music added to it.
Creating the Music
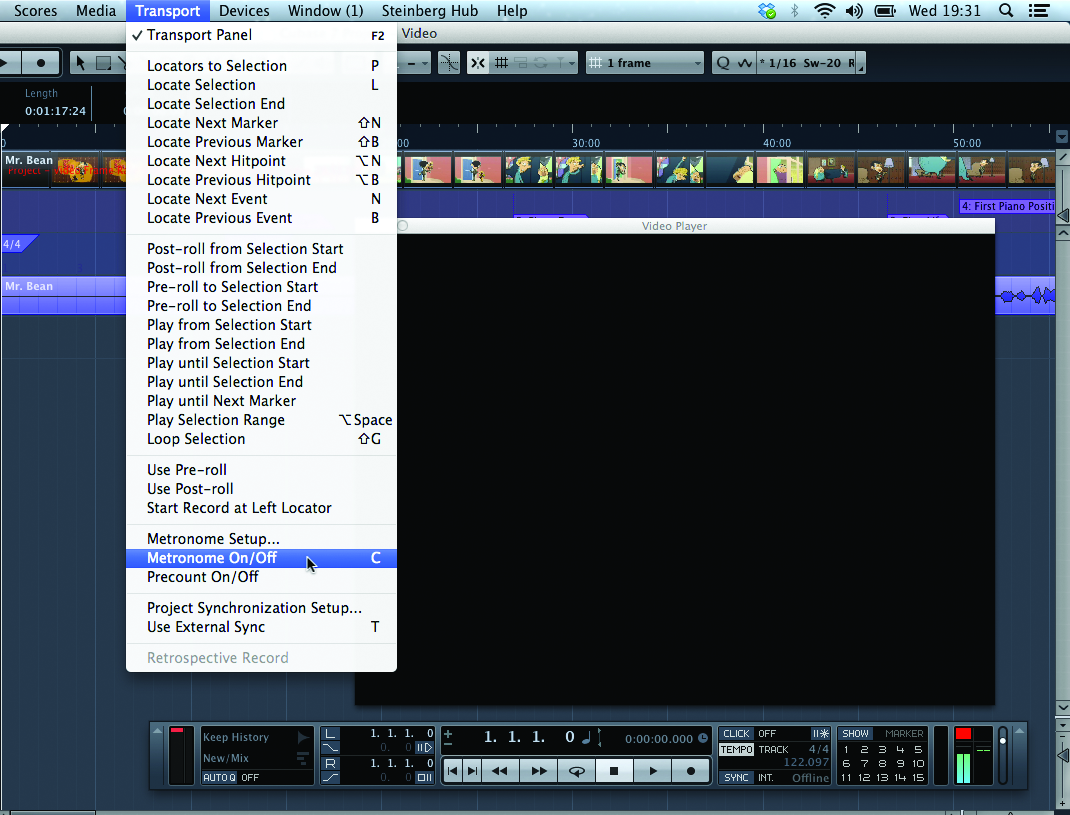
1: You can now record music to the film by pressing record in the transport and playing any software instrument along to the appropriate images. If you are improvising, turn off the metronome by switching Click to Off in the transport panel [F2] or selecting Transport> Metronome On/Off [C]. This allows you to play freely and reach the hit points as you need.
2: If you are creating time signature changes at all of the different hit points, this can be done either by opening the Signature track (Project>Add Track>Signature) and drawing them in with the Pencil, or by placing the play head at the marker and changing the time signature in the transport bar. This allows you to have a strict tempo and a metronome with the music, but still accent all of the hit points.
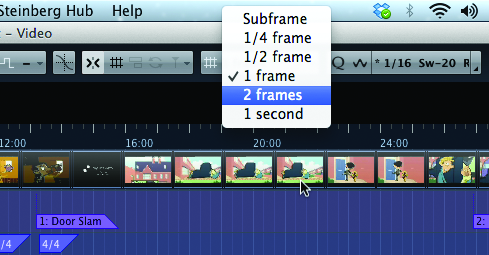
3: When editing audio files, because we are working to the visuals and not necessarily the beat of the bar, it is worth setting Snap to Off or Frames. When viewing in time code, Snap defaults to frames and half-frames, but to switch off Snap entirely, click on the button in the tool bar at the top of the Arrange window. This allows for more precise editing than locking to an arbitrary point in time.
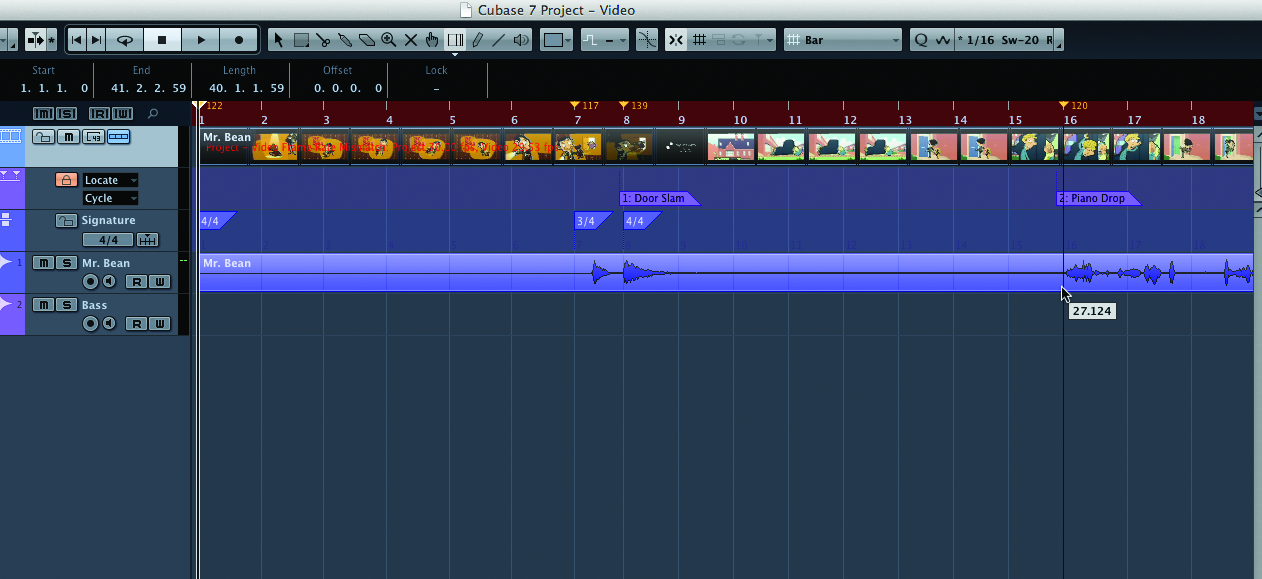
4:If you have some ideas you want to shift to fix with the images without time signature changes, use Time Warp. This switch to ‘bars and beats’ view, but by dragging the bars around, Cubase inserts tempo changes to match events you select in the Arrange window and make sure that every event is perfectly synchronised.
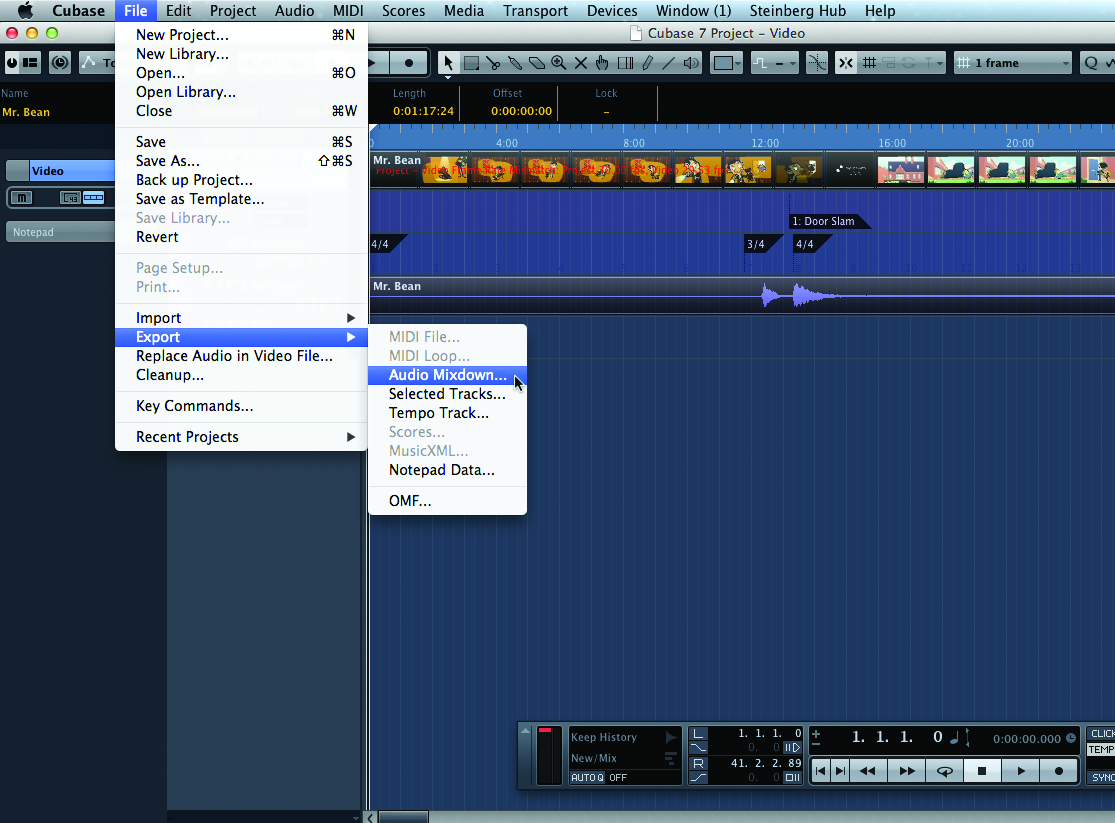
5: When your project is finished and you are ready to replace the audio in the video, first mix down the audio by selecting All [Ctrl]/[Cmd]+[A] and setting the left and right locators [P]. Export the audio as normal by selecting File>Export>Audio Mixdown and save it in a sensible location as an uncompressed audio file at best quality.
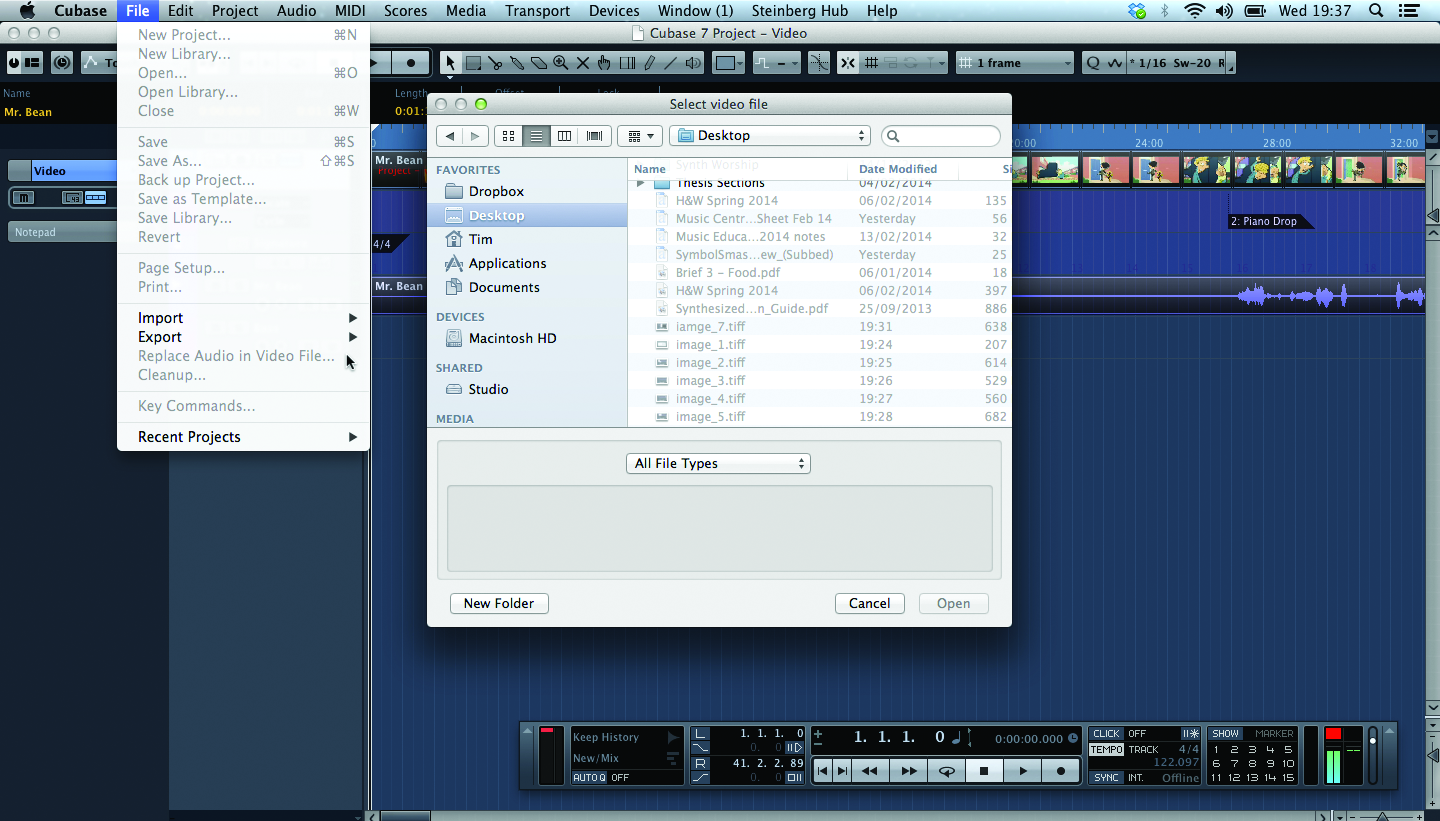
6: To replace the audio in the video, first make a duplicate of the original file (just in case) then select File>Replace Audio In Video File. You are then led through a series of dialog boxes to select the video file and the audio file that you want to place over it. Cubase then does the rest and the audio track will be replaced.