Ableton Live Tutorial: Clips & Scenes – Step-by-Step
Martin Delaney continues his latest Ableton Live tutorial with a step-by-step guide… For this tutorial you’ll need the project files – download here 1: Let’s begin as usual by loading the up-to-date example Ableton Live set from the download file above. I’ve included all the steps we went through in the last tutorial. The set is […]
Martin Delaney continues his latest Ableton Live tutorial with a step-by-step guide…
For this tutorial you’ll need the project files – download here
1: Let’s begin as usual by loading the up-to-date example Ableton Live set from the download file above. I’ve included all the steps we went through in the last tutorial. The set is called ‘TUGTAL8’.
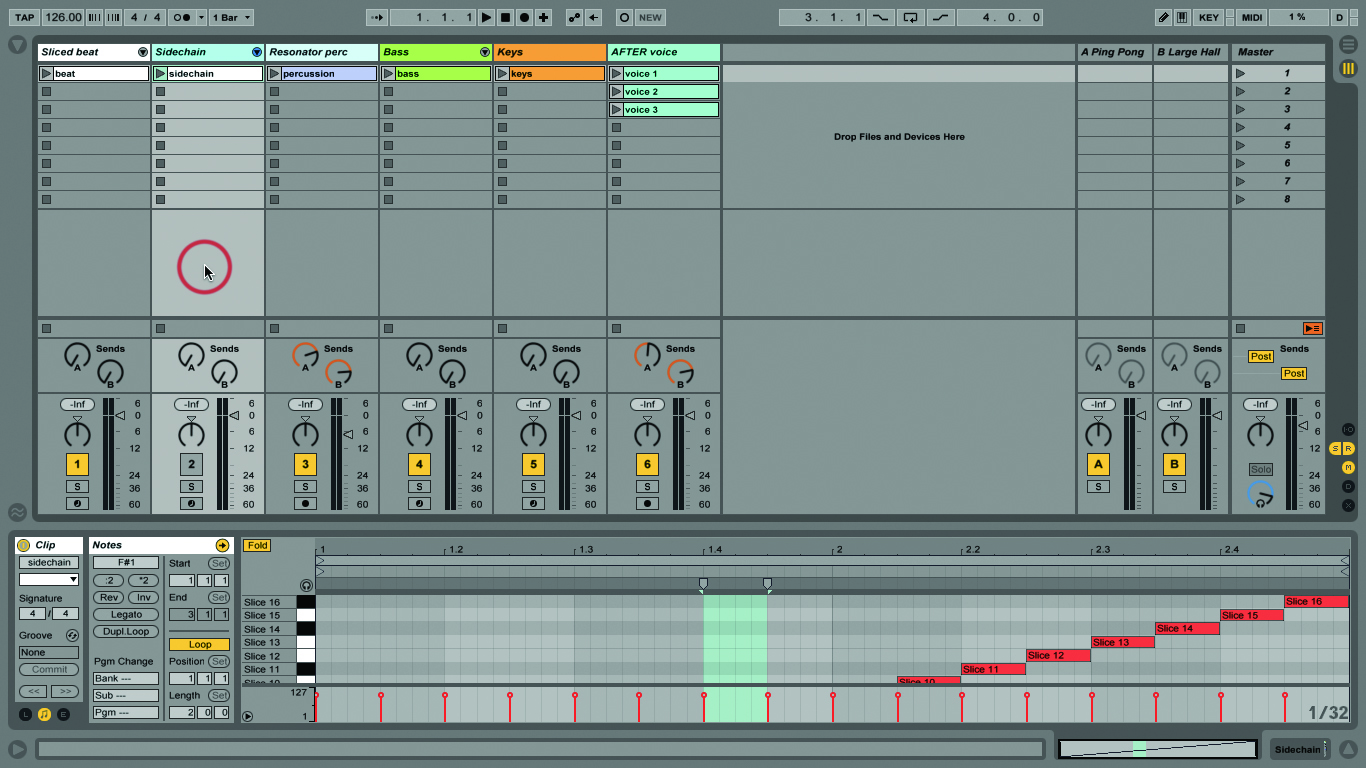
2: You already know about clips; now we’re using scenes as well. A scene is a horizontal row of clips, across any number of tracks. We trigger scenes with the Launch button in the Master Track.
3: Scenes are awesome because they give us an easy way to create dynamic musical structures in Live’s Session View, without having to make the more permanent commitment of working in a timeline.
4: As far as launching and navigation are concerned, scenes are quite like clips. We can launch them in any order, using those Master Track buttons, or MIDI messages, or assignments from our computer keyboard.
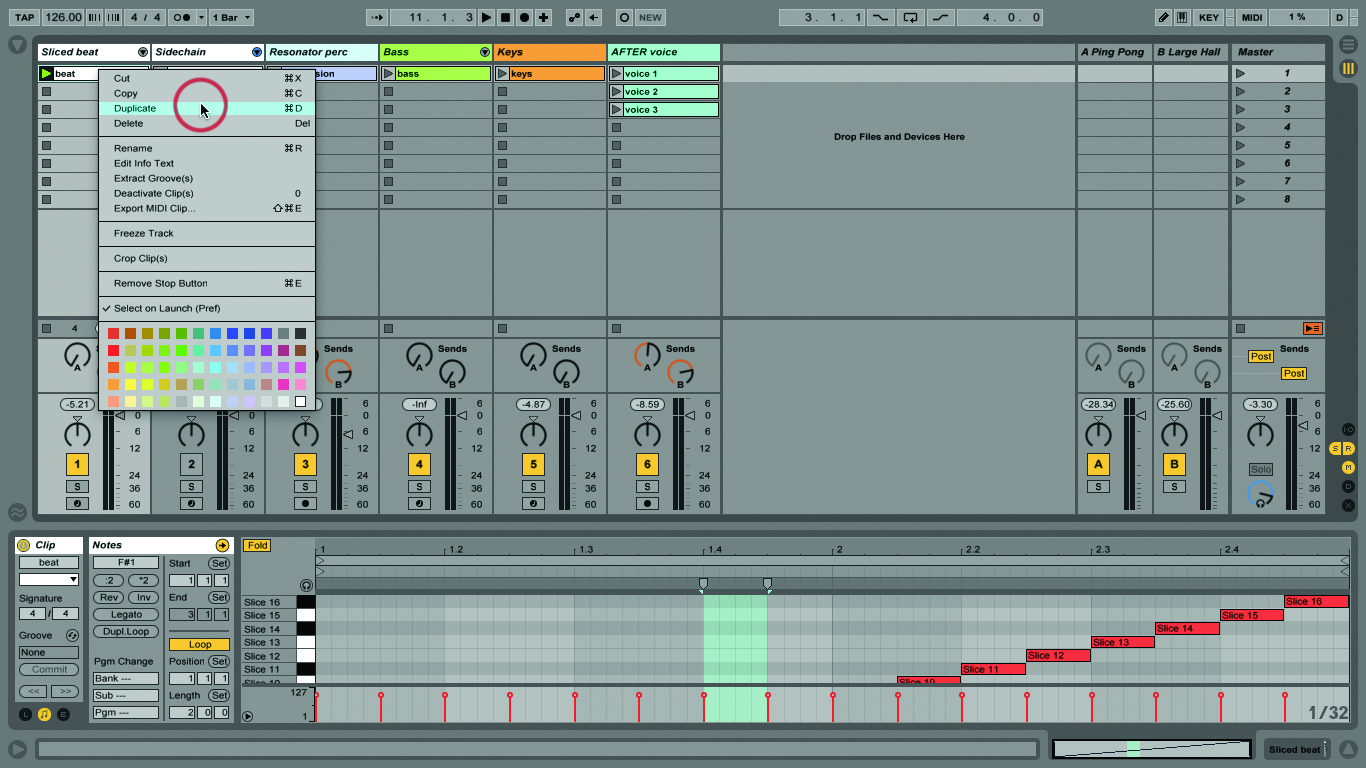
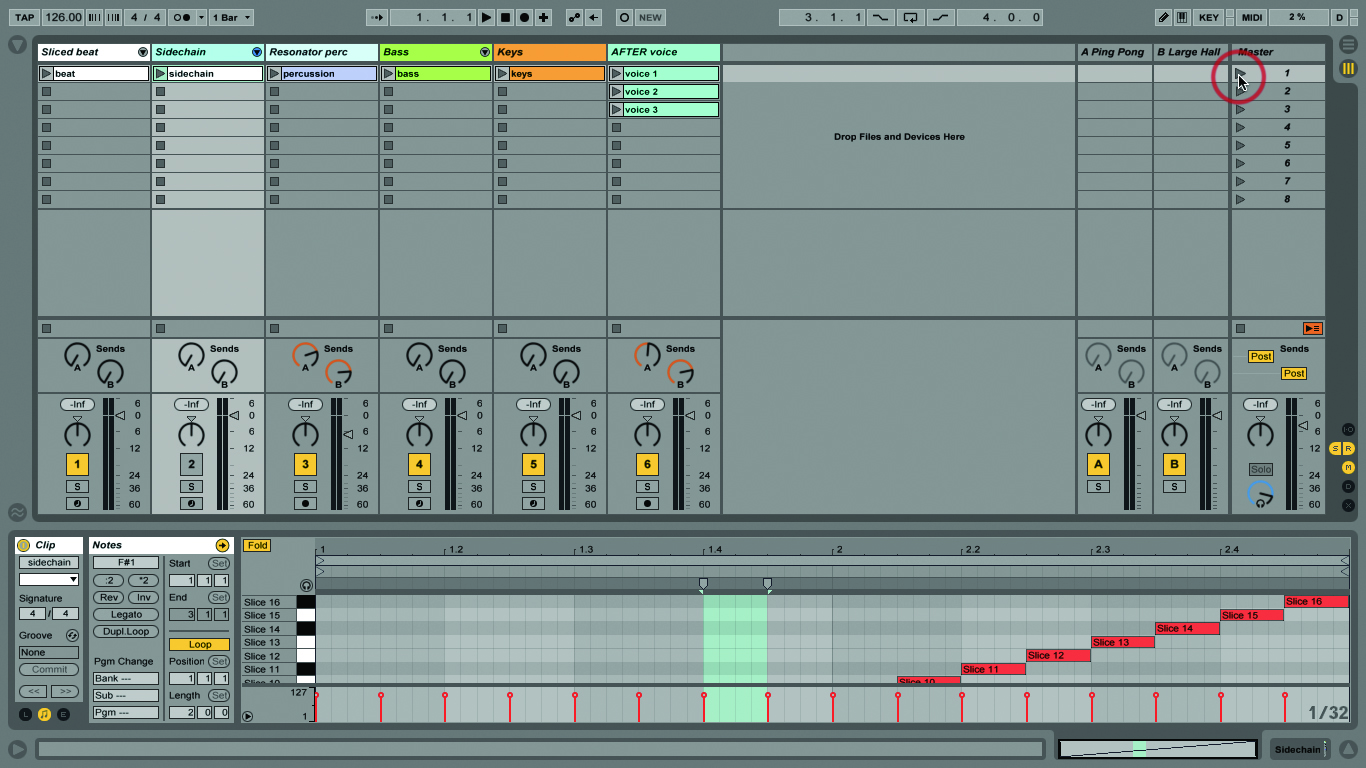
5: We can create scenes by dragging clips up and down. Copy and paste them with Cmd>C and Cmd>V, and duplicate with Cmd>D, where they’ll automatically be placed in the next row down.
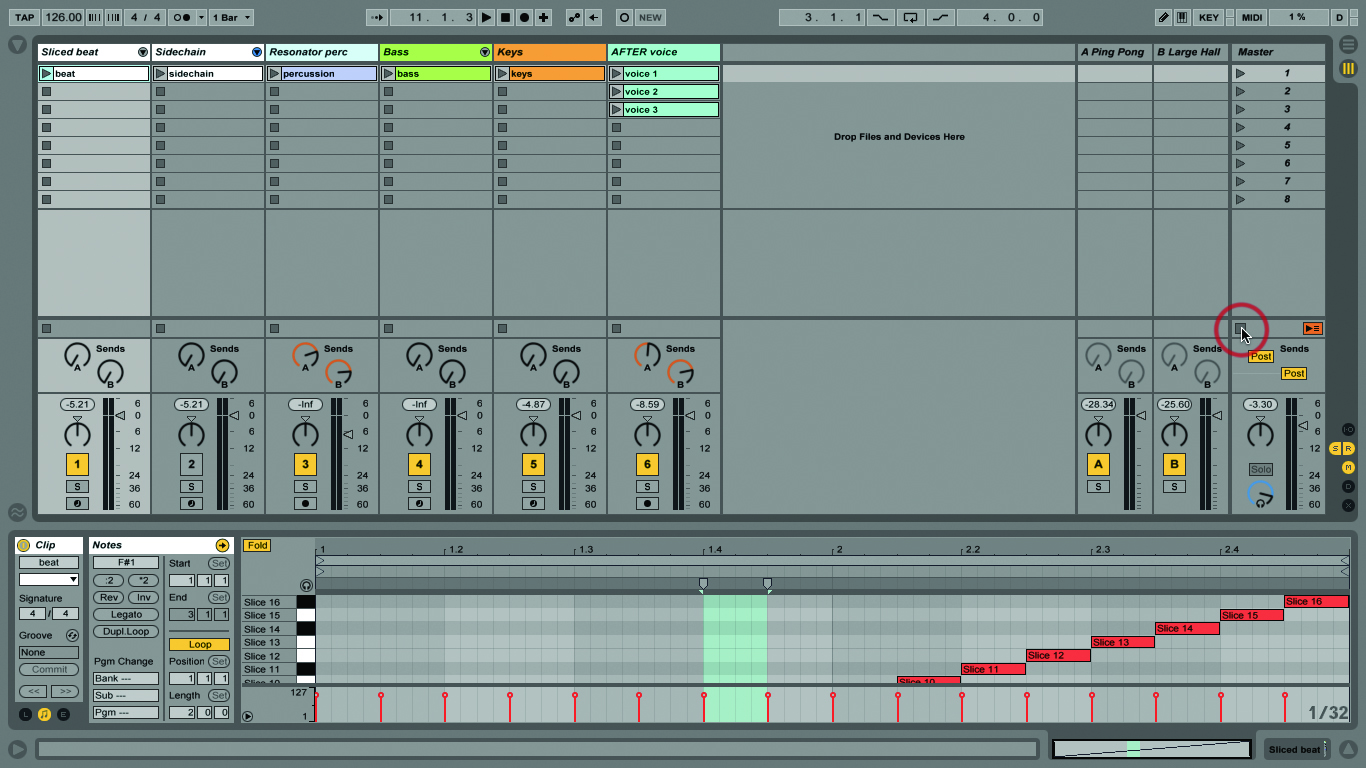
6: Should you need more empty scenes, use Cmd>I. However, this way of building scenes is not very spontaneous – there’s a better way. Click the Stop Clips button in the Master Track. Launch your beat.
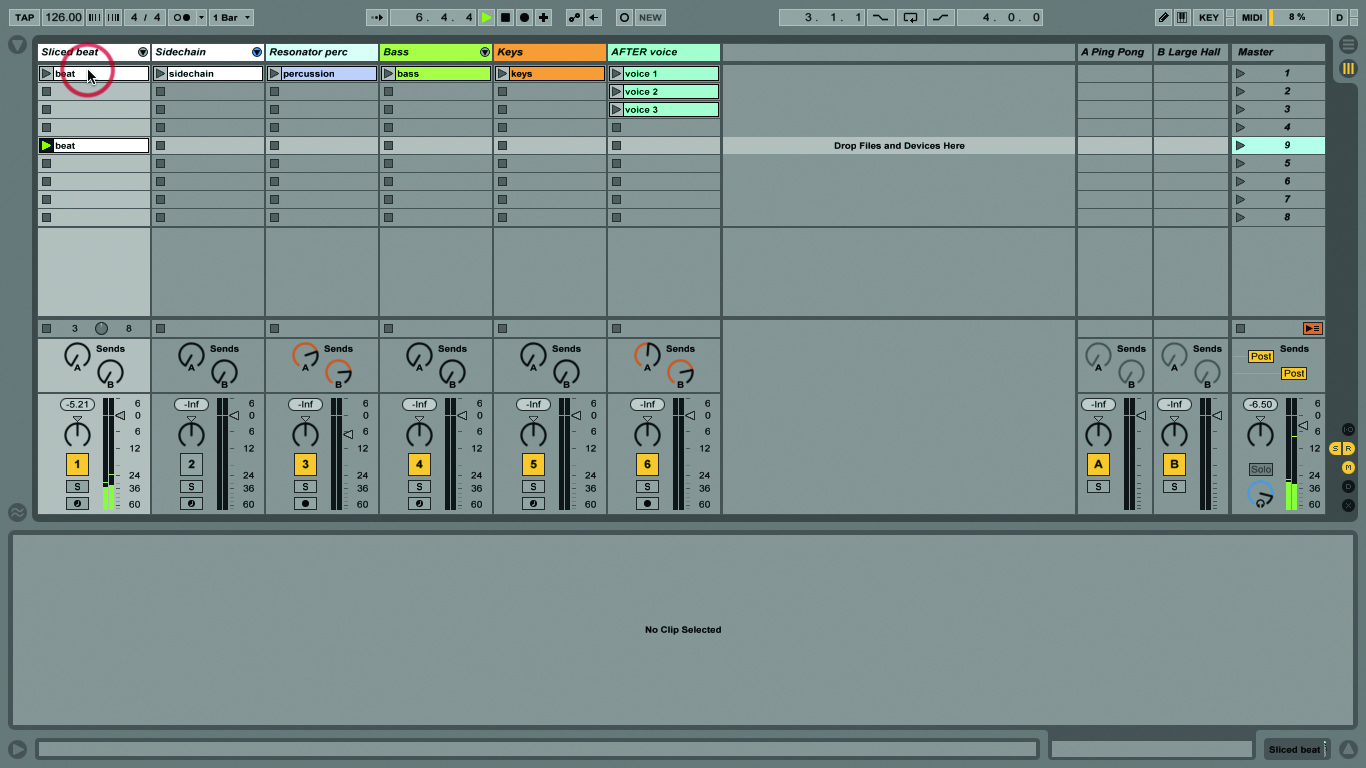
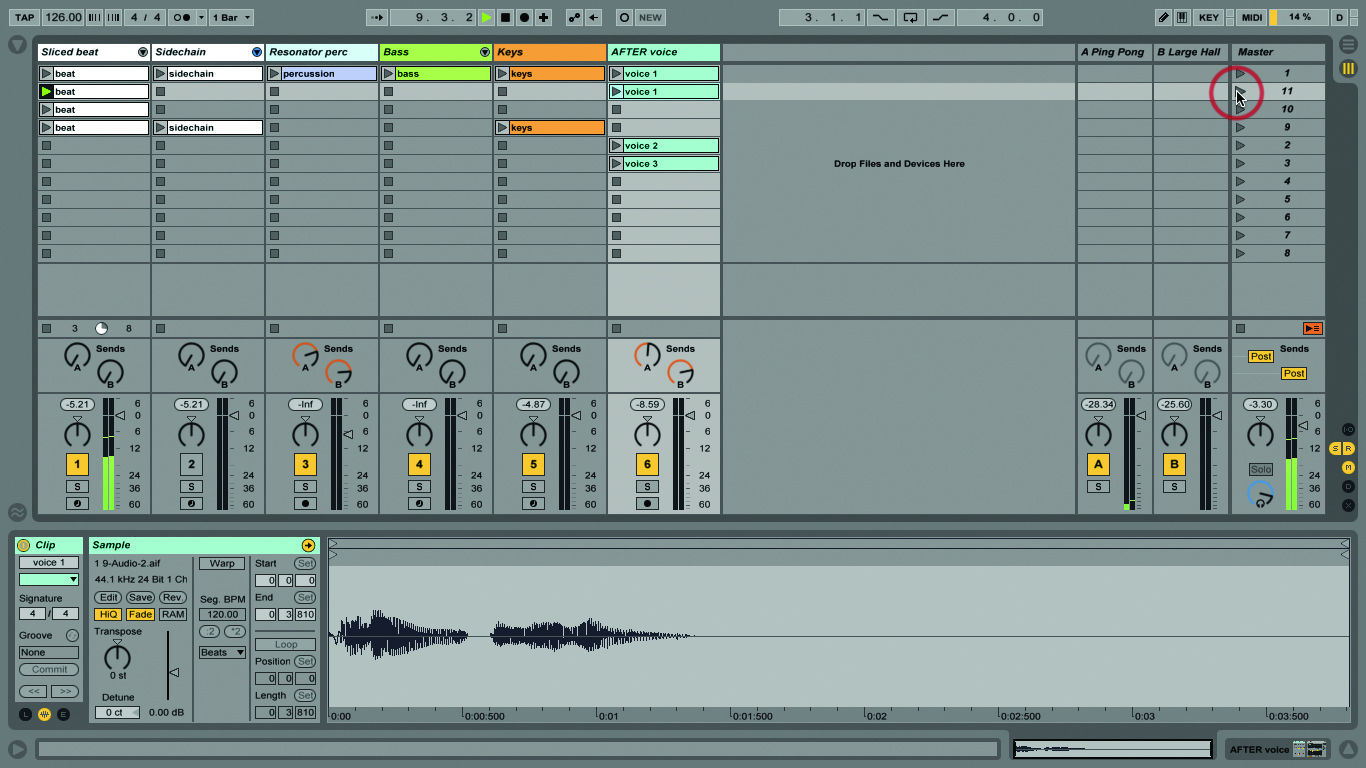
7: Now type Shift>Cmd>I – the Capture and Insert Scene command. Your beat’s copied to a new scene, without interrupting playback! The new scene is placed on whatever row was highlighted at the time.
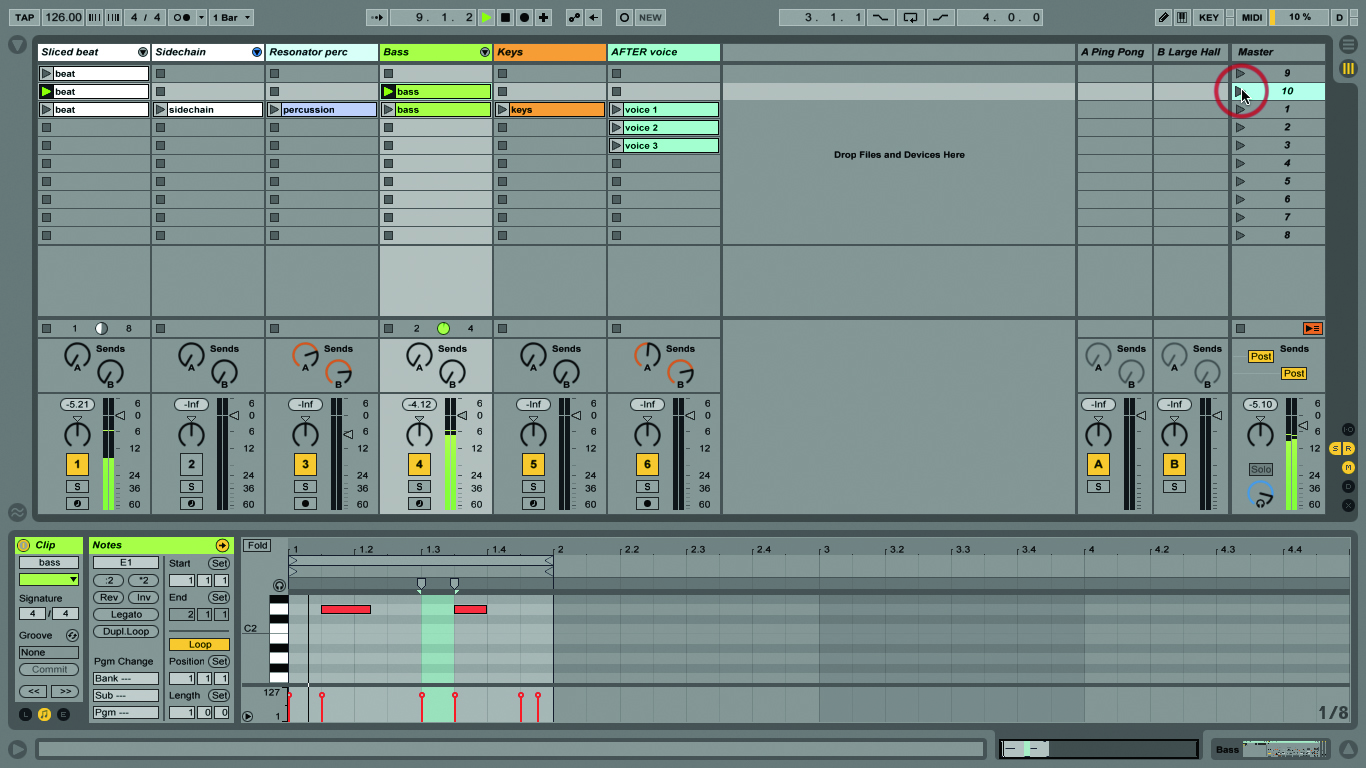
8: Drag the scenes up and down after creating them, or choose where you want the new one before capturing. Play the Beat and Bass clips; Shift>Cmd>I for a new scene containing both clips.
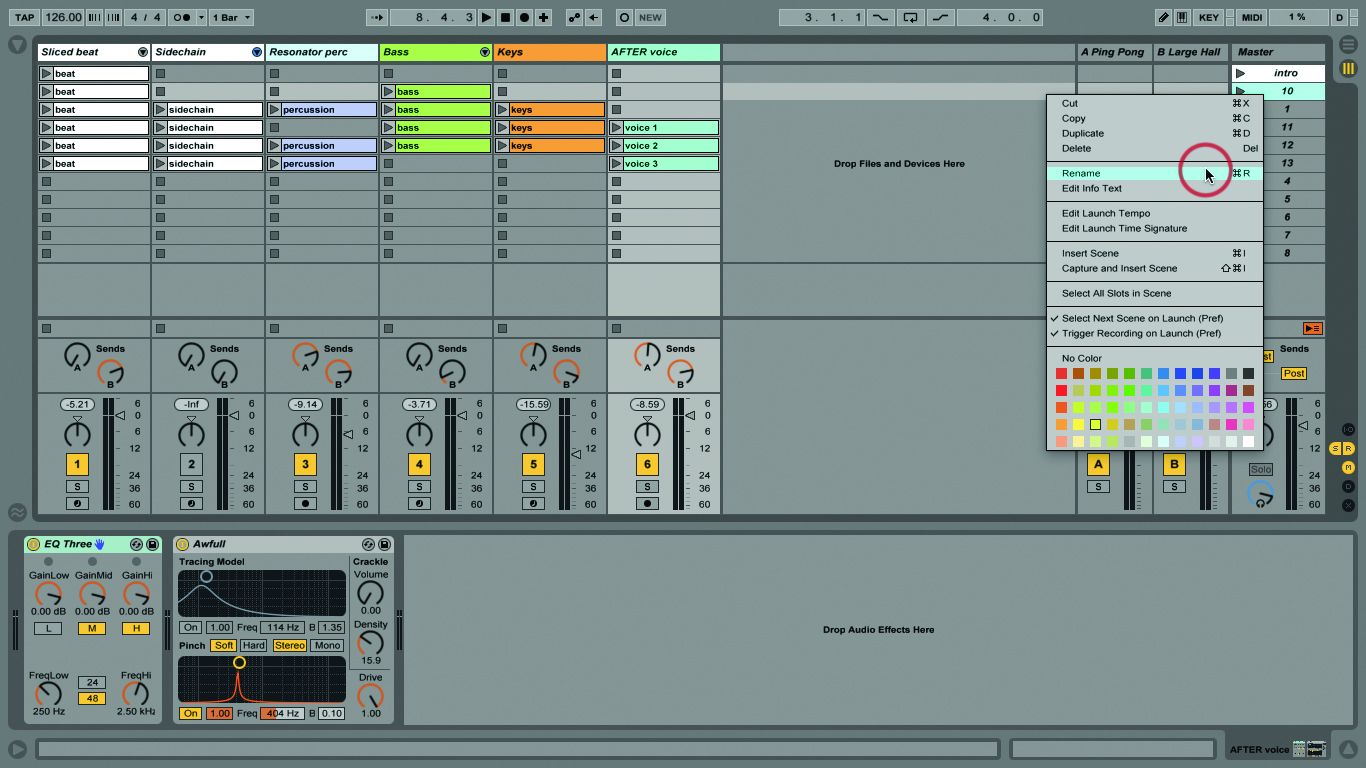
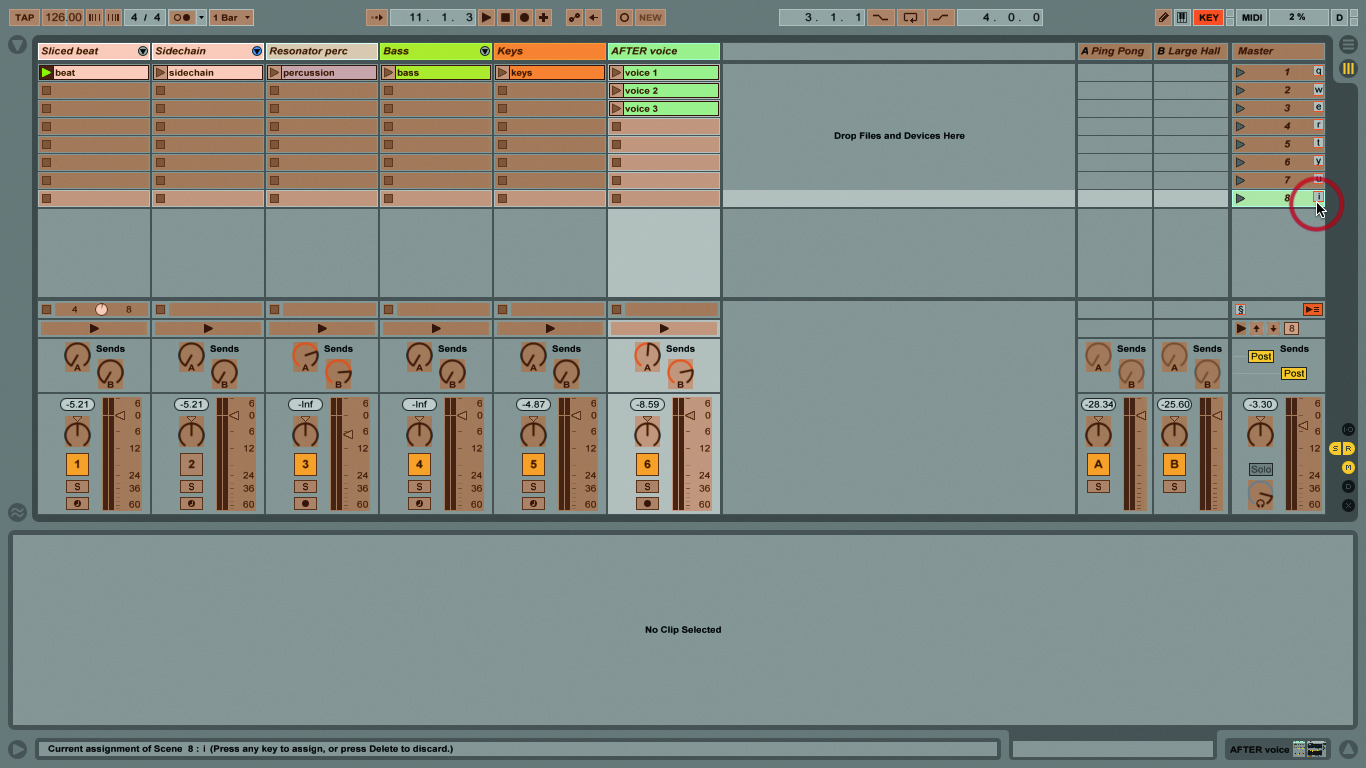
9: Get it? Keep going until you have made six scenes in total. Choose any combinations of clips that sound good to you. After that, use the Context Menu to rename and colour-code your scenes.
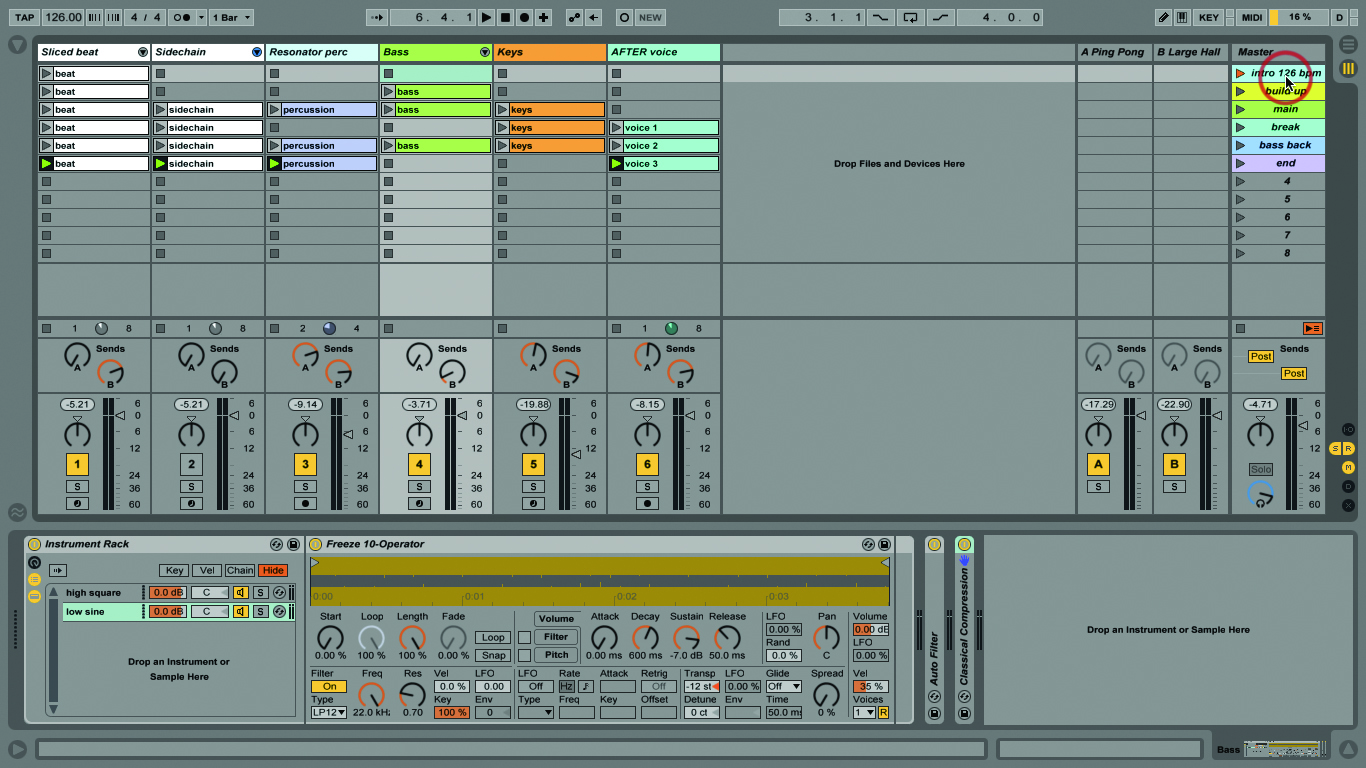
10: Rename a scene with a BPM value, like ‘121 bpm’, and Live’s tempo changes to that BPM when the scene’s launched. Time signatures work too, or both together – i.e. name a clip ‘5/4 121 bpm’.
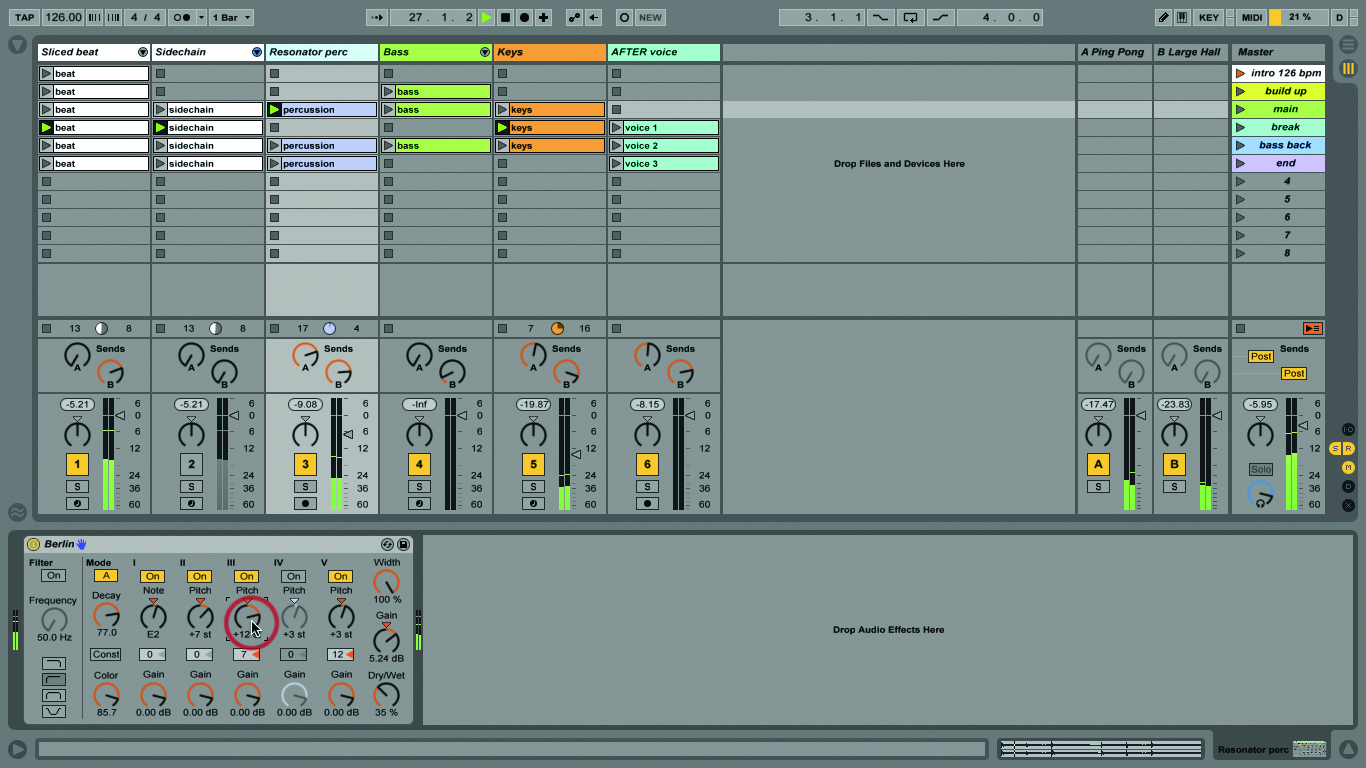
11: Now we have a basic structure that we can explore by launching scenes, in any order. Along the way we’re still free to launch individual clips, and change settings on instruments, effects, and the mixer.
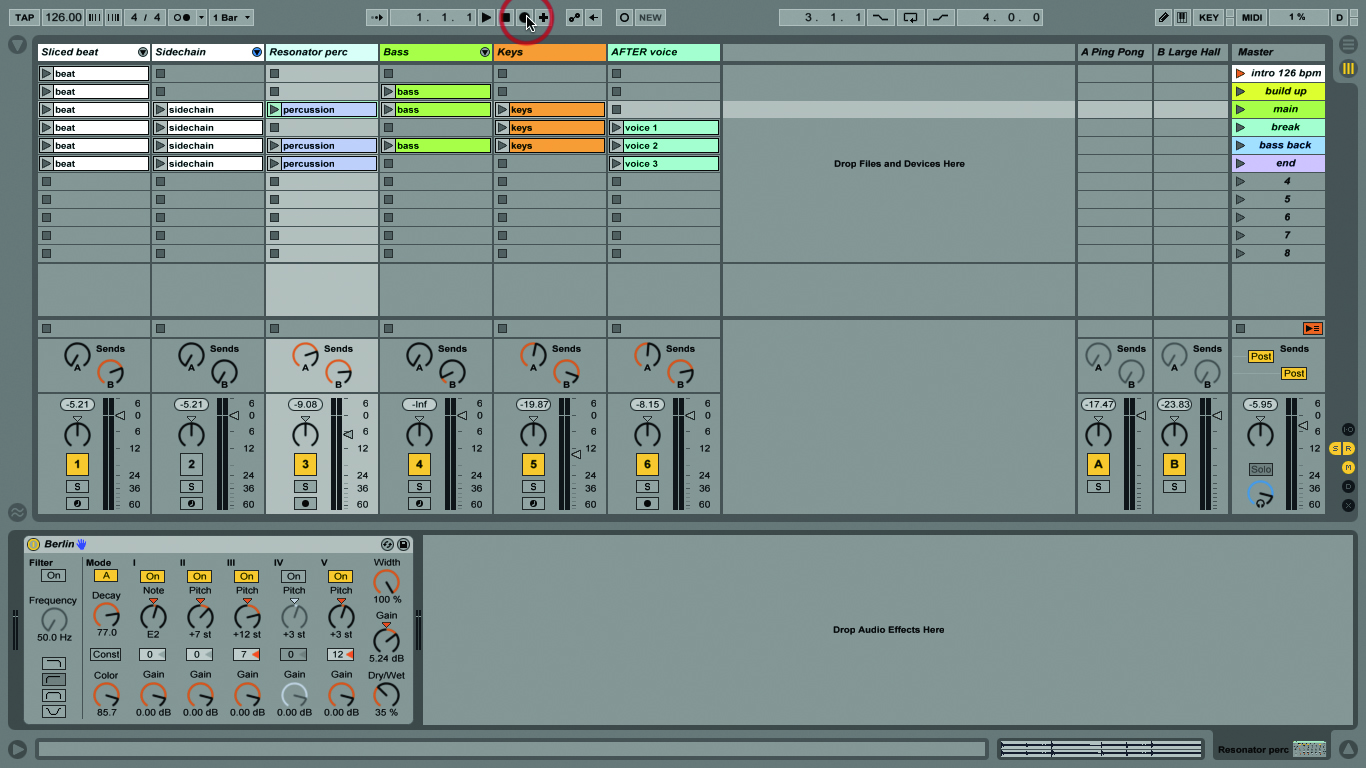
12: We’ll start recording by clicking the Arrangement Record button at the top of the screen. When we do, everything we do inside Live will be recorded – scene and clip launching, effects control, mixer moves, everything.