Logic Tutorial: Creative FX Routing – Step-by-Step Part Two
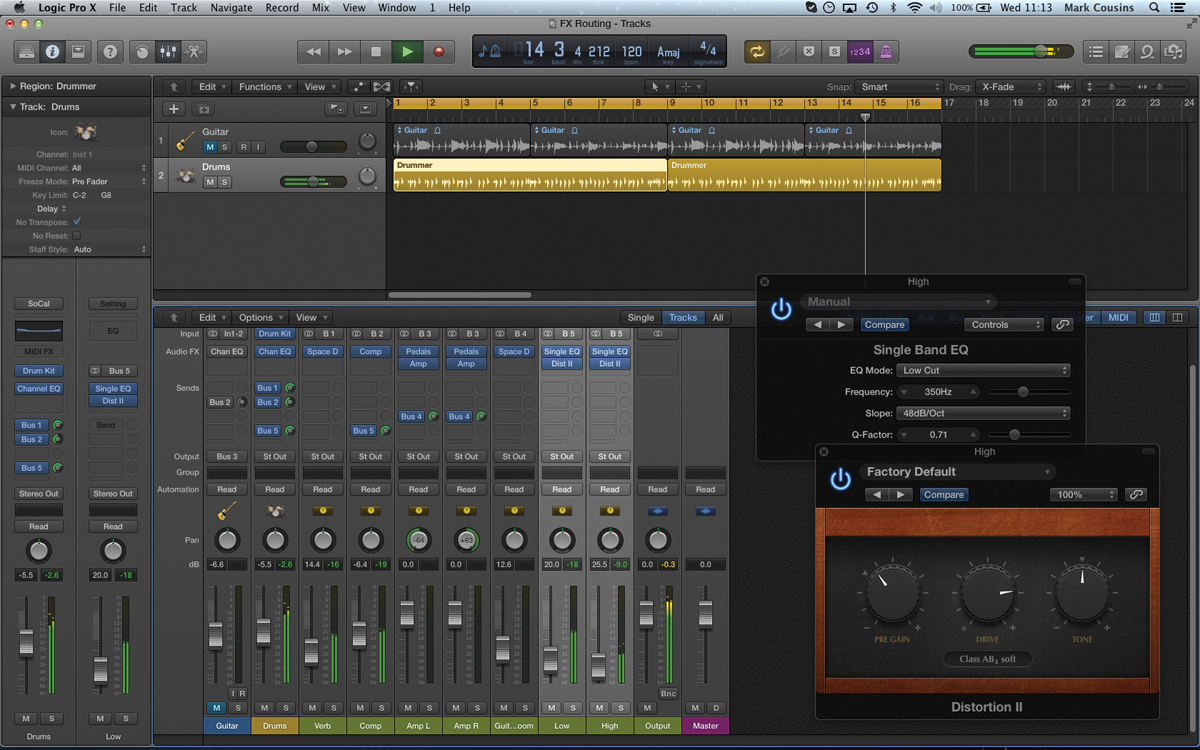
Mark Cousins continues his step by step guide to FX routing in Logic Pro X 13: Let’s now look specifically at the low-end part of our parallel multiband distortion. Start by positioning a High Cut (around 350Hz) using the Single Band EQ. Use a steep curve, at 48dB/Oct, to ensure a sharp cutoff point. 14: […]
Mark Cousins continues his step by step guide to FX routing in Logic Pro X
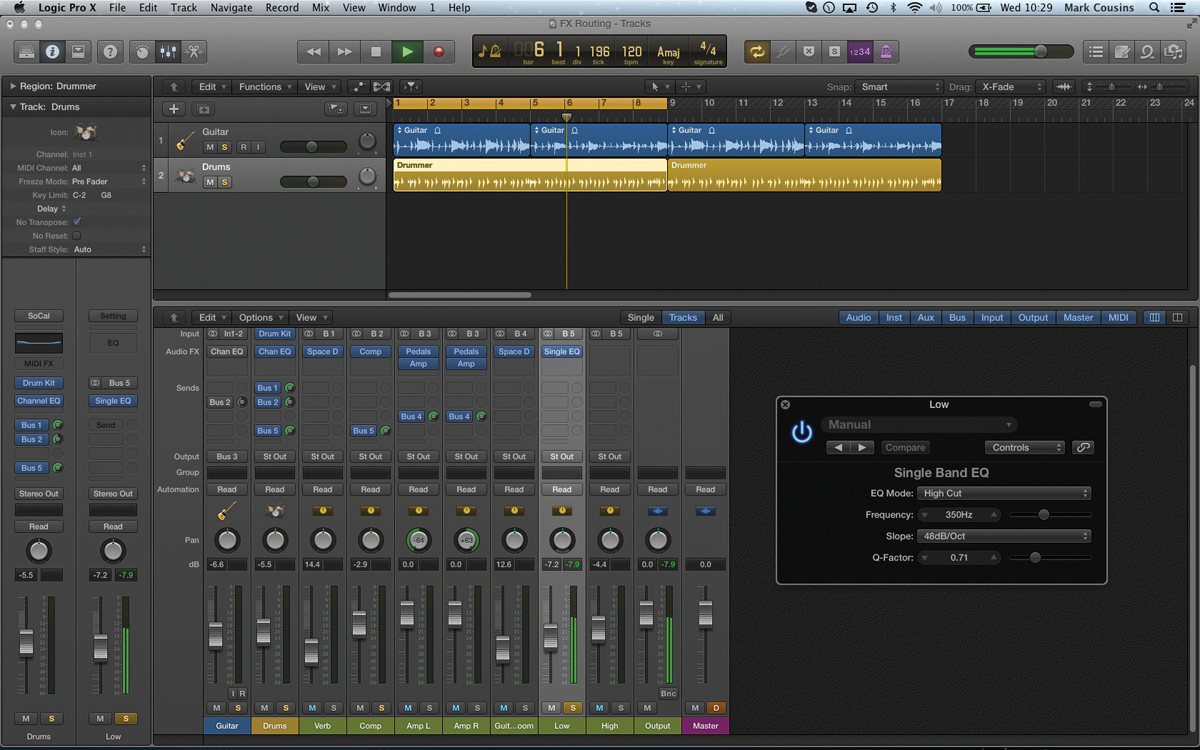
13: Let’s now look specifically at the low-end part of our parallel multiband distortion. Start by positioning a High Cut (around 350Hz) using the Single Band EQ. Use a steep curve, at 48dB/Oct, to ensure a sharp cutoff point.
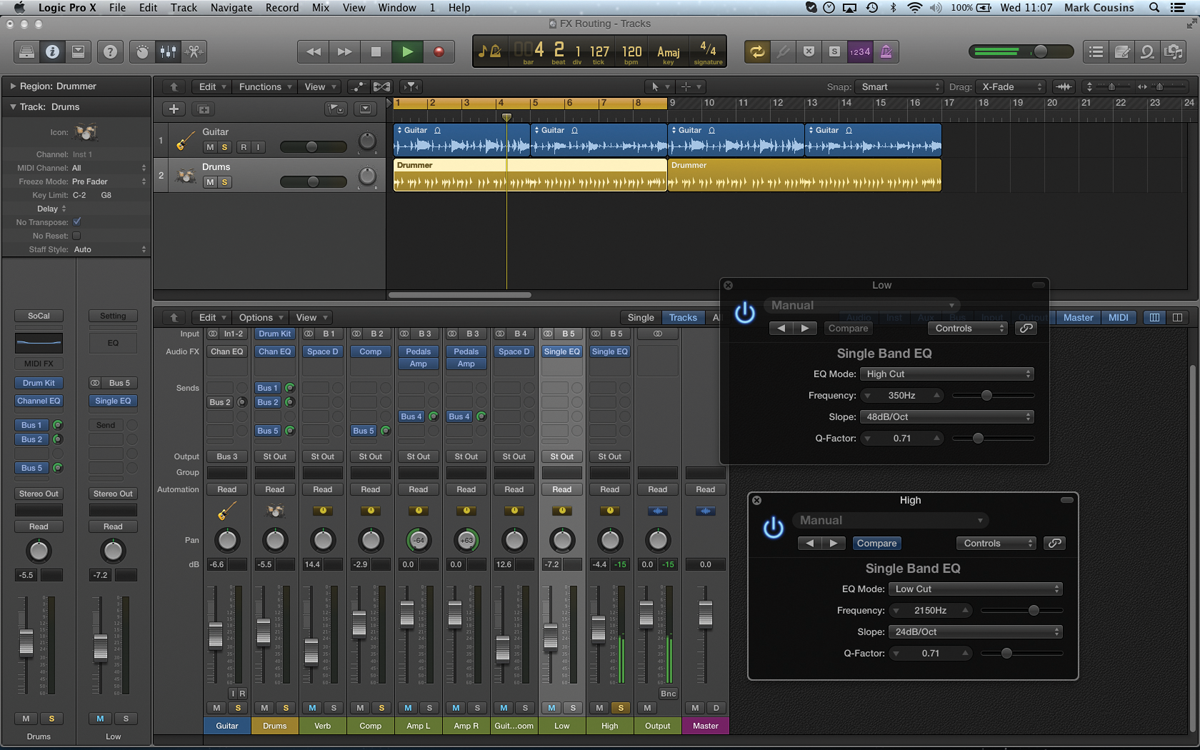
14: Repeat the same process, this time applying a cut to low-end so that we’re just left with high frequencies. Start with a frequency setting around 2150Hz, or 2KHz, and adjust the slope to achieve a sharp attenuation.
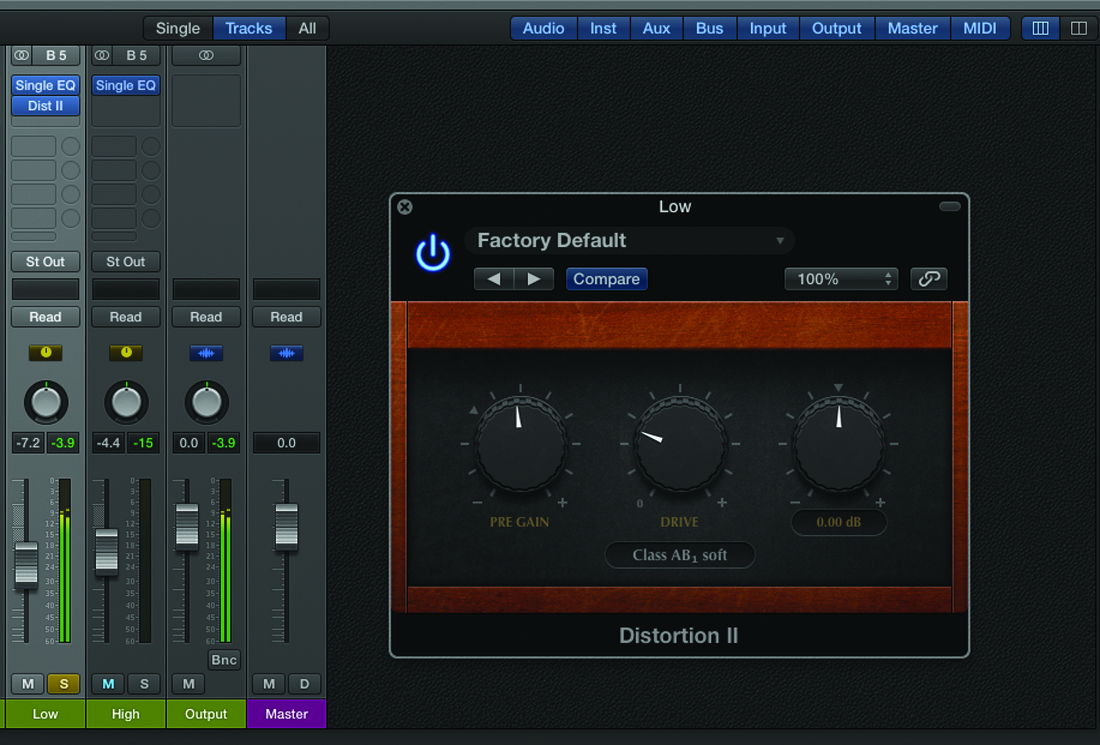
15: Solo the low-end aux channel and instantiate a distortion plug-in, like the Distortion II. Experiment with the type of distortion (Class AB1 soft, in this example) and adjust the amount of Drive to set the amount of ‘body’ you want to add.
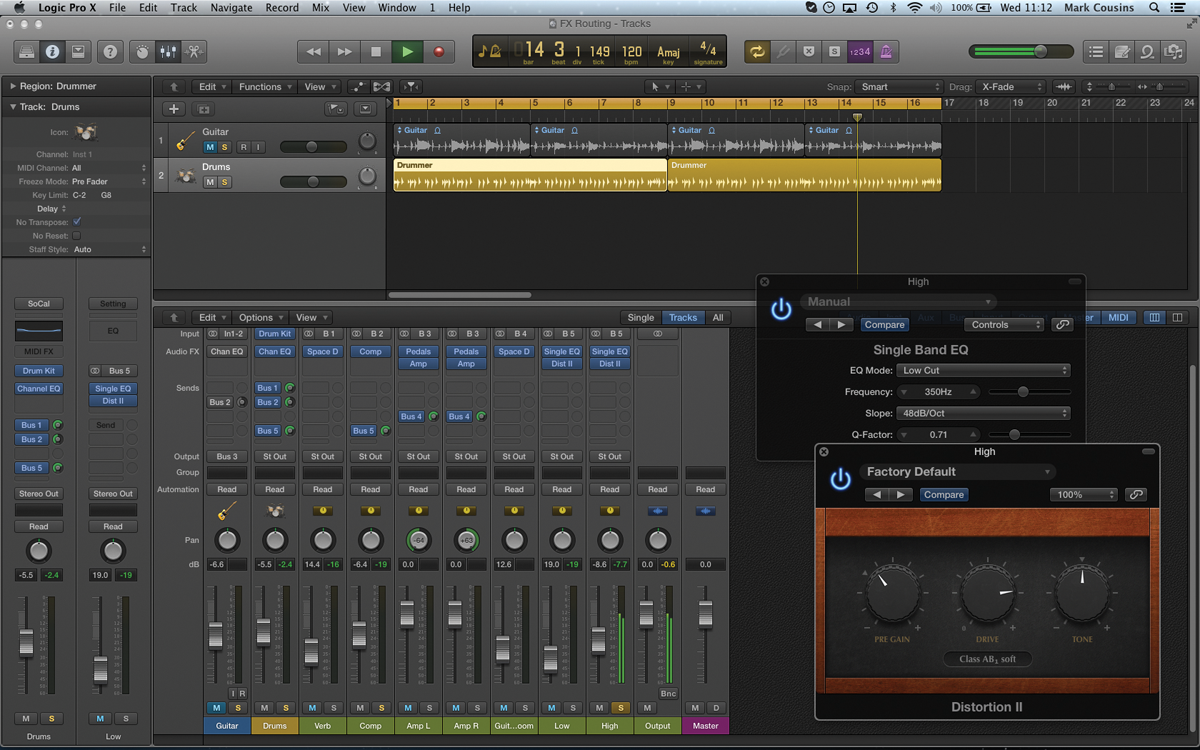
16: Now solo the high end and find a tone of distortion that complements the sound you’re trying to achieve. You might use a different distortion model, or change the amount of drive to create the right amount of ‘sizzle’.
17: The final step is to balance the amount of parallel multiband distortion you want mixed with the input. The effect works best in discrete amounts, just adding a small about of body from the low-end or a touch of sizzle.
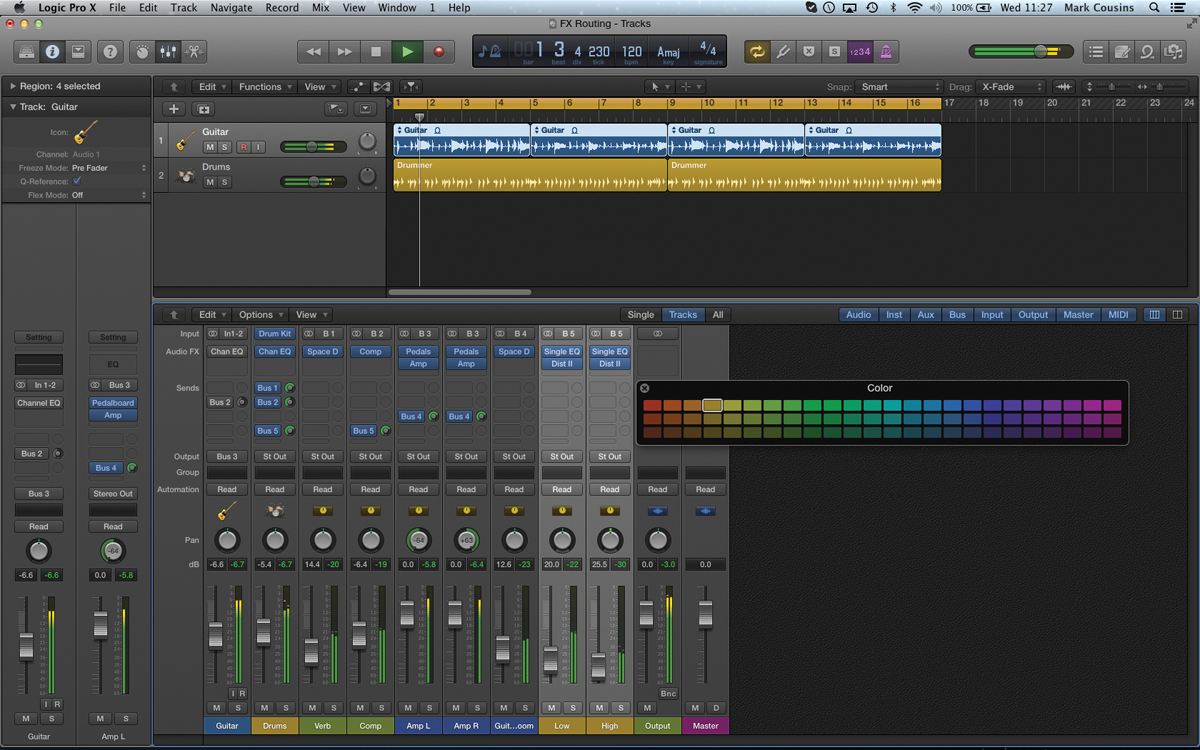
18: The only downside of a more creative approach to FX routing is a complicated mixer. Try colour coding the related aux channels, so you can see which FX returns are working in tandem to produce a parallel effect.
