How To Spice up your Sidechain using Ducking, Pumping and Gating
Whilst they may sound like some sort of new fangled dance moves, ducking, pumping and gating are in fact useful and creative audio production techniques… When an audio signal arrives at the input of a dynamics processor it’s split into two paths – one passes through and is affected by the processor, the other is […]
Whilst they may sound like some sort of new fangled dance moves, ducking, pumping and gating are in fact useful and creative audio production techniques…
When an audio signal arrives at the input of a dynamics processor it’s split into two paths – one passes through and is affected by the processor, the other is fed to a detector that continually measures the volume level of the signal in order to calculate how much processing to apply. This second path is normally referred to as the processor’s side-chain or key.
Many dynamics processors allow a separate side-chain signal to be fed in alongside the main signal that will be processed. By harnessing this ability we can create ducking, pumping and gating effects, which process one signal using the dynamic characteristics of another.
Ducking, Pumping and Gating: Step-by-step
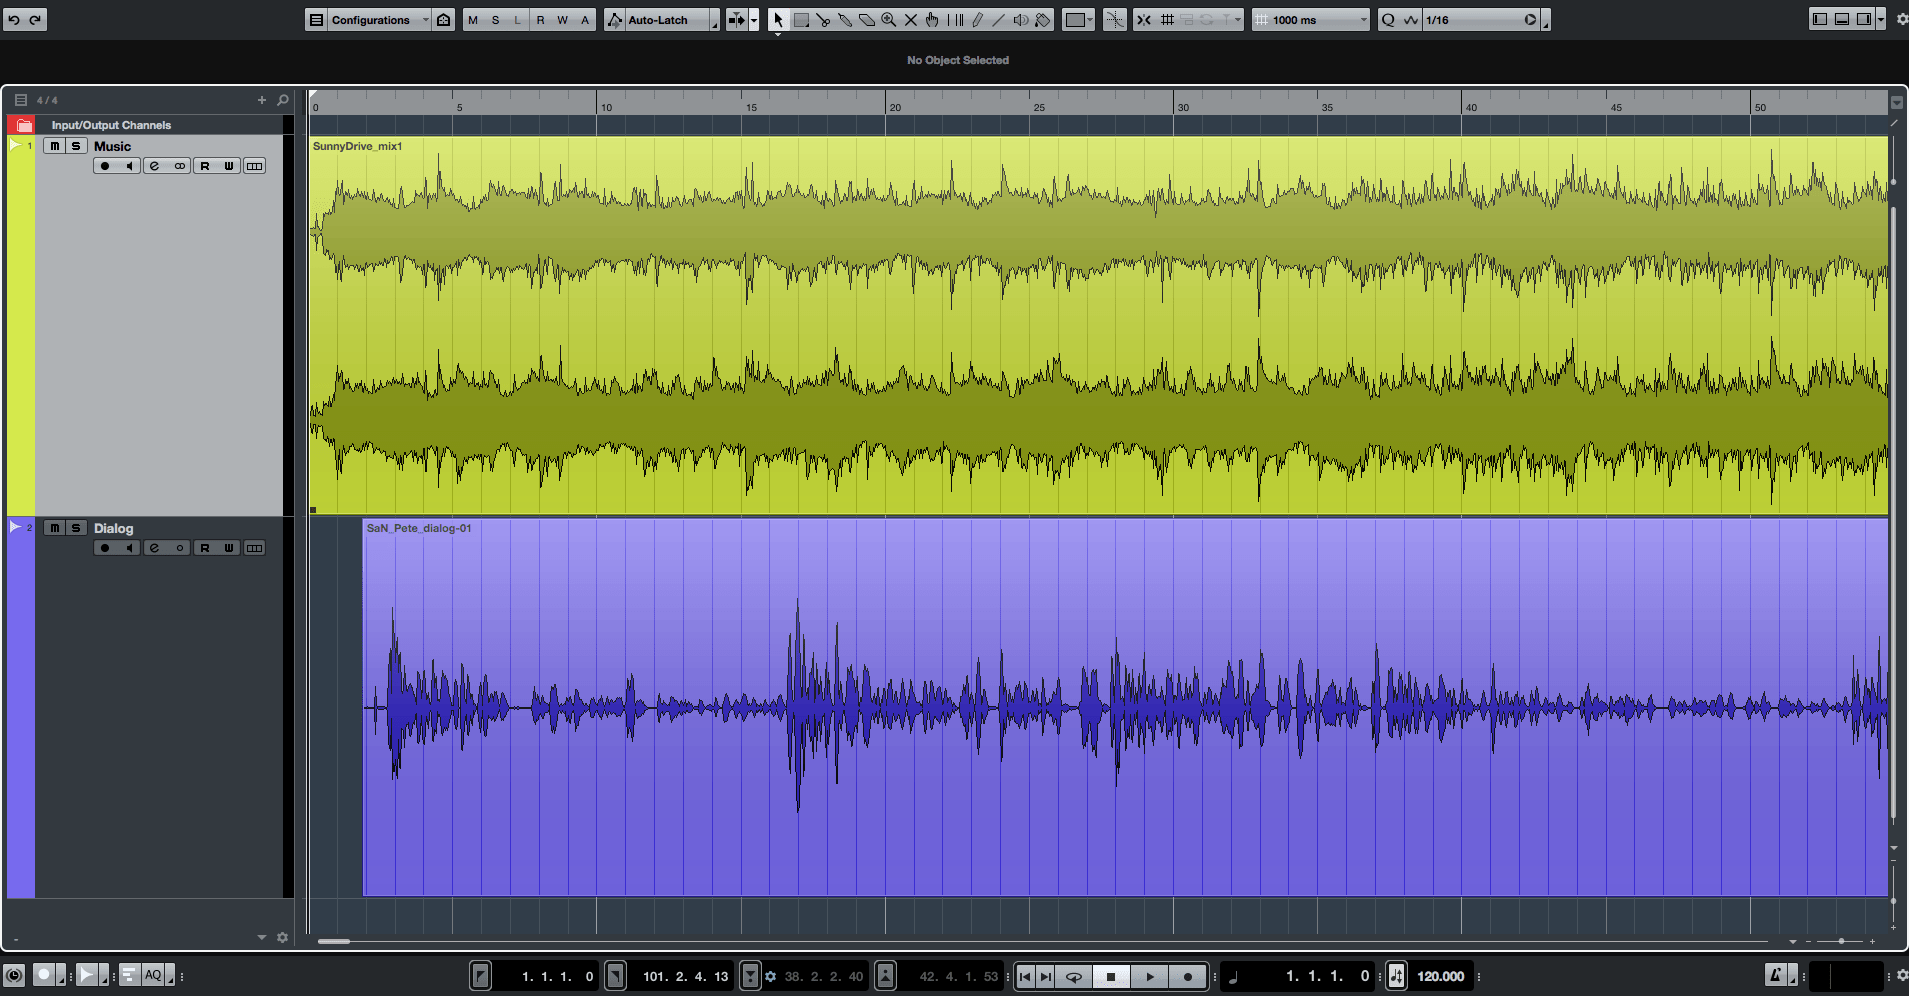
1. Let’s look at ducking first: Create a new project or session in your DAW and add a couple of tracks. Import or record some music on one of the tracks, and import or record some dialog on the other.
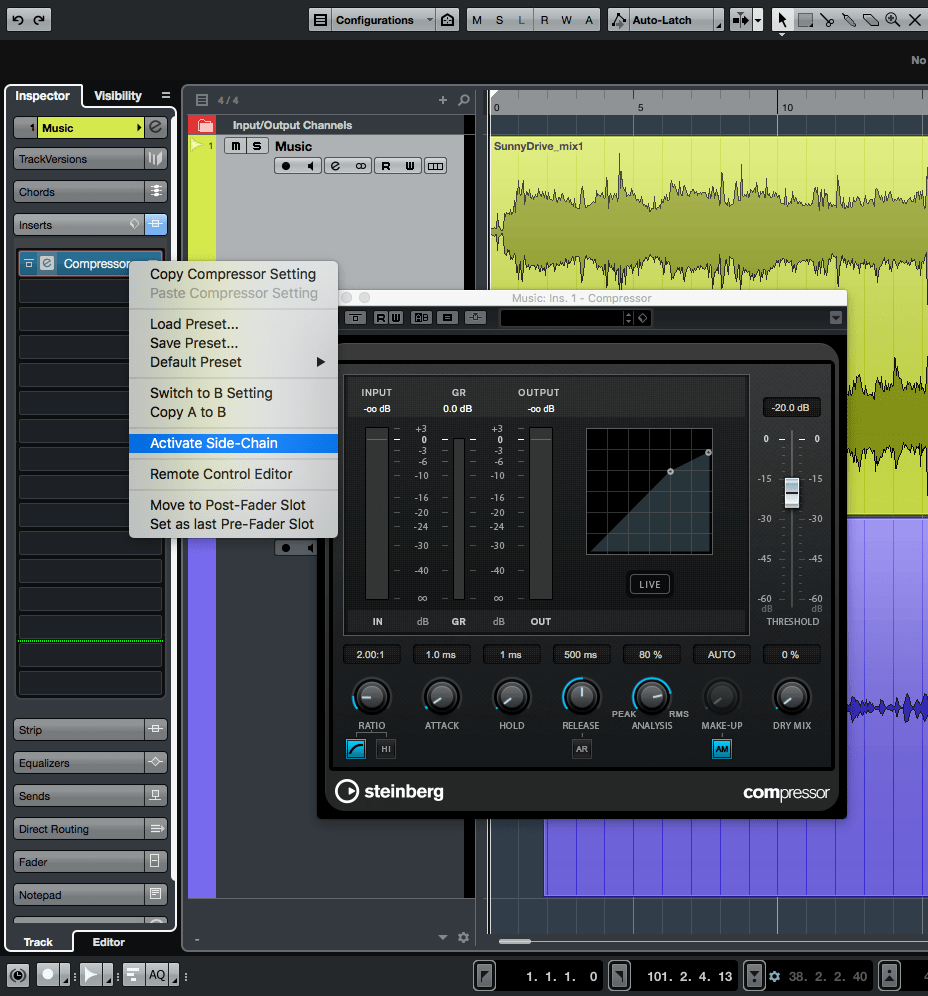
2. Insert a compressor on the music track and enable its external side-chain input. How you do this will depend on your DAW; for example, in Cubase, you would right-click on the plugin’s insert slot and select “Activate Side-Chain” from the pop-up menu.
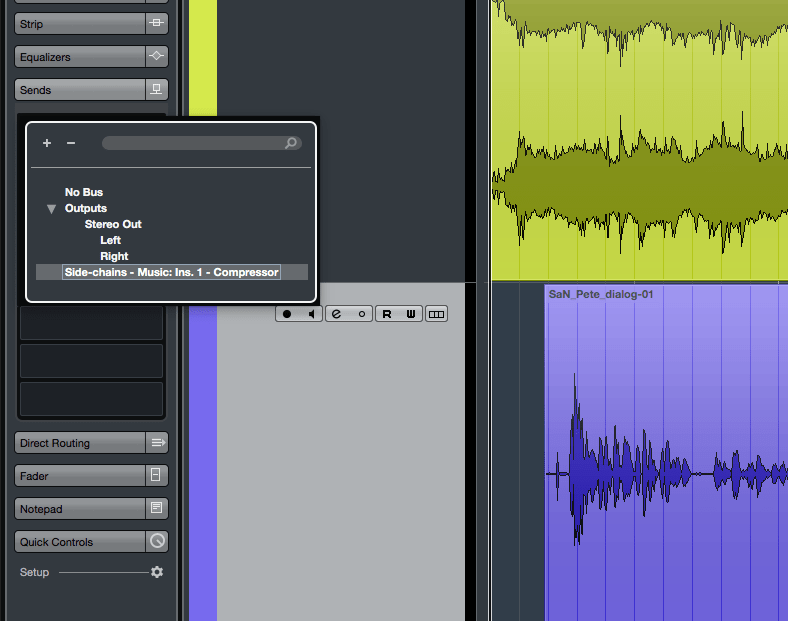
3. On the Dialog track, add or enable a Send targeted at the compressor’s side-chain. For example, in Pro Tools you would direct the send to the aux buss you specified for the compressor’s side-chain input, whereas in Cubase the compressor’s side-chain will be available as an audio destination in the send slot’s dropdown menu.
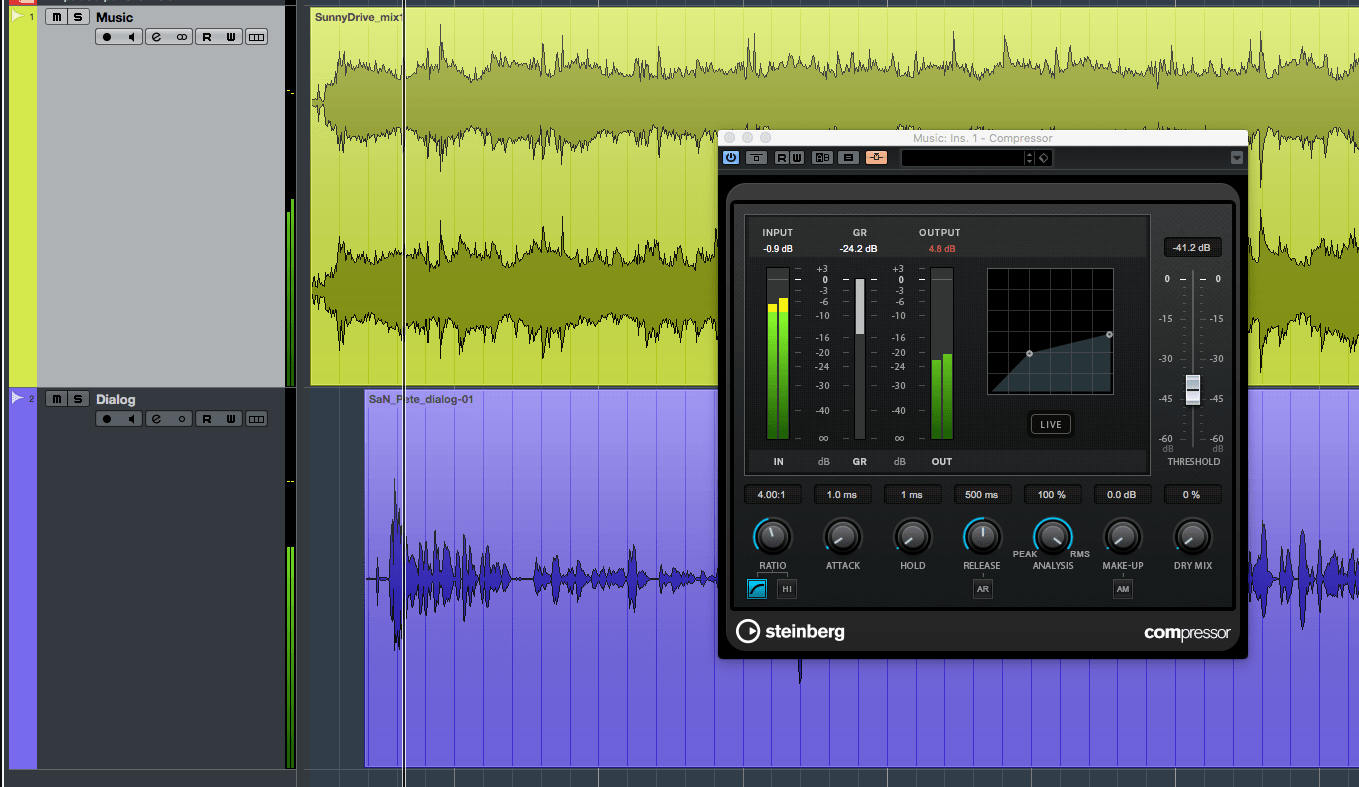
4. Open the compressor’s control panel and start playback. Set a moderate 4:1 ratio to begin with, and reduce the threshold until you can hear the music changing volume in response to the dialog track.
5. Tweak the compressor’s settings to get the desired balance. You will need a fast attack time, but you should increase the release time so that the music moves smoothly back to full volume when there is no dialog. If your compressor has a Hold control, use this to smooth-out the ducking effect.
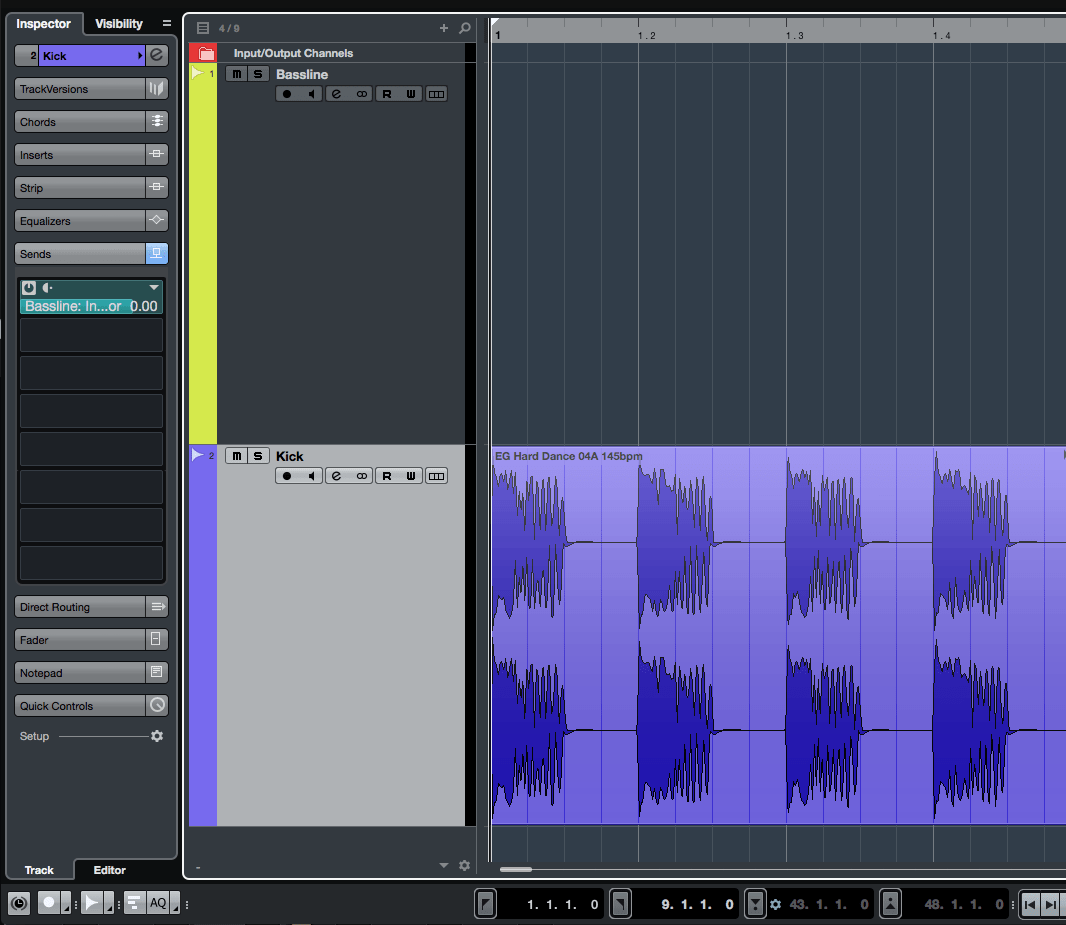
6. Now let’s take a look at pumping. Remove the music and dialog audio parts, and rename their tracks as “Bassline” and “Kick” respectively. Create or import a few bars of a four-to-the-floor kick pattern to the Kick track.
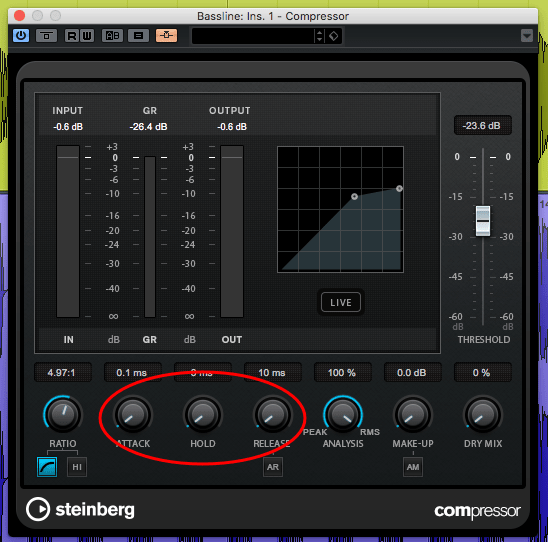
7. On the Bassline track, create or import a bassline that uses long-ish sustained notes (I.E. not short staccato blips or pulses). Open the track’s compressor control panel and set it’s attack, hold and release to their lowest – I.E. shortest – setting.
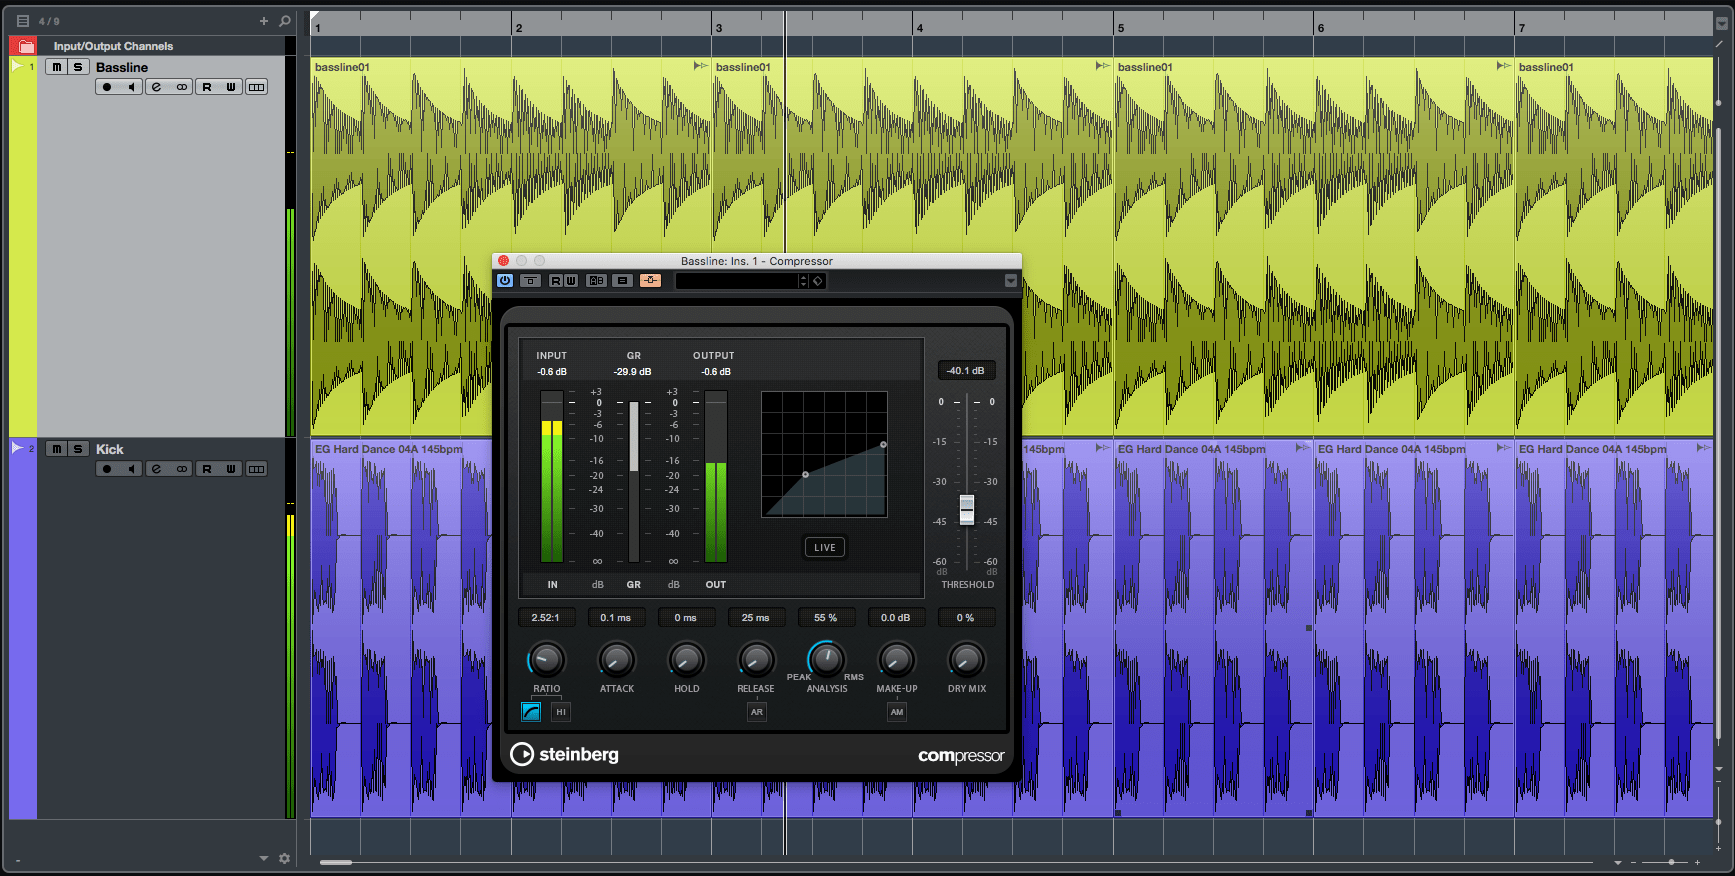
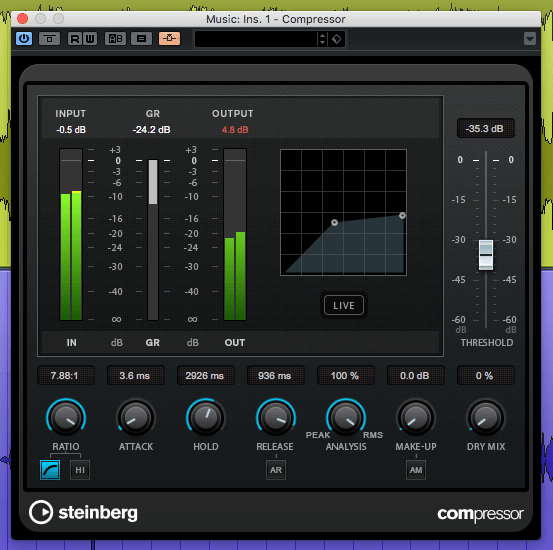
8. Start playback. Reduce the threshold and/or increase the ratio to make the pumping effect more, and use the attack and release times to adjust the timing of the pumping effect. Keep in mind that this technique can be used to pump subgroups or even an entire mix.
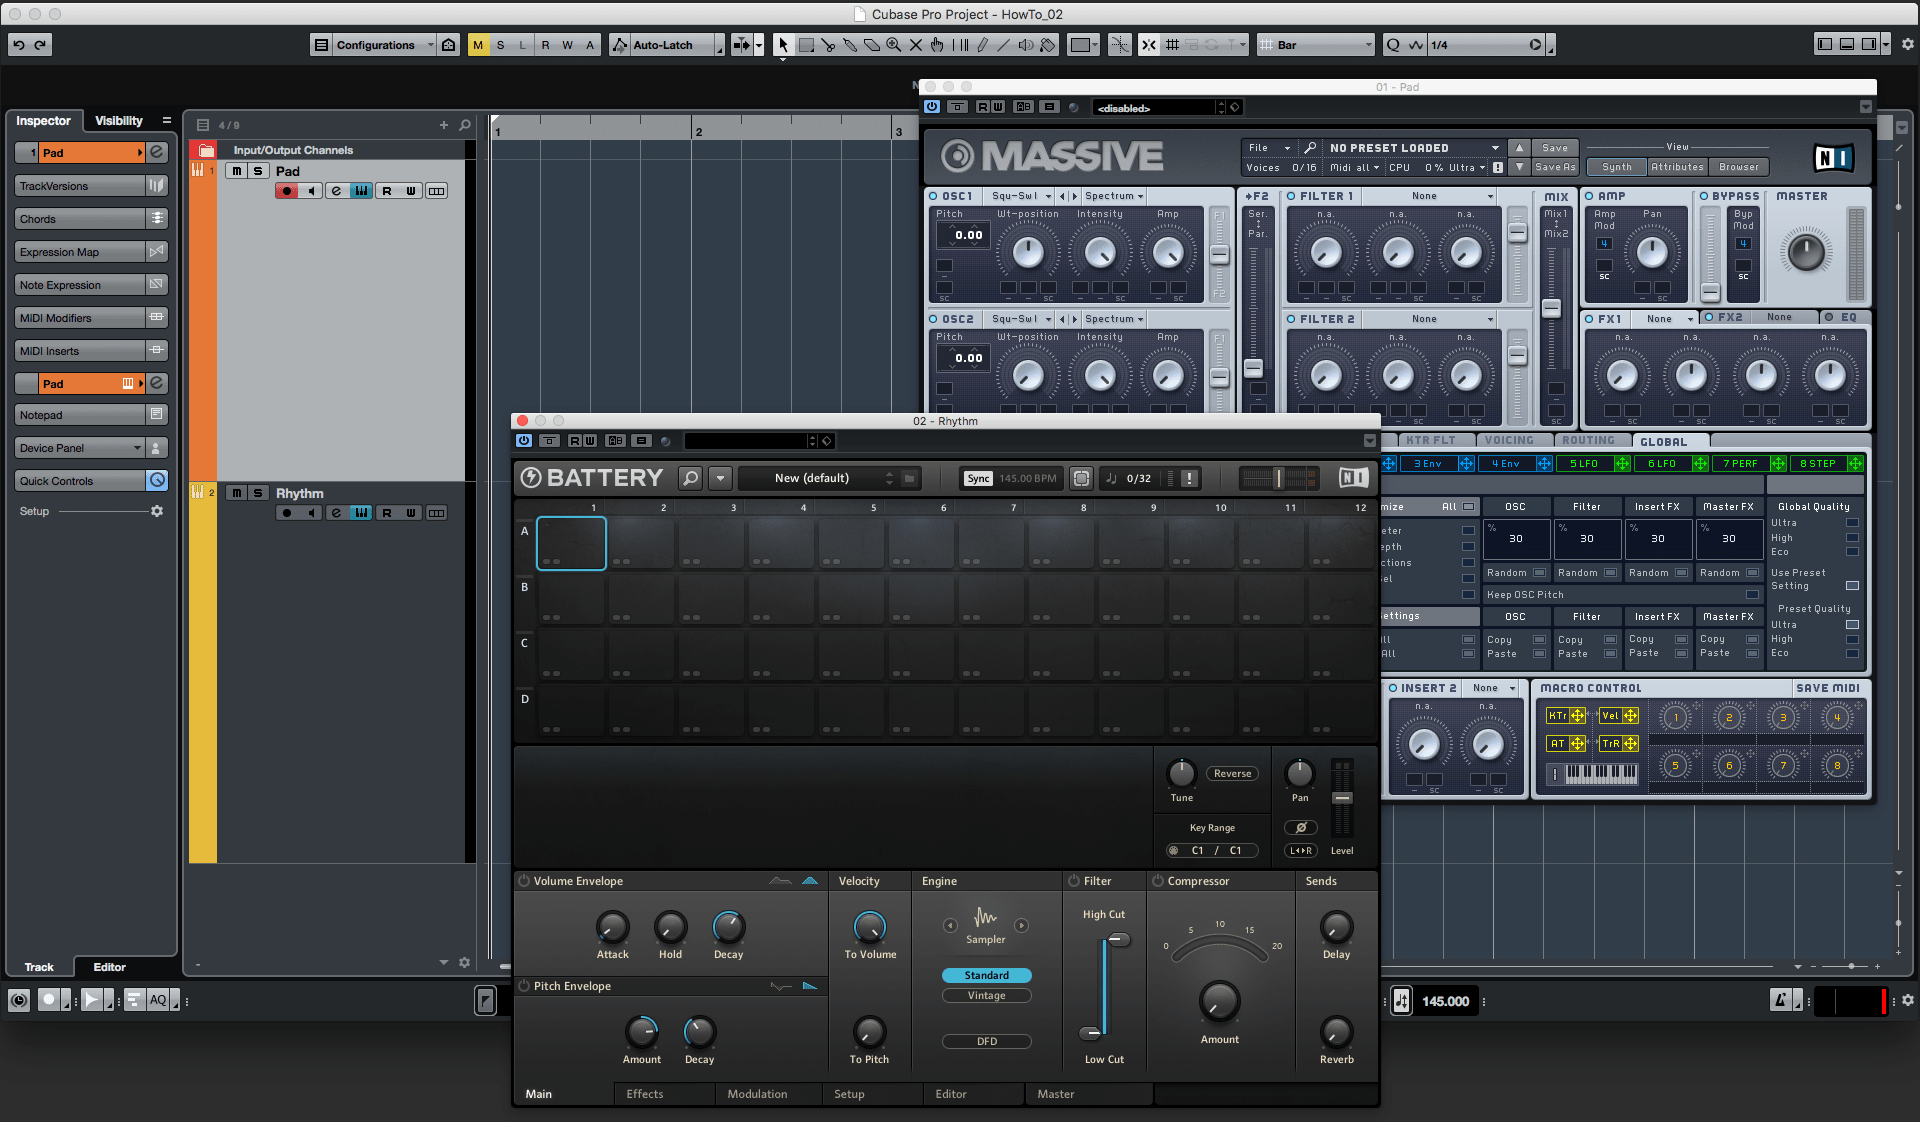
9. Let’s do some gating now. Create a new session or project and add a couple of tracks to it – instrument tracks may be handy for this, as we’ll be using a synth pad sound and a percussive sound respectively. Call the tracks “Pad” and “Rhythm”.
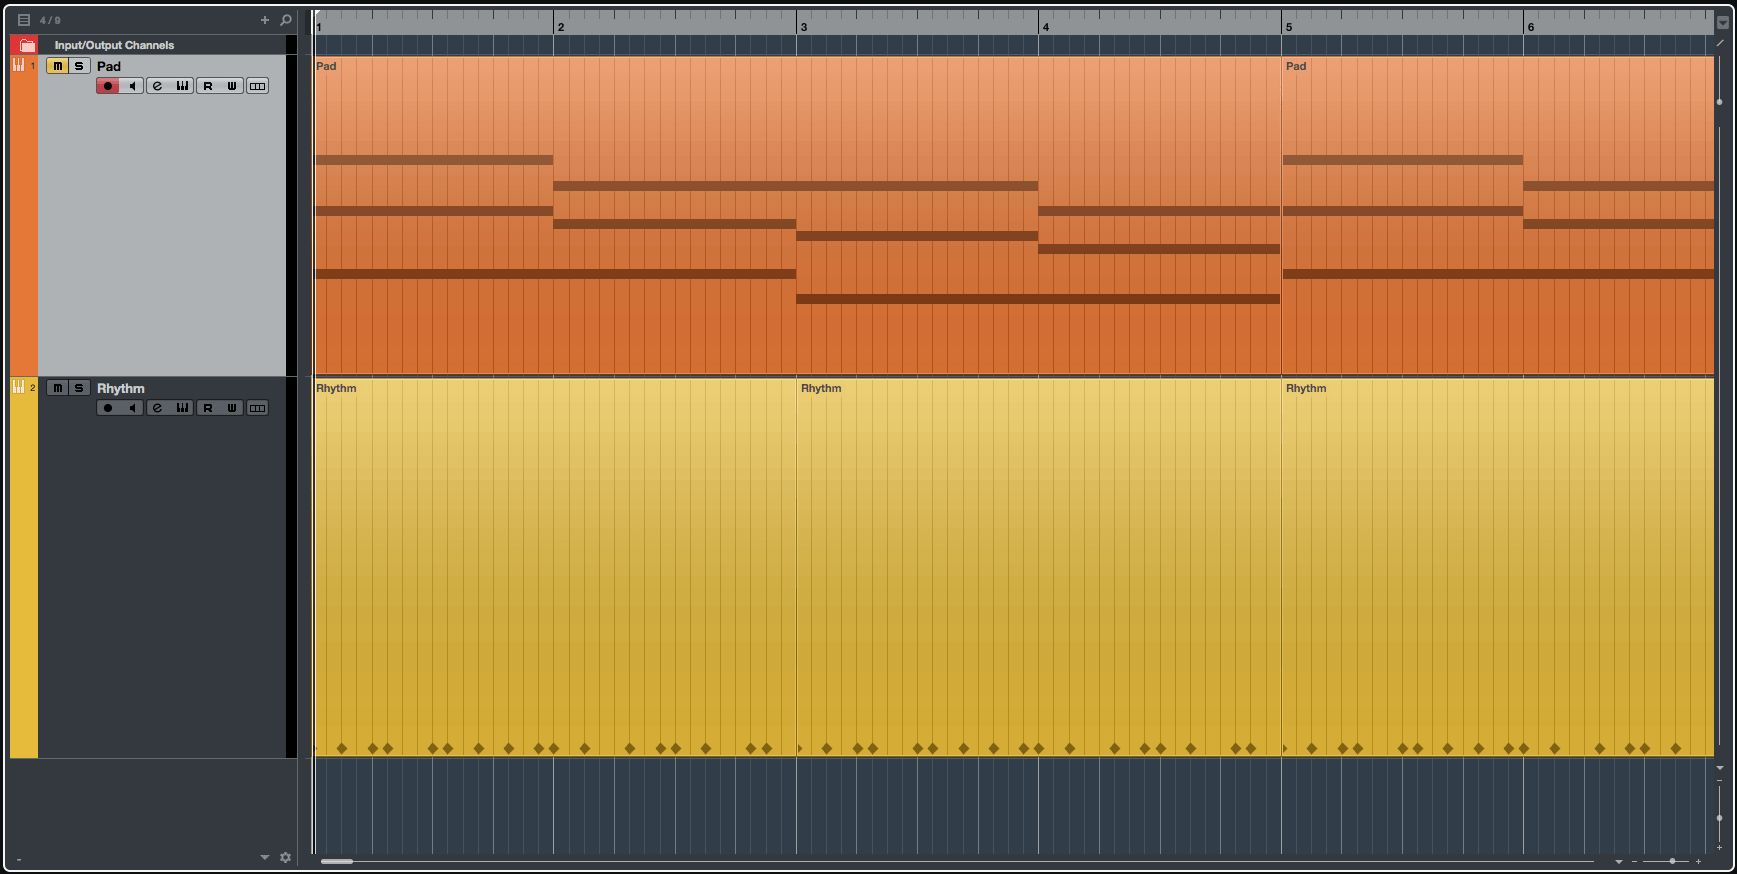
10. If using instrument tracks, load appropriate patches into your instruments – a long, sustained pad, and a short, sharp, staccato percussion sound such as a closed hi-hat. Create or import some sustained chords on the Pad track, and create or import a rhythmic pattern on the Rhythm track.
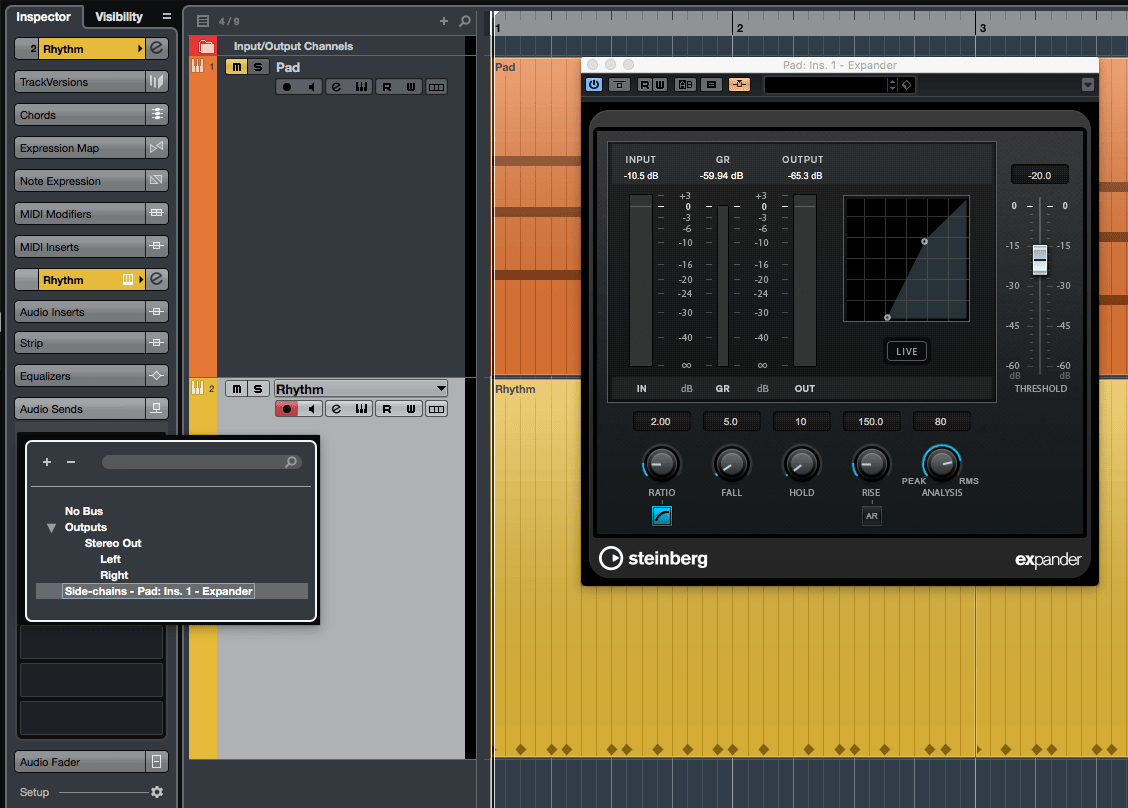
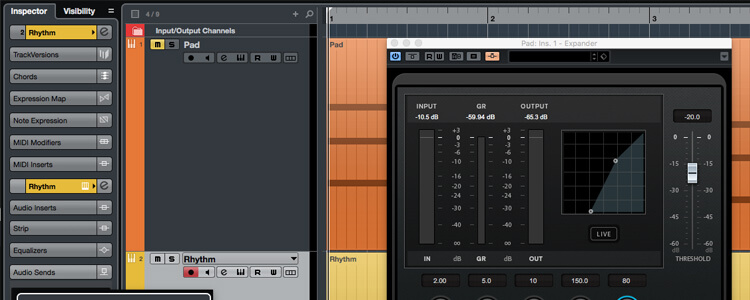
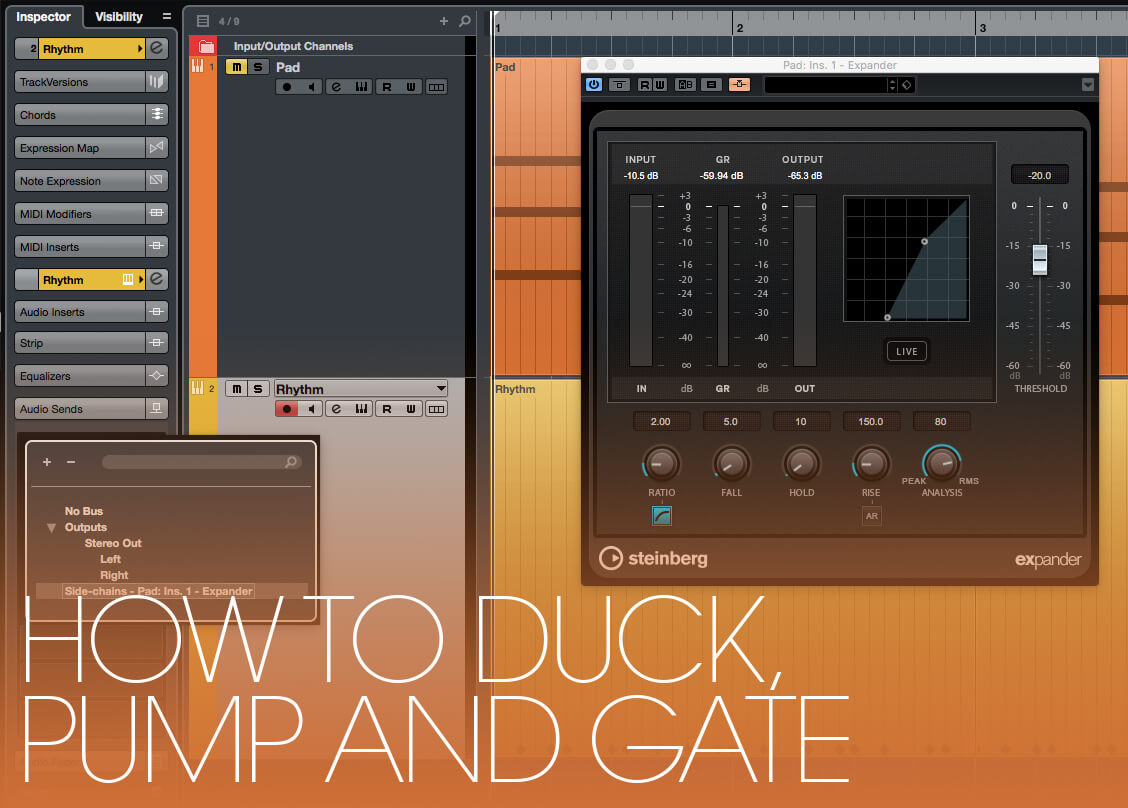
11. Add an expander to the Pad track and enable its side-chain input. On the rhythm track, add a pre-fader send and target it at the expander’s side-chain input. Turn down the Rhythm track’s volume – we don’t want to hear it directly.
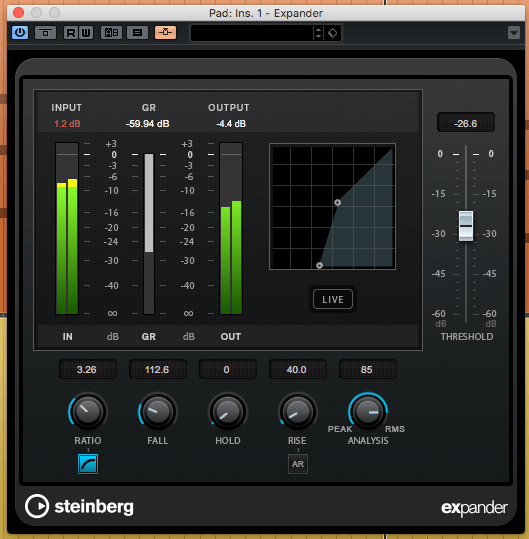
12. Open the expander’s control panel and start playback. Reduce the expander’s threshold until it starts responding to the rhythm part feeding the side-chain. Play around with the expander’s controls to see how each affects the results.
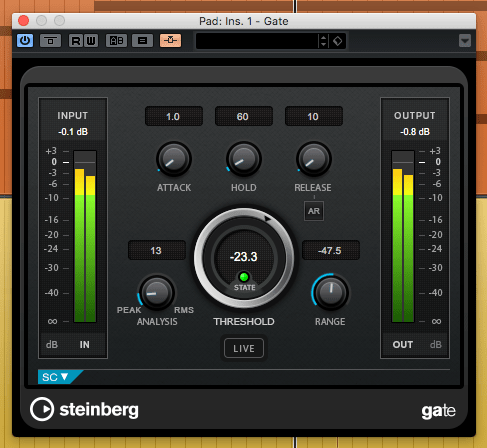
13. As you will have seen, an expander allows a lot of control over how the side-chain input affects the sound being processed. If you want a harder, choppier effect, replace the expander with a gate plugin.