Ableton Live Tutorial: Sidechain Keyboard – Step-by-Step 1
Our guide to keyboards and sidechaining in Ableton Live begins… 1: Be sure to use our updated example set for this tutorial. I’ve added a new sample, ‘synth note’. This is a synth playing a long C note (sampled from the Waldorf Pulse Plus hardware synth). 2: Load the Simpler sample-playback instrument into a new […]
Our guide to keyboards and sidechaining in Ableton Live begins…
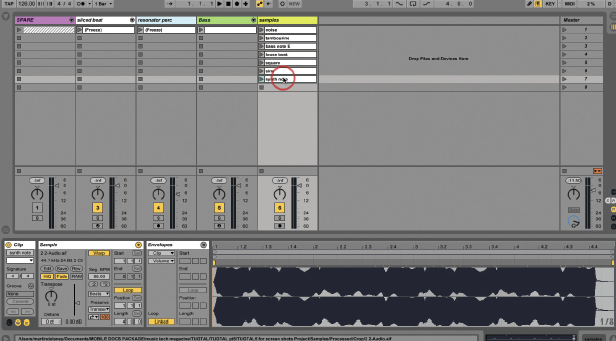
1: Be sure to use our updated example set for this tutorial. I’ve added a new sample, ‘synth note’. This is a synth playing a long C note (sampled from the Waldorf Pulse Plus hardware synth).
2: Load the Simpler sample-playback instrument into a new MIDI track, and drag the ‘synth note’ sample into Simpler’s drop area. Double-click the top empty clip slot in the track to make a clip.
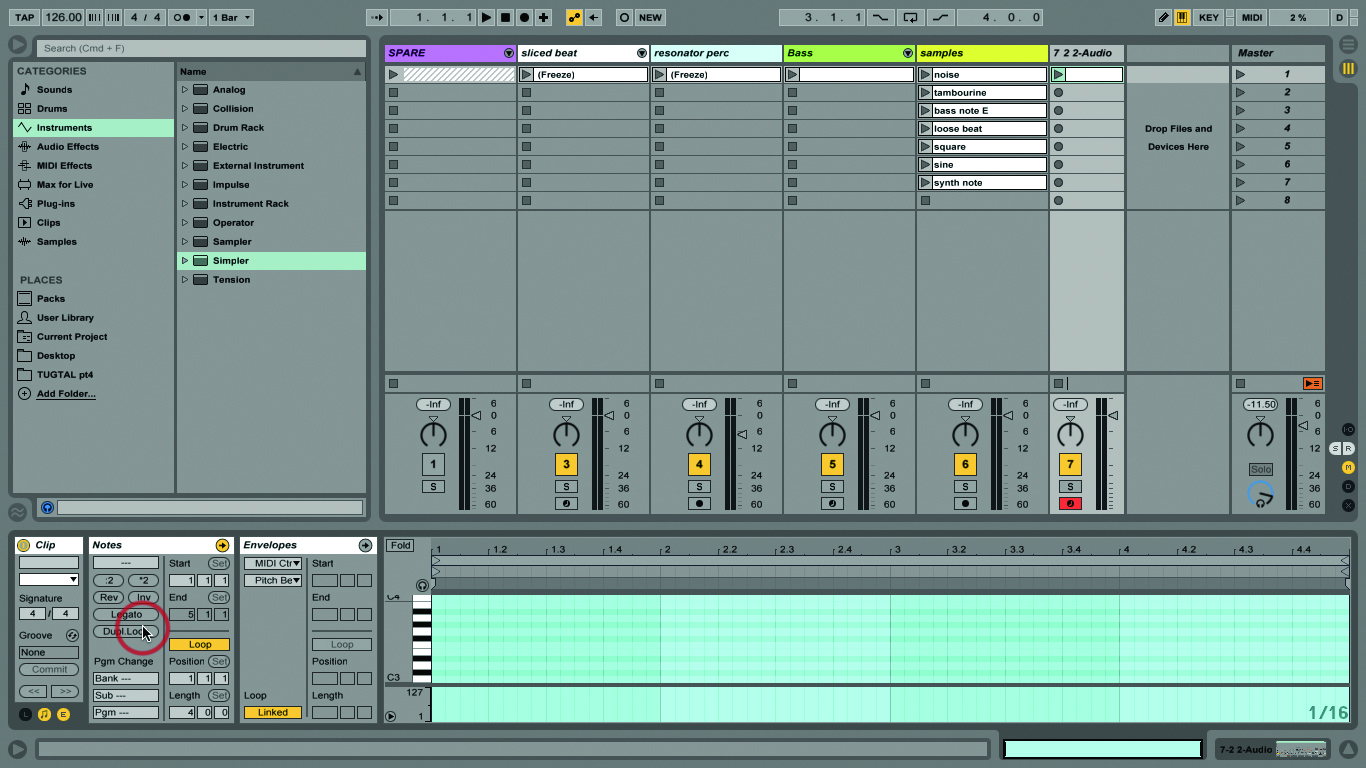
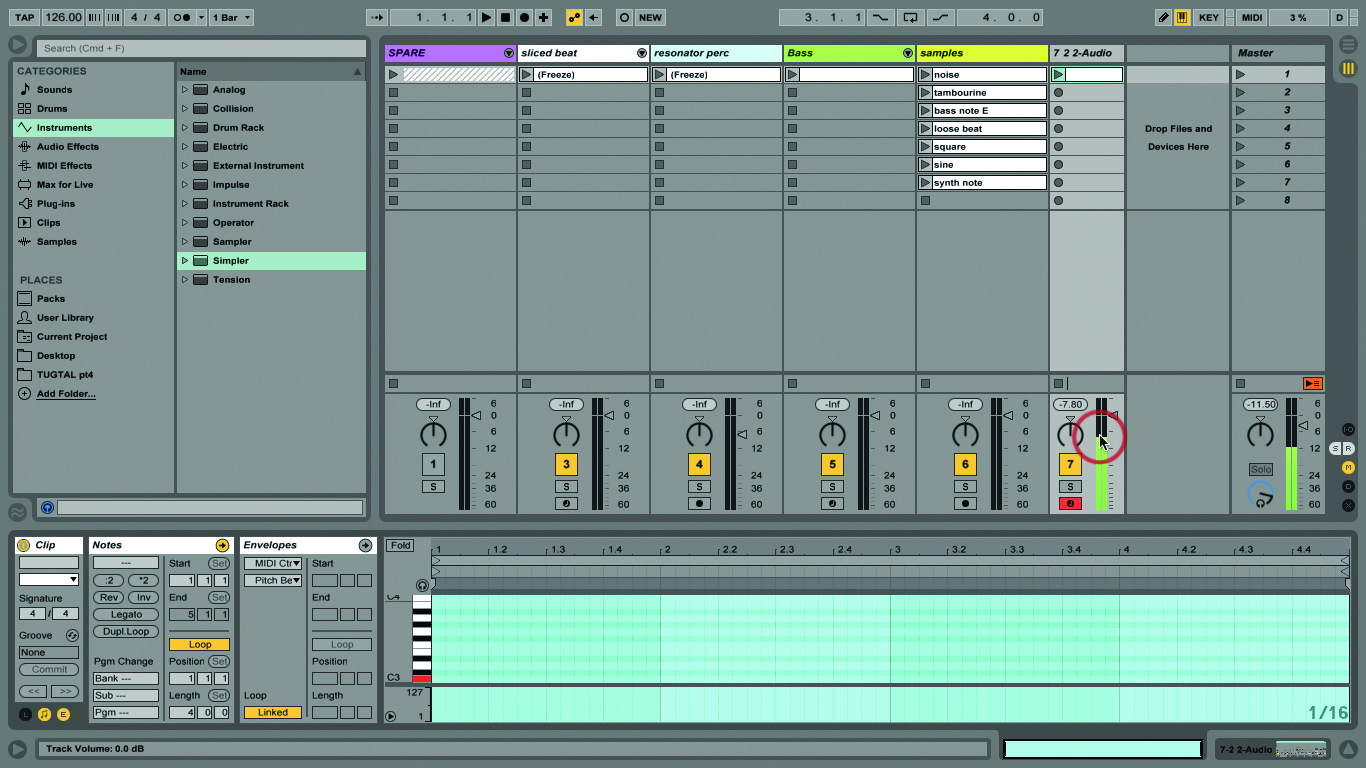
3: This should sound familiar, because we’ve done this step before when we made our bass part. Click the Dupl.Loop button in the MIDI Editor’s Notes box twice, creating an empty 4-bar MIDI clip.
4: When you arm your track and play your MIDI keyboard, you should be hearing the sampled synth tone playing across the range. We used a C so it’ll be correctly in pitch with other instruments.
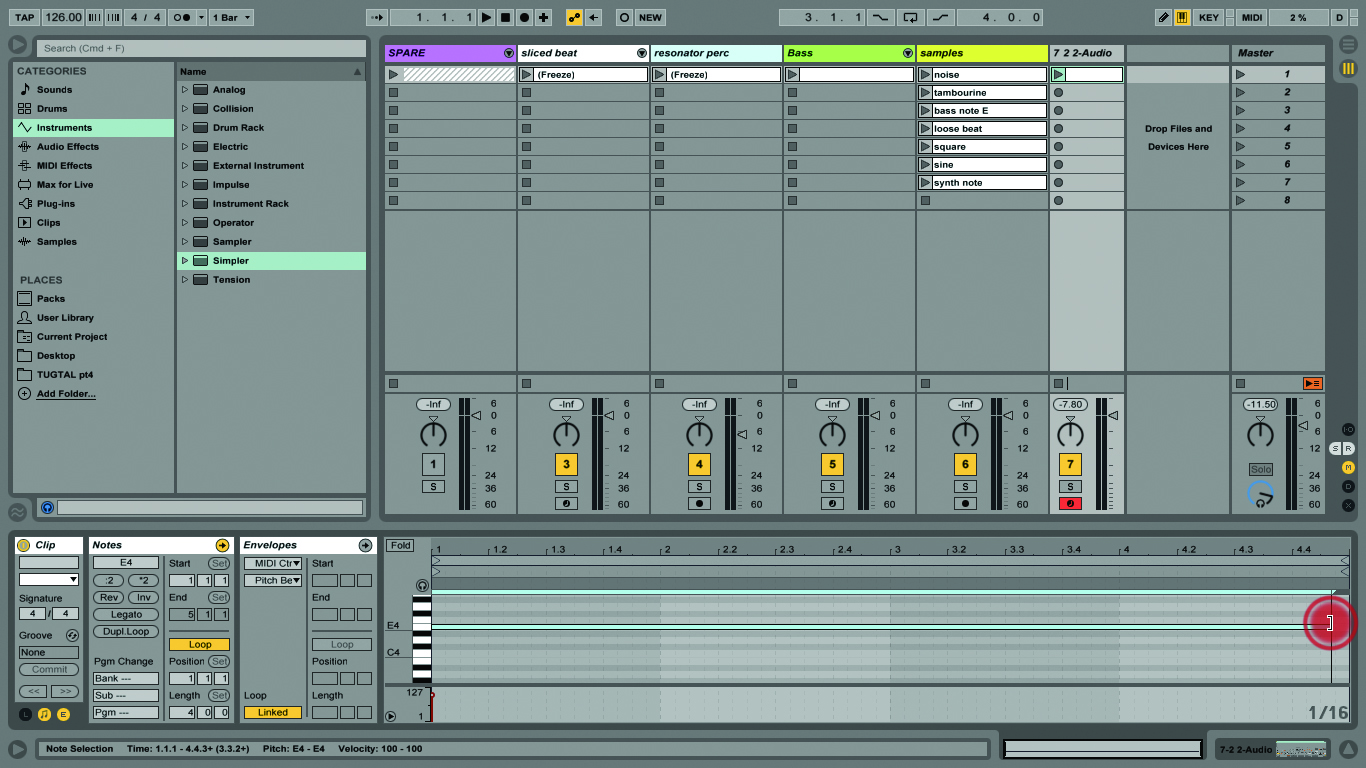
5: Draw an E4 note across the entire length of the clip – launch the clip and then it’ll play just like a drone over four bars. Keep the velocity to around 100 or 110 – it doesn’t matter precisely.
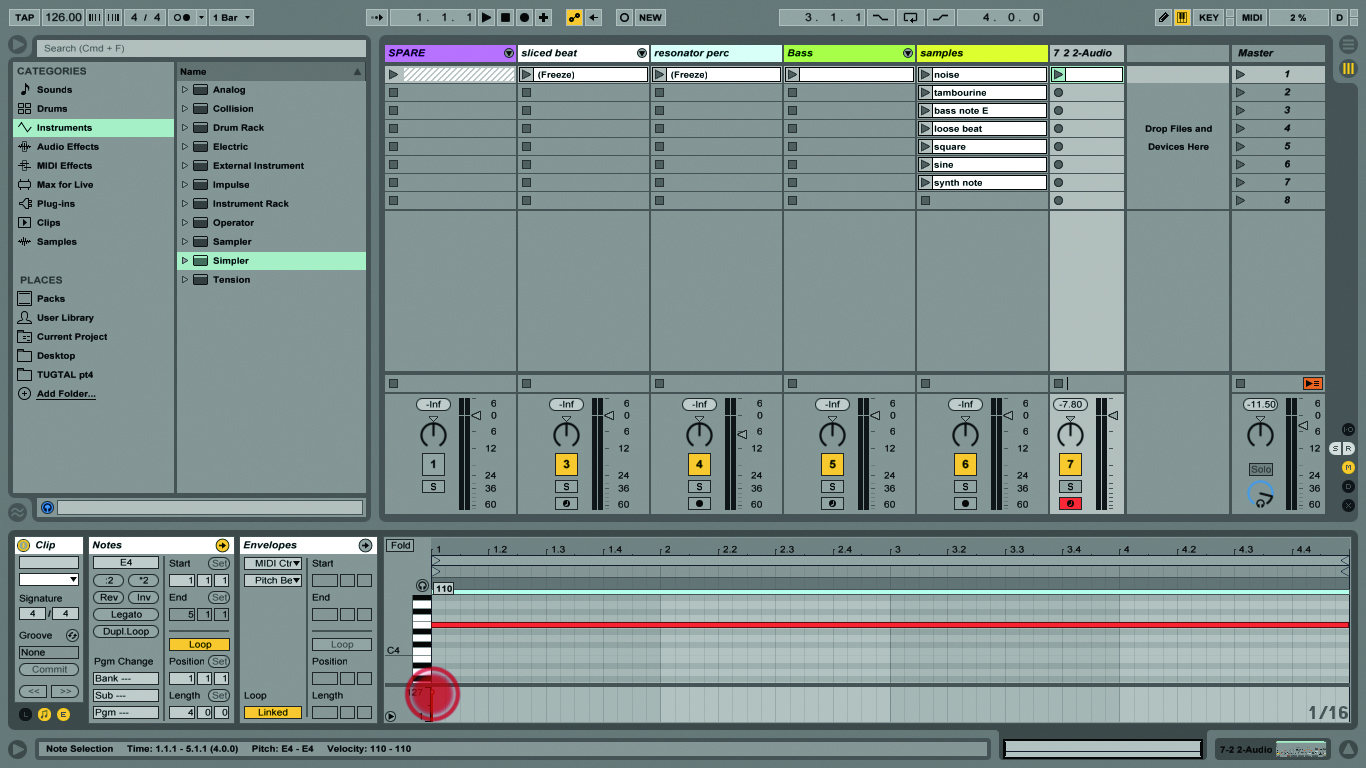
6: To edit the note velocity, unfold the MIDI Velocity Editor (click on the little triangle) below the MIDI Note Editor, then drag the velocity marker up or down until you reach the desired range.
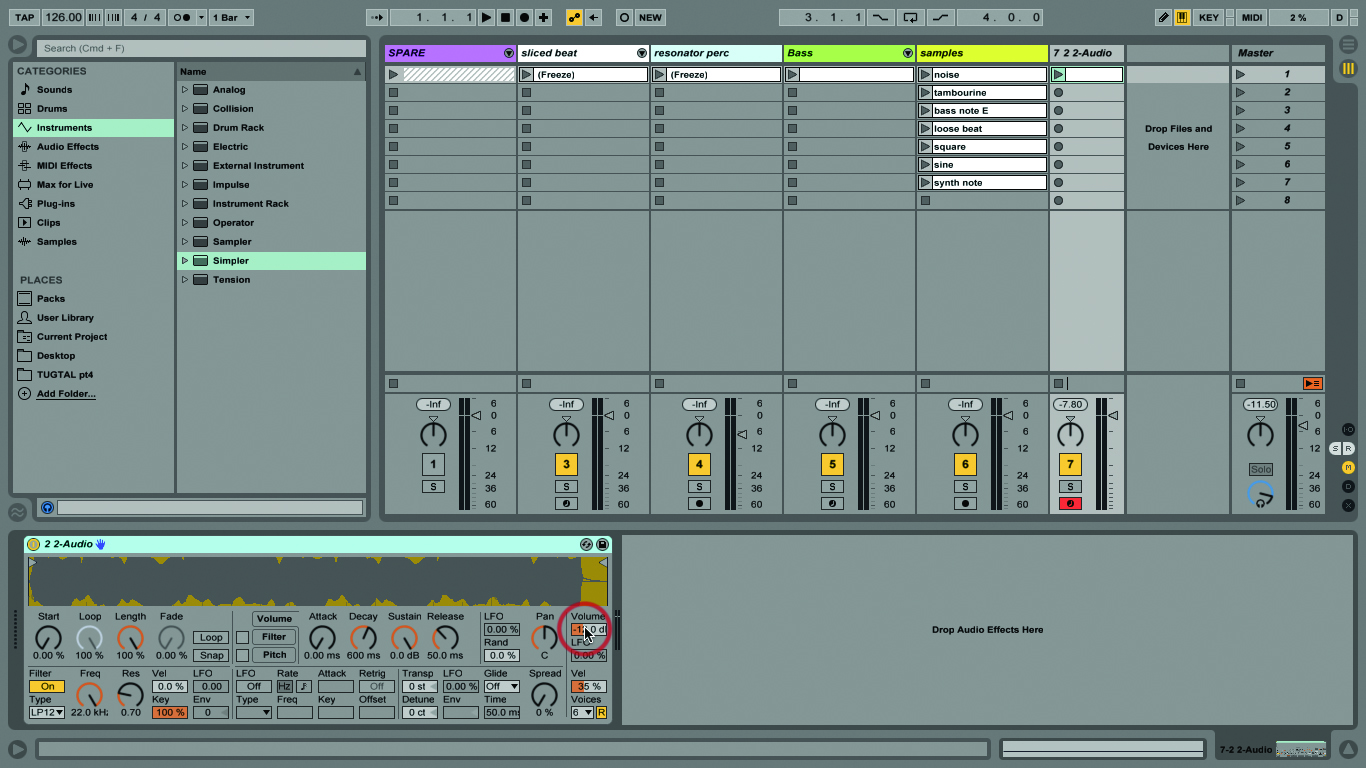
7: So far we have a pretty dull synth part so let’s jazz it up a bit. At this stage if you need to do any volume management for this sound, use the Volume control in Simpler.
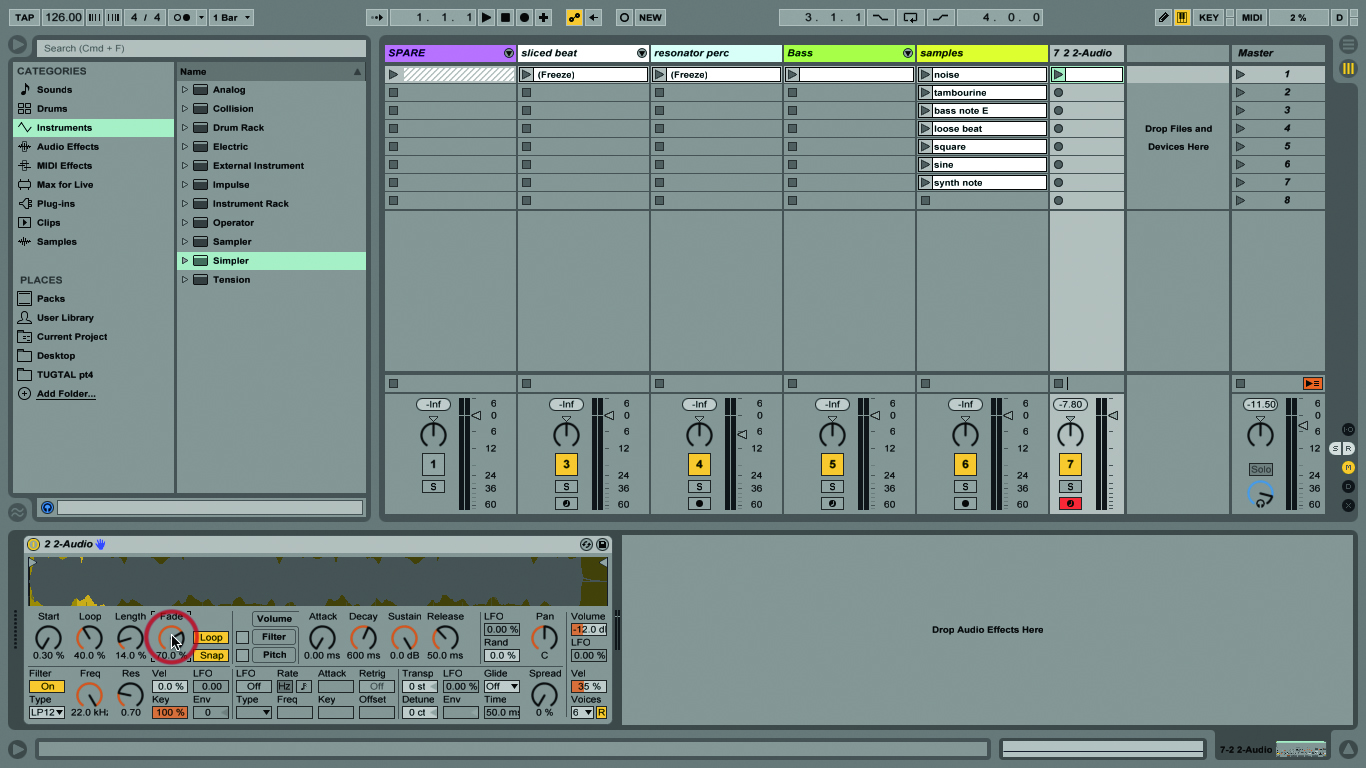
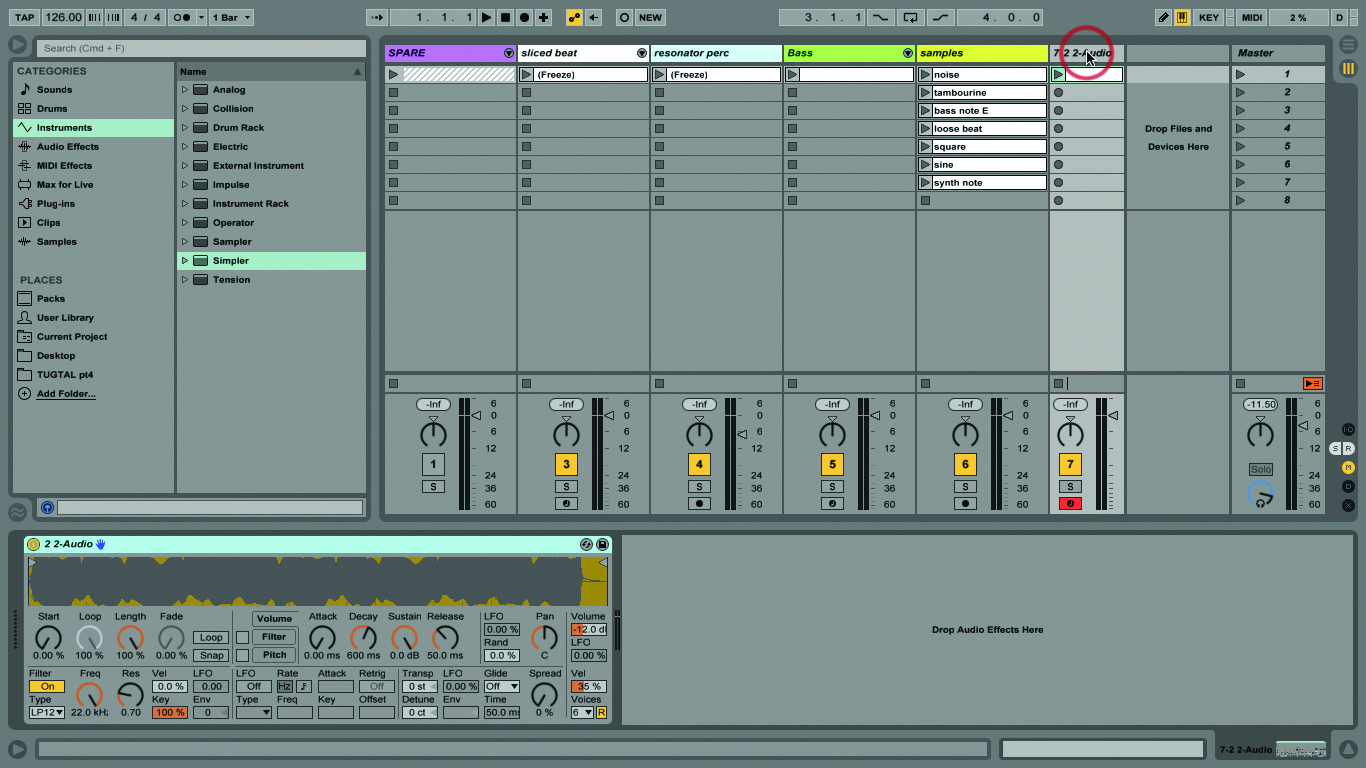
8: Let’s make some changes inside Simpler. Start by turning Loop on and set it to 40%, then turn Snap on and set the Start to 0.30%. Set Length to 14% and Fade to 70%.
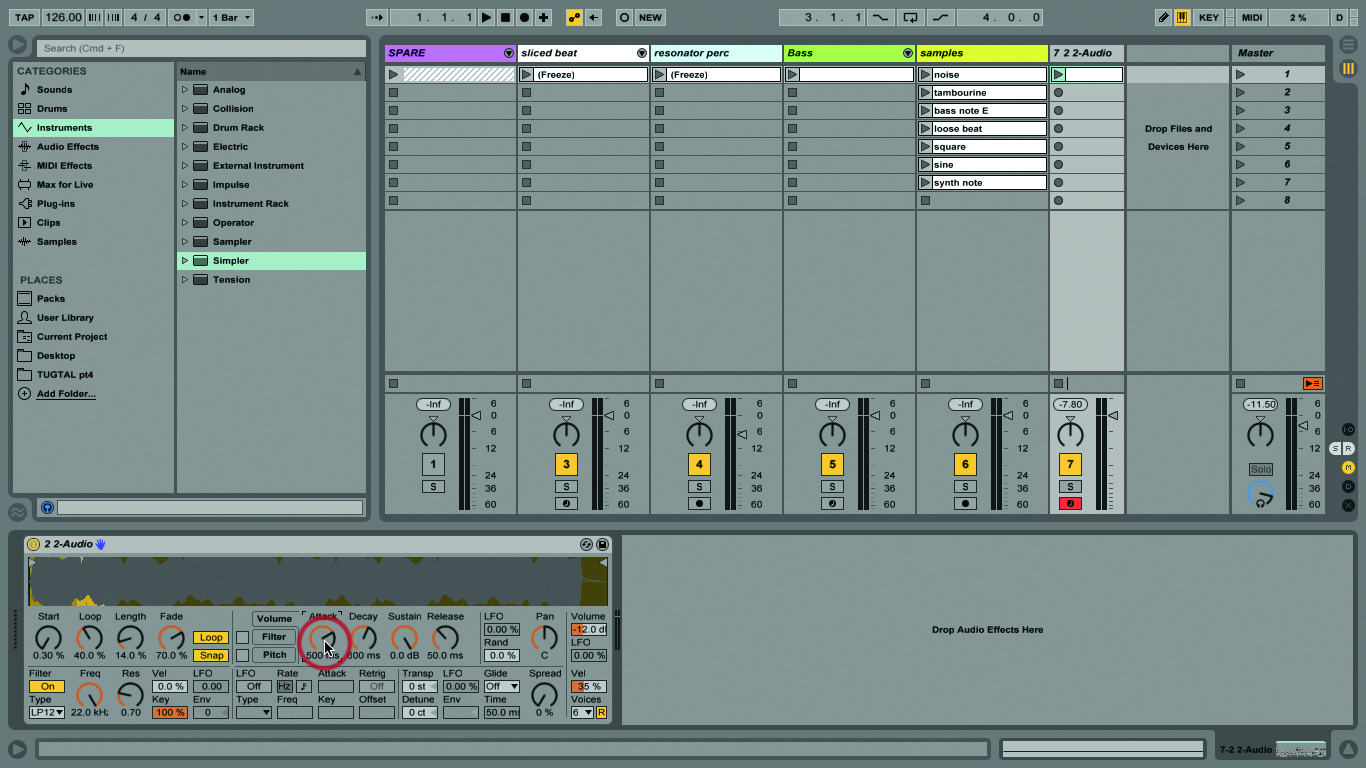
9: Set the Volume envelope Attack to 500ms so there’s a bit more to the tiny little fade-in at the beginning of the sample (as you can see, it starts quite gradually already).
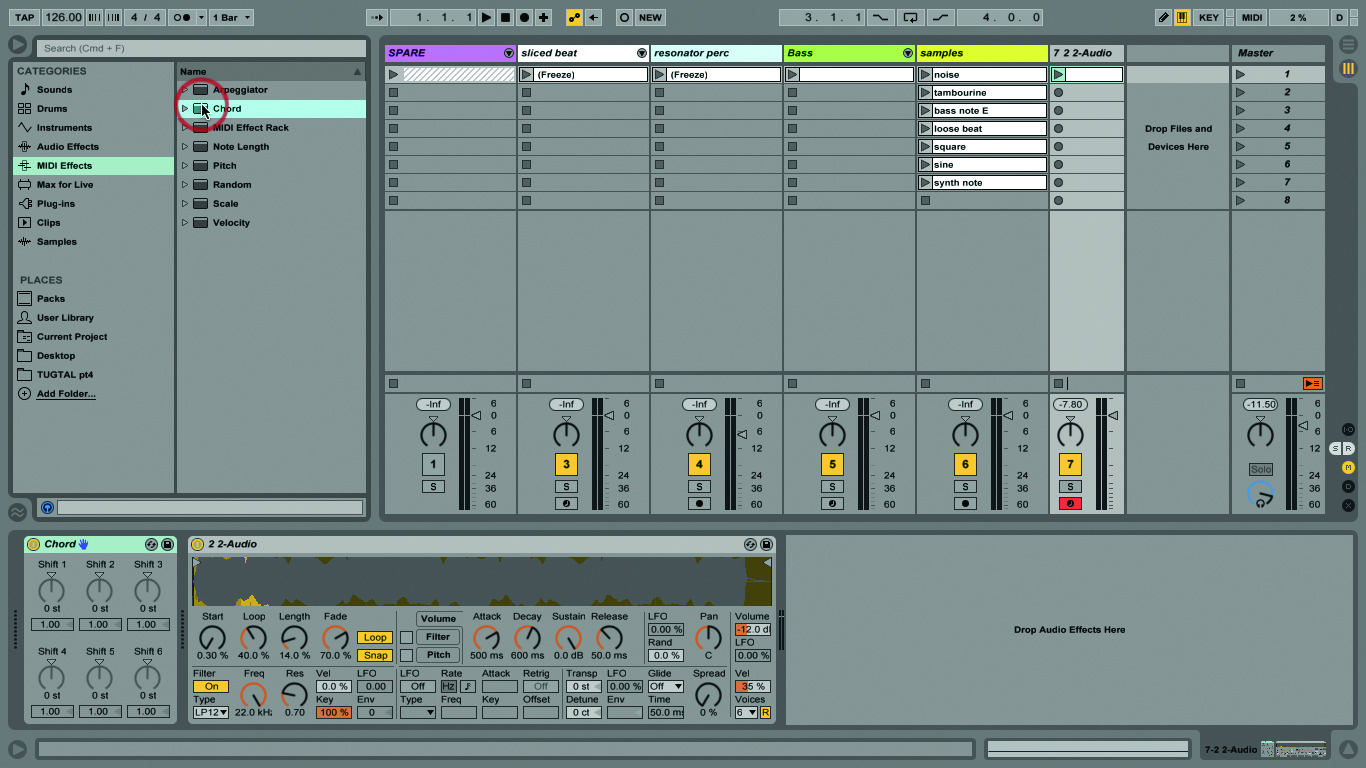
10: Now let’s add some interest: because we’ve been lazy with our programming, let’s expand the part with one of Live’s MIDI effect devices. Add the Chord MIDI effect to the track, it’ll go before Simpler.
Click Here to Continue the Step-by-Step
