Ableton Live Tutorial: Editing in Arrangement View – Step-by-Step Part Two
Martin Delaney concludes his Ableton Live arrangement view tutorial… 13: Double-click the first MIDI drum clip, revealing the notes. Drag the notes for slices 1 and 9 vertically to align with Slice 5. Now they’ll all play the same sound, without the noisy sample. 14: The second ‘section’, starting at bar 37, is 5 bars […]
Martin Delaney concludes his Ableton Live arrangement view tutorial…
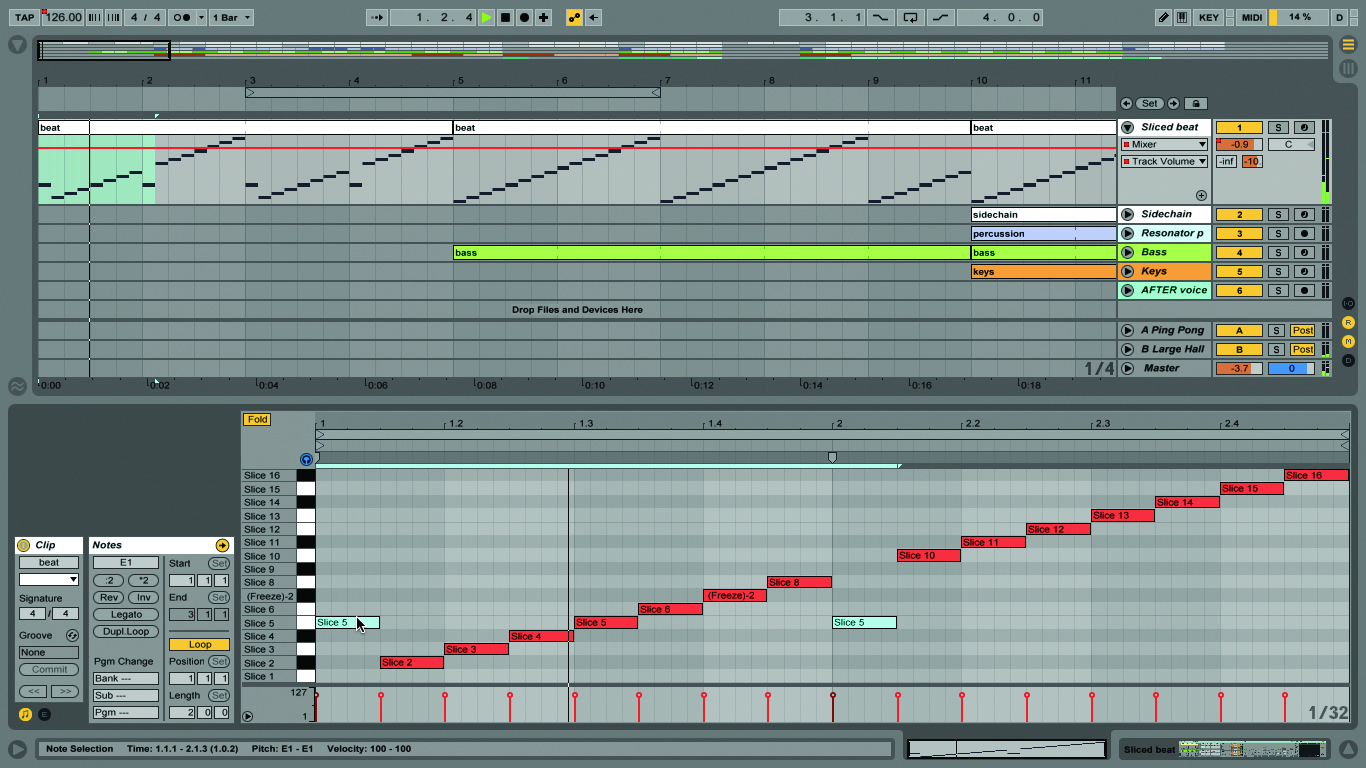
13: Double-click the first MIDI drum clip, revealing the notes. Drag the notes for slices 1 and 9 vertically to align with Slice 5. Now they’ll all play the same sound, without the noisy sample.
14: The second ‘section’, starting at bar 37, is 5 bars long; let’s remove one, just to keep everything even; click and drag to highlight bar 45, then use Shift>Cmd>Delete to delete the time.
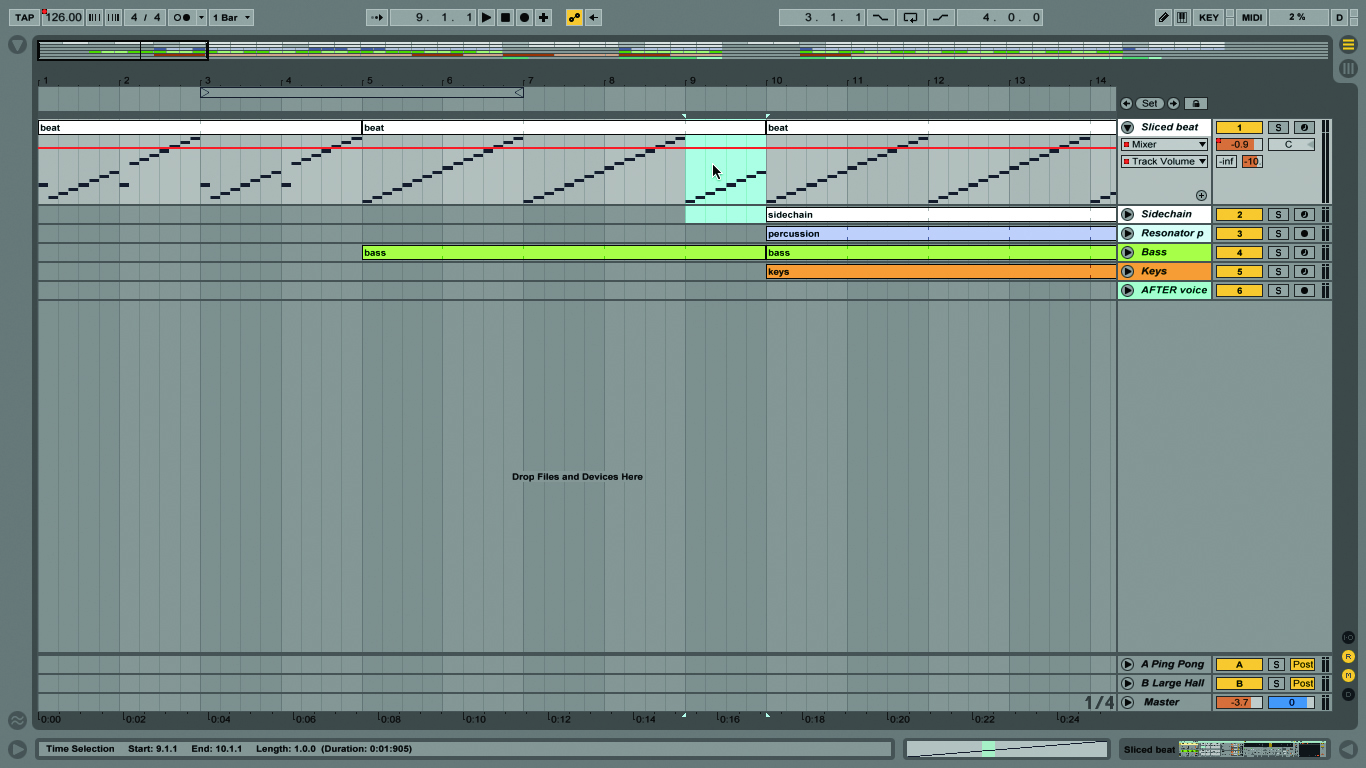
15: Likewise, cut out bars 9, and 33-35. After that, click and drag to highlight bar 16, and tap the Delete key. Drag the ends of the percussion and bass tracks to fill the gap.
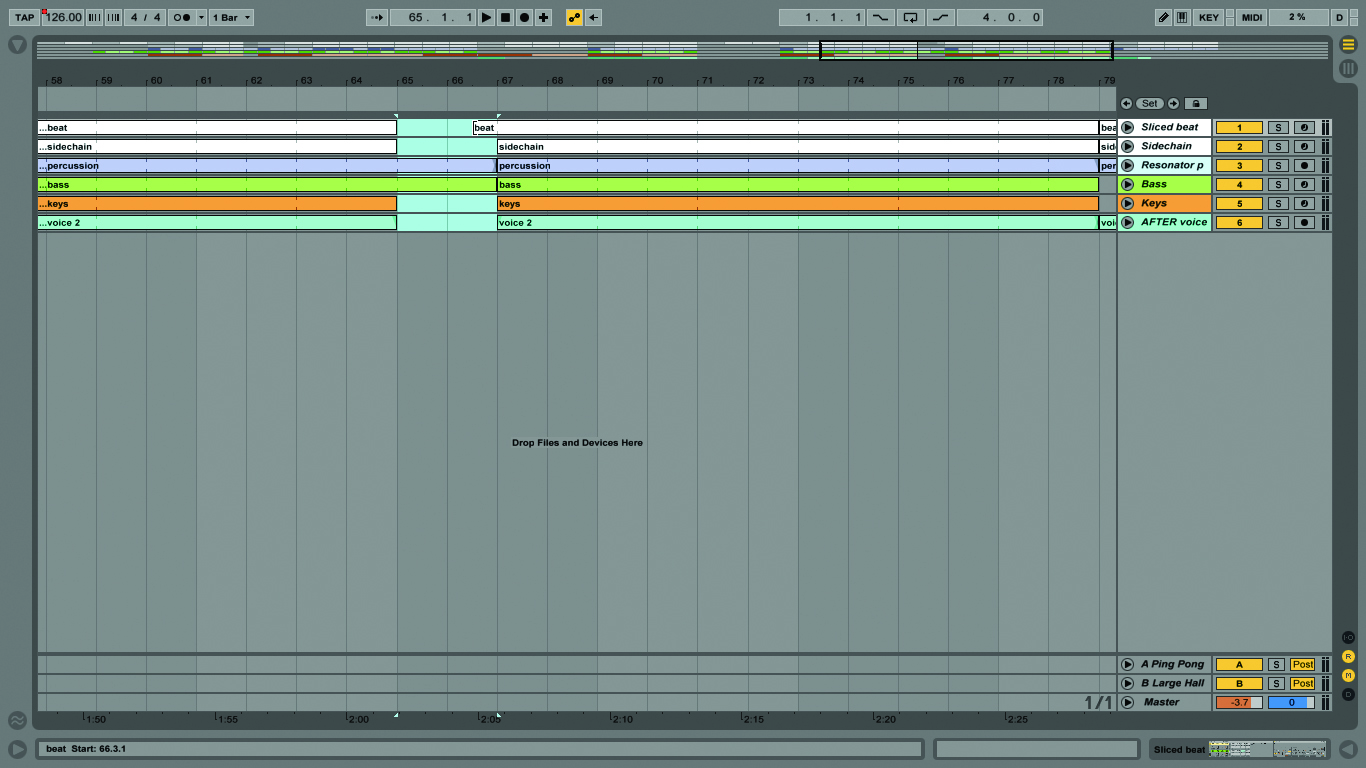
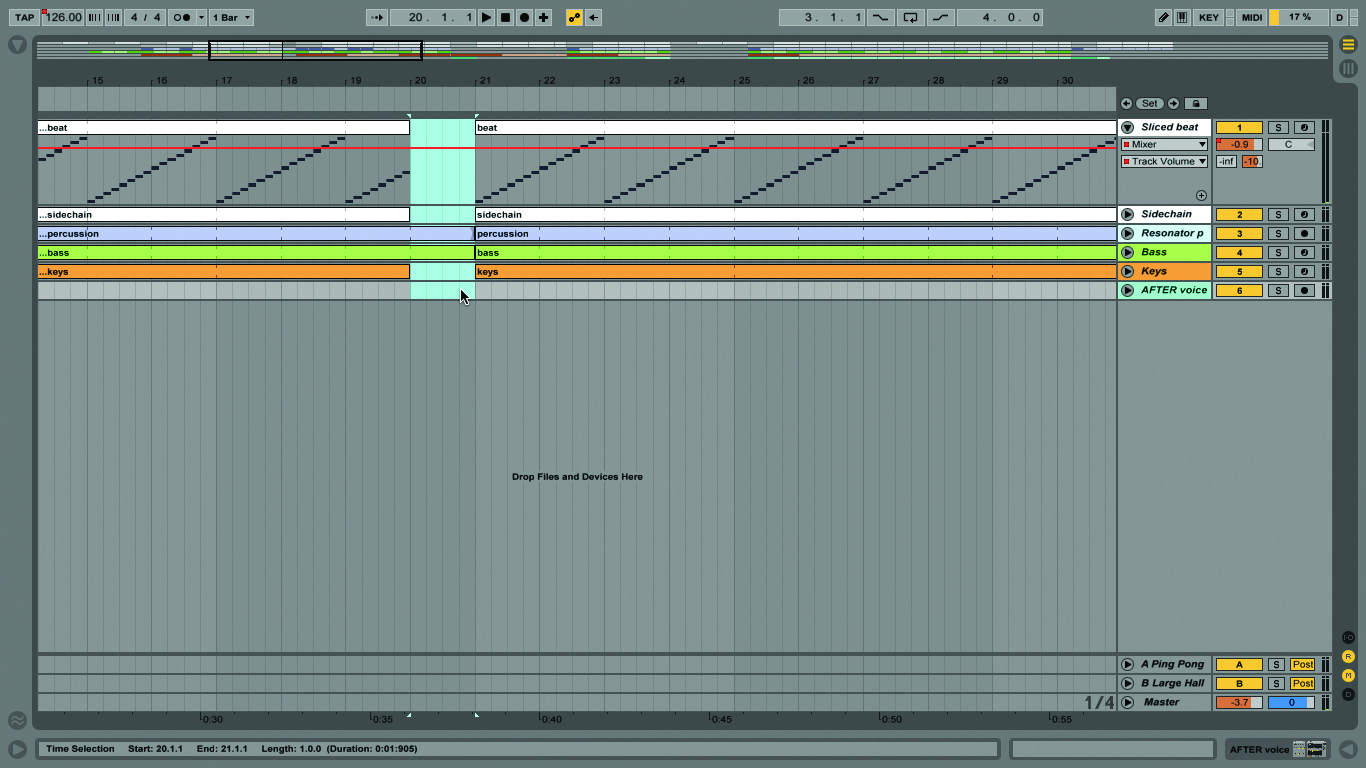
16: Cut the last long section to 24 bars. Make a 2-bar break at bar 65. Drag the percussion and bass across, but also drag the beat back two beats so it resumes earlier.
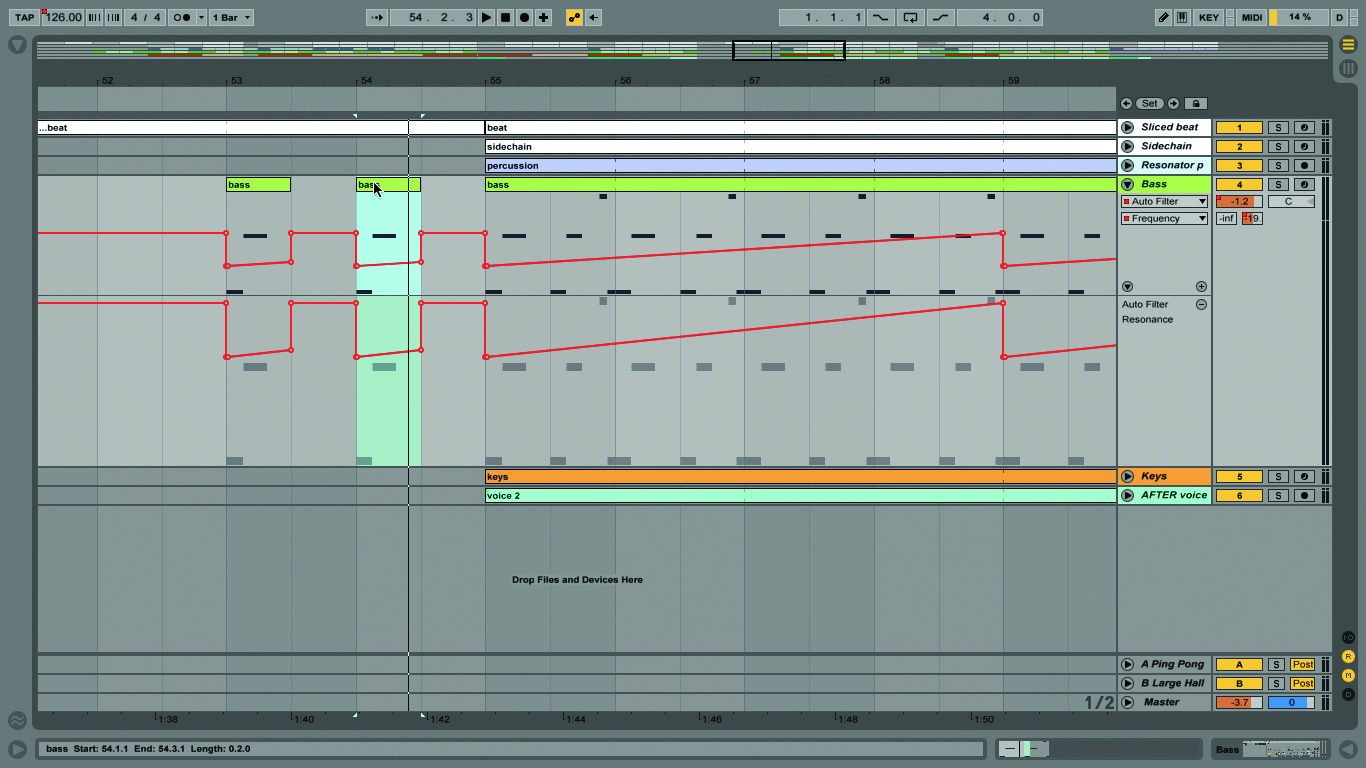
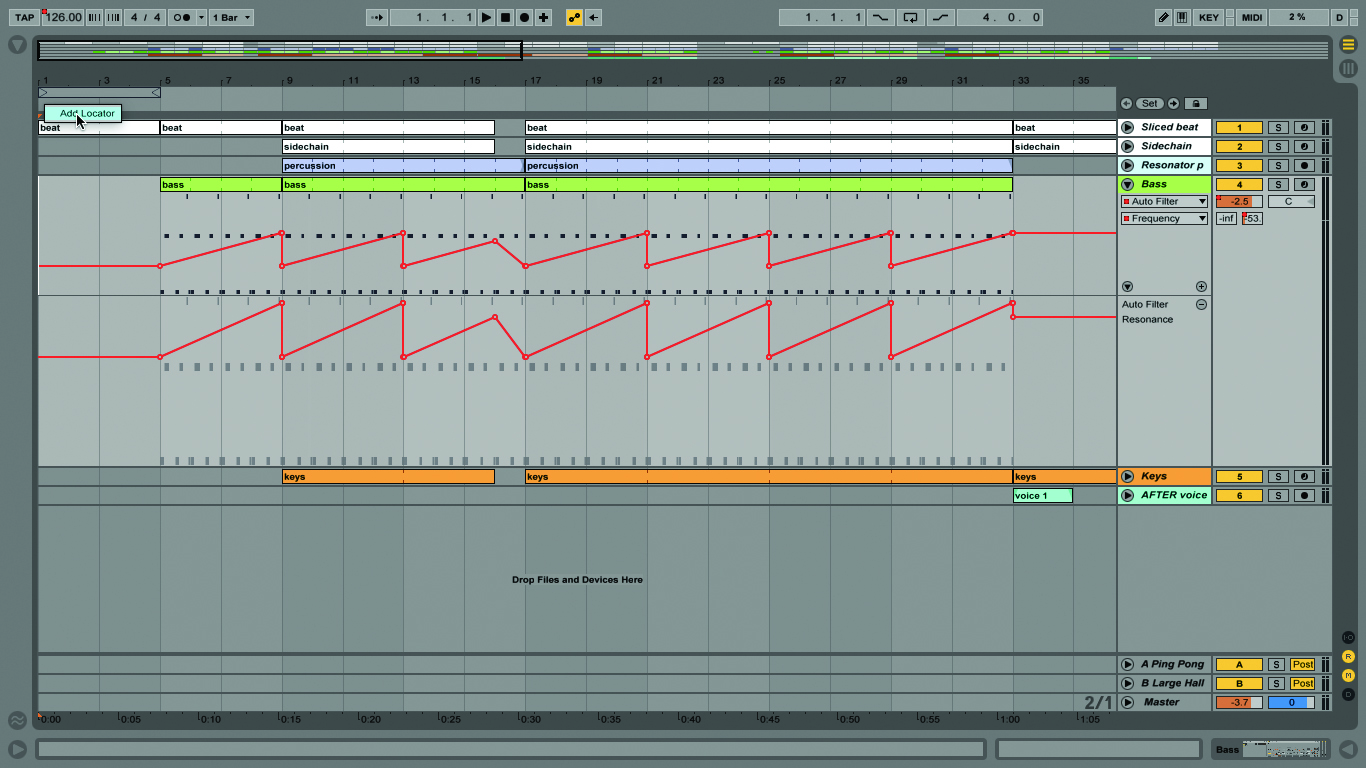
17: Unfold the bass track. Click and drag from the start of bar 55 for 2 beats. Copy with Cmd>C. Paste with Cmd>V at bar 53 and 54. Check out the automation!
18: Sometimes it helps to label song sections using locators. Right-Click above the timeline, choose Insert Locator, then rename it something helpful. Repeat as desired throughout the song. Use the Arrows to navigate the locators.
