Ableton Live Tutorial: Follow Actions
It’s so easy to let software lock everything down nice and tight and be predictable. And yet, says Martin Delaney, Follow Actions don’t have to be like that… For this tutorial you will need the project file – download from here Follow Actions are settings we can make in Ableton Live’s Session View clips that […]
It’s so easy to let software lock everything down nice and tight and be predictable. And yet, says Martin Delaney, Follow Actions don’t have to be like that…
For this tutorial you will need the project file – download from here
Follow Actions are settings we can make in Ableton Live’s Session View clips that determine how and when one playing clip will automatically move on to another, and what will happen when it gets there.
We can use Follow Actions for creative purposes, such as in evolving sound-art installations, or to create unpredictable sequences of instrument parts: but we can also use them as purely practical tools, for example creating timed intervals in a live performance – they’re very flexible.
Follow Actions can be thought of as Ableton’s take on generative music – music which composes or arranges itself in a semi-automatic way. Brian Eno fans will know what I’m talking about.
Go back to his Discreet Music album from 1975, which would’ve been made with hardware devices and tape in those days, to the Generative Music 1 album from 1996, which he made using SSEYO’s Koan software. If you want to get some of that old-school Eno action, Koan evolved into Noatikl 3, and it’s still available from www.intermorphic.com.
Follow Actions only work in Session View, and only vertically with adjoining clips in the same track. If or when the Follow Action clips arrive at an empty clip slot, they stop, so that’s worth remembering when you’re trying to prevent Follow Actions from running on into the ‘wrong’ areas of your set.
Follow Actions let your clips behave in a genuinely random way, or you can limit their freedom by applying two different Chance values, and combining two different behaviours, selecting from Stop, Play Again, Previous, Next, First, Last, Any, and Other. I guess those names are mostly self-explanatory, although the difference between Any and Other is that with an Any Follow Action there’s a chance it will play the current one again immediately, whereas with Other, it’ll never repeat the current one straight after playing it once. Personally, I lean towards Other and the more random selections in general, as that’s what I like about them in the first place!
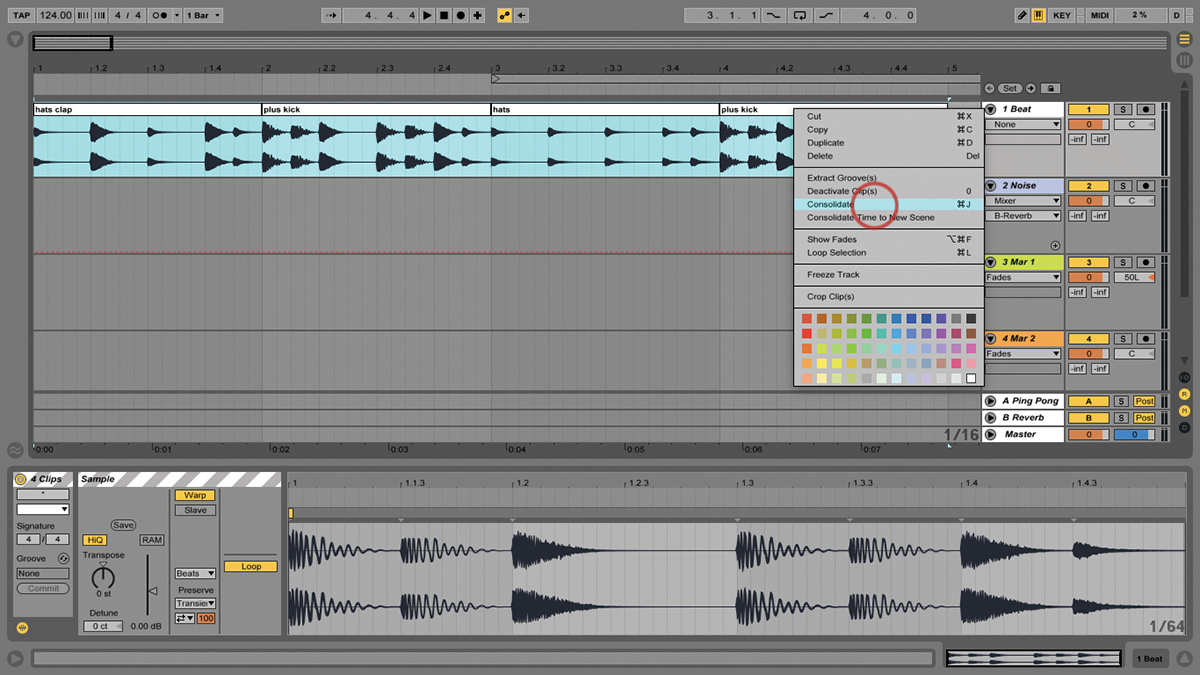
Just like (nearly) everything in Live, Follow Actions can be recorded, in this case, into the Arrangement View timeline. One of my favourite Follow Action moments is to trigger and record a group of clips which have short Follow Actions of 1 or 2 beats, then go to the Arrangement View, select the captured clips, and consolidate them, creating one new clip which contains all of those little parts – this works equally well with MIDI or audio clips.
If you prefer to do it all inside Session View, like maybe during a live performance, you could create a new audio track, and use the resampling option to capture either the entire mix back into the new track, or else just select the source track with Follow Actions, and record it as incoming ‘live’ audio.
These are great techniques if you’re stuck on a project and you need a new sound, a new perspective, or just a bit of spontaneous reorganisation. Plus, of course (unless you choose not to let them), Follow Actions are always synced to the rest of your project. Follow Actions are really hypnotic and totally addictive – it’s as though we can use an arpeggiator on Live clips.
It can get even more hypnotic, though, if we use more than one track of them at the same time. Of course, two (or more) tracks of randomly launching clips have far more potential for non-repeating patterns.
As stated in the tutorial, though, there is also more risk of sounds clashing then, so you can’t always just dump two lots of sounds into parallel tracks and expect them to play nicely together – you might have to tinker with the timings, and adjust parameters and EQ to get a nice fit – basic mixing, in other words.
You can blur the lines between organisation and chaos by adjusting the Chance settings for each action – an action assigned to a value of ‘0’ will never happen, while identical Chance values will give an equal likelihood of occurrence.
But going further, you can dictate specific steps and create regular, predictable, outcomes, so you can have a set of instrument parts that play and move on of their own accord while you sing or play along, like a little interactive backing track.
You want a clip to stop playing after eight bars? Easy. You can always add empty MIDI clips, or silenced audio clips, to insert timed pauses or breaks into the flow as well. Taken to extremes, you could have just one track that plays through an entire song structure following just one click to launch the first scene – especially if you combine with instruments racks, Simpler, and the Chain Select Envelope so you can have different clips loading different instruments, audio loops (that’s why I mentioned Simpler), and audio effects!
It’s as always with Live: the individual features are really cool, but once you get the combinations going, it comes alive. You might have noticed that I’m quite partial to Follow Actions. It’s true, I’m a fanboy, and not ashamed to admit it. Follow Actions are built into every version of Live, and you don’t need any extra hardware or plug-ins, just some audio or MIDI clips to play with. No matter how you use Live, there’s room for Follow Actions in your workflow.
Focus On – Going Out Of The Box
Follow Actions get even better when you integrate them into a larger setup. Why not send notes from those randomly launching MIDI clips out to connected hardware synths and drum machines? You can randomise your hardware, too – just use Live’s External Instrument device in each of your Follow Action tracks.
Use Program Changes in the clips to load specific hardware presets on-demand, and of course Clip Envelopes to send automated parameter changes. This is all pretty easy to organise, though you might have to check your hardware manuals to get the correct information about MIDI channels, Program Changes, and control messages.
Follow Actions – Step by Step
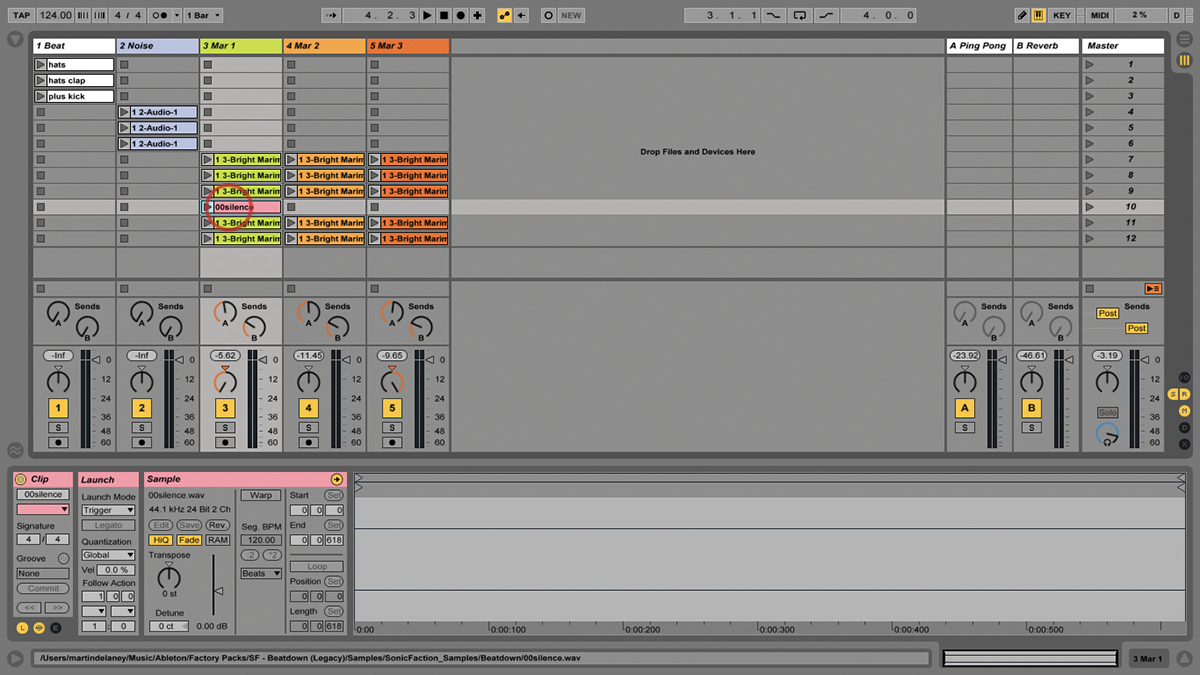
1: We’ll be using Follow Actions in Session View to create random and not-so-random behaviour between adjoining clips in the same track. You should use the example Live set provided.
2: Let’s use the three adjoining white clips in track 1. Click to select the top clip, then hold down Shift and click on the bottom one: this will highlight all of the clips in that block.

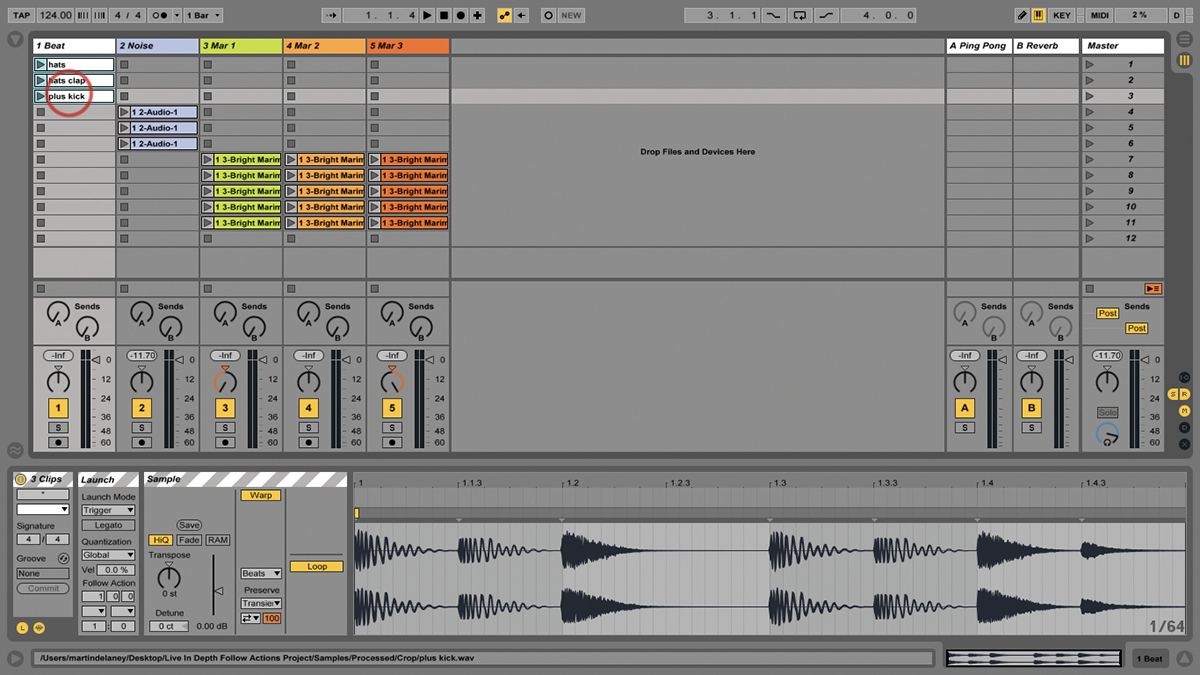
3: If you’re not seeing the Clip View, click the Clip View Selector near the bottom right. Also make sure you can see the Launch Box – you might need to click the small L button at bottom left.
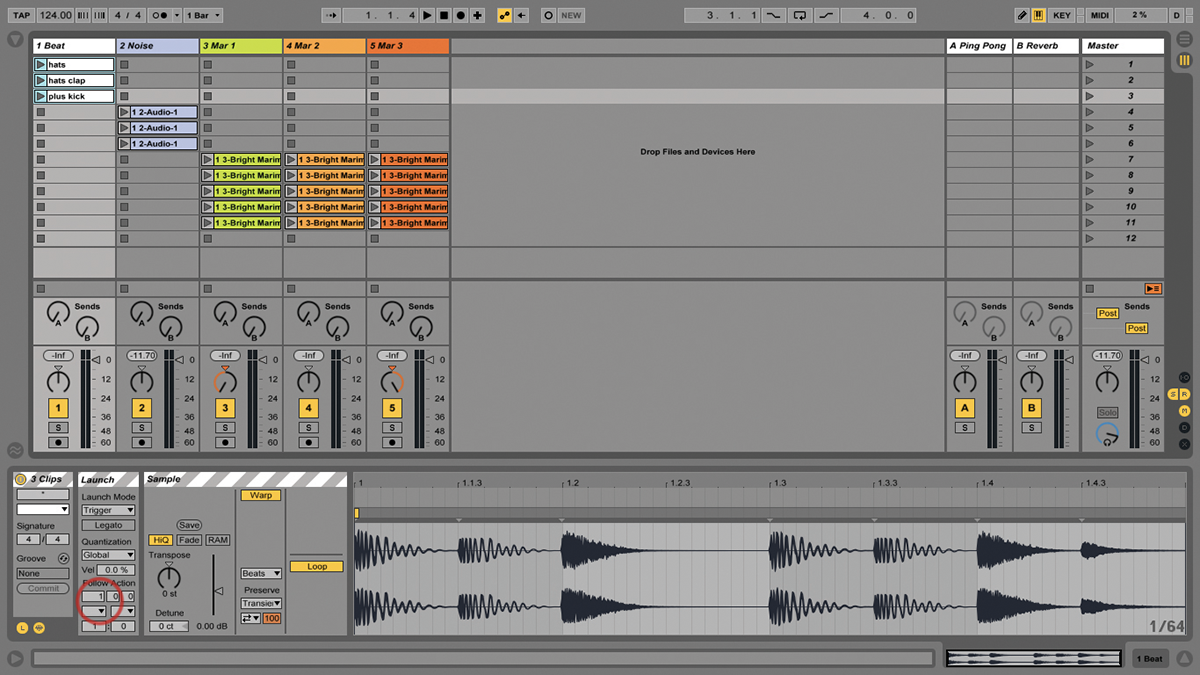
4: You can see a section of Follow Action controls in the Launch Box. The top three relate to timing – how long the clip will play before Follow Action occurs, in bars/beats/16ths. Leave that for now.
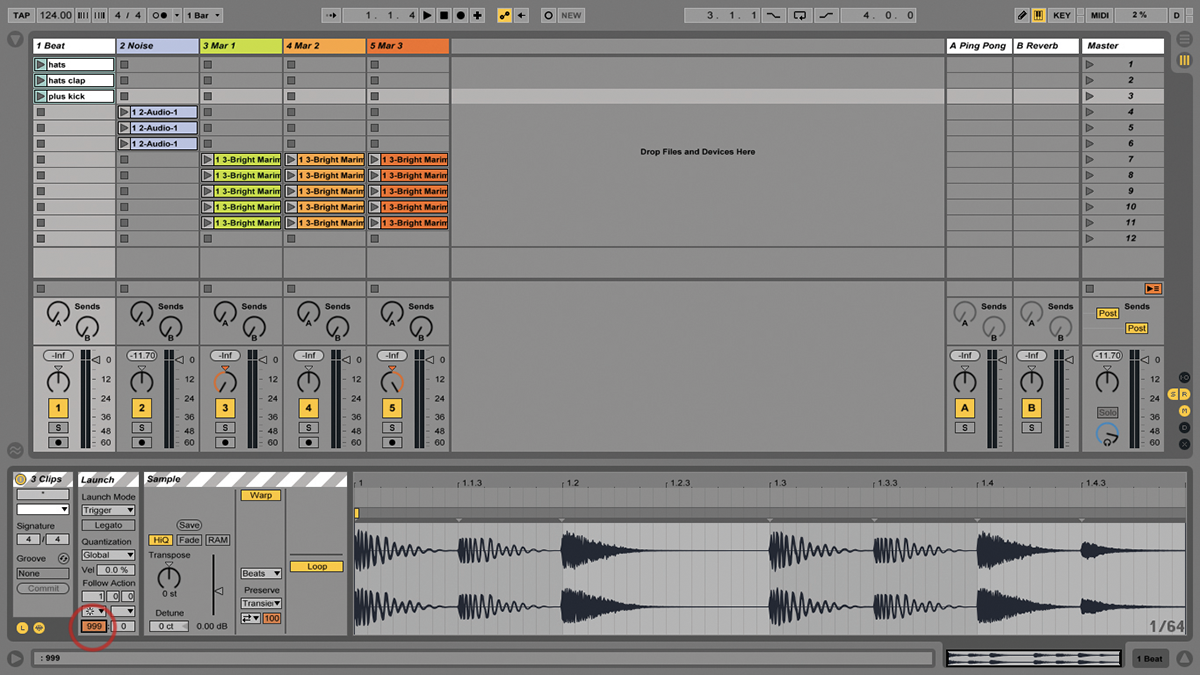
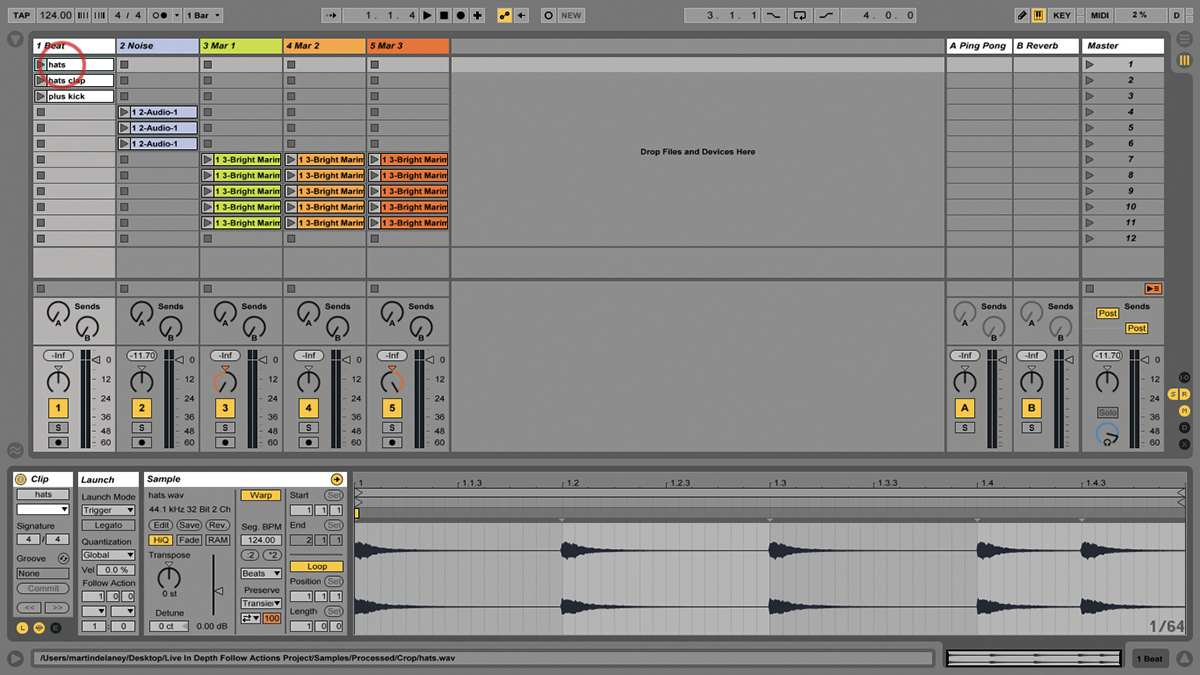
5: The middle boxes let you choose what the Follow Action will be. For now, choose ‘Other’ from the first box and leave the second one. Finally, choose a Chance value – set it to max out at 999.
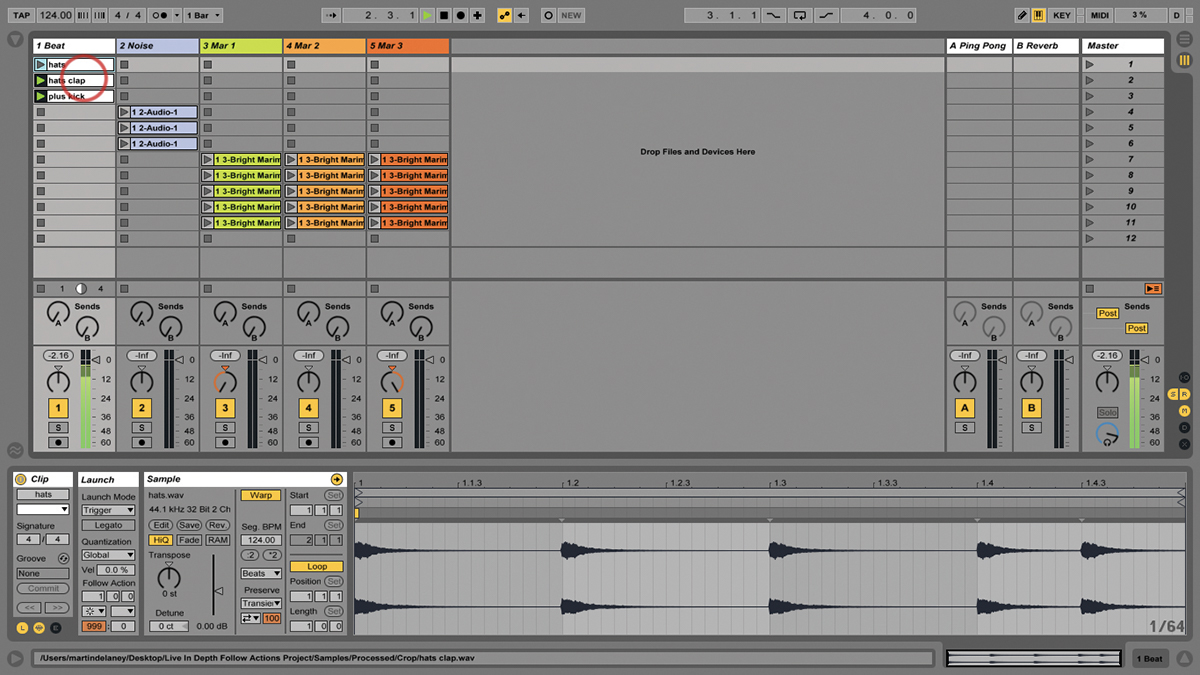
6: Launch one of those clips and Follow Actions begin – they’ll play in a random order, and keep going forever unless you stop them. You could hit record and capture them into the Arrangement View.
Click Here To Continue
