Weekend Workshop: Colour processing
Change your mindset and rework an old track in this tutorial.
Weekend Workshop Colour processing
In this Weekend Workshop, we invite you to change your mindset. We want to push you out of your comfort zone and make you rethink the way you approach sound.
We’re going to think about sound in terms of ‘colour’.
There are infinite ways to affect the colour of a sound when recording. Take, for example, a vocal part. You’ve got the fundamental choice of who you want to sing a part, how they deliver the take and where you record them. Which microphone are you going to use? Where are you going to place it? Which preamp are you going to use? Are you going to hit a compressor while tracking? Are you recording to tape or DAW? Which tape machine or converters? Even in the seemingly simple process of recording a singer, you’re making dozens of choices, some of them probably subconsciously, and each one of them is affecting the overall sound of your music.
To use the obvious visual art analogy: if you were a painter, would you want to use the same palette of colours for every painting? Or would you prefer to mix it up occasionally? Both are entirely valid artistic decisions, but restricting yourself to a limited colour palette might, in turn, limit the amount of artistic expression you have.
Similar principles apply to sound, but what’s interesting is how rarely we question the process. Even the most experienced musicians, producers and engineers fall into routines. Maybe a Les Paul through a Marshall stack is the best guitar tone for your next solo, but perhaps you need to take a step back and consider whether there’s a different and more unusual option this time?
But what about working in the box? There are thousands of ways to tweak and sculpt the timbre and tonality of sounds in the box, whether they’re samples, synths, existing recordings or complete mixes. We could call this colour processing, a term for which there’s no strict definition. Still, as a rule of thumb, we’re generally talking about quite delicate changes in timbre and possibly dynamics: EQs, maybe subtle filters, compression, saturation (although not too much), tape emulation and so on.
The critical point to make here is that we’re not talking about using effects that produce massive, dramatic changes to the sound or add elements. Ambience effects like reverb and delays are almost certainly a bit too obvious and heavy-handed to count – likewise modulation effects such as chorus and flanging, or in-your-face filter manipulation. We don’t want to add to the sounds or completely transform them, so much as add character and shape their tone.
What you’ll need:
- A DAW
- A VCA-style compressor plug-in (Acustica Audio Tan)
- A Pultec EQ emulation plug-in (Rare by Analogue Obsession)
- A bitcrusher plug-in (Krush by Tritik)
- A tape emulation plug-in (CHOW Tape Model or Caelum Audio’s TapeCassette2)
In this tutorial, we’re going to start with a simple loop, and colour process each of its elements in turn, twisting the sound into something subtly but distinctly different. We want to hear your examples of how you’ve taken your sounds and mixes and changed their colour, but first, let’s run through some examples of how it can be done.
Here’s our original loop:
1. Drums: colour compression
We’ll start with our drum sub-mix, processing the whole thing in one go. Here’s how it sounds soloed, a fairly sparse sample-based pattern with an R&B feel and some nice lo-fi artefacts on some of the hits:
Drum bus compression is a standard technique used in most mixdown processes, but it’s usually considered a dynamic process rather than a colour process. Typically you’re thinking in terms of glueing the drum elements together, maybe adding a little punch and loudness to the mix. A typical choice would be a VCA-style stereo compressor, which might colour the sound a little, but the colouration isn’t the primary objective.
However, for this example, we are specifically thinking about it in terms of colour first, and dynamics second. The dynamics will probably still be affected most of the time when you think this way, but what’s critical is the change in mindset. It’s possible in some cases to run sounds through analogue-style compressors that colour the sound with minimal impact on the dynamics. But usually, both are happening at the same time.
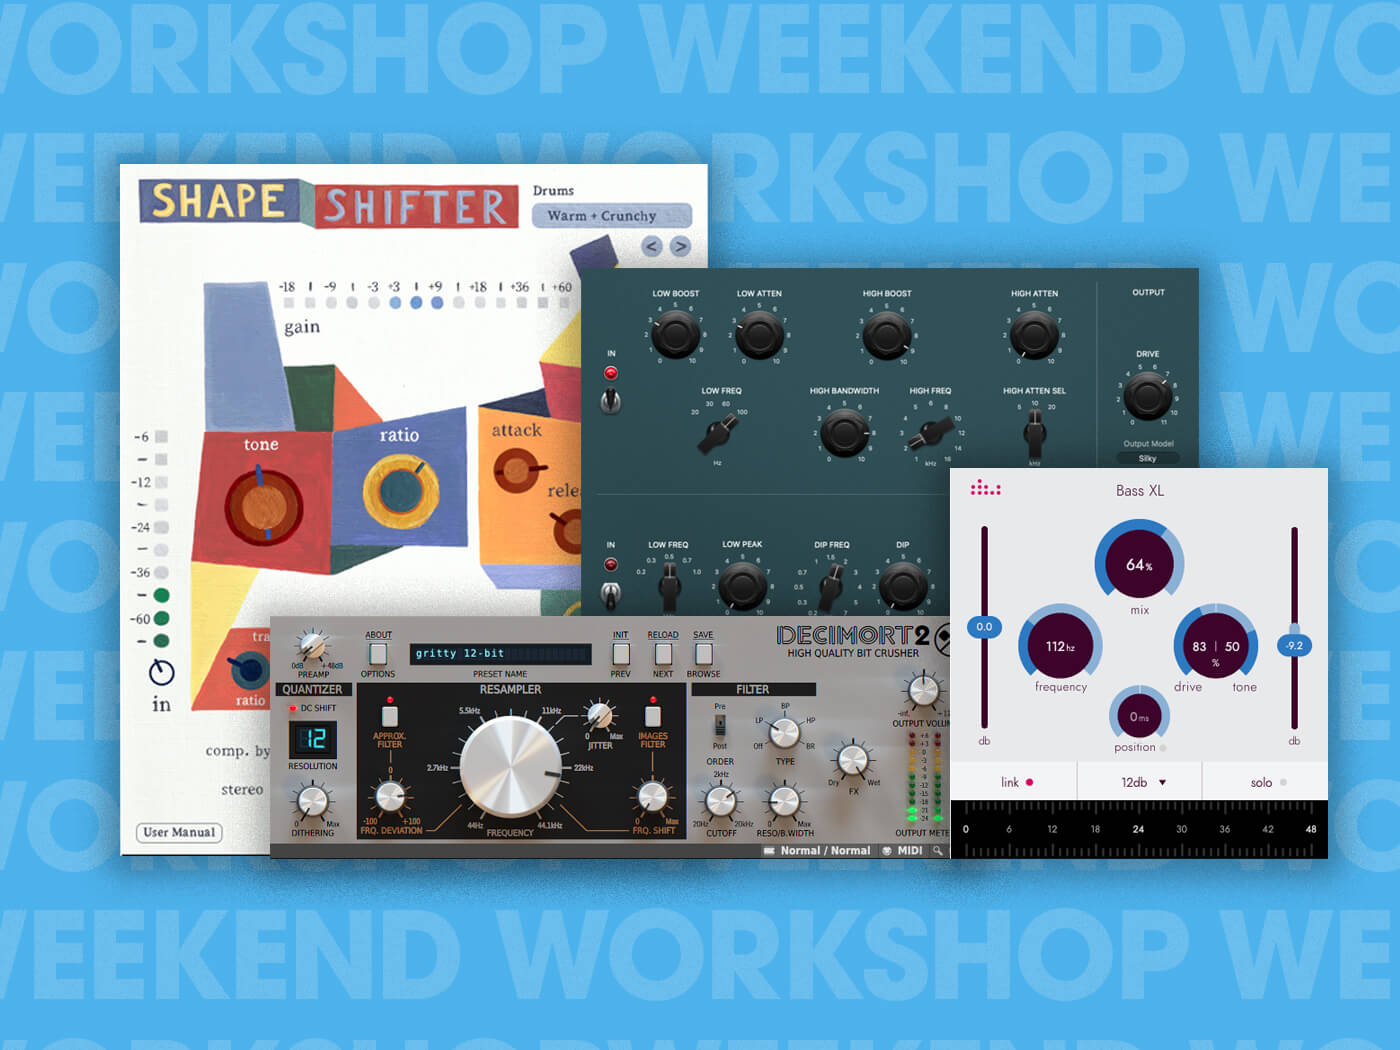
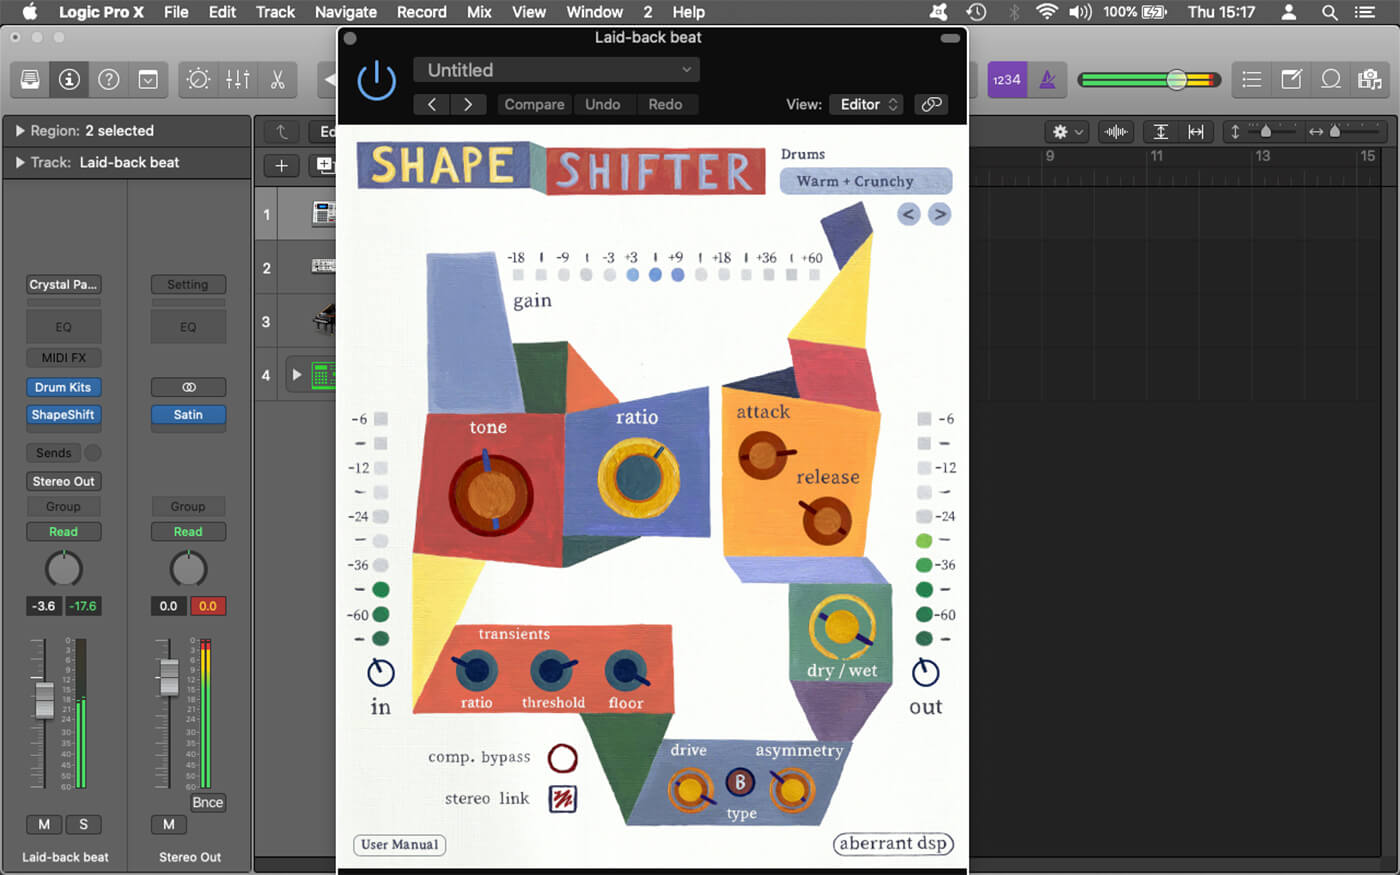
Aberrant’s recently released ShapeShifter compressor is the ideal tool here. It’s been designed as “a toolbox for adding colour, body, and grit to your sounds”. It does standard compression if you want, but it encourages you to think about colour first and foremost, with a tone control that adjusts how the effect compresses and saturates different frequency bands. Here’s what it can do to our drums:
This lightly tweaked Warm + Crunchy preset, which we’ve chosen for our final loop, uses a 4:1 ratio for fairly mild compression but with a lot of drive for a bold tone.
Drums – bigger snare: This ‘Bigger Snare’ setting uses lower drive but much higher ratios on the main compressor circuit and the transient section, plus a faster release for a more intense smack.
Drums – huge and punchy: Somewhere in the middle, the faster attack of this setting gives the effect of squashing the transients more and letting the decay of the drums feel more prominent.
You can achieve a similar effect with a VCA-style compressor in your DAW. A decent free option is Acustica Audio Tan. This plug-in doesn’t have the same tone shaping and saturation options, but listen to the way the tone shift as you change settings, not just the dynamics.
2. Bass: tonal changes

Next up, it’s time for our bass part. Here it is before processing, a bit harsh and flabby:
We’re huge fans of effects that simplify complex processes, and Berlin software brand Denise’s Bass XL plugin is a great example. It’s a combination of compression, EQ, saturation and filtering in one, designed specifically for bass sounds. It’s incredibly easy to use and, unlike using all those different effects separately, you don’t need to think too hard about how you’re shaping the colour of your sound: just twist the dials and you can immediately hear results, which are usually very good no matter what you do to the settings.
Here’s what Bass XL does to our bass part:
For our chosen setting we’ve boosted around 110 Hz with quite a lot of drive but only 63% wet signal, which has the nice effect of softening the harshness of the bass sound, warming it up and adding presence.
Boosting at 200 Hz, fully wet signal, gives a noticeably different tone and colour, emphasising overtones with an almost wah-like effect.
For more of a sub-bass effect, we can boost way down at 40 Hz, this time with very little drive and a shallow filter slope for a more rounded, weighty bottom end.
3. Electric piano: colour equalisation
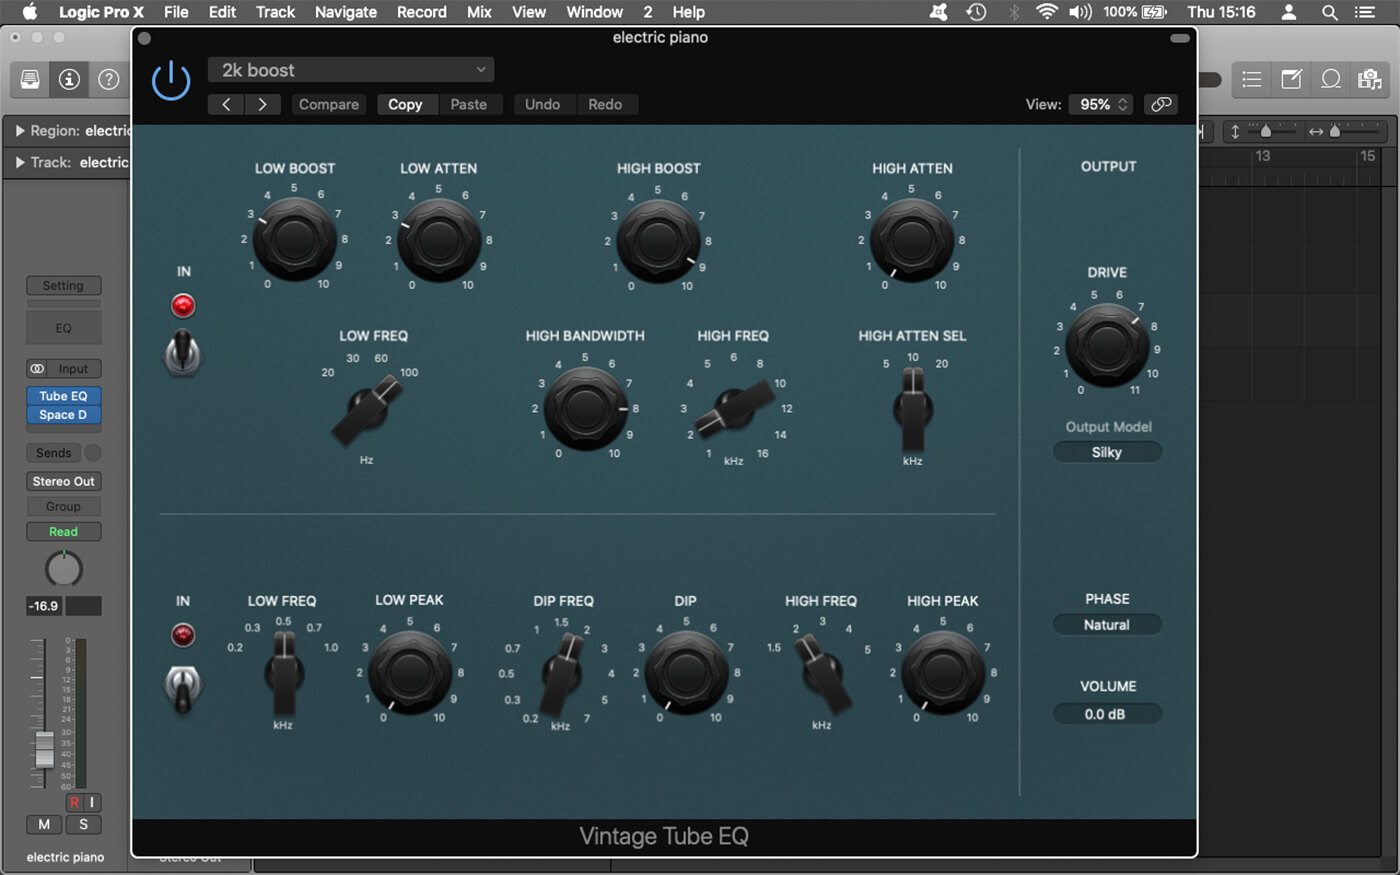
EQ effects fall into two general categories: clean and precise, or coloured and imprecise. Here we’ll use Logic’s built-in Tube EQ, a vintage model loosely based on the iconic Pultec equalisers of the 1950s, packed full of valve-style character and with big, broad controls rather than forensically detailed bands and narrow Q. You can probably guess which category it fits into. If you’re not running Logic, Rare by Analogue Obsession is a reliable, free substitute.
Here’s what our piano part sounds with a little plate reverb, but before EQ has been applied:
And here with a healthy dose of 2kHz boost and a few other tweaks to add presence and colour (we’ve put the EQ in the chain before the reverb insert):
Because we’re not looking for surgical, uncoloured EQ here, we can take some liberties with the settings. Feel free to break the rules of conventional EQing; boost liberally if it sounds good, dial in the ‘wrong’ frequencies, if you want. We’re looking to add colour, rather than shape the sound to fit the mix, and you can always add a clean EQ afterwards to make it fit into the mix.
This is also a good reminder that you don’t need to spend money to get useful colour processing tools. There are plenty of good options included in all major DAWs these days. An honourable mention here must also go to Ableton Live’s Cabinet effect, which is designed to imitate the sound of a miked-up guitar cab, but works amazingly well as a quick way to change the tonality and colour of any sound. Try it on drum parts, flicking through the different speaker and mic settings and then adjusting the wet/dry mix to taste. It’s a straightforward and effective way to sculpt a sound. We’re big fans. Most DAW’s have a similar effect, so try it out and see if it adds the character you want.
4. Percussion: digital colour shaping
Our percussion part is an ultra-simple quarter-note shaker which serves to add a bit of colour to our drums more than it contributes to the rhythm itself. Here it is in isolation:
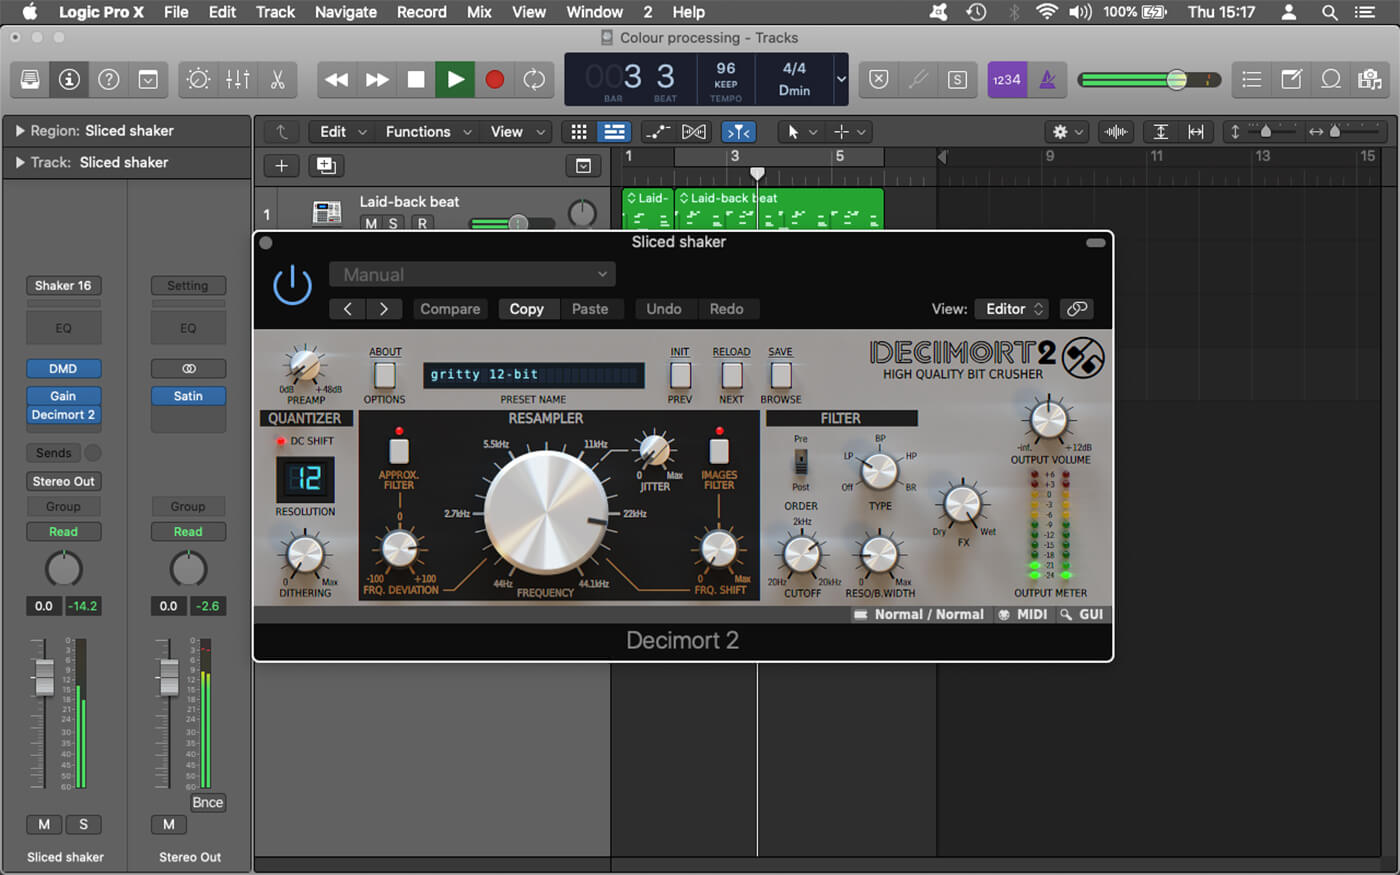
We’re going to go digital and lo-fi here, using a bitcrusher to add some old-school 12-bit tone. There are lots of useful bitcrusher plug-ins on the market (and several free ones including Krush by Tritik) and most DAWs include one as standard. Still, we particularly like the adjustability of D16 Decimort. Here we’ve gone for some subtle grit, but you can go quite extreme with bitcrushing if you want.
Our chosen setting uses 12-bit resolution resampling at a 24 kHz sampling rate, with a 4.5 kHz low-pass filter to give a gritty but not too in-your-face sound.
Based on a mid-90s Ensoniq ASR-10 sampler keyboard, this 16-bit setting gives a much more bright sound that cuts through mixes.
Another emulation of a classic sampler, this setting based on the Akai MPC60 is 12-bit again but with a higher re-sampling rate (35 kHz) and no filtering for more sizzle and artefacts.
Taking things to extremes, an 8-bit setting like this can give crazy grit and colour to a sound. Probably too much for us here but effective in some cases.
5. Mix bus: tape emulation
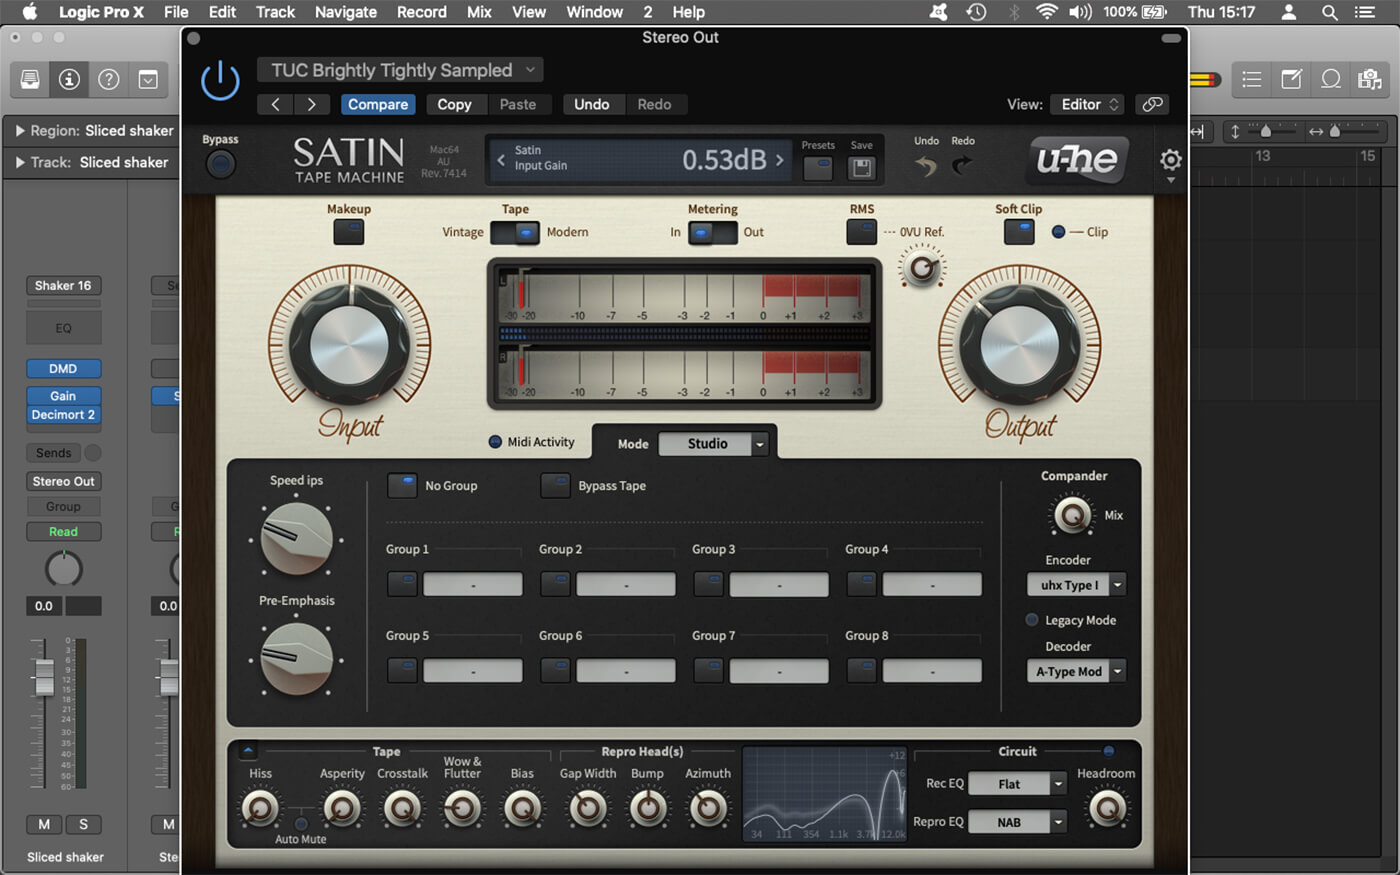
Finally, we’re going to throw a bit of tape emulation onto the mix bus for good measure. This is one of the quickest ways to colour an entire mix, but you should exercise a little bit of caution because tape emulation can quickly smoosh the dynamics and unbalance the frequencies of your mix. Sometimes that’s exactly what you want, of course, but you need to be careful if not. U-he Satin is one of our favourite options here, capable of doing everything from subtle gloss to extreme smashing. There are also freeware options such as CHOW Tape Model and Caelum Audio’s TapeCassette2.
Here’s what our final loop sounds like with all the processing applied. To say that the colour has changed significantly from the original version is an understatement; we’re now in completely different territory without changing a single synth setting, sample or original sound source.
Above all else, what we want you to consider here is that all of these aesthetic choices add up to define the sound of your music. We take a lot of this process for granted, and it’s easy to fall into subconscious patterns of behaviour with your creative process.
Happy colouring!
This weekend’s challenge is to take one of your existing projects and change its colour. Share you before and after versions with us in the MusicTech Creator Community Group on Facebook, and tell us how you broke out of your usual habits.
Check out more Weekend Workshops here.