Weekend Workshop: Advanced modulation and filtering with OB-Xd and free Valhalla effects
Discover the sound-sculpting secrets of this awesome free Oberheim clone.
In the first part of our guide to OB-Xd, DisoDSP’s awesome Oberheim OB-X-inspired synth, we looked at how you could use the instrument’s oscillator, unison and filter settings to create some huge patches, and use a couple of free plug-in effects to get a more polished sound.
In this Weekend Workshop, we’re going to run you through some of the possibilities afforded by the synth’s unorthodox but powerful LFO modulation section, envelope modulation, and multimode filter morphing. What you’ll come out with at the end sounds like this:
We’re going to use Ableton Live for this tutorial, which you can find a project file for here, but you can follow along in any DAW and get the same results. Now let’s make some noise!
What you’ll need:
- A DAW
- DiscoDSP OB-Xd – don’t worry about the ‘buy’ button, the free version can be downloaded by clicking the desired format icon to the left.
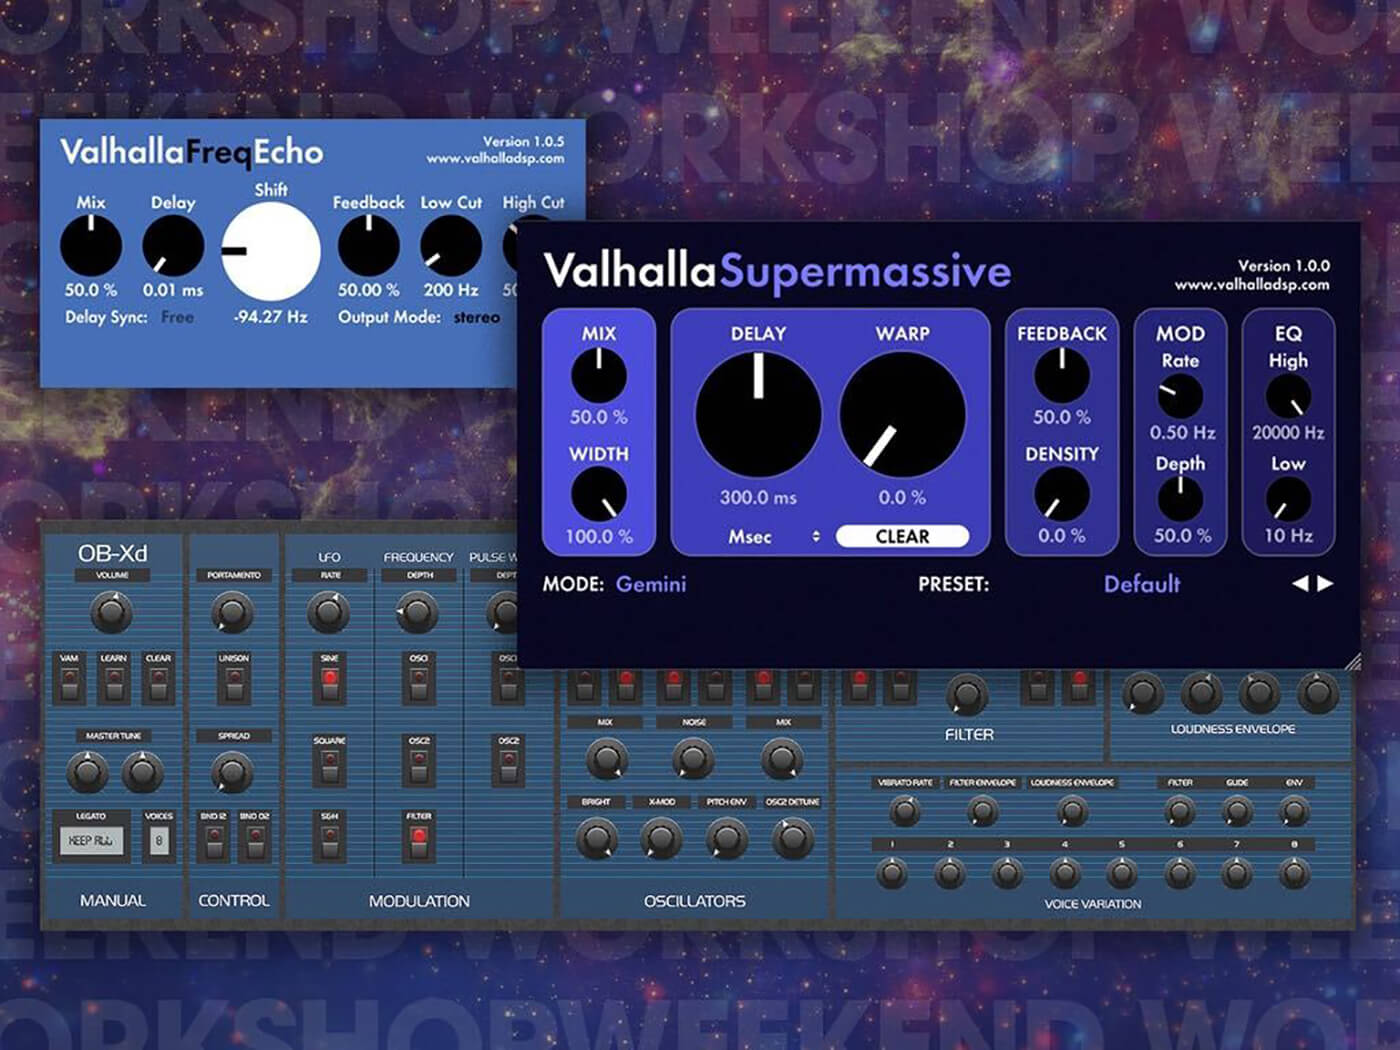
- Valhalla DSP Valhalla Freq Echo and Valhalla Super Massive.
- If you’d like to have some reference to hand you can find the OB-Xd manual here, and the manual for the original OB-X here, though these are very much optional.
1. Basic modulation in OB-Xd
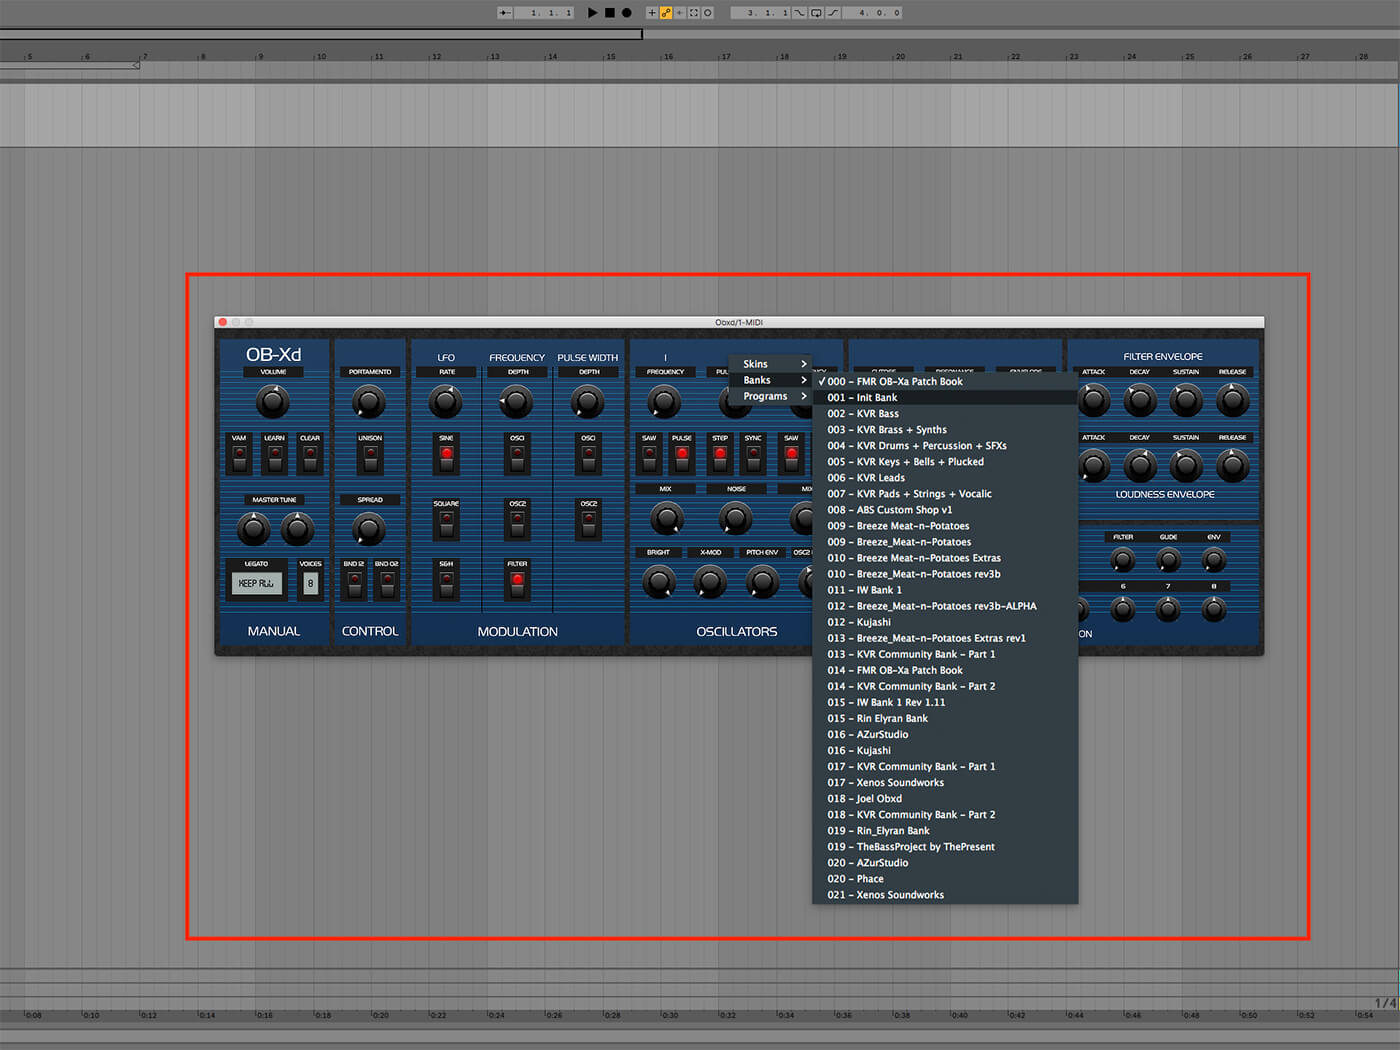
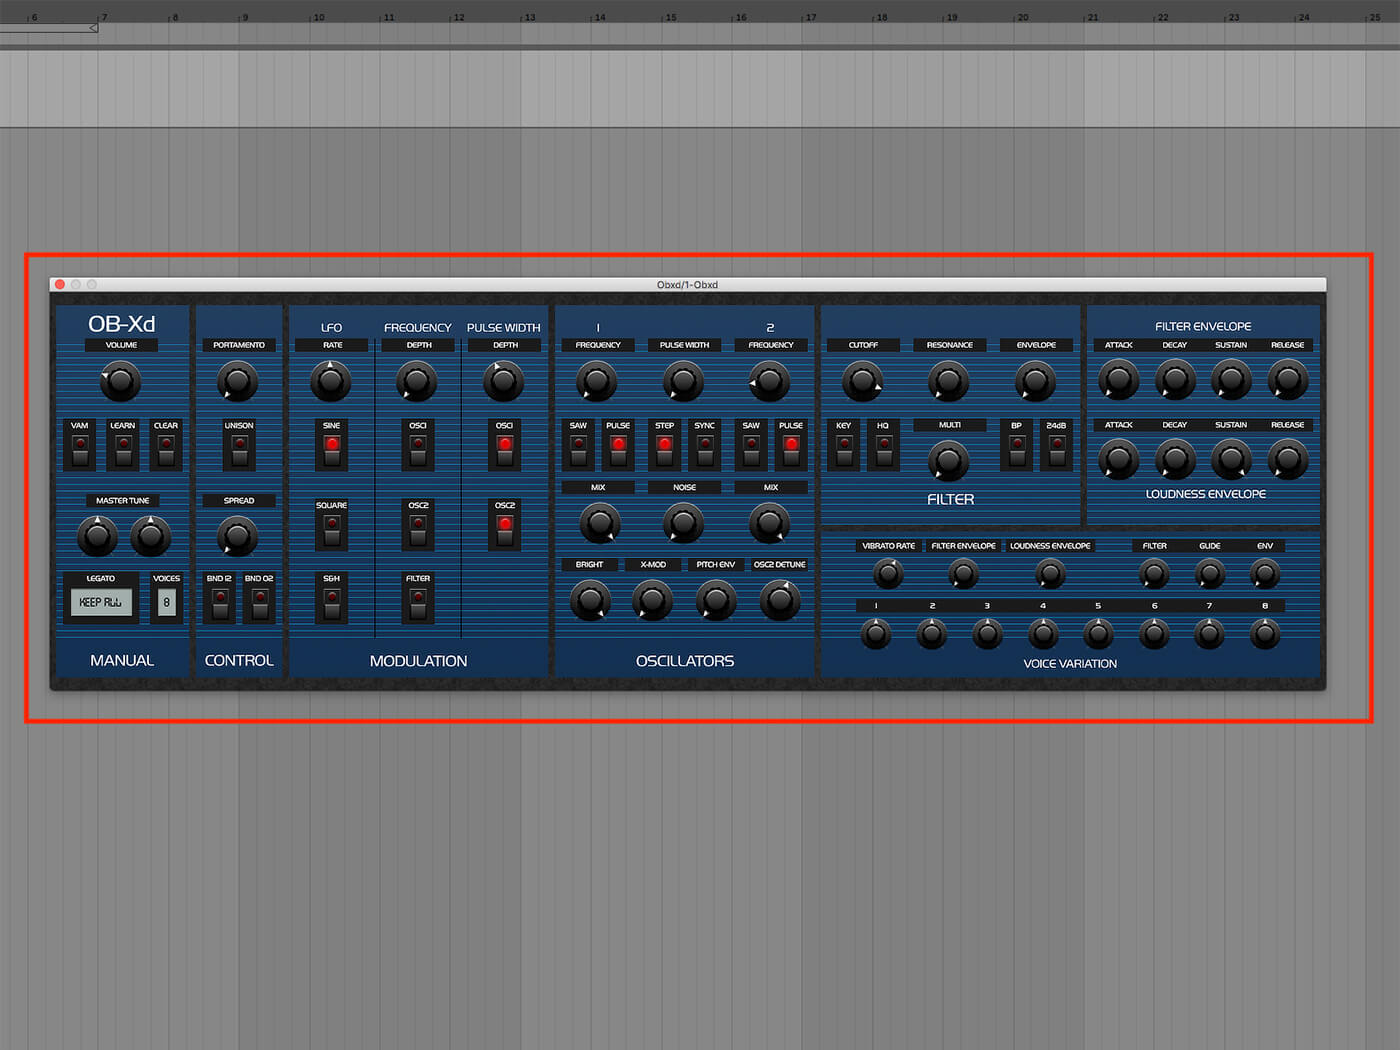
Begin by loading OB-Xd onto an instrument track. We’ll initialise the synth by right-clicking the interface and selecting Banks > 001 Init Bank.
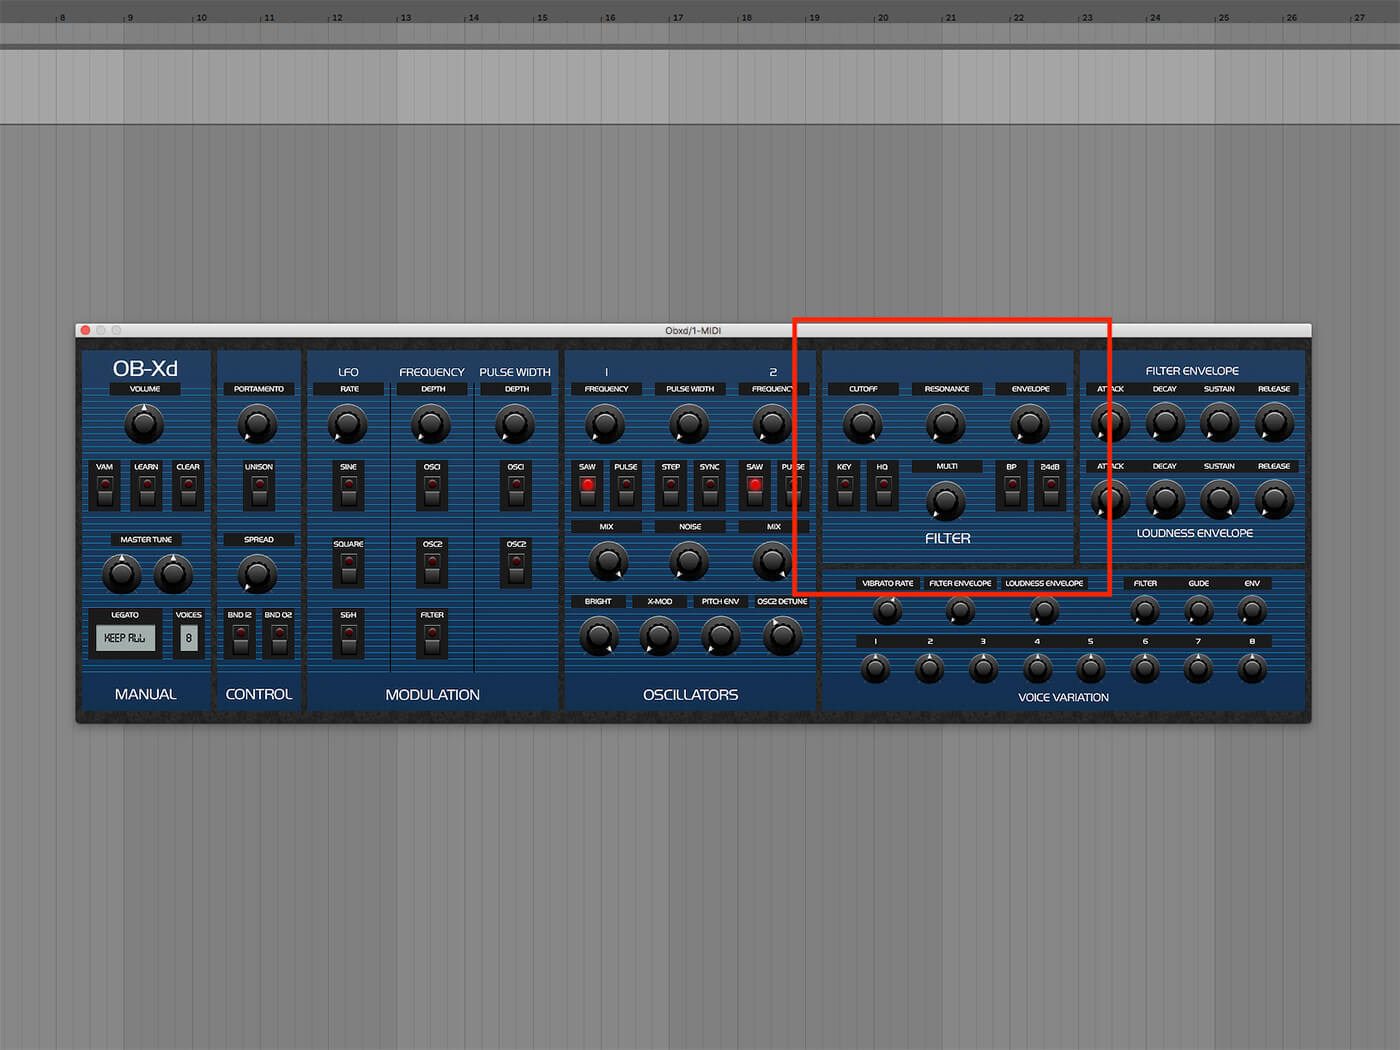
By default, the Cutoff knob in the Filter panel is set to the 12 o’clock position, resulting in a dulled sound. Turn the Cutoff knob all the way up to open up the low-pass filter and hear the oscillator output unfettered.
Currently, we can hear both of OB-Xd’s oscillators. Turn down Oscillator 2’s Mix knob so that we just hear Oscillator 1.
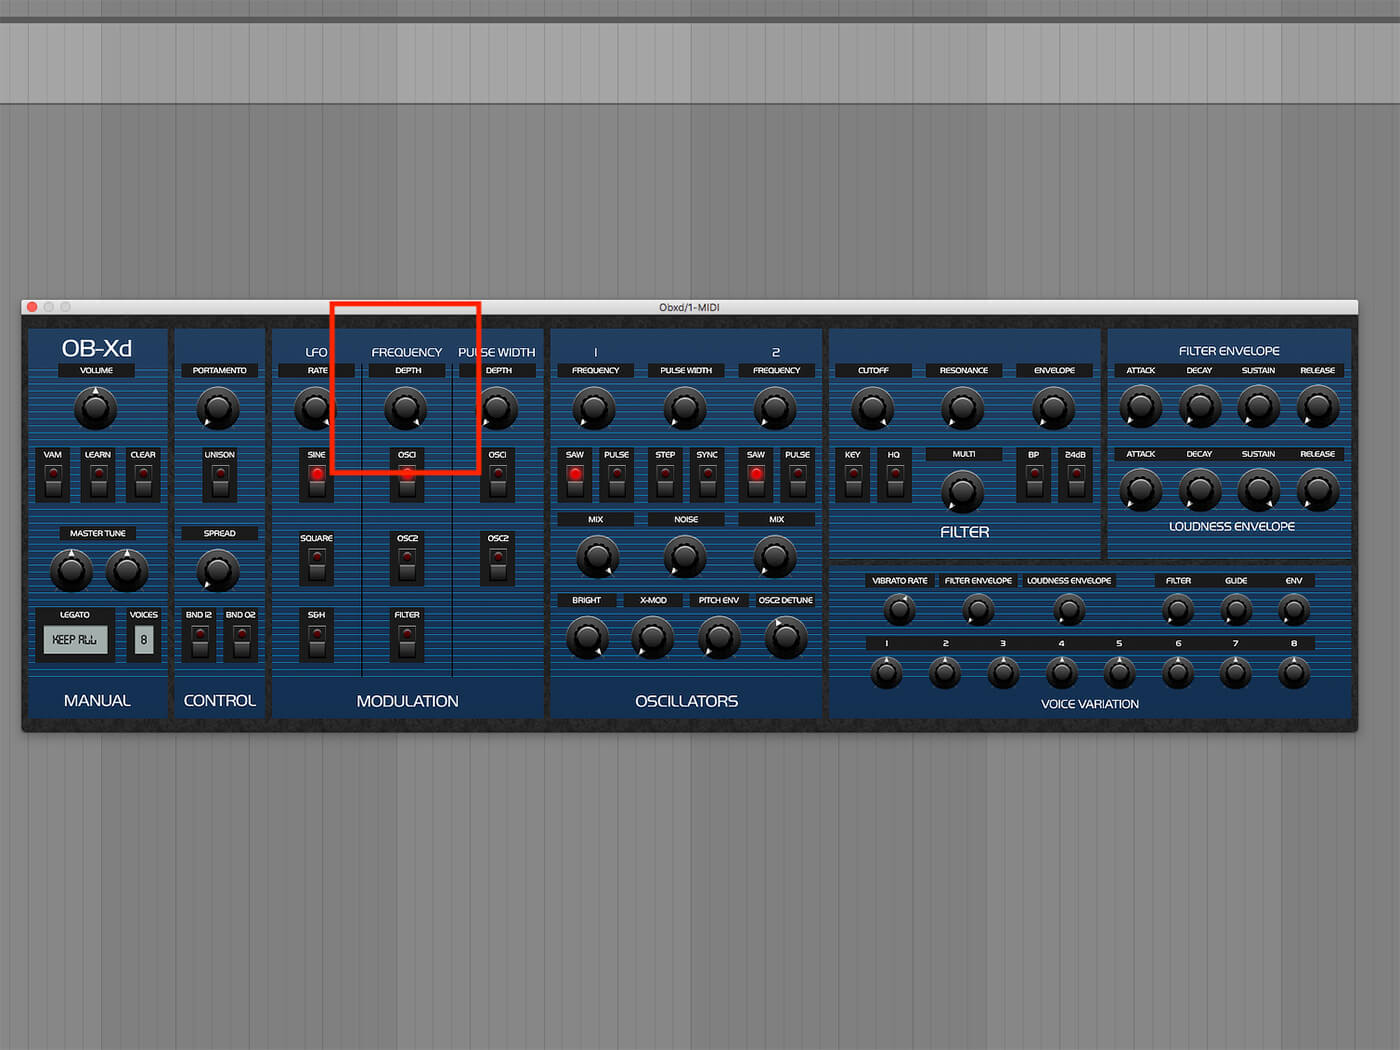
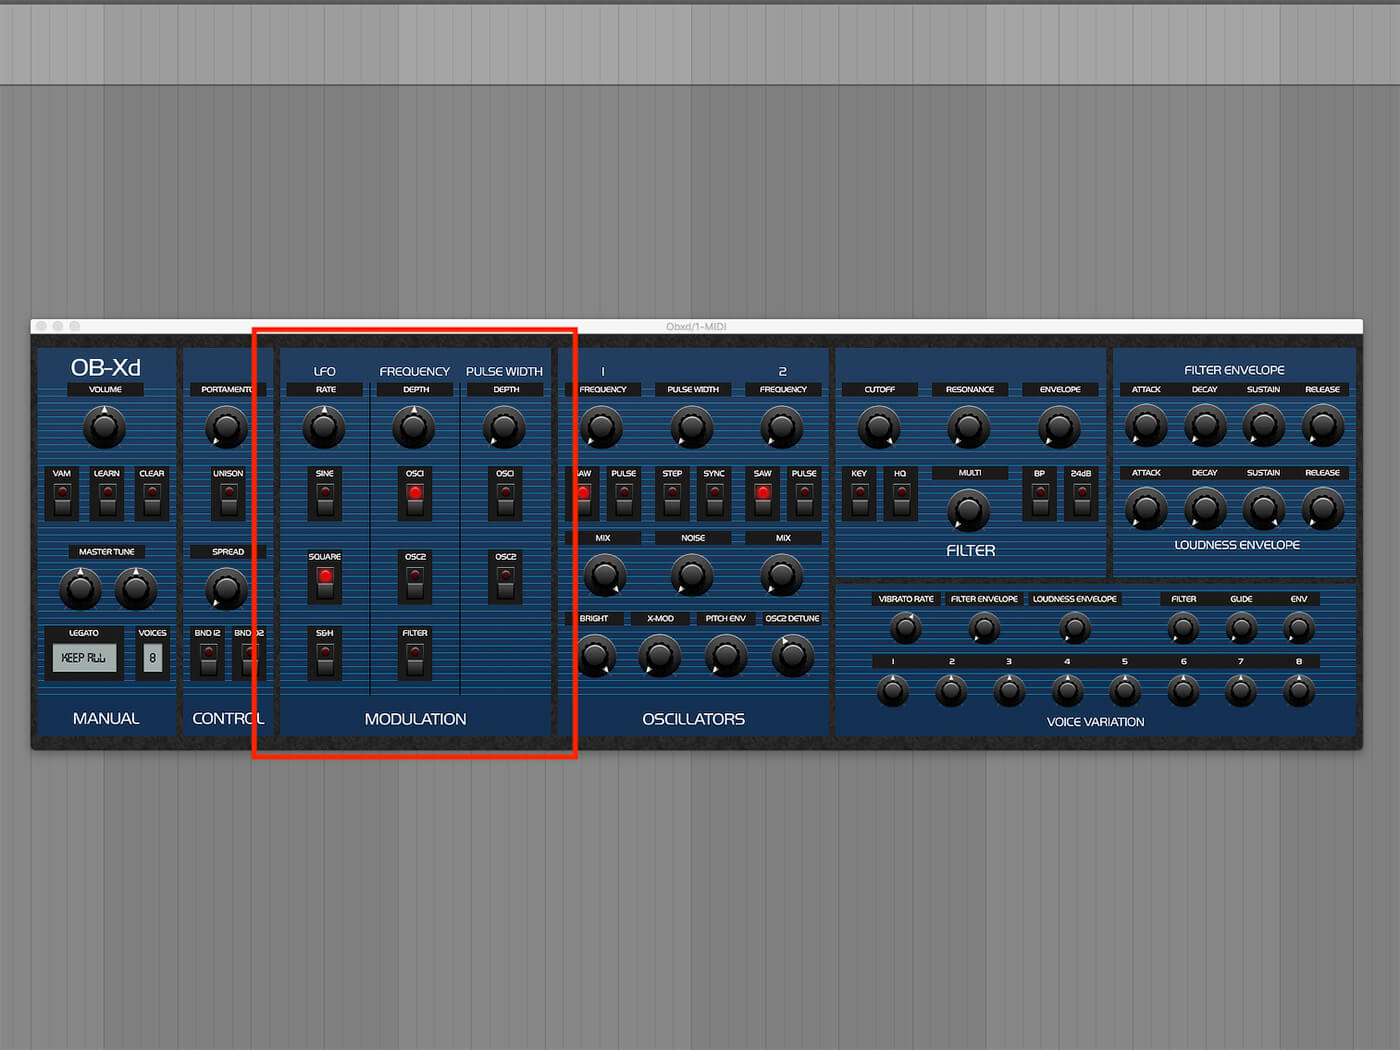
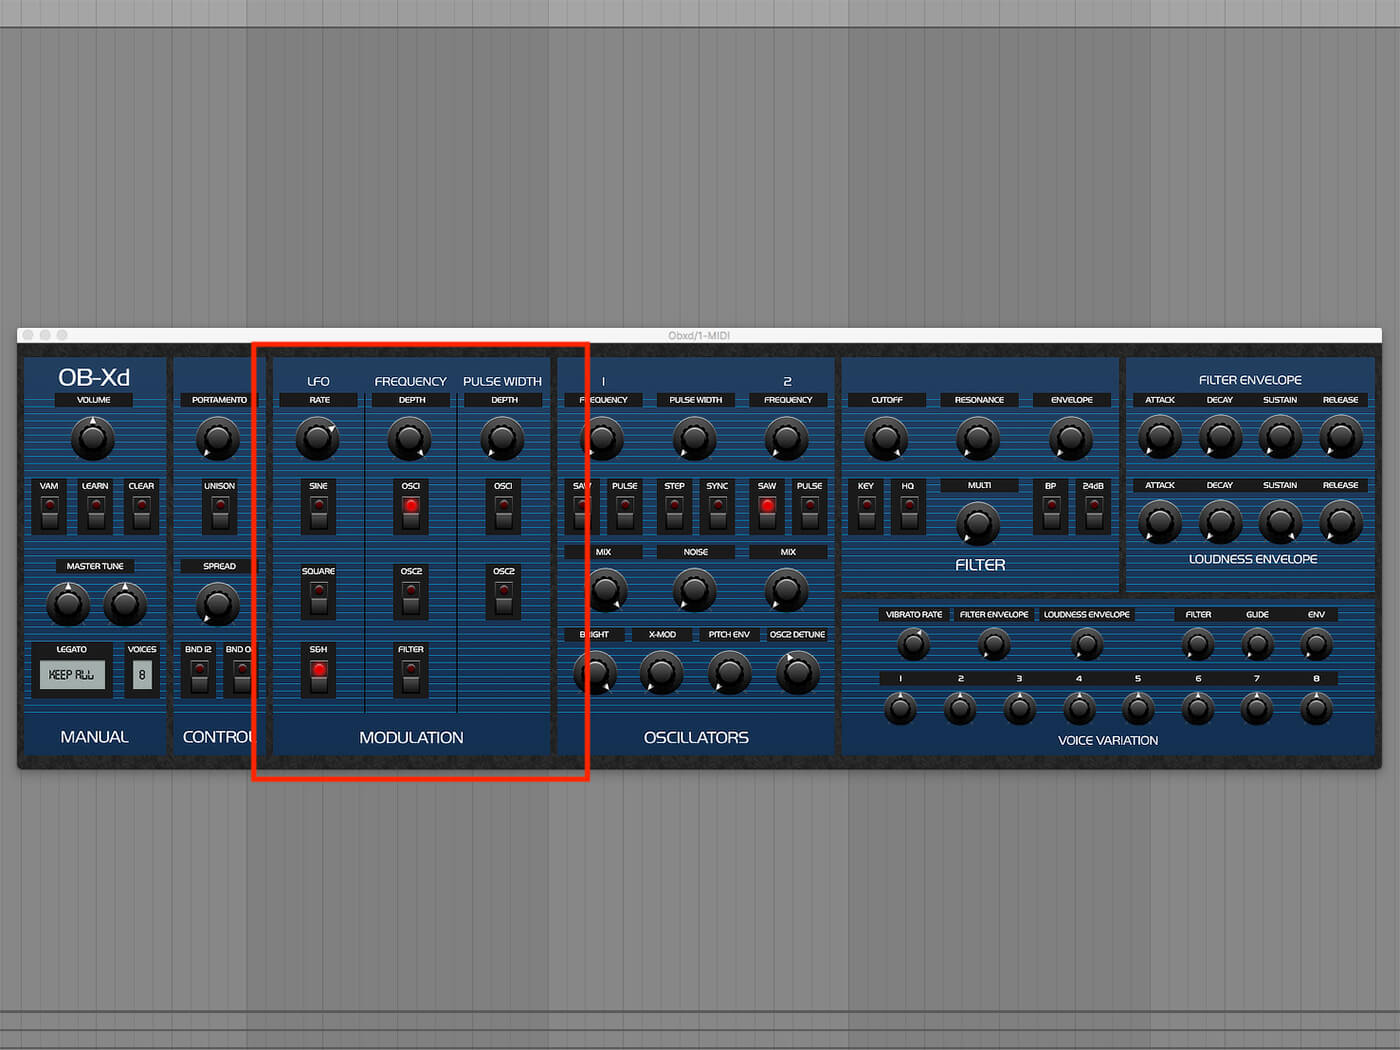
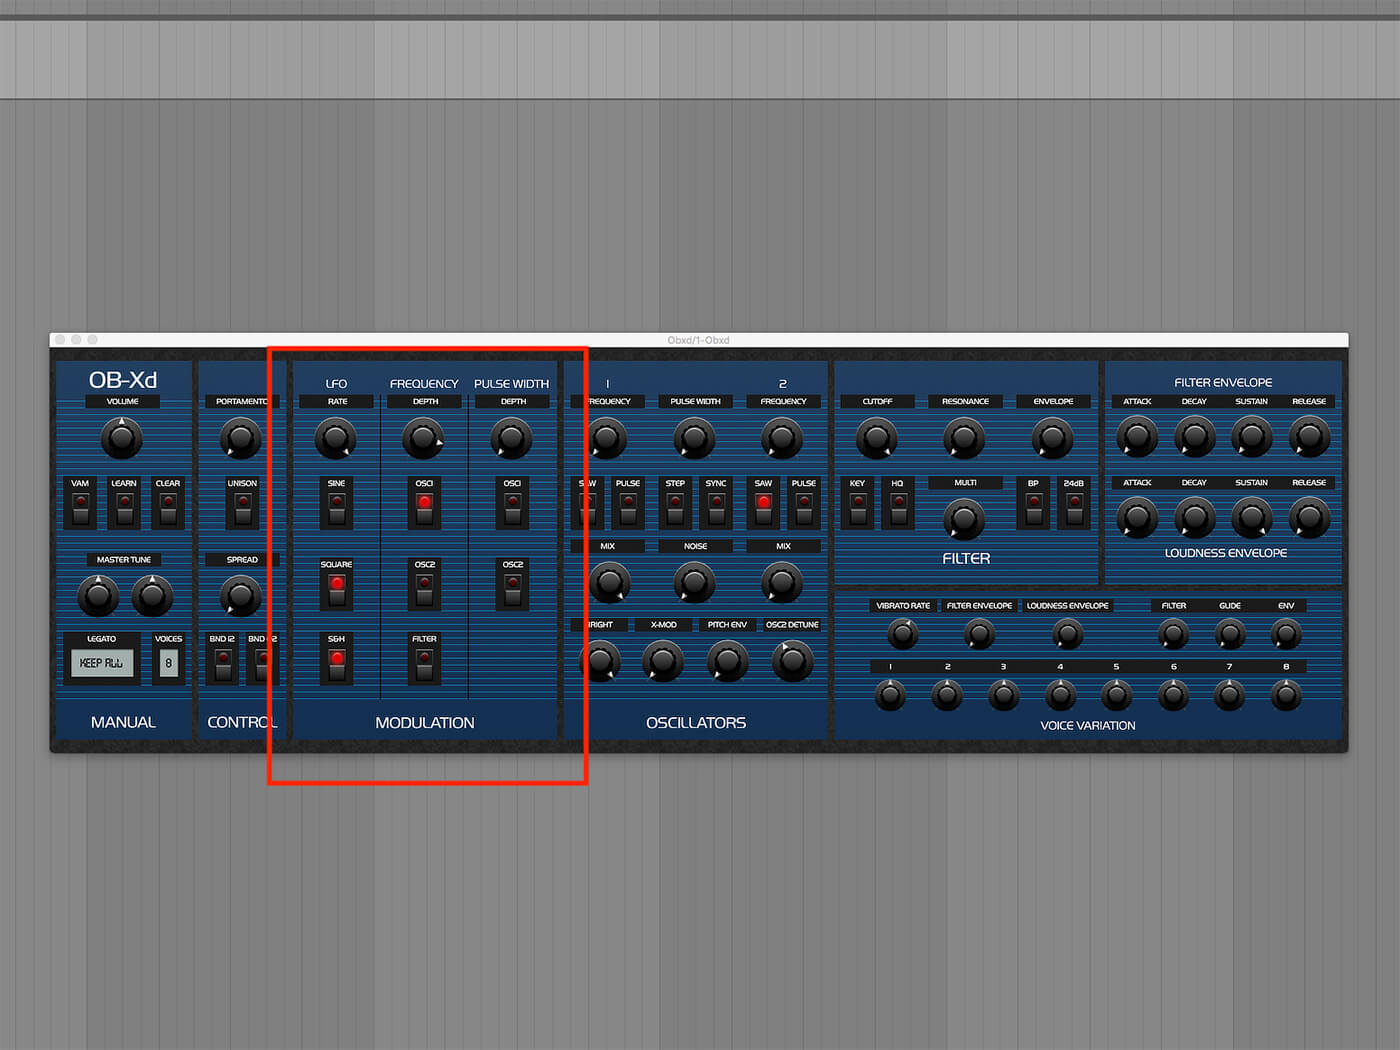
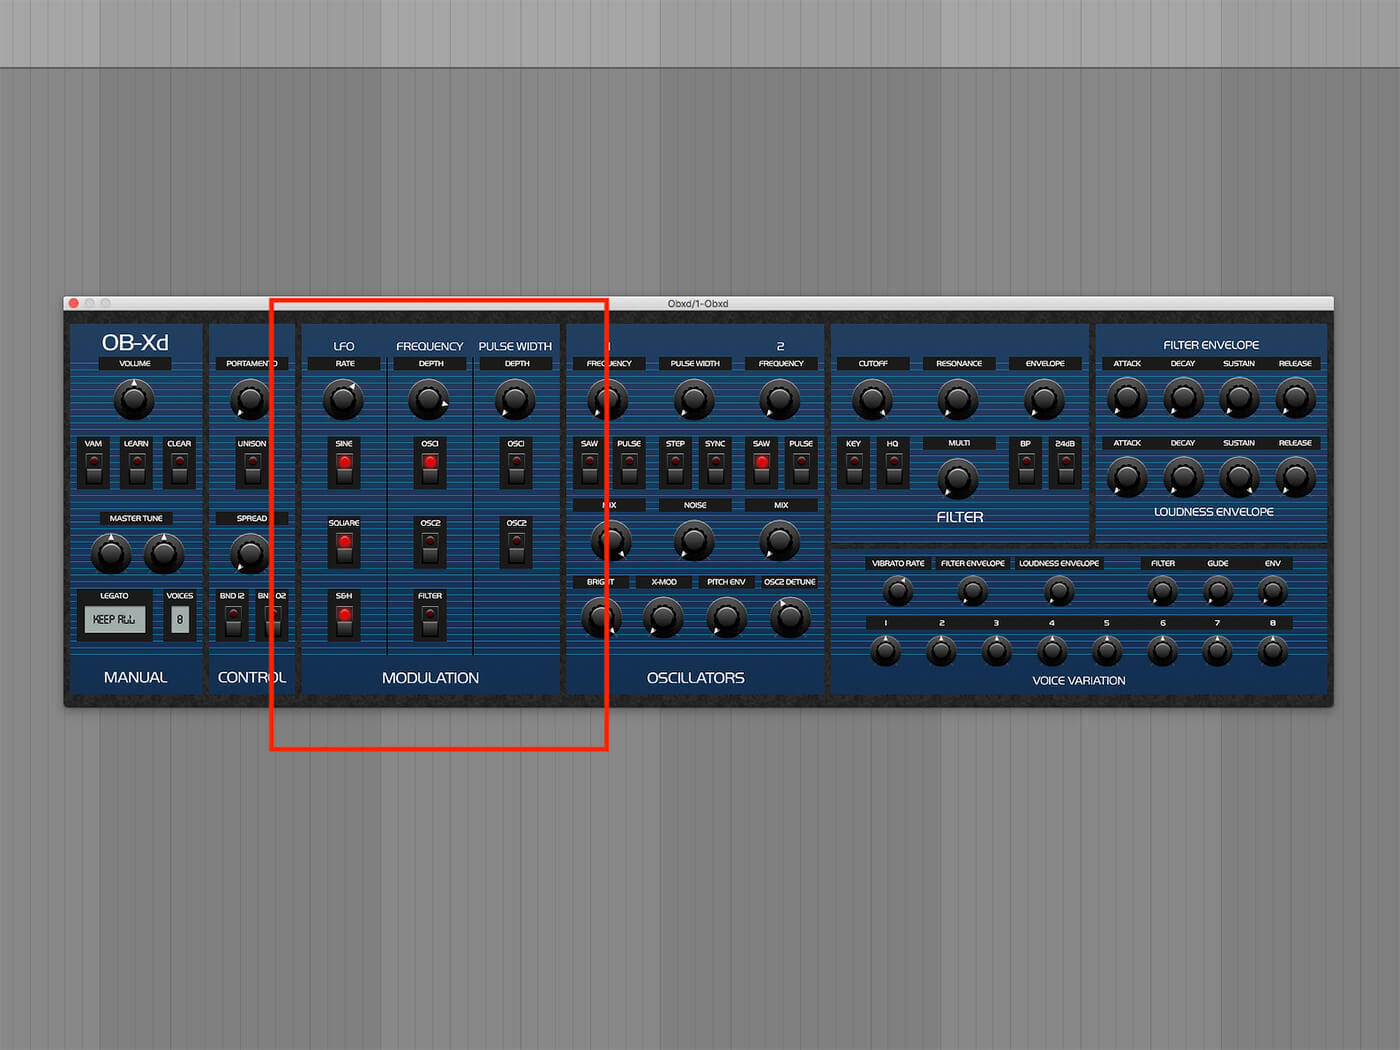
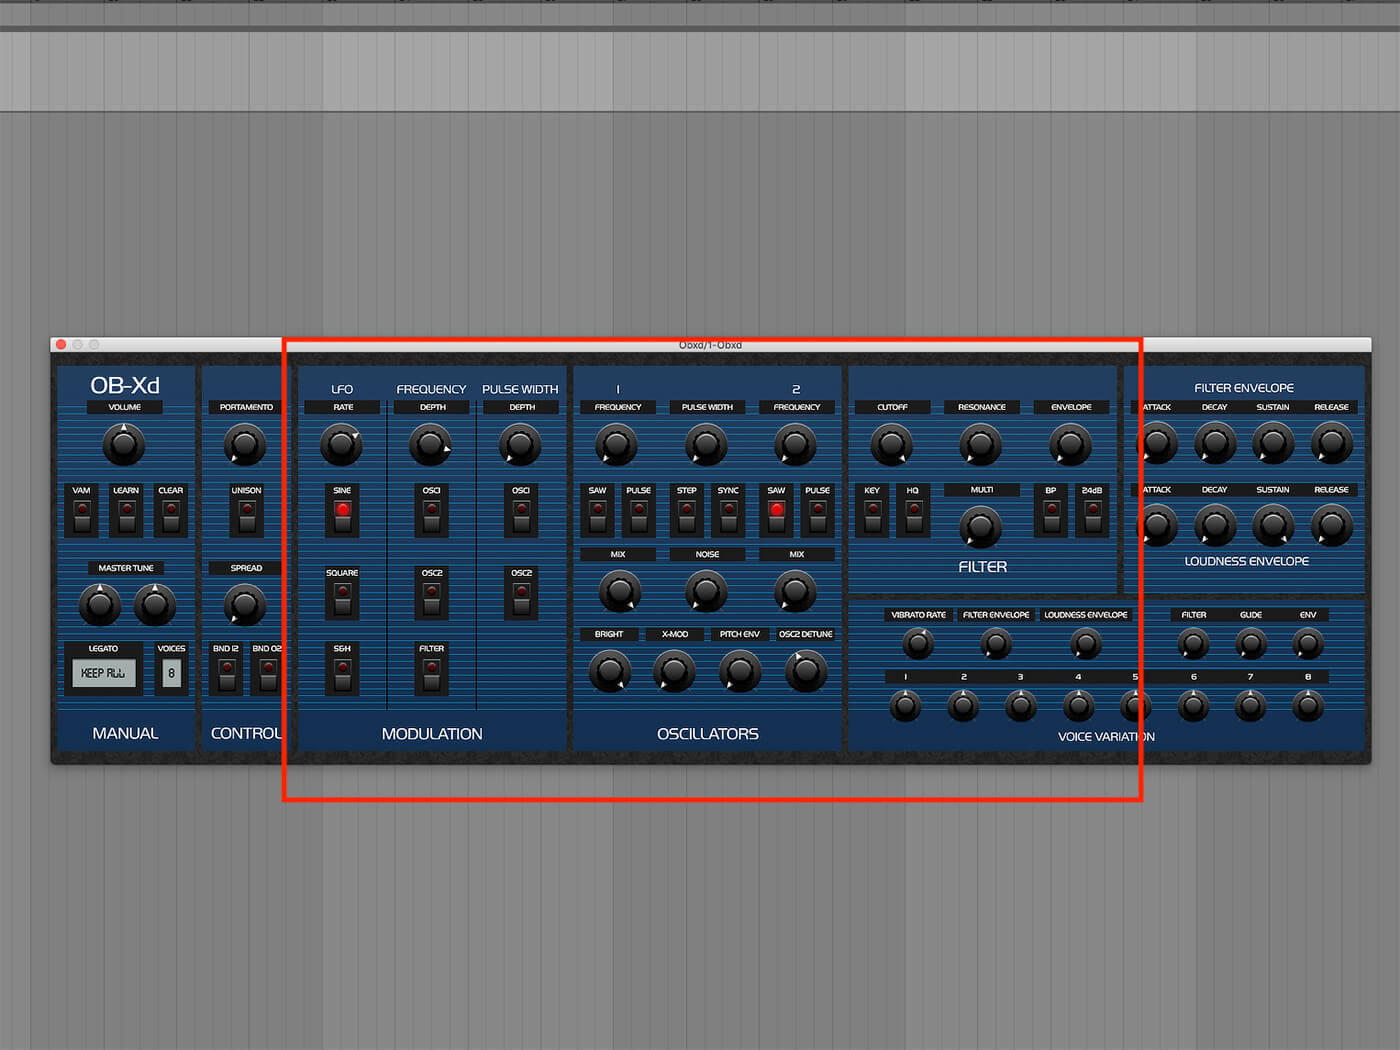
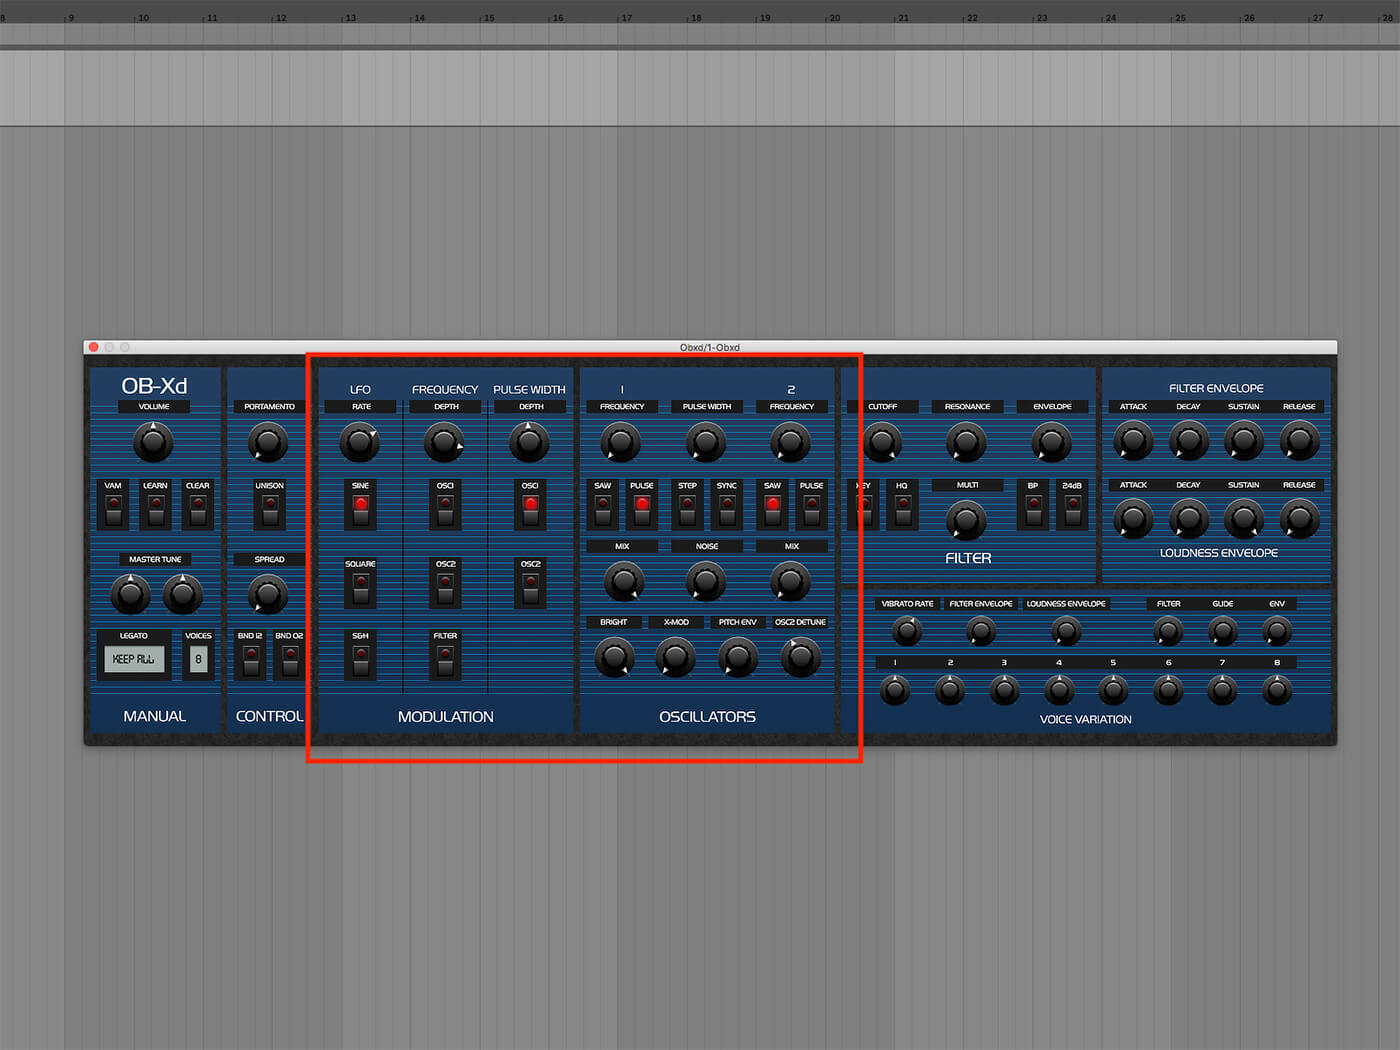
Let’s try out some modulation. OB-Xd’s modulation section can be a little confusing at first, but it’s really quite simple. Here it is in all its glory.
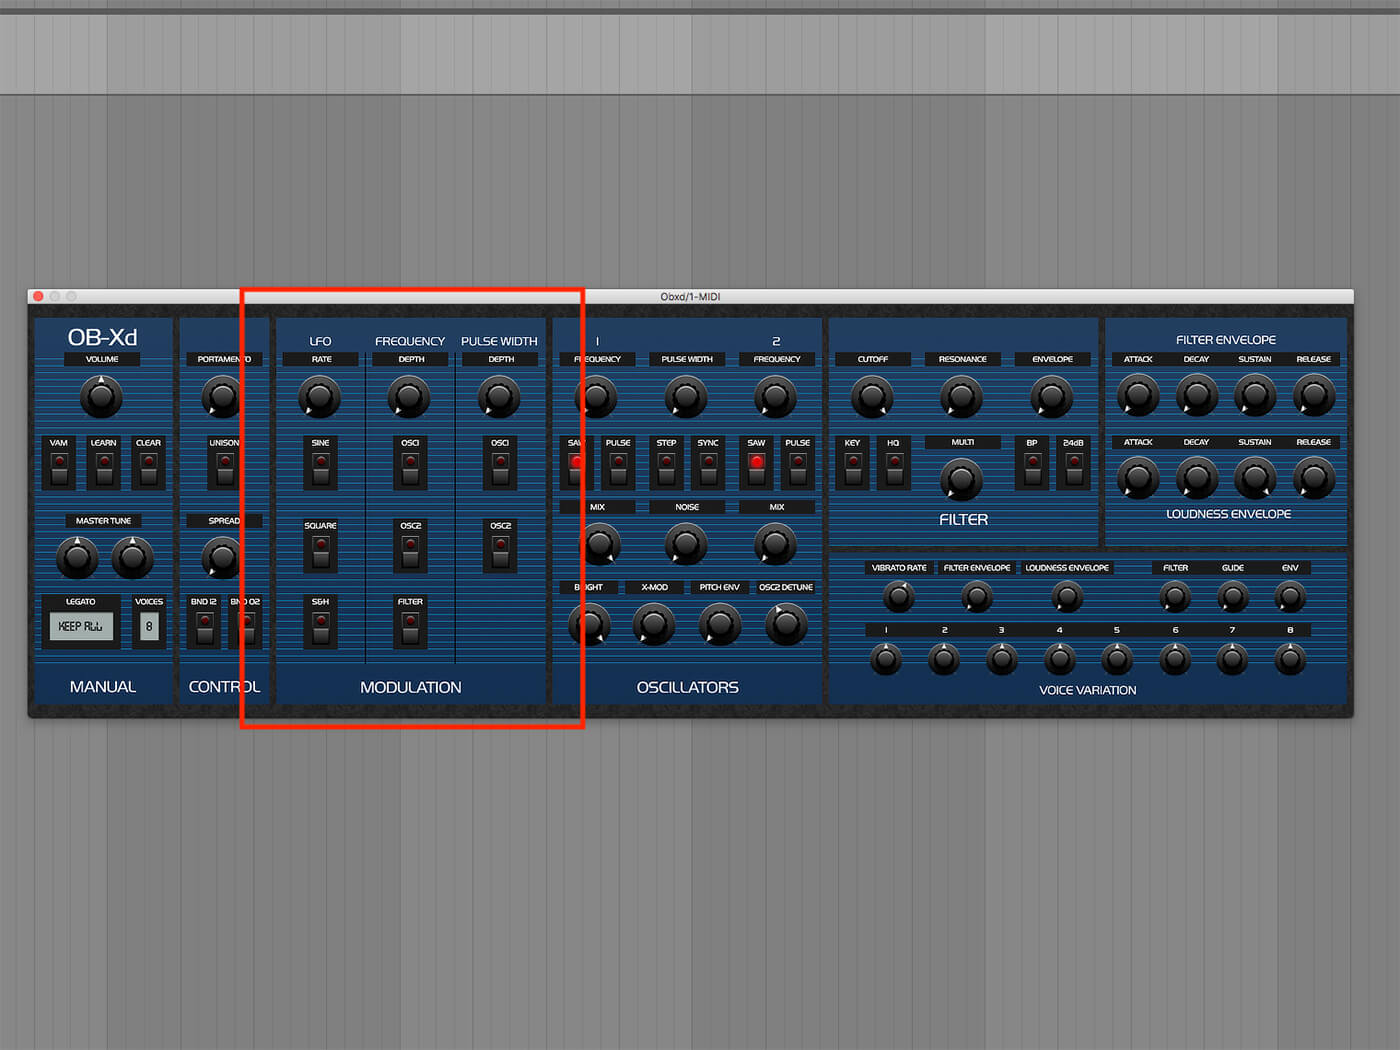
The first column, LFO, has a knob for the LFO Rate plus Sine, Square and S&H (Sample & Hold) switches that control the shape of the LFO waveform.
The second column, Frequency, has a Depth knob that controls how much the LFO modulates the oscillators’ Frequency parameters. The Osc 1 and Osc 2 switches turn the frequency modulation on and off for each oscillator, and the Filter switch applies this modulation to the filter’s Cutoff knob.
The third and final column, Pulse Width, has a knob for pulse width modulation depth, and pulse width modulation on/off switches for Osc 1 and Osc 2.
Let’s kick things off with some simple frequency modulation. To be clear, this is separate from the cross-modulation we looked at last time; as we’re using the synth’s LFO as the modulation source, the modulation speed is going to be relatively slow giving us a vibrato effect.
First, we’ll turn the LFO Rate and the Frequency Depth knobs to the 12 o’clock position.
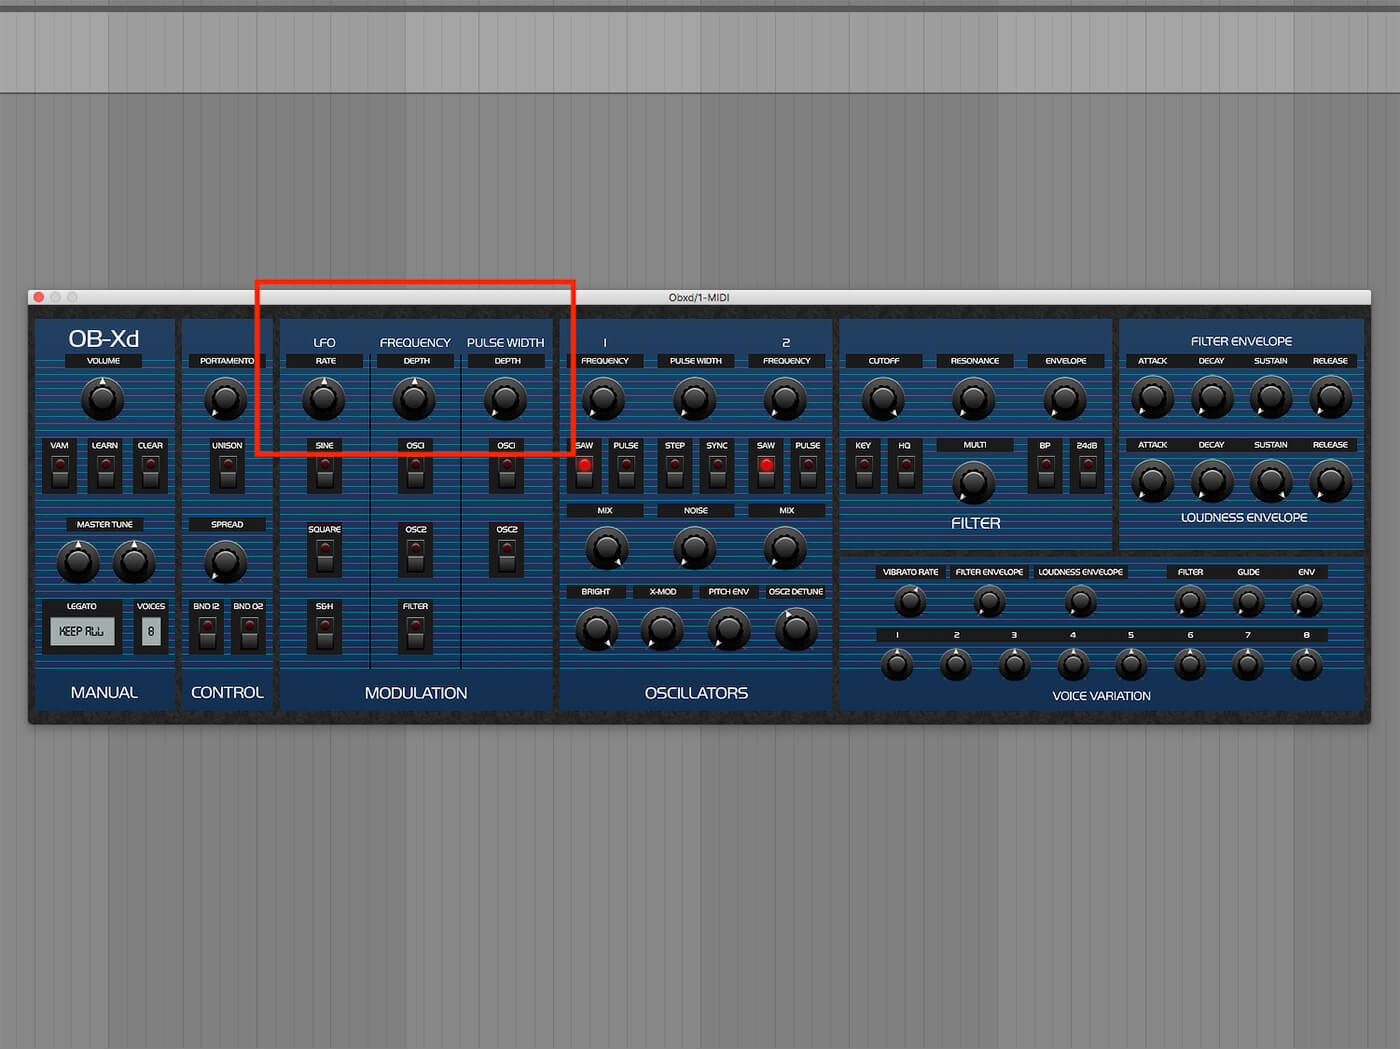
You’ll notice that this doesn’t actually have an effect on the sound yet. That’s because to use modulation in OB-Xd we need to have at least one LFO shape active, and at least one modulation destination active. Let’s activate the Sine shape in the LFO column and the Osc1 destination in the Frequency column.
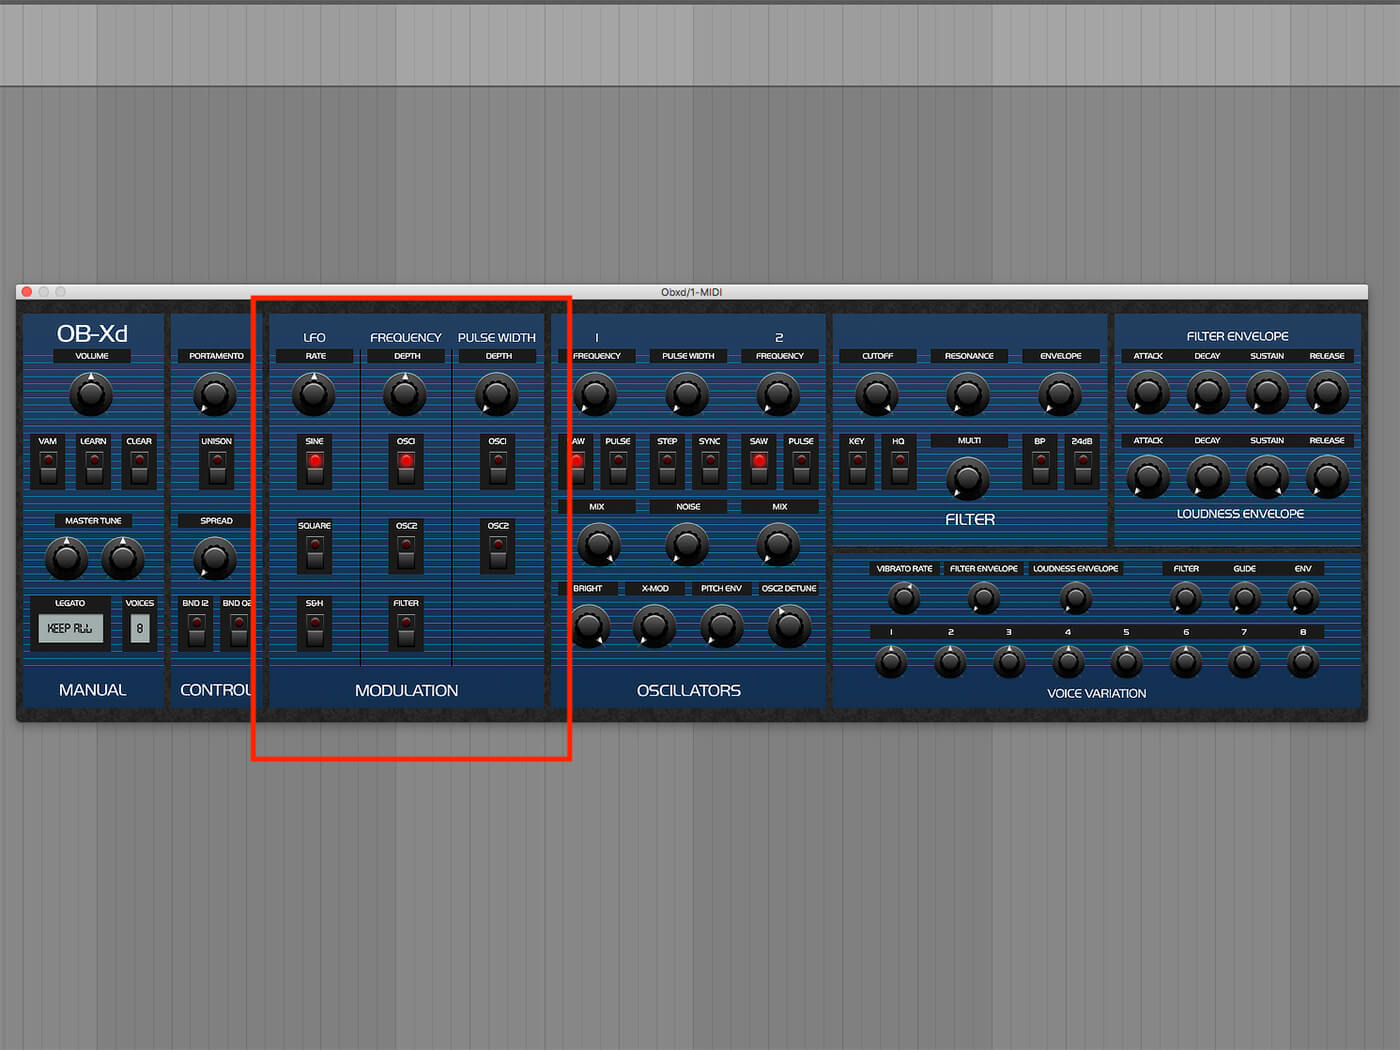
This gives us what can only be described as a drunkenly wobbling sawtooth.
Turning up the Rate knob makes the vibrato effect faster, and at the upper reaches of its range the LFO speed begins to enter the audible frequencies, resulting in a more consistent tone, but with more complex harmonics.
Sweep the Depth knob in the Frequency column from around the 11 o’clock position up to the maximum possible value.
Intense stuff! Unfortunately, it’s not possible to modulate the Depth knob, and OB-Xd doesn’t get on with host automation, so MIDI CC is the most practical way to harness this harmonic insanity. We’ll come back to that later…
2. More complex modulation
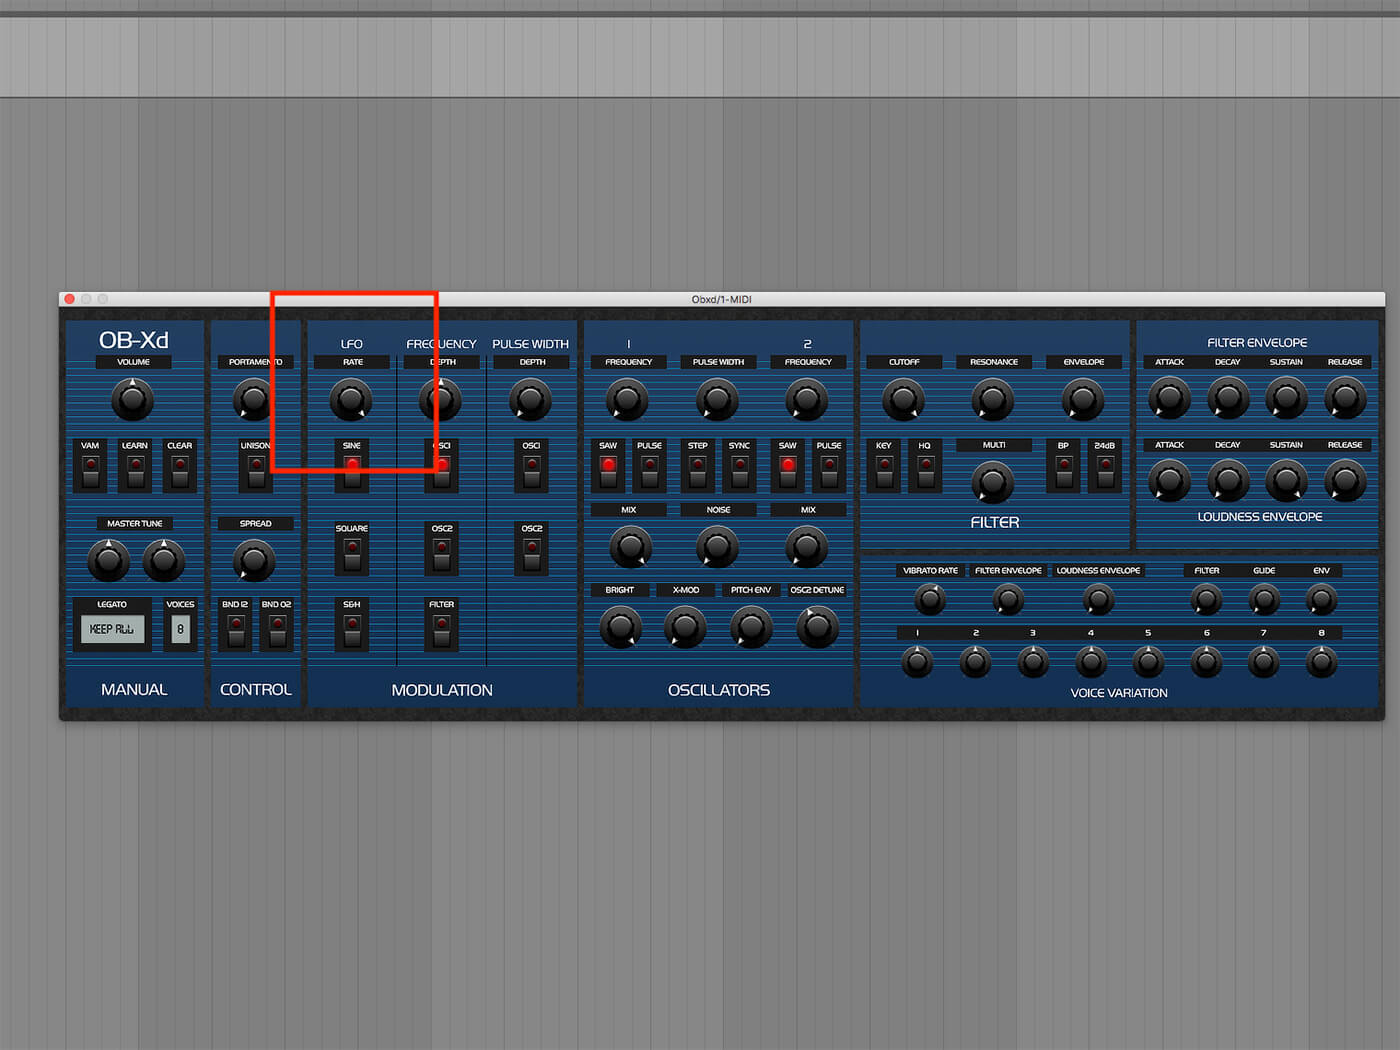
Return the LFO Rate and Frequency Depth knobs to around 12 o’clock. Deactivate the Sine switch and activate the Square switch.
Whereas the sine LFO created a vibrato effect, a square LFO gives us an alarm-style sound.
Using different combinations of Rate and Depth knobs will yield a variety of ‘dub siren’ type effects, and again sweeping the Depth between 11 o’clock and its maximum value yields interesting results reminiscent of the soundclash samples in Marvelous Caine’s jungle anthem The Hitman.
Switching the LFO shape from Square to S&H gives us a bleepy vintage sci-fi computer effect that works best when the Oscillator 1’s Saw switch is deactivated so the oscillator outputs a triangle tone. The higher the Rate knob goes, the more frantic the computer’s calculations!
A cool facet of OB-Xd’s design is that it’s possible to activate multiple LFO shapes at once, giving you seven different possible configurations. Activate the Square switch and our sci-fi computer goes from pleasant burbling to a more agitated feel.
Activate the Sine switch as well and the sound devolves into a wet, plastic-y mess that surely means our virtual computer has experienced some kind of digital meltdown.
We can get some even more exotic sounds by deactivating the Osc1 Frequency modulation, and activating the Filter switch instead. This won’t have an effect on the sound until you bring the Cutoff down. Turning up the Resonance emphasises the effect more, so whack that right up. Funky filter movement aplenty!

3. Pulse width modulation
We’ve seen the Frequency column is capable of some wacky stuff, but for now, let’s deactivate the Filter switch and the Square and S&H LFO shapes. We’ll also return the Filter to fully open and turn the Resonance all the way down.
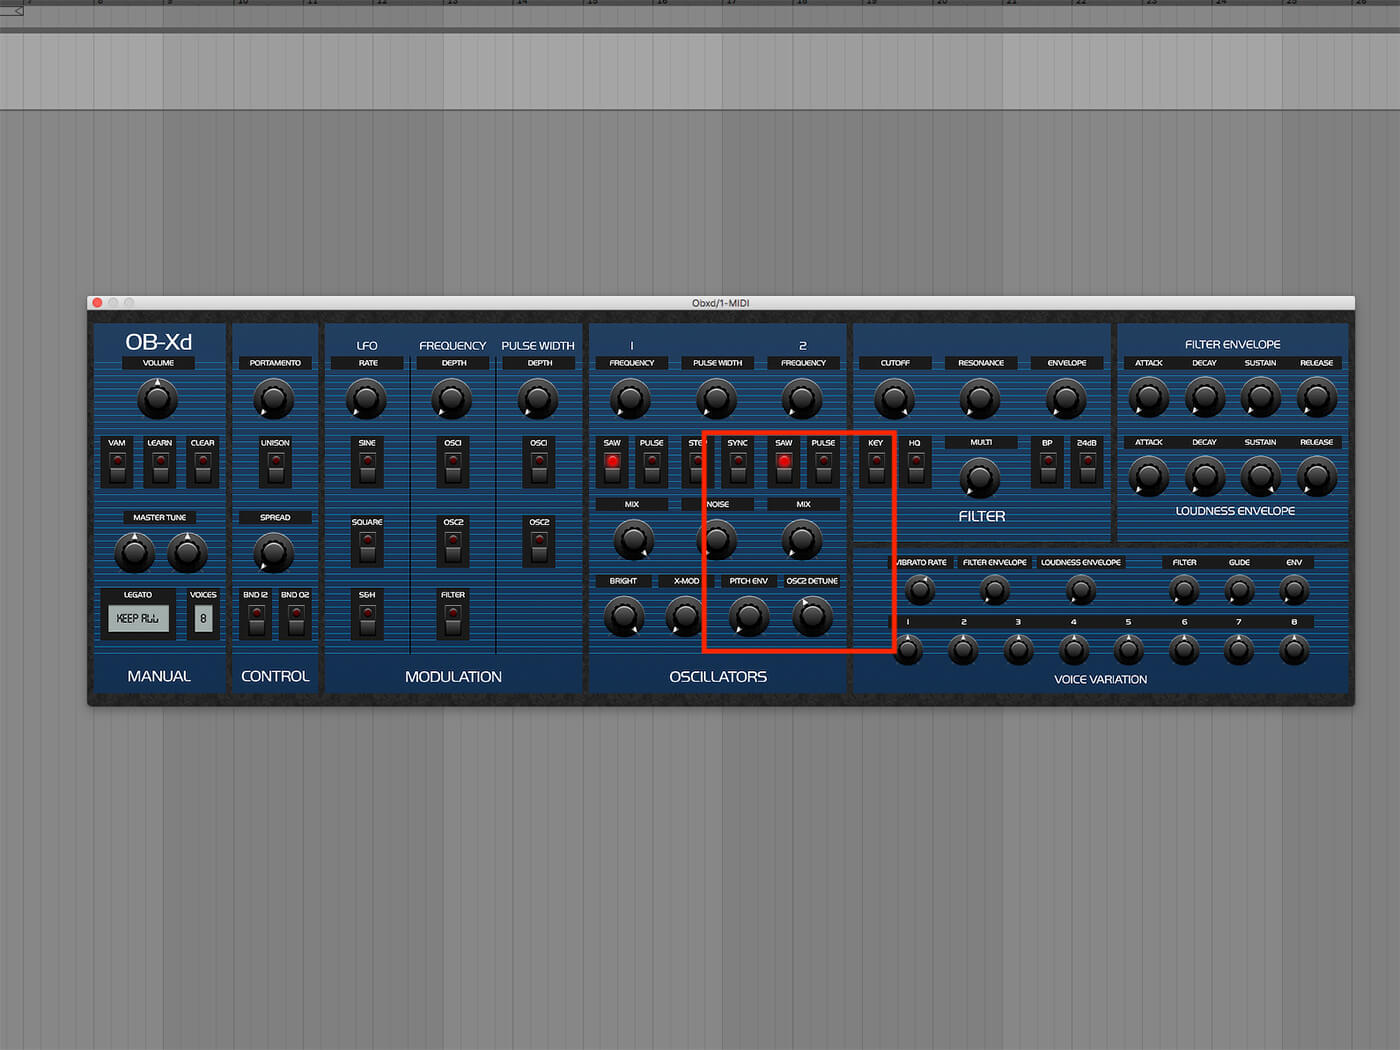
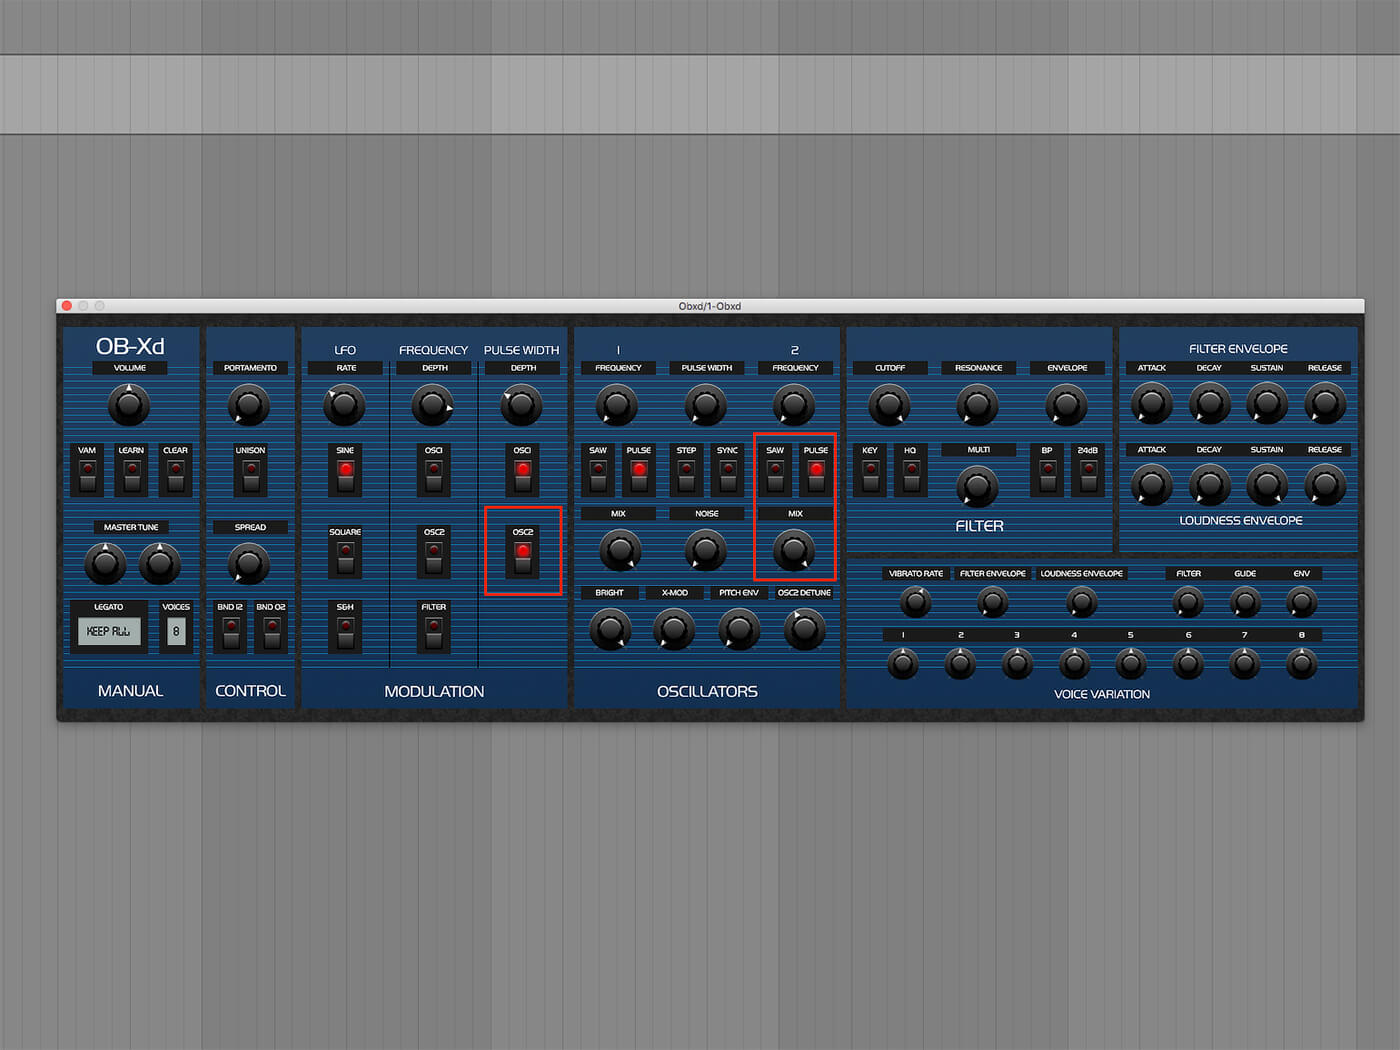
In the Pulse Width column, activate the Osc1 switch and turn up its depth to around 12 o’clock. This won’t change the sound yet, because it only affects the oscillators’ pulse generators. Click the Oscillator 1 Pulse switch to put it into pulse mode.
Applying pulse width modulation to Oscillator 1 gives us a rhythmically buzzing tone, and adjusting the LFO Rate and Pulse Width Depth knobs gives us control over the tone’s timbre and how quickly it modulates.
This movement and more complex timbre gives pulse width modulated tones a slightly more natural feel than your average ‘static’ oscillator shape. Let’s see how lush a tone we can create using some more of OB-Xd’s features. For starters, let’s add Oscillator 2 into the mix, achieved by turning up its Mix knob. Turn off its Saw switch, and activate its Pulse switch to put it into Pulse mode, and activate the Osc2 switch in the Pulse Width column.
Now we have two detuned pulse oscillators, the widths of which are modulated by the LFO. We can control the detuning of the second oscillator with the Osc2 Detune knob in the Oscillators panel. Turn this up to 1 o’clock to increase the tuning offset and give us a vibier sound.
While we’re in the mood for tuning offsets, activate the Step switch in the Oscillators panel to fix the Frequency knobs to semitone steps, and turn the Oscillator 2 Frequency knob to just before 9 o’clock to tune the oscillators a fifth apart. Turn the volume knob in the Manual panel down as illustrated, then try playing a big chord. Vangelis eat your heart out!
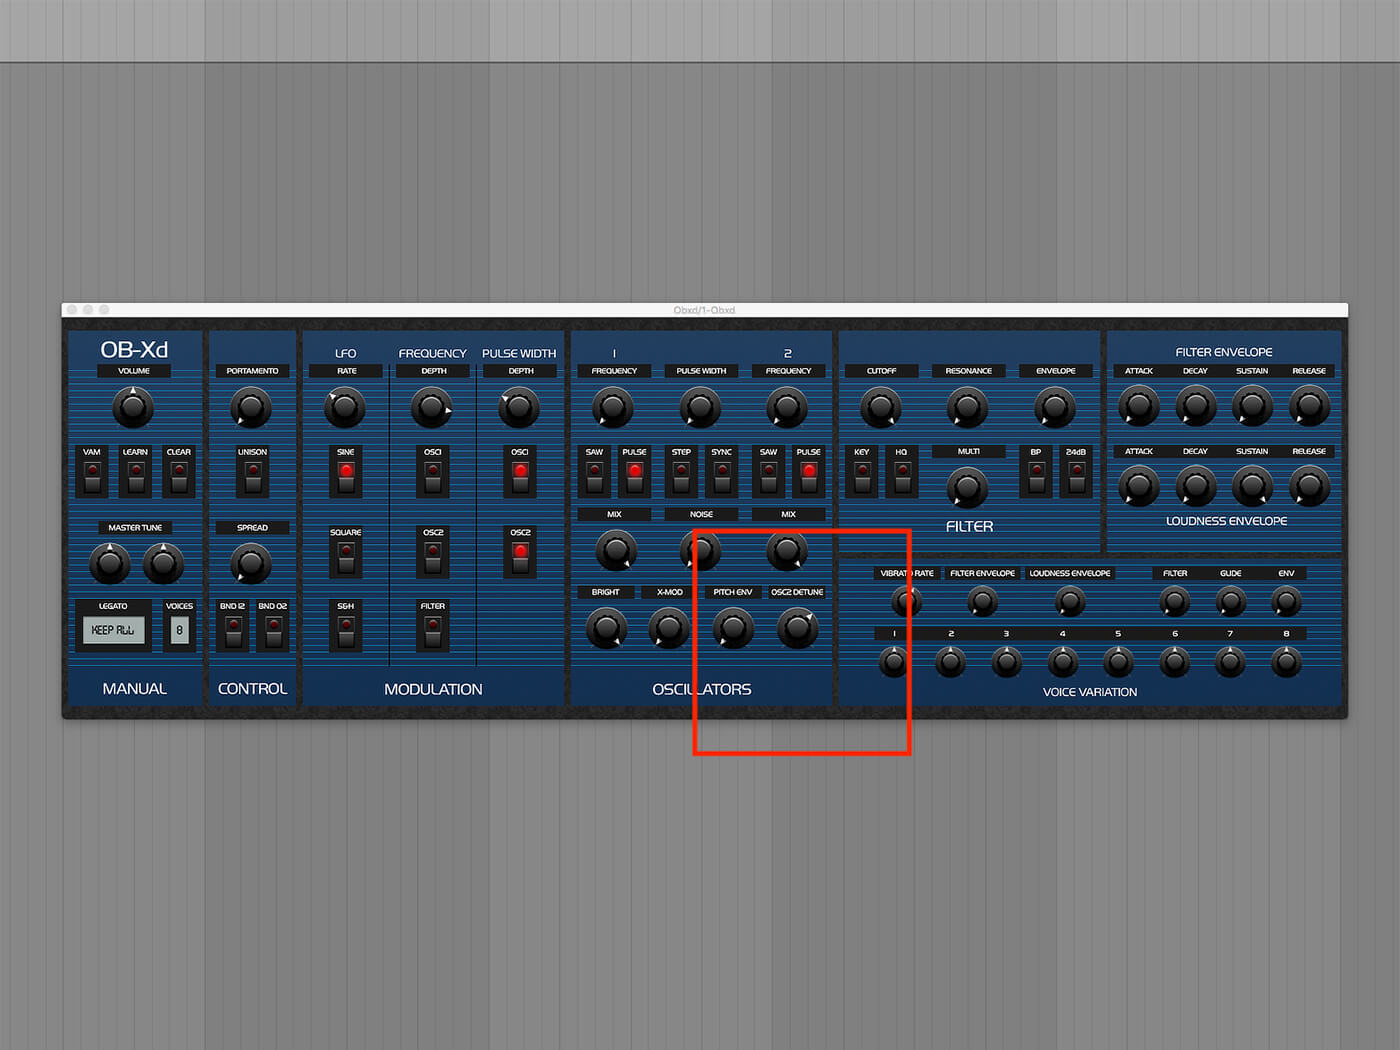
4. Envelope modulation
We can turn this harmonically rich patch into a lush 80s pad with some simple amplitude modulation. In the Loudness Envelope section, turn up the Attack to make the pad come in more slowly, and turn up the Release so it takes longer to fade out.
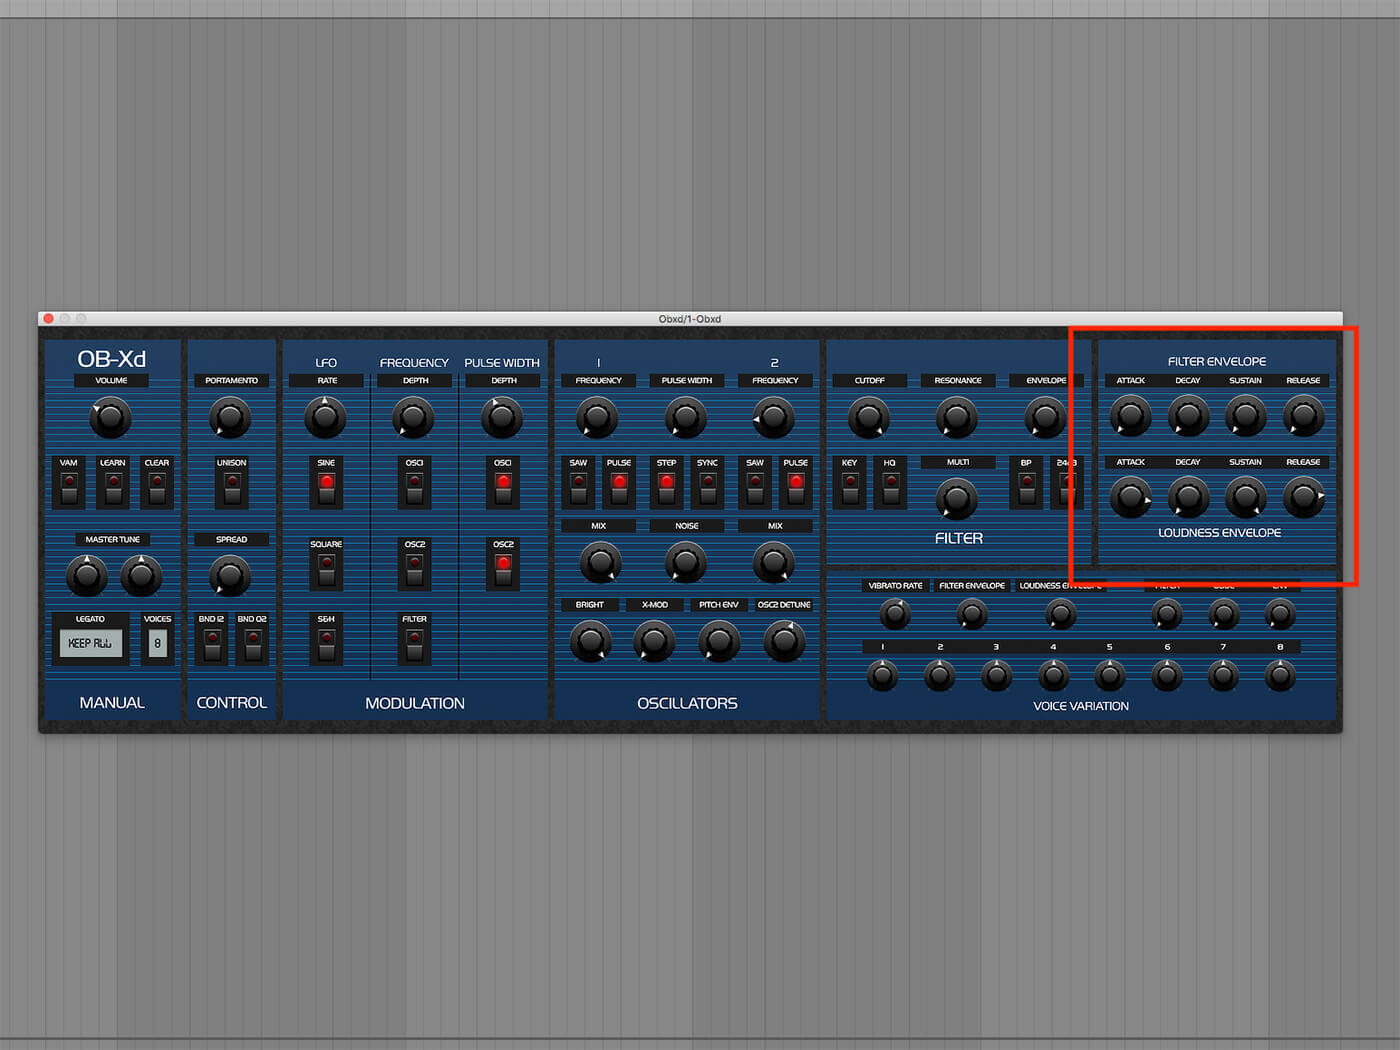
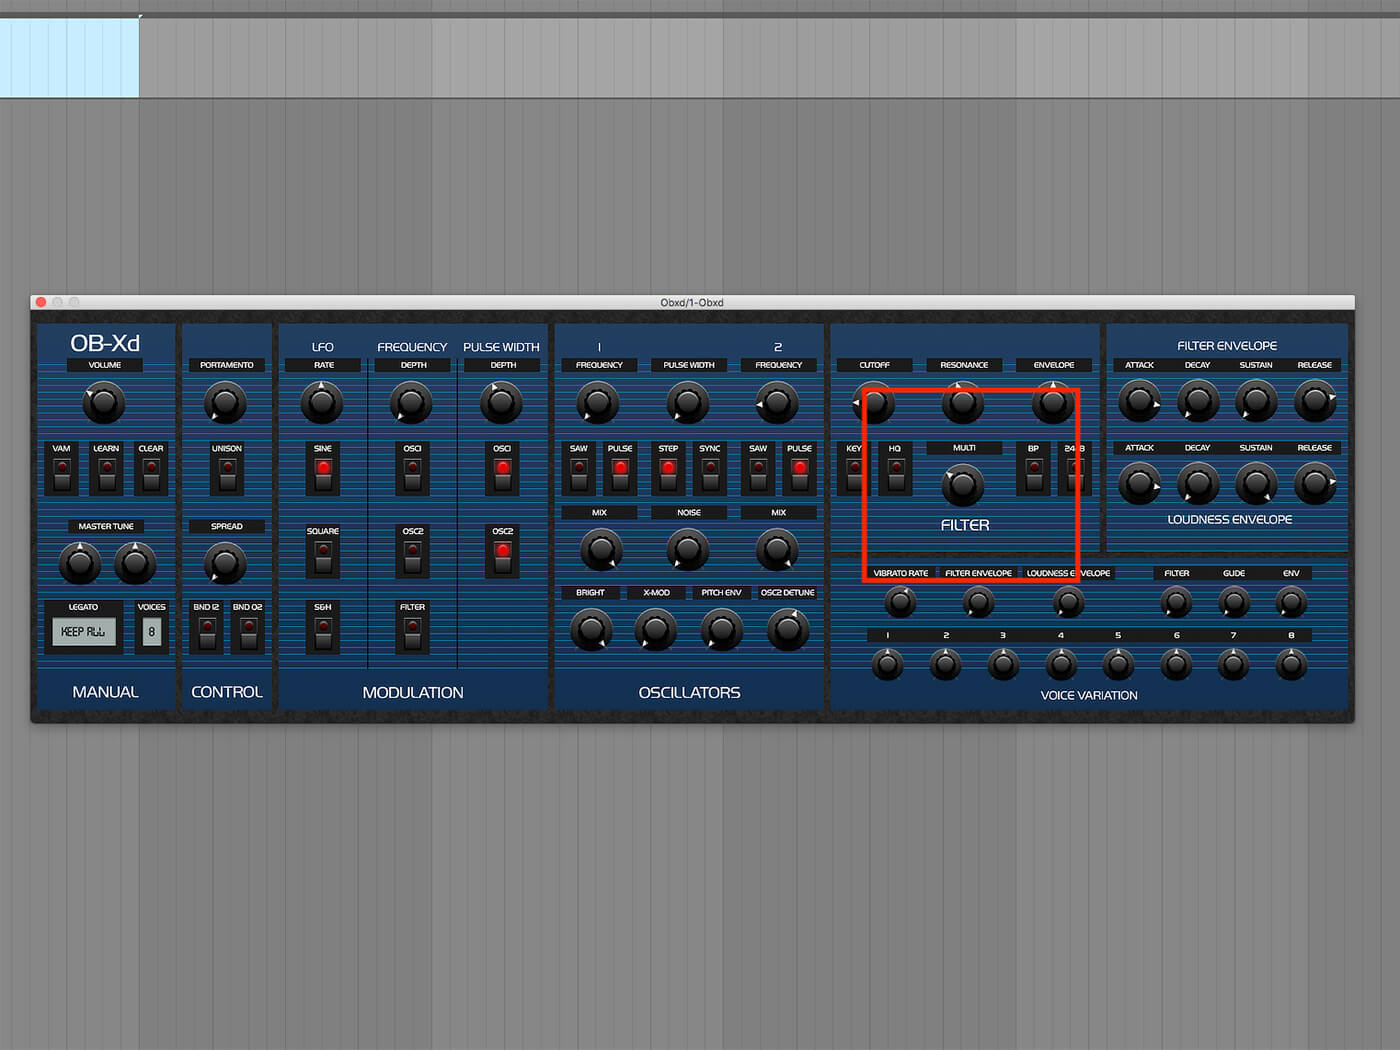
Let’s get the filter envelope working for us too. In the Filter Envelope panel, copy the settings we used for the amplitude envelope, then turn down the Filter Cutoff, and turn up the Resonance and Envelope knobs. The Envelope knob controls the amount that the filter envelope controls the Cutoff level, so the filter will stay in the same position unless this is turned up.

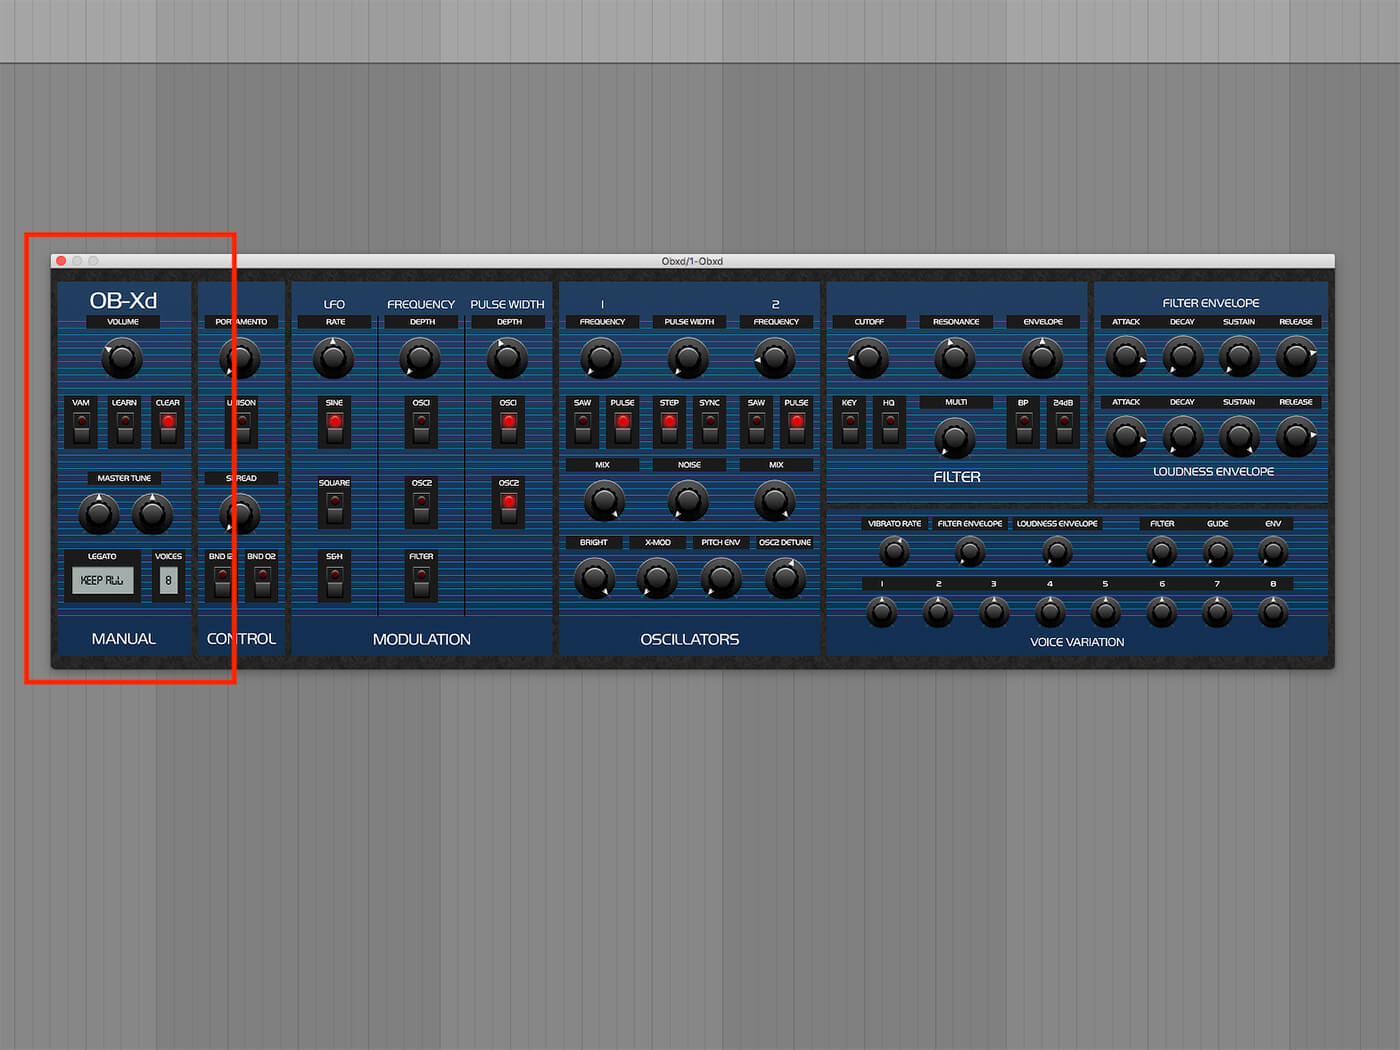
You can add an extra dimension of filter movement with the Multi knob, which morphs the filter type between low, notch and high-pass modes.
5. MIDI CC Automation
Let’s automate that Multi knob movement. The easiest way to do this is to set up some MIDI CC data in your DAW’s MIDI clip editor, we’re using the undefined channel 14 here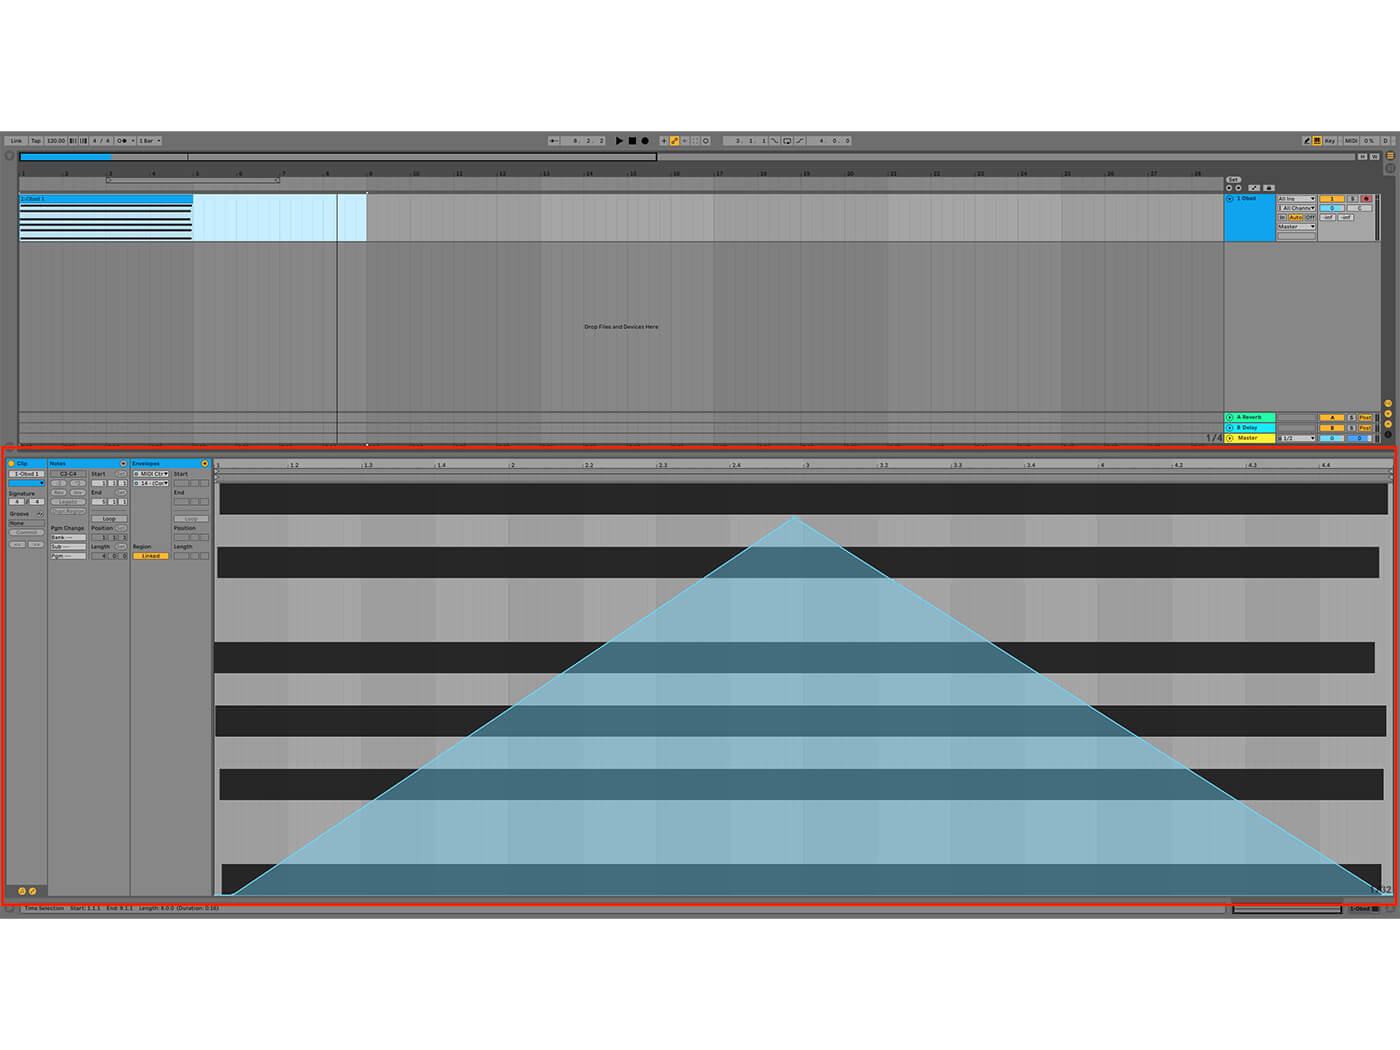 Then, click the Learn switch in OB-Xd’s Manual, and adjust the parameter you want to automate, the Multi knob in this case.
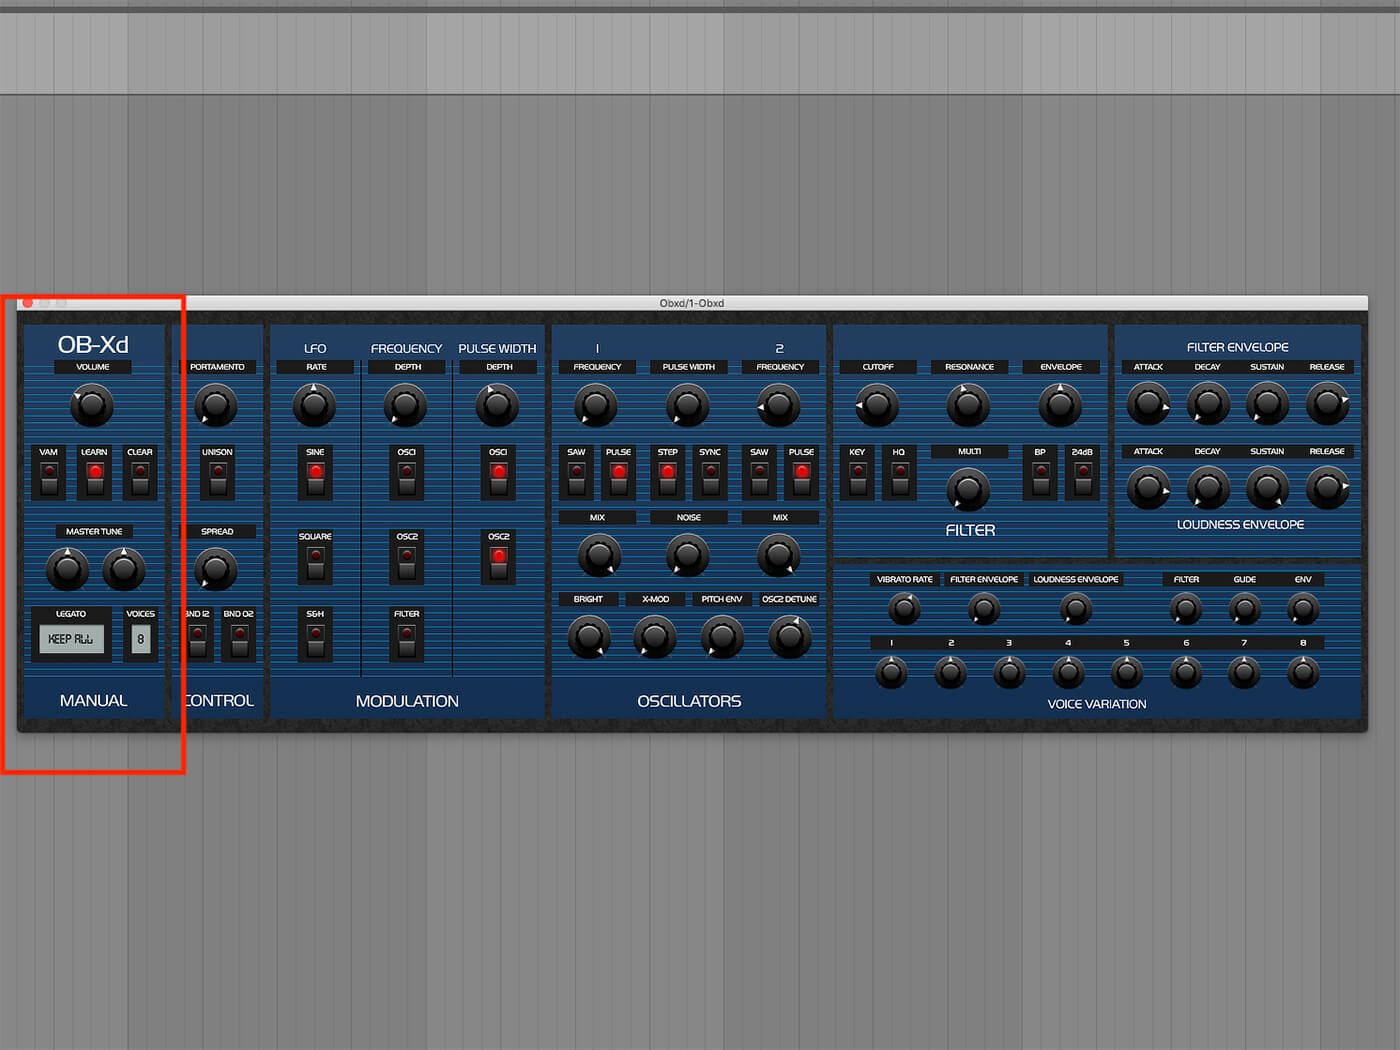
Now, play the MIDI CC data back in your DAW, and the Multi knob should start moving along with the data. If you make a mistake or want to change your settings, click the Clear switch and adjust the parameter you want to rid of its MIDI CC assignment.
6. Adding Valhalla DSP effects
As we noted last time, OB-Xd doesn’t feature any onboard effects, so let’s enhance its output with some world-class freebies. Add Valhalla DSP Freq Echo and Valhalla Supermassive to the OB-Xd track. This puts our pad through a powerful frequency shifter and a huge lush reverb. Automate Valhalla Freq Echo’s Shift parameter (which thankfully does indeed work with host automation) and the pad will strobe rhythmically in a most pleasing fashion.
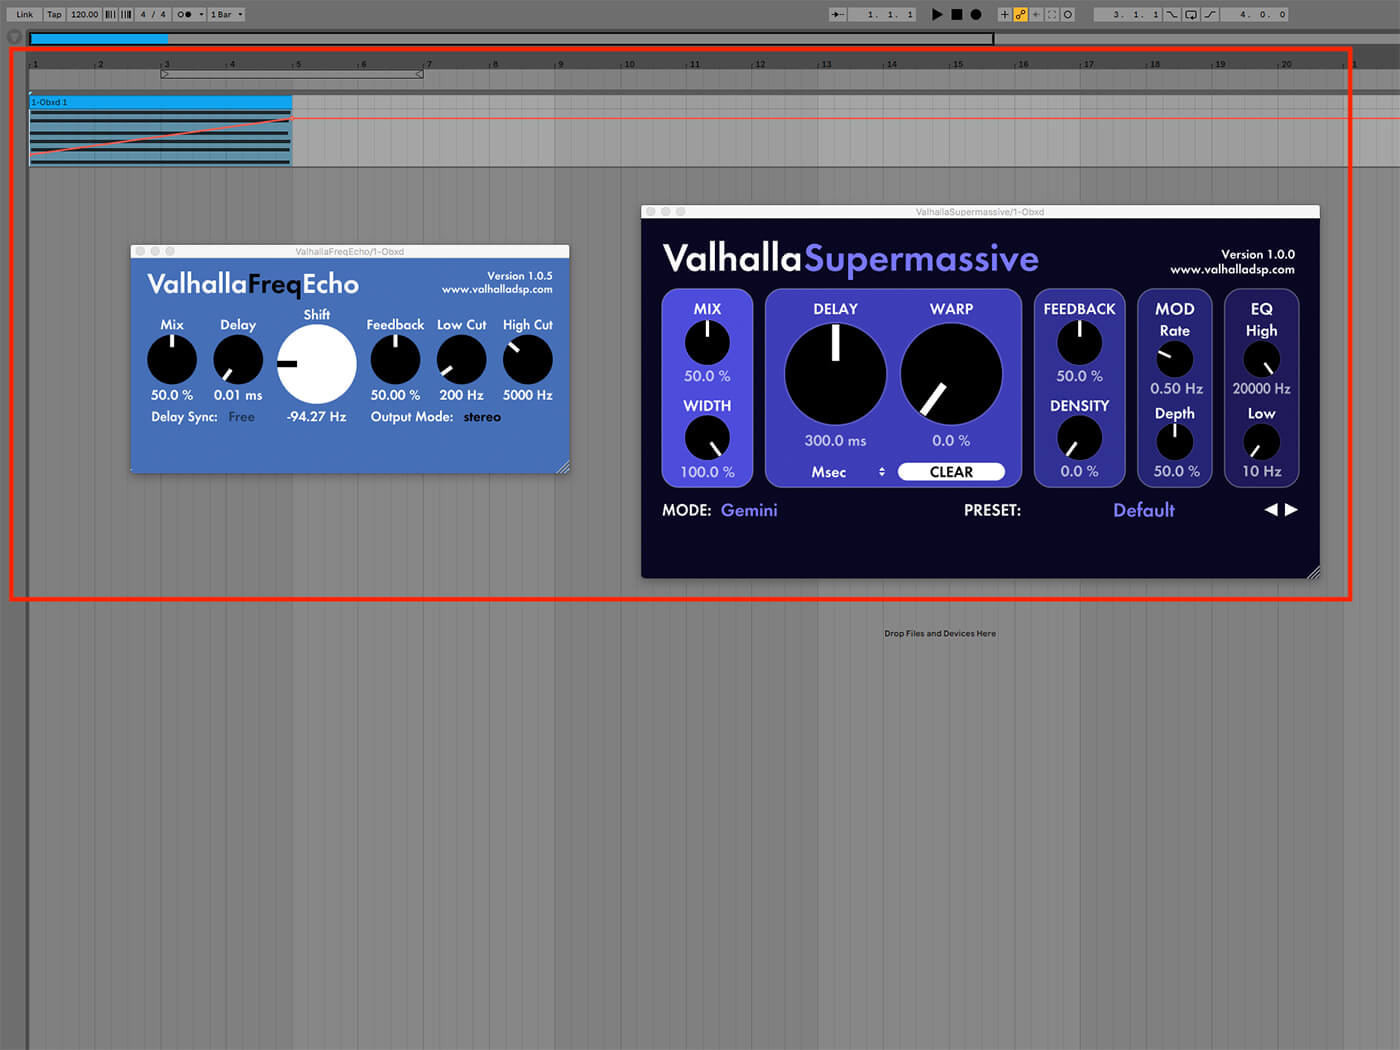
Where you go from here is up to you. We suggest you try activating the filter’s BP switch, which swaps out notch mode with the band-pass mode in the multimode filter, and reactivating the Filter switch in the Modulation panel for an even more involved effect. You can check out what that sounds like in the downloadable Ableton Live project file.
If you enjoy using OB-Xd you can support its continued development by buying a license, and Valhalla DSP offers commercial products too.
Happy synthesising!