Simon Field teaches you how to strip back a track to make room for vocals
House music veteran Simon FIeld breaks down his process for bringing vocals to the forefront of his productions

For many years, vocals have been the centrepiece of every genre I’ve listened to, written for and produced in. It comes from my love of lyrics and the power of combining verbal images with music. Vocals and lyrics evoke images in a different part of the brain to instruments, so when the two match in mood and musicality, the combination can convey supremely strong emotions. This is why I always prioritise vocals – in writing, recording and mixing. Here, I’m presenting some mixing tricks that will ensure your vocal track stands out but still gels with your wider project.
Stellar recording
The quality of the vocal recording is the most important thing to consider, and you’ll thank yourself for a high-quality take during the mixdown. Make sure you get the vocal take recorded on the highest-quality recording equipment possible. This also comes down to spending plenty of time comping the vocal and making sure all unwanted sounds are removed and the volume is consistent before you get into further processing.
Learn more about capturing better vocal takes in our essential guide.
The vocal chain
As with the recording, aim to get the least-destructive processing out of the way first – processes that add overtone alterations of some sort. If you need auto-tune, put that first. After that, use an EQ to cut frequencies below 100Hz, where there’s no tangible information.
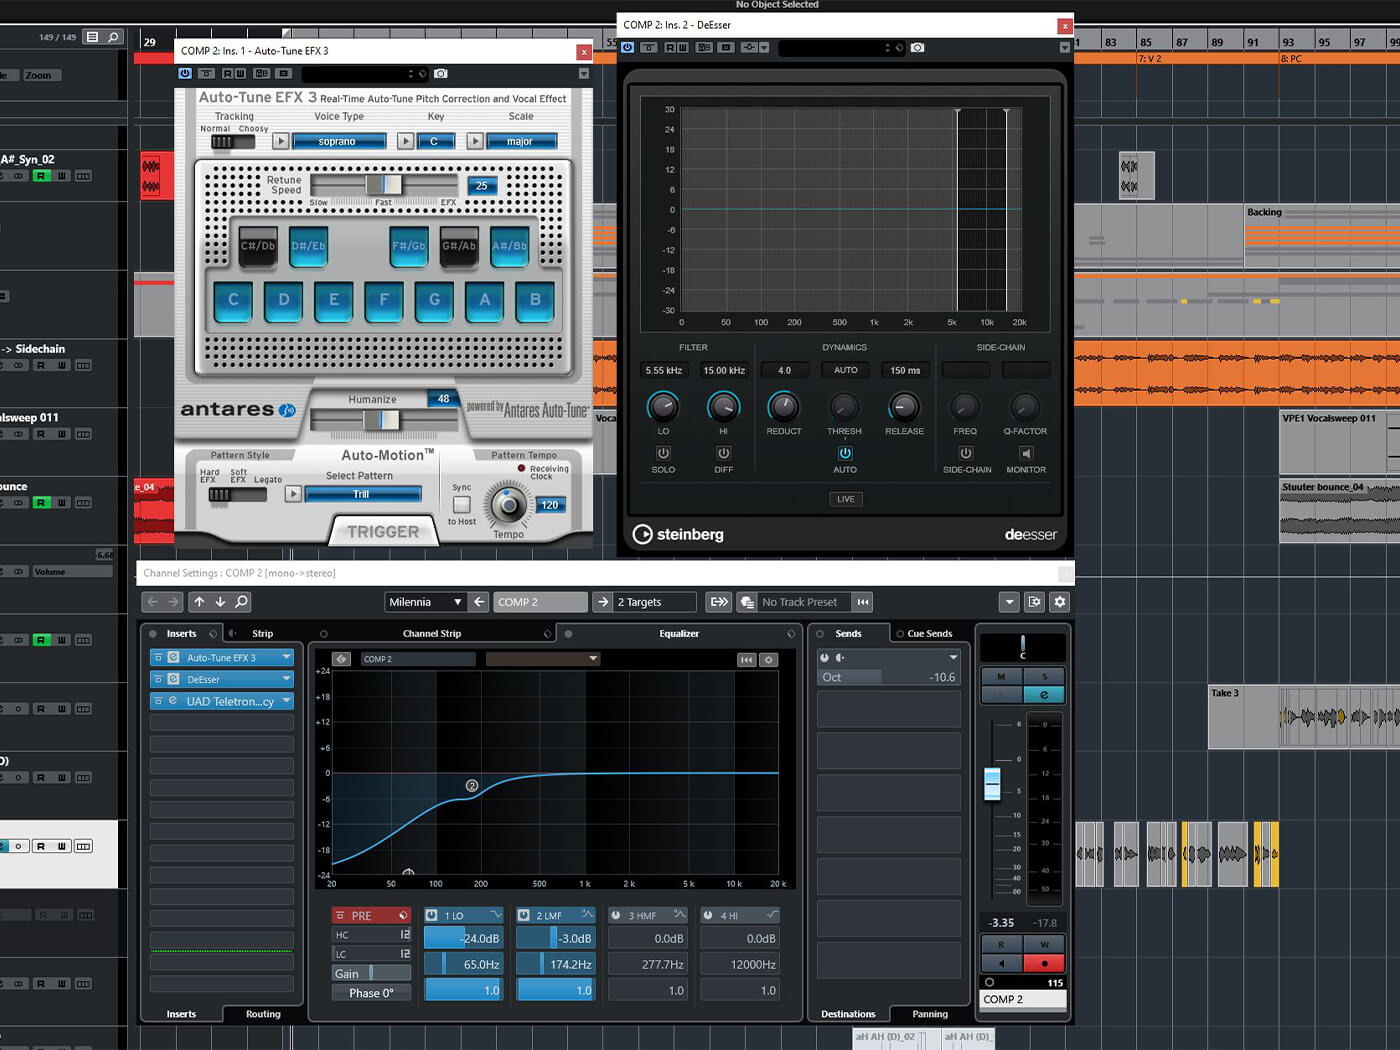
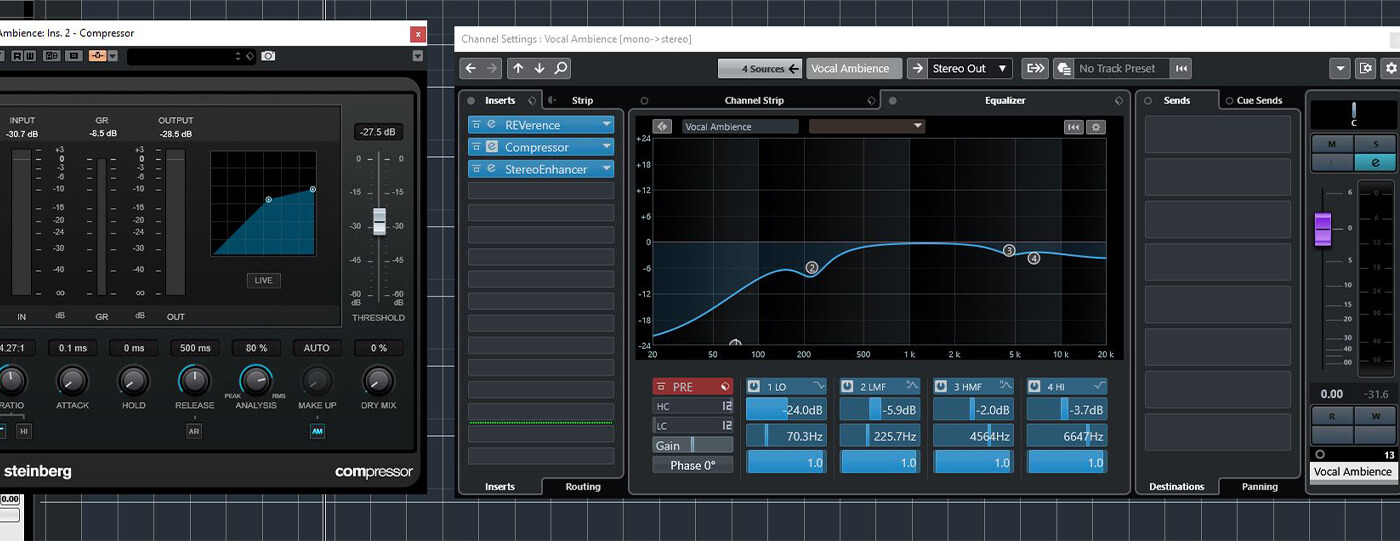
You may want to make a dip at about 200Hz. Too much information here will make the vocal sound boxy. If you plan to compress the vocal heavily later, now is a good time to add a de-esser at a moderate setting. Now, when we use the compressor, the recording will already have a manageable dynamic range.
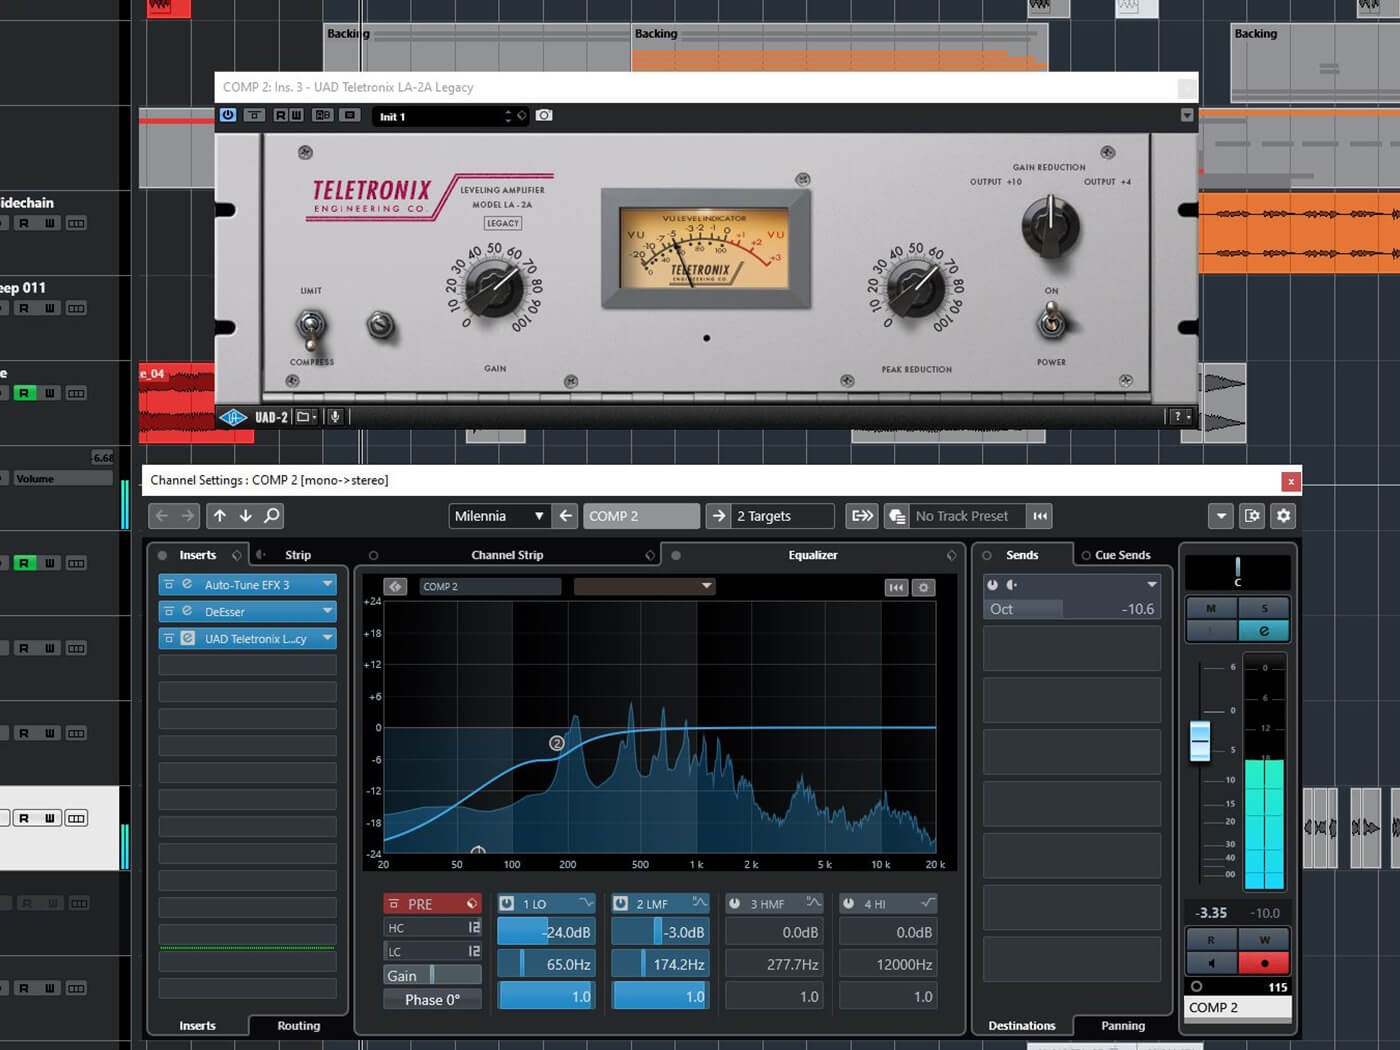
For compression, an LA-2A-type compressor will work wonders when set to reduce 10dB to 20dB. After that, boost the top end a little with EQ. A great plug-in for this process is the UAD Neve 1073, which boasts a silky smooth high end.
Some vocals might need more EQ to allow them to cut through, often in the 5kHz area to bring clarity and presence. At this point, you’ll ideally have a solid vocal track you can bounce onto a new track, in case you need to edit the vocal later – or if you need to parallel-compress the vocals or trigger a sidechain.
Send effects
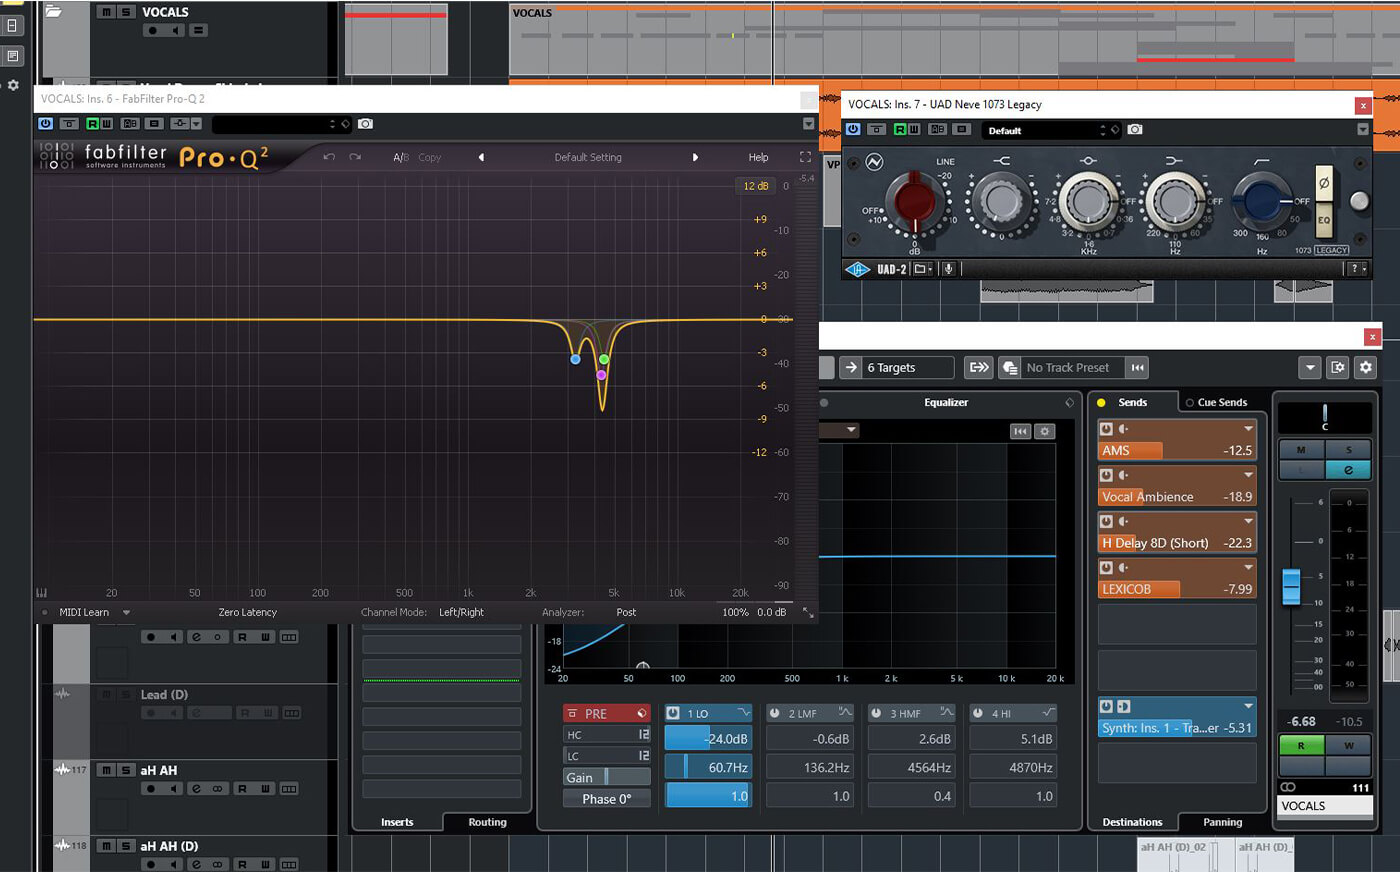
For delay and reverb, try using at least three sends, with one for ambience or early short reverb, panned hard left or right to get it out of the way of the main vocal and to create a fuller sound.
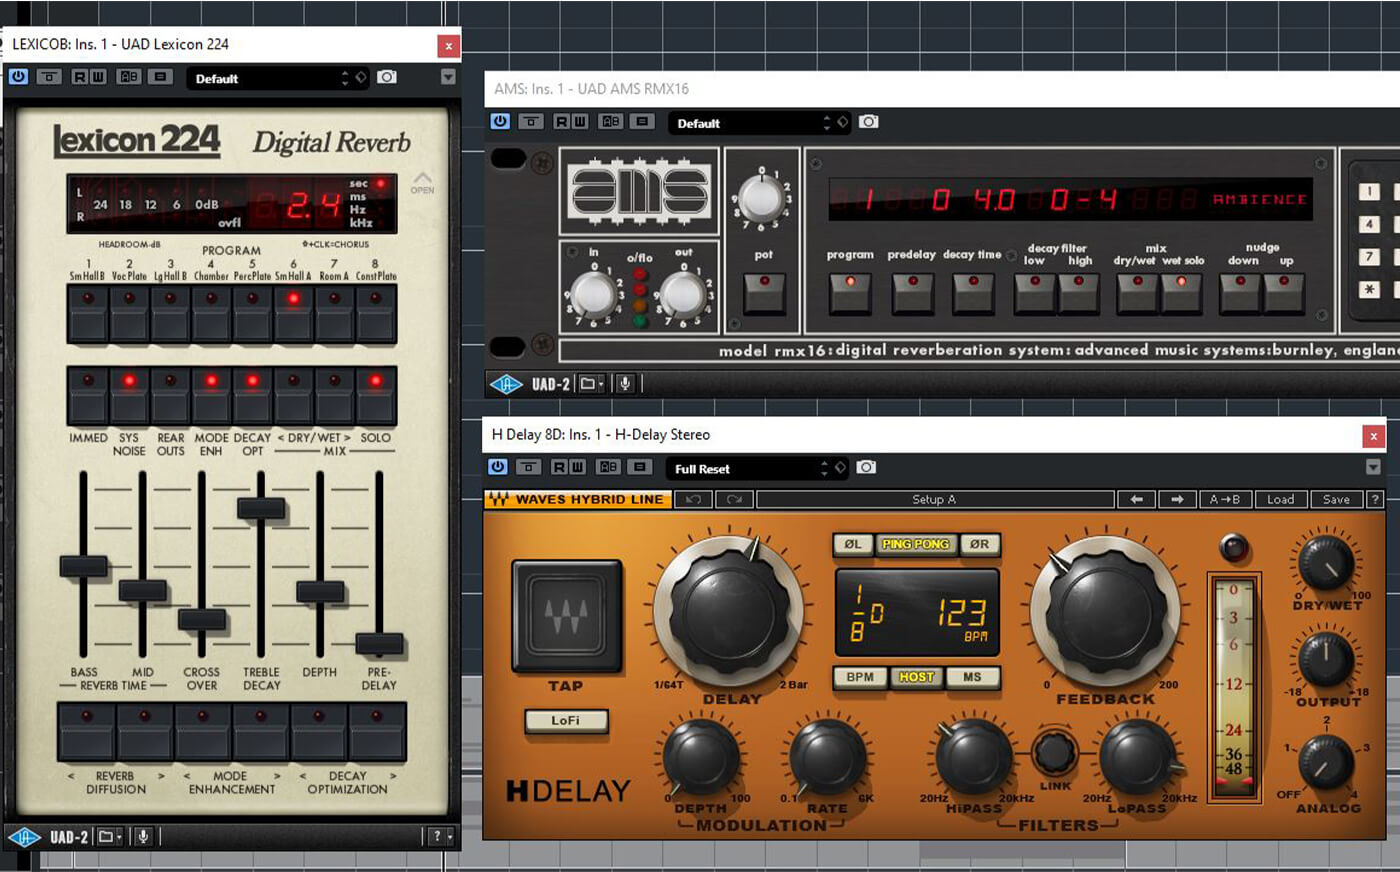
Long-tail reverb is always in the mix. For more rhythmic tracks, you may want to use an expansive reverb such as the UAD AMS RMX16 and, for bigger soundscapes, Lexicon is ideal.
Lastly, set a ping-pong delay – in this case, Waves’ H Delay – to 1/8D to create a bigger vocal and to keep the feedback out of the way from the centre lead vocal.
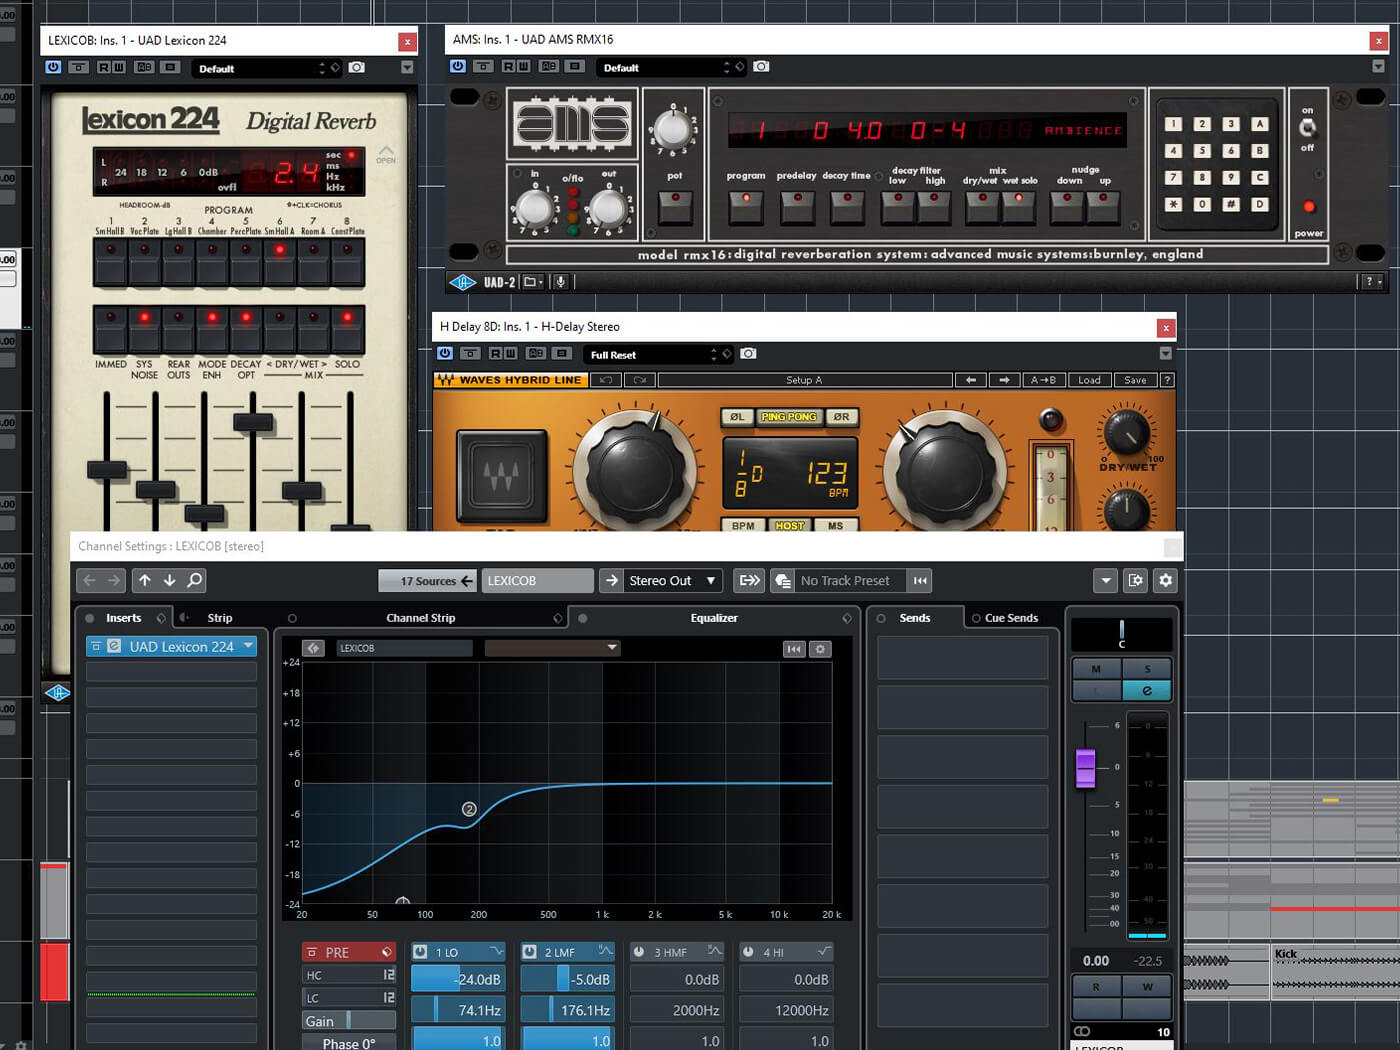
For all sends, use EQ in a subtractive manner, similar to how we processed the vocal line.
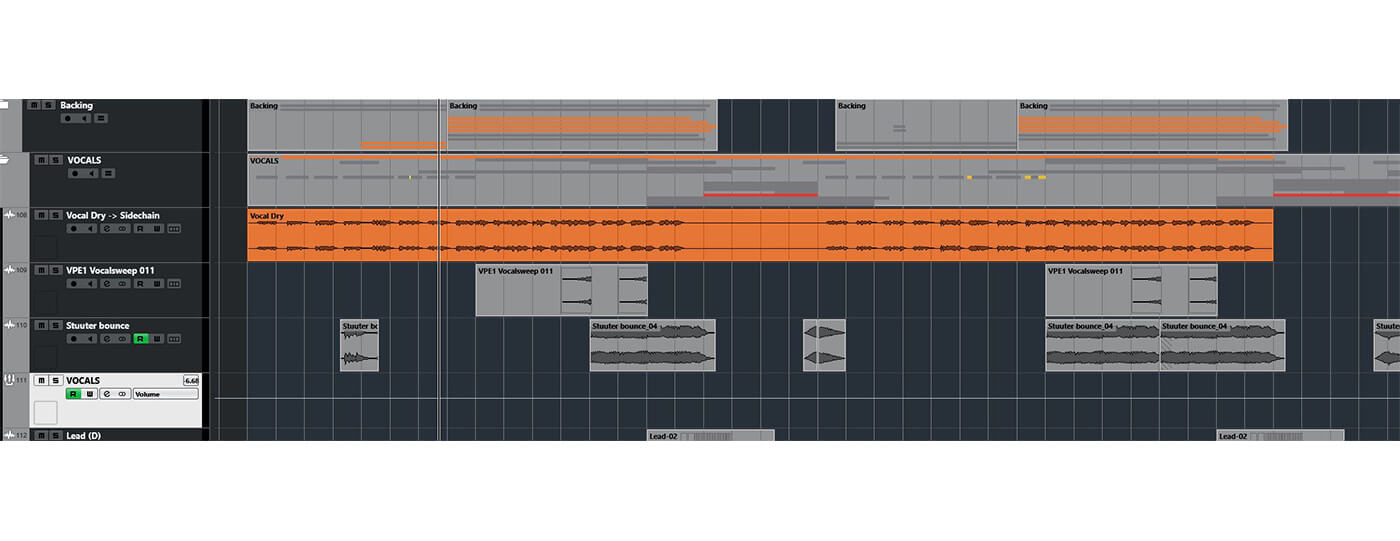
Sidechained effects
Set up a compressor on each of the effects busses with sidechain enabled; this is where the copy of the lead vocal comes in handy. The lead vocal copy should be muted or not sent to the master channel but instead sent to the sidechain of the insert compressor on the effects chains. This will automatically duck the effects when the vocal is present and fade it back in again when there’s no singing. You’ll still hear the effects but they will not clutter the main vocals.
You now have vocals with effects that are not interfering with your original vocal mix. Let’s move onto instruments and create more space for the vocals.
EQ on busses
Assuming you’re not willing to sacrifice any of your production elements, synths and effects, you still need to find a way to gel the vocals into the mix. A useful trick is to use EQ to cut a frequency band in each instrument group to make room for the vocal. Normally this interference is most present in synth, piano and guitar ranges. Begin by sending all synths to a bus. Now you can see and hear the frequencies of all the synths together and can start carving out space for the vocal.
If you don’t trust your ears, look at the vocal’s EQ curve to see where the most frequency content is and subtract the instrument’s frequencies in that same area. This will make some extra space for the vocals to sit in.
Sidechain on busses
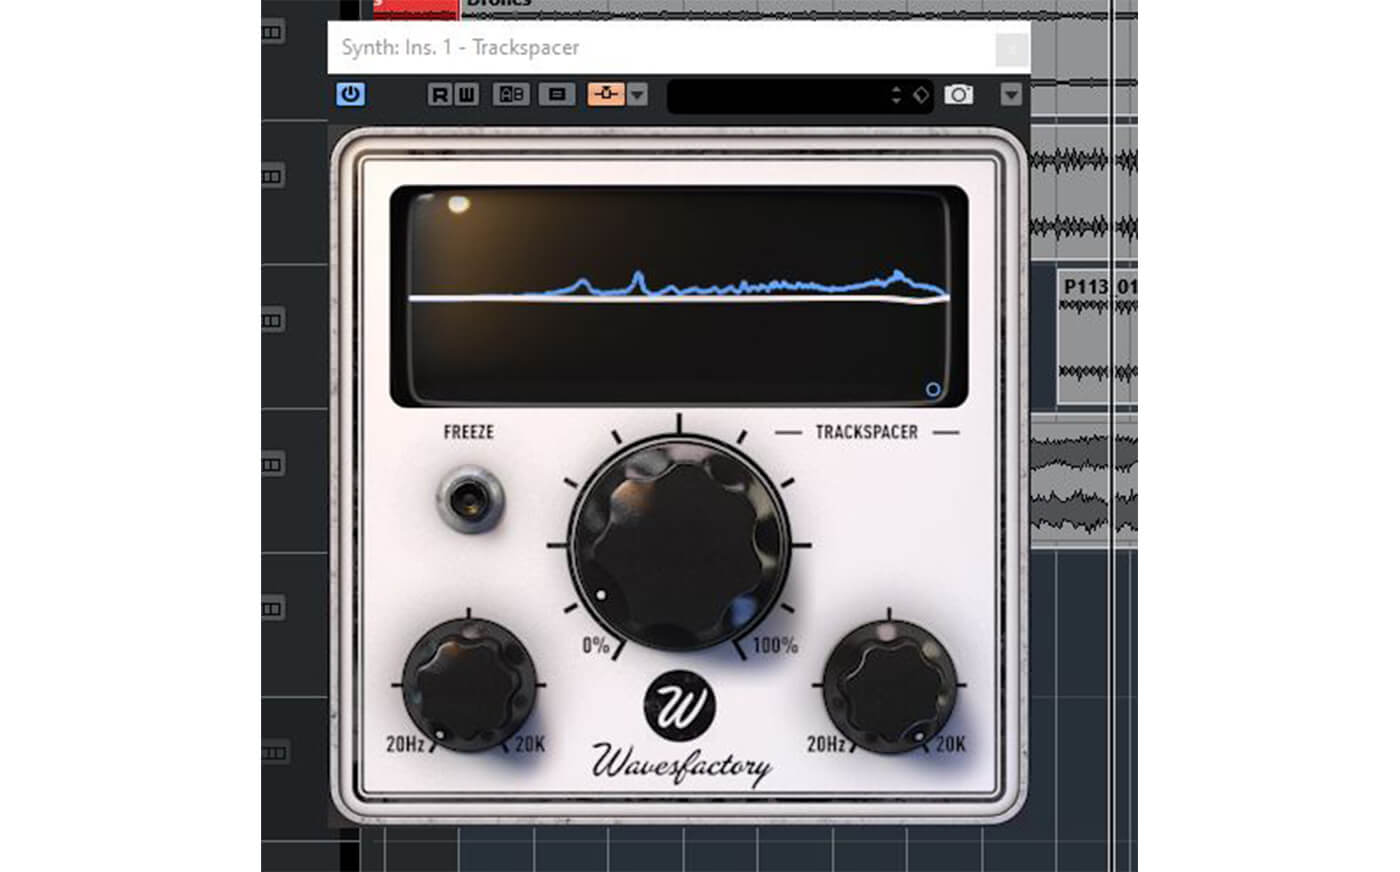
As with vocal effects, you can use ducking on your instrument buses to make more space for your vocal using a plug-in called TrackSpacer. Put this on the synth bus and send the vocals to it, and the synth will automatically be ducked according to the EQ of the vocals. Take this one step further and enable mid/side mode on TrackSpacer, and it’ll duck only the absolute minimum of what you need, leaving the synths to play at full blast when there is no vocal information.
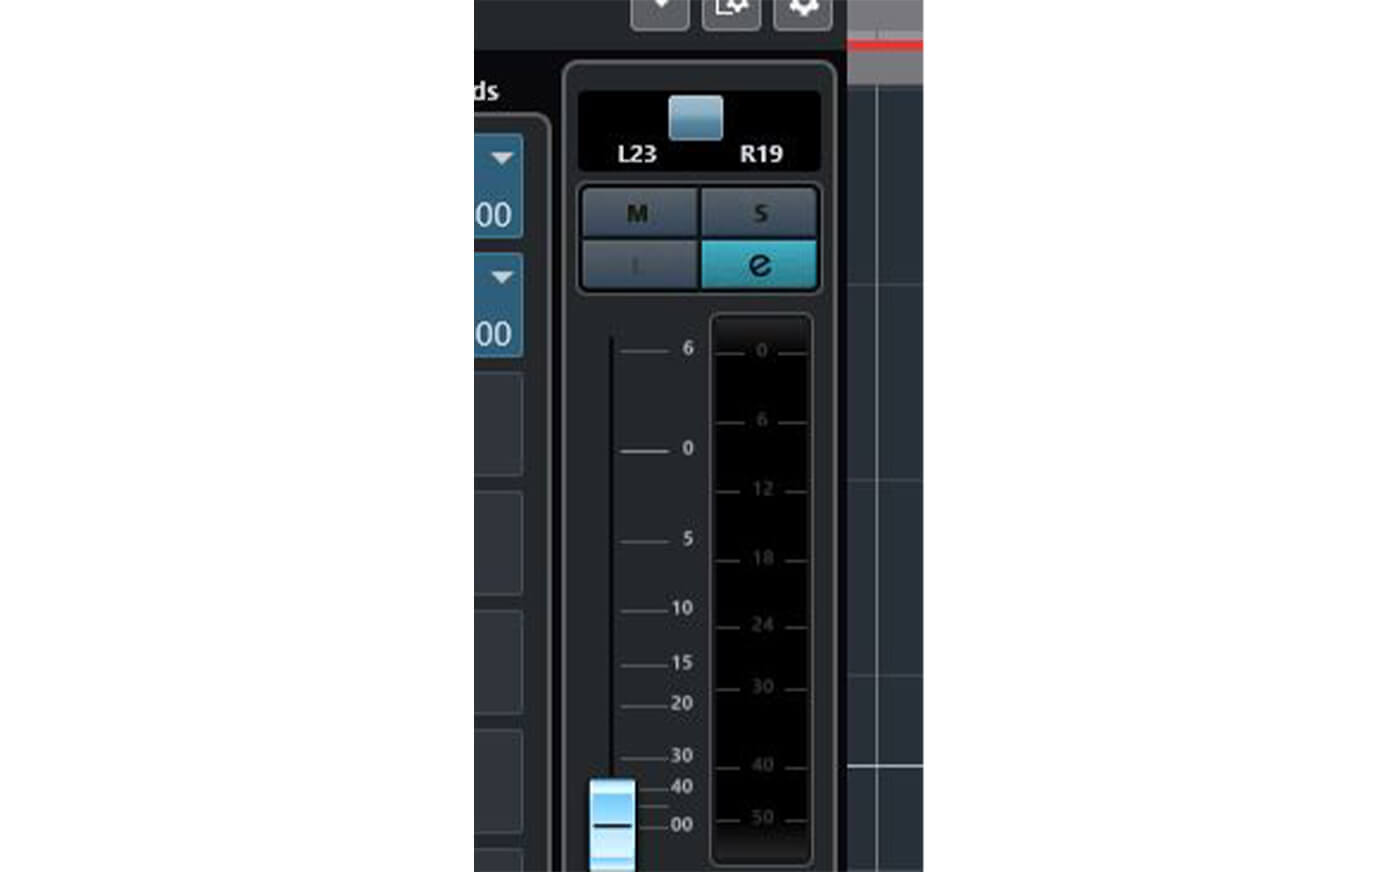
Stereo vs mono
These days, most plug-ins are built in stereo and sound amazing on their own. This can be a problem when it comes to mixing, as each sound takes up the full stereo range. It’s often more effective to make each sound mono and place it in a position in the stereo field, ideally off-centre to leave more room for vocals and other instruments.
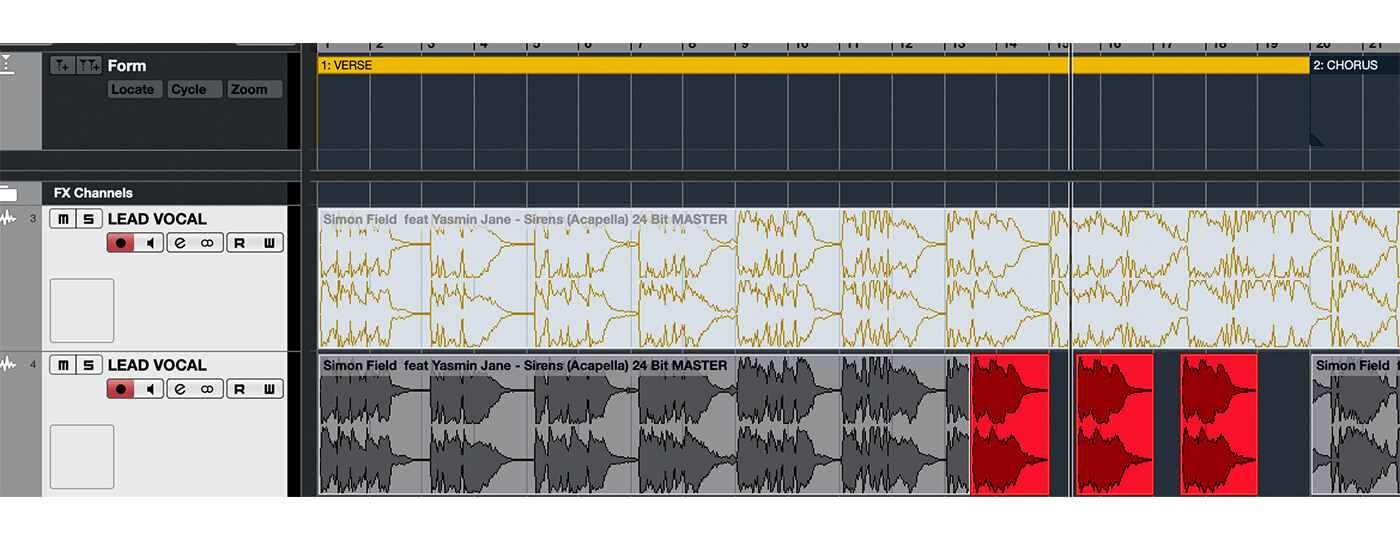
Verses
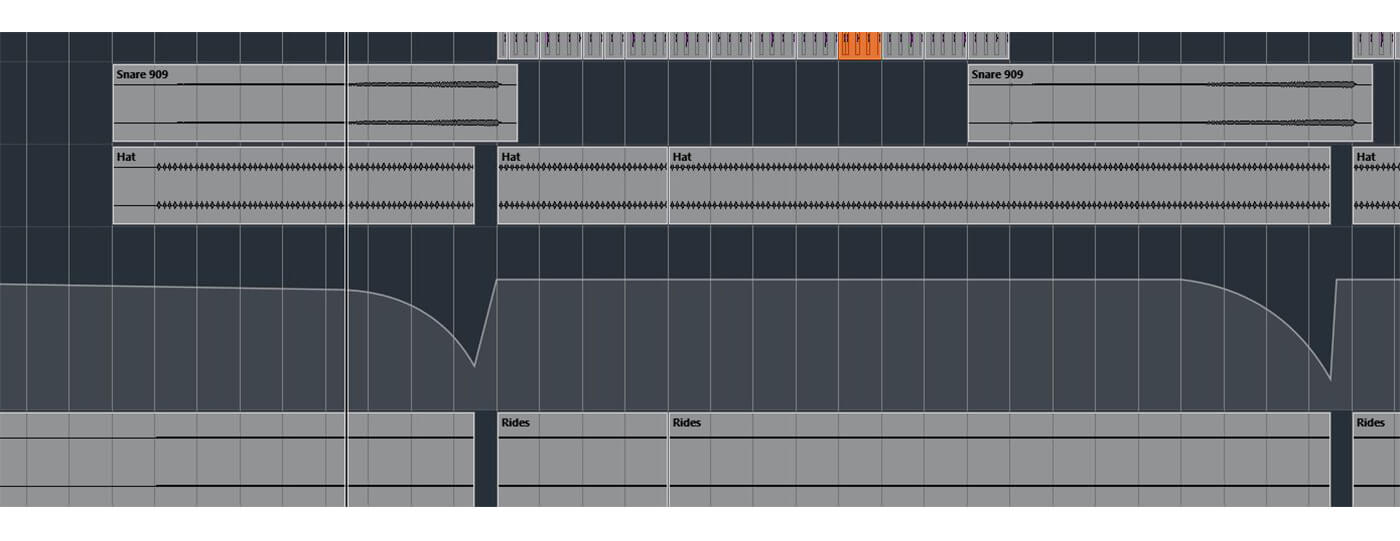
If you’re willing to go all the way back to the arranging process, there might be some changes you can make to allow the vocals to stand out even more. If the vocals are particularly rhythmic, look for elements that drive the rhythm with high-frequency content, such as hi-hats and shakers. Try muting and fading down the volume during verses. This will also benefit the sectional contrast and make the choruses stand out.
Another neat trick is to fade instruments out over a few bars. For example, the human brain will perceive that the hi-hat continues to play even though it’s fading out, gradually leaving more space for the vocal.
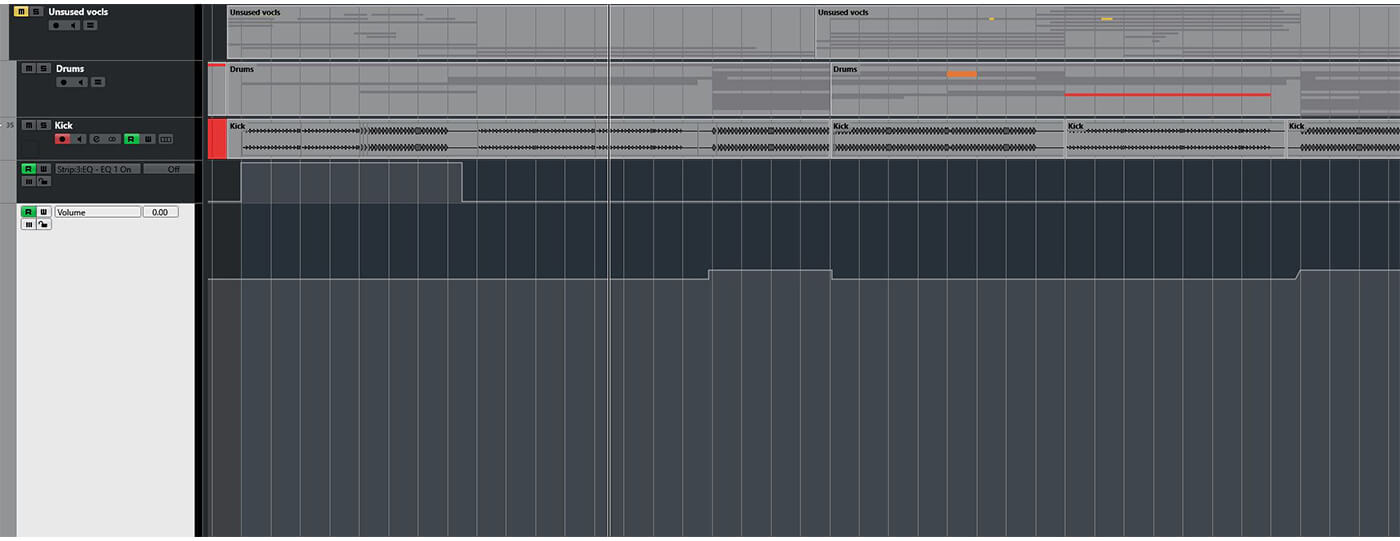
Consider looking deeper and taking out the kick for a few bars – so long as you don’t lose the drive of the track.
Over-production
Before stripping back your track prior to the actual mixing process, ask yourself: what’s driving the track? In most dance music, it’s normally the kick, clap, hi-hat and bass supporting the vocal. Mute everything besides the vocal and introduce the main elements one by one. Which ones make the vocal sound better? Are they helping the track? Normally, at least 20 per cent of the production can be stripped out this way, either throughout the entire track or at least in parts.
An effective method during mixing that’s equally valid during production is to listen to the vocal alone with one instrument or instrument group at a time. For that same reason, it can be useful to have a song section made up of just the kick, bass and hi-hat. You can hear this in literally all my latest tracks, right after the breakdown.
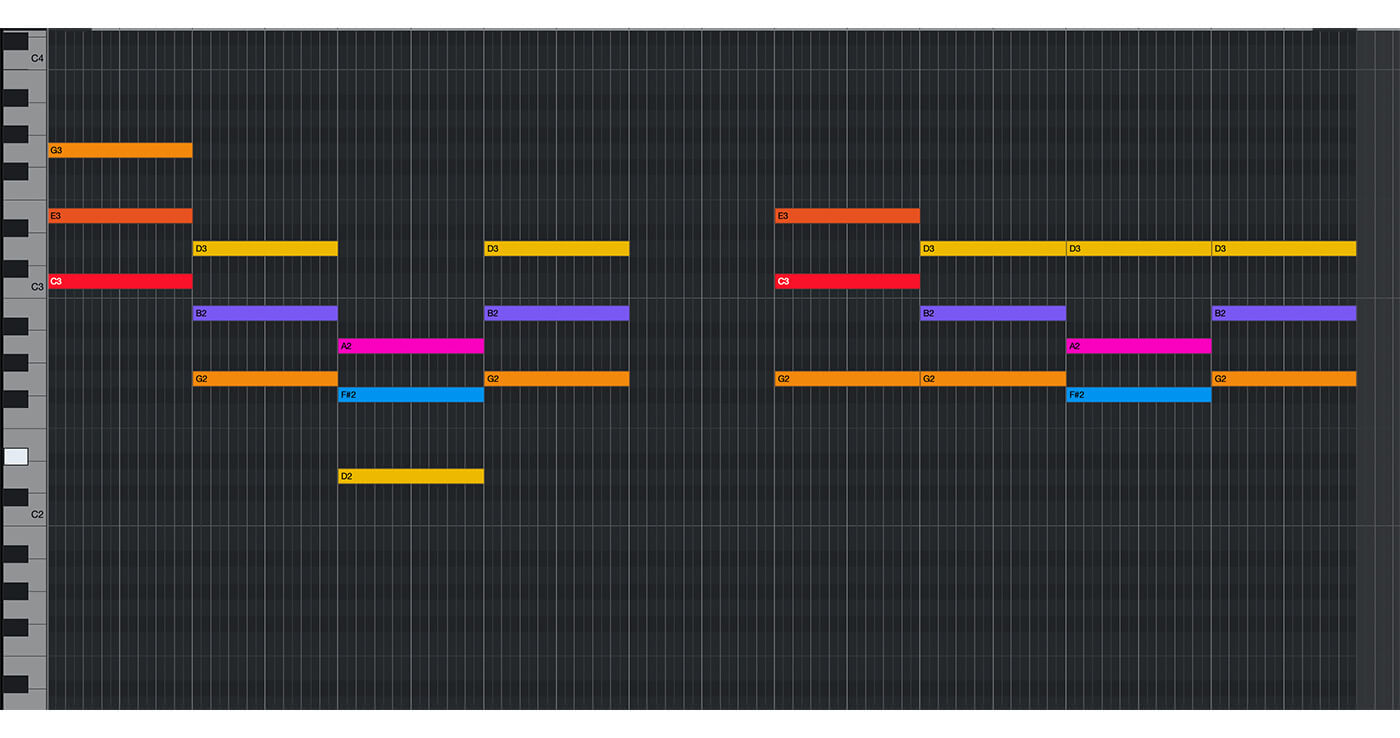
Over-writing
As with production, overcrowded tracks might point back to over-writing. Listening to today’s biggest tech-house tracks, many get away with one chord all the way through. If your track has more than three chords and you’re making it for the club, consider reducing the number of chords, at least in parts of the song. Try re-voicing chords so they create less bombastic movement; using the same bass note in several chords can create a more static yet tenacious feel.
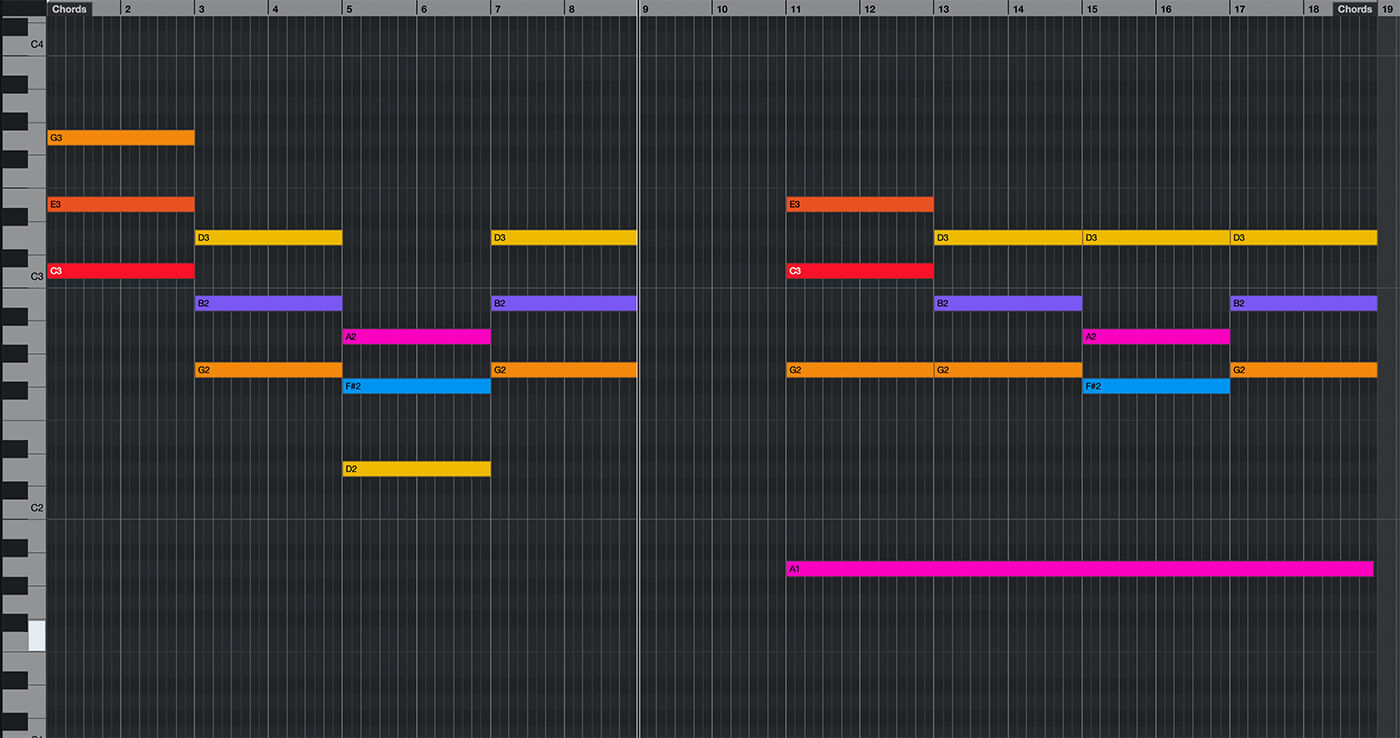
Generally speaking, the more insecure a singer is, the more notes he or she is likely to put into their vocal. Maybe repeating or muting parts will make the others stand out. It’s worth trying and will definitely make your track feel more spacious.
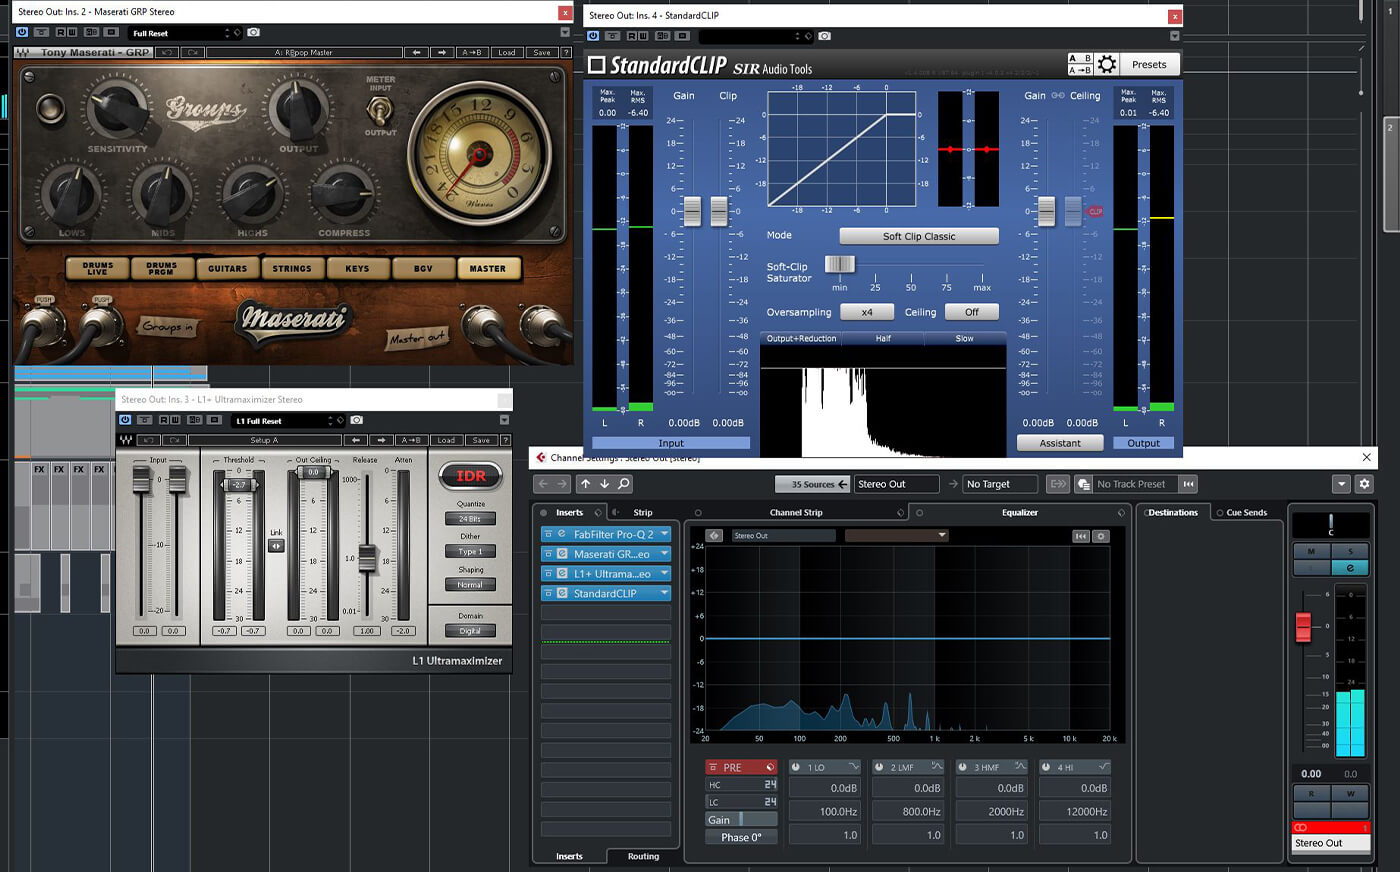
Master plug-ins
When mixing, it can help to work with plug-ins on the master channel. The high and low ends are greatly affected by mastering. Having this will enable you to make better decisions on the overall vocal volume, so you aren’t surprised when you get it back from mastering. Ultimately, if you want to go all the way in creating more space in your mix, make stems and get it summed on an analogue summing mixer.
Buy and stream Simon Field’s new track Sirens ft Yasmine Jane at simonfield.no
For more music production tutorials click here.