How to comp vocals effectively in Pro Tools
Often in the mixing process, the best way to sculpt the perfect performance is by comping different vocal takes. Let’s take a look at how to approach the task in Pro Tools.

Compiling vocals is unlikely to be anyone’s favourite task during the editing process. There is something uniquely dull about listening to the same line of a song on a loop while you go through each take to pick out the best parts. It’s difficult enough if you’re just the engineer in this process, but harder still if it’s your own vocal that you are having to dissect in minute detail.
For better or worse, this process has become an invaluable part of modern music production. As much as we might like to think we’re being ‘truer to the art’ by going with just one great take, the reality is that most of the time, even with great vocalists, creating the perfect take – suited for the modern world of popular music – requires more time surgically constructing the vocal using comping. This can obviously take a while, so it’s important to try and speed up this process in as many ways as possible, and any technique which can shave off a few seconds is greatly appreciated.
Channel surfing
The first, and perhaps most important part of quickly and efficiently compiling a vocal is recording the vocal in a way that makes compiling it easy. It’s no use recording a dozen takes all on top of each other, so that you can’t get to anything other than the most recent take without finding it in the clip list and dragging it into the session.
One way around this is to record each new take onto a new channel, muting previous takes. However, this is cumbersome and Pro Tools has a built-in mechanism called Playlists, which places each new take onto the same channel, which can be shown or hidden at any time. Playlists behave a lot like recording to new channels in the Edit window. You can view all of them at once, edit each one separately and even move clips from one recording to another. However, all of the playlist channels are played through the same mixer channel, and only one channel can be heard at once.
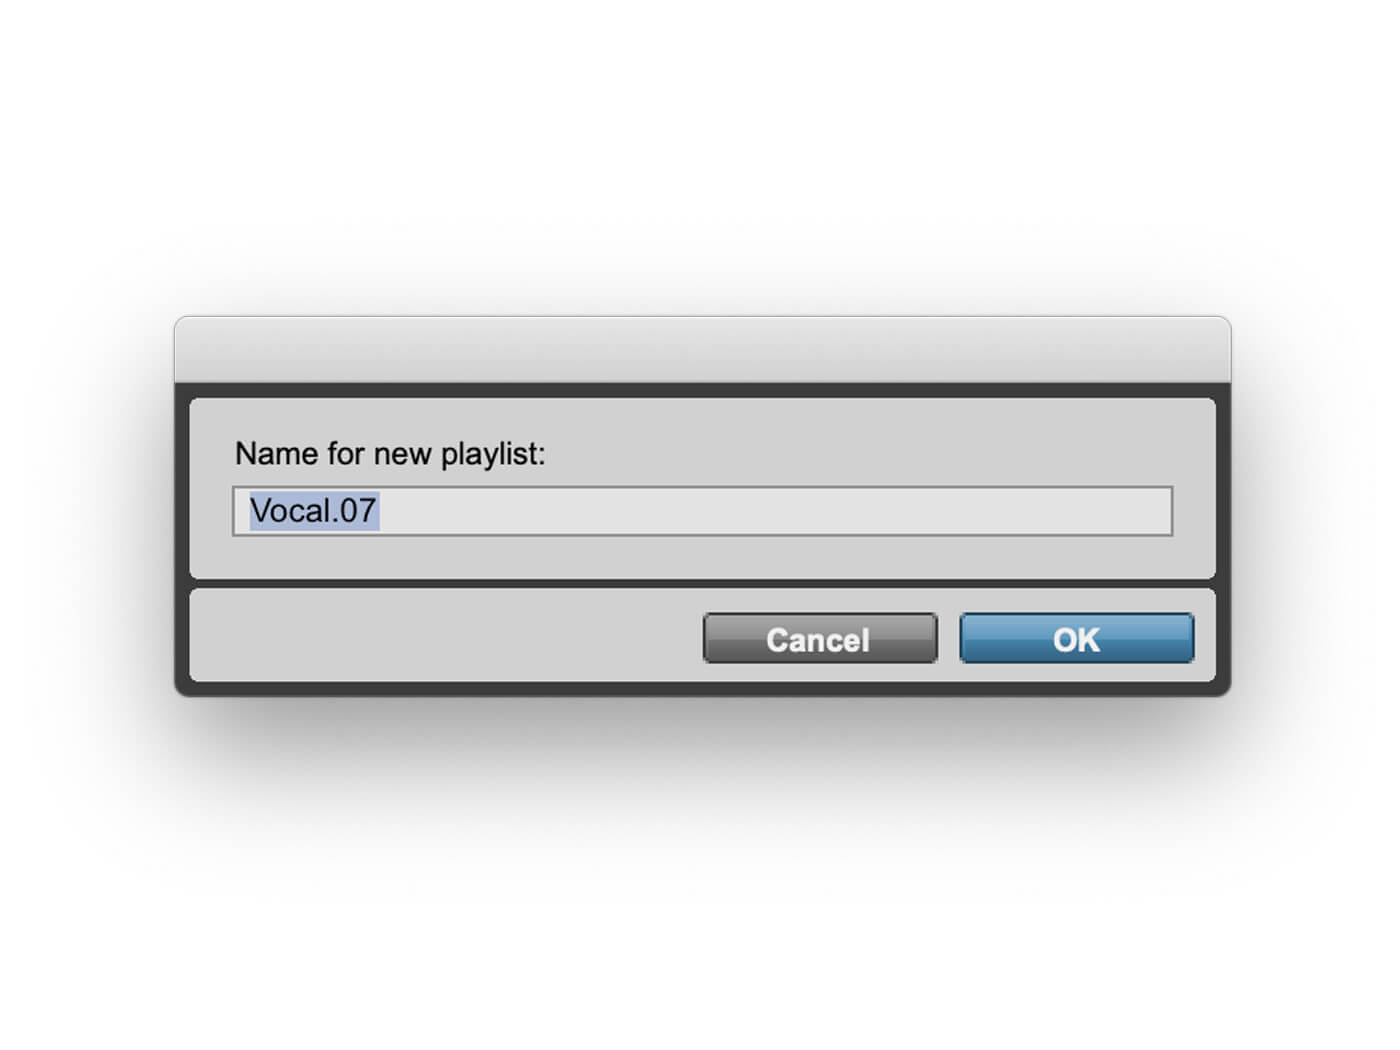
You can create a new Playlist by clicking on the drop-down menu icon to the right of the channel name in the Edit Window, and selecting New from the menu. More simply, press [Start] + [\] (PC) or [Ctrl] + [\] (Mac). This will open the New Playlist dialogue box for naming the new Playlist. Even more efficient still is to use Loop Record with the ‘Automatically Create New Playlists When Loop Recording’ preference turned on in the Operation pane of the Pro Tools Preferences window.
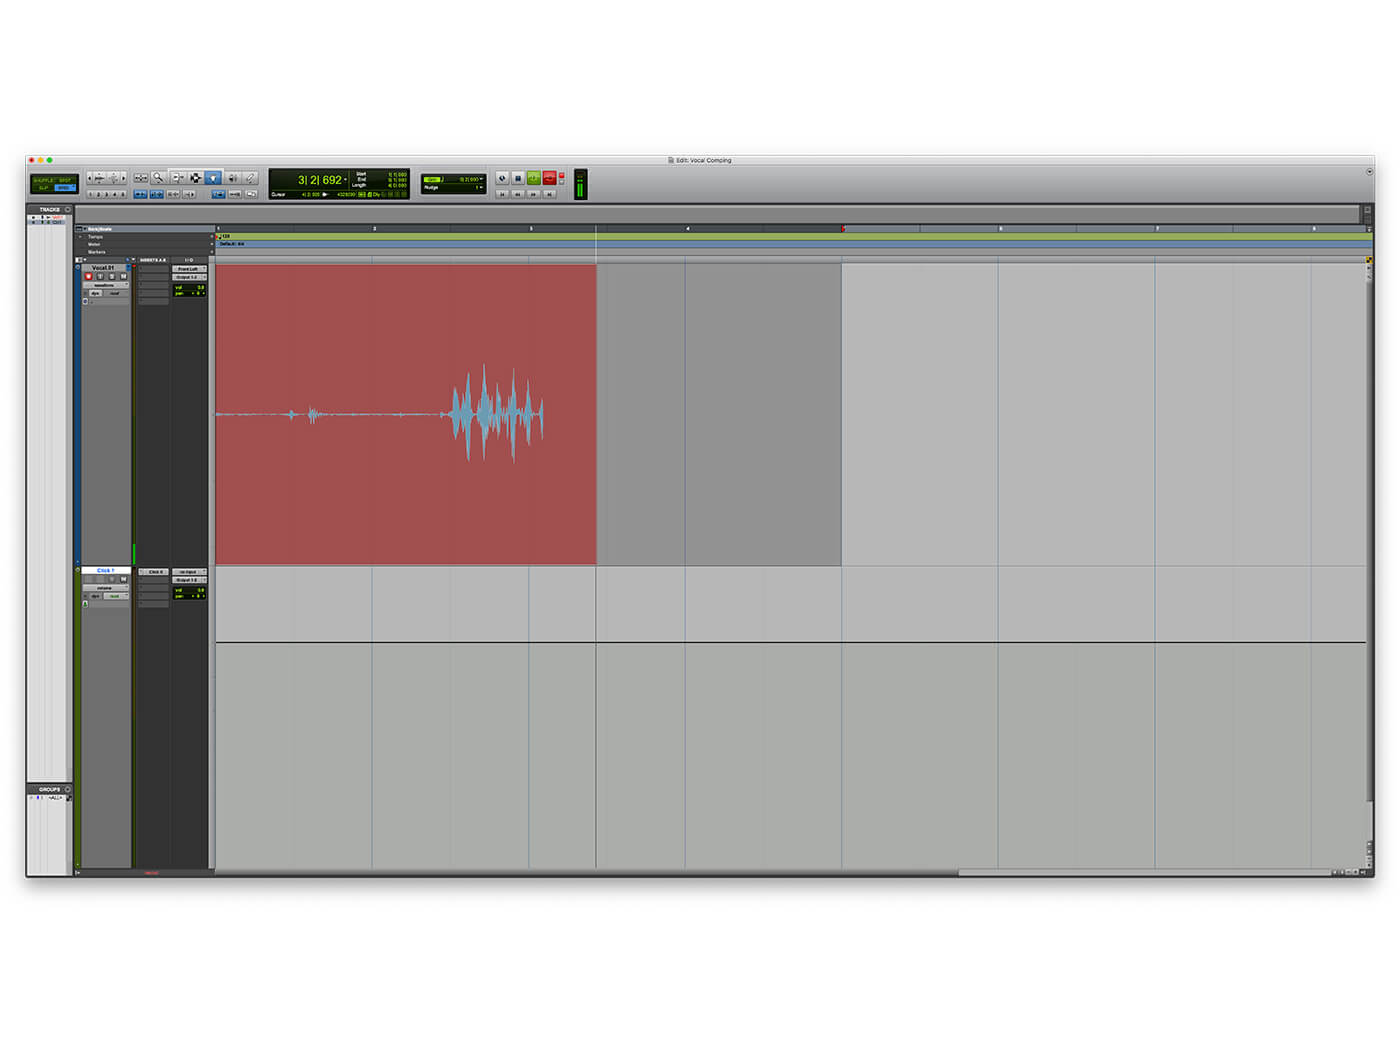
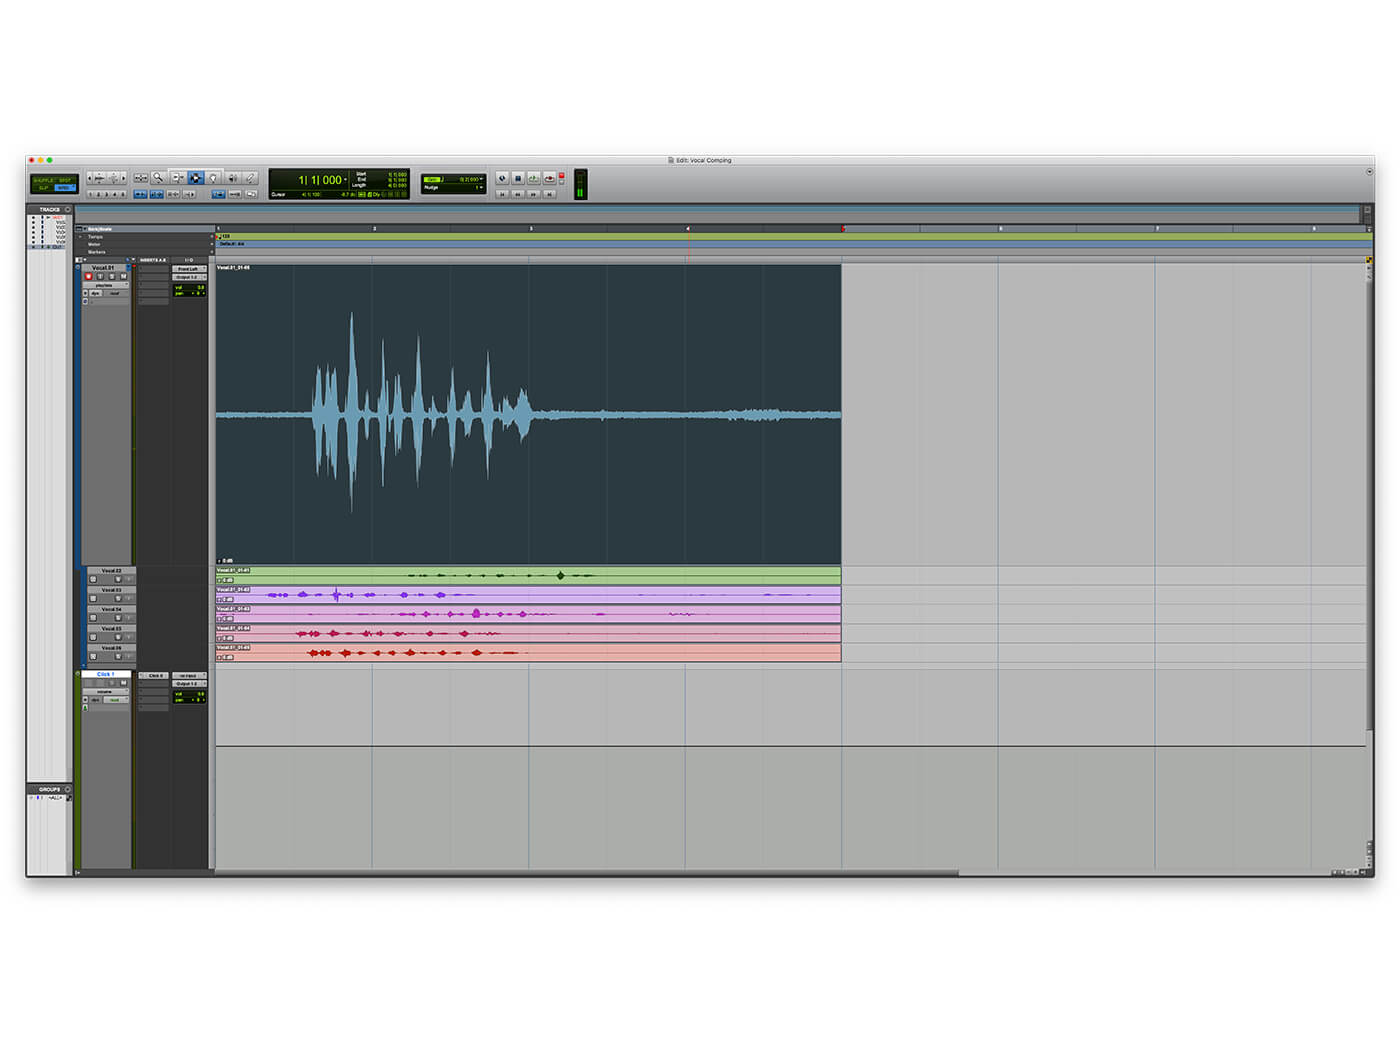
Once you’ve recorded your takes, you can use the Playlist view in the Edit window to show all of the recordings. By default, the most recent recording will be the active take and we find it useful at this point to create one more empty playlist, titled ‘xxx.COMP’. This becomes the active Playlist and all the takes are reached by pressing the Solo button on the relevant Playlist track.
Remember that any plug-ins on the channel will be active as you audition each take. Loop up a section of audio and play it back, listening to each take in turn by pressing the solo button on each take. Highlight any audio you want to keep and press the up arrow (next to the Solo button) to move it to the xxx.COMP Playlist.
Playlists
If you want to use this technique on multi-mic’ sources, such as drum kits, simply create an Edit Group for all the drum channels before you record. Any edits made to one channel will now also be made to all of the edits in the other groups, so you can quickly edit together a drum comp from various takes without having to do any additional work to ensure phase accuracy between each channel. If you are going to do this, however, it’s advisable to leave the channels in Waveform view rather than Playlist view, as this can get overwhelming in terms of screen real estate.
Instead, scroll through playlists using the key command Shift+[up/down arrow], and use the Target Playlist option ([Shift]+[Ctrl]+[right arrow] (PC) or [Shift]+[Cmd]+[right arrow] (Mac) to select which playlist any edits are copied to, committing edits themselves using [Shift]+[Alt]+[up arrow] (PC) or [Shift]+[Opt]+[up arrow] (Mac).
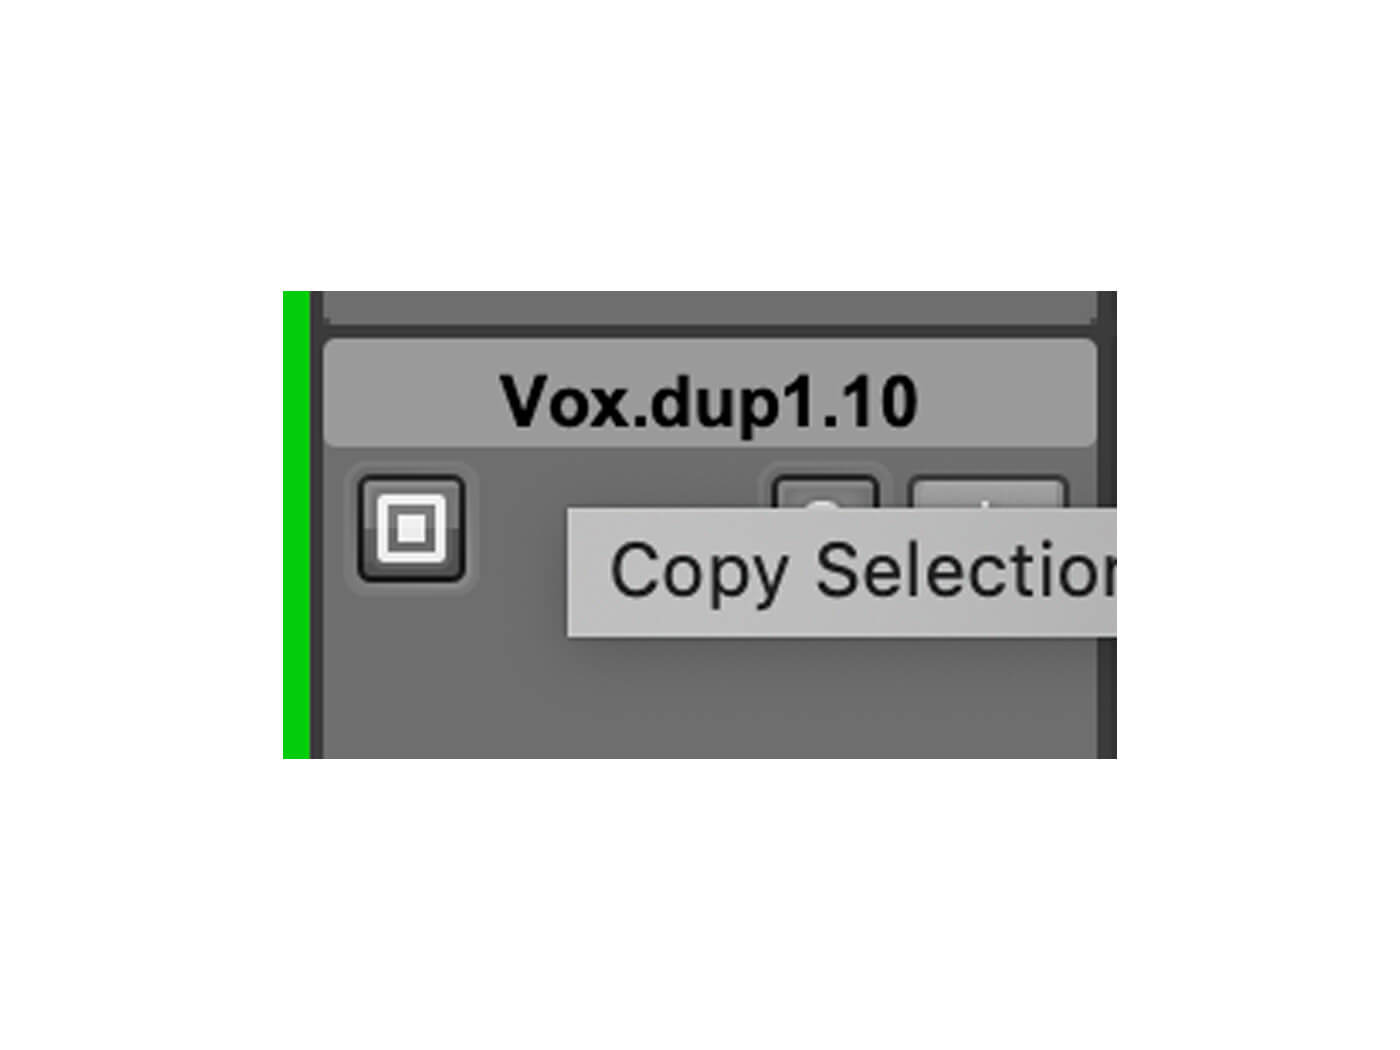
An advanced technique using Playlists is to create not one but two comp tracks simultaneously, selecting the best two takes to make a doubled vocal. To do this, create another Playlist after xxx.COMP called ‘xxx.DBLCOMP’ and as you go through auditioning the takes, put the best take on xxx.COMP and then press the Target Playlist button on xxx.DBLCOMP – you can see which channel is the target channel in the Playlist view by the small blue square visible next to the active track.
When this is used, any comps will be made to the target Playlist rather than the channel. Once you’re done, creating both comps, duplicate the channel (including Playlists) and select the playlist xxx.DBLCOMP as the main Playlist for the duplicate channel. You can now exit Playlist view on both channels.
Vocal comping in Pro Tools: step-by-step
1. Open a new Session in Pro Tools and add a single audio channel with signal routed from your mic input to this channel. Then add a click track. We’re going to put ‘.01’ in the channel name, pre-empting the need to loop this recording.
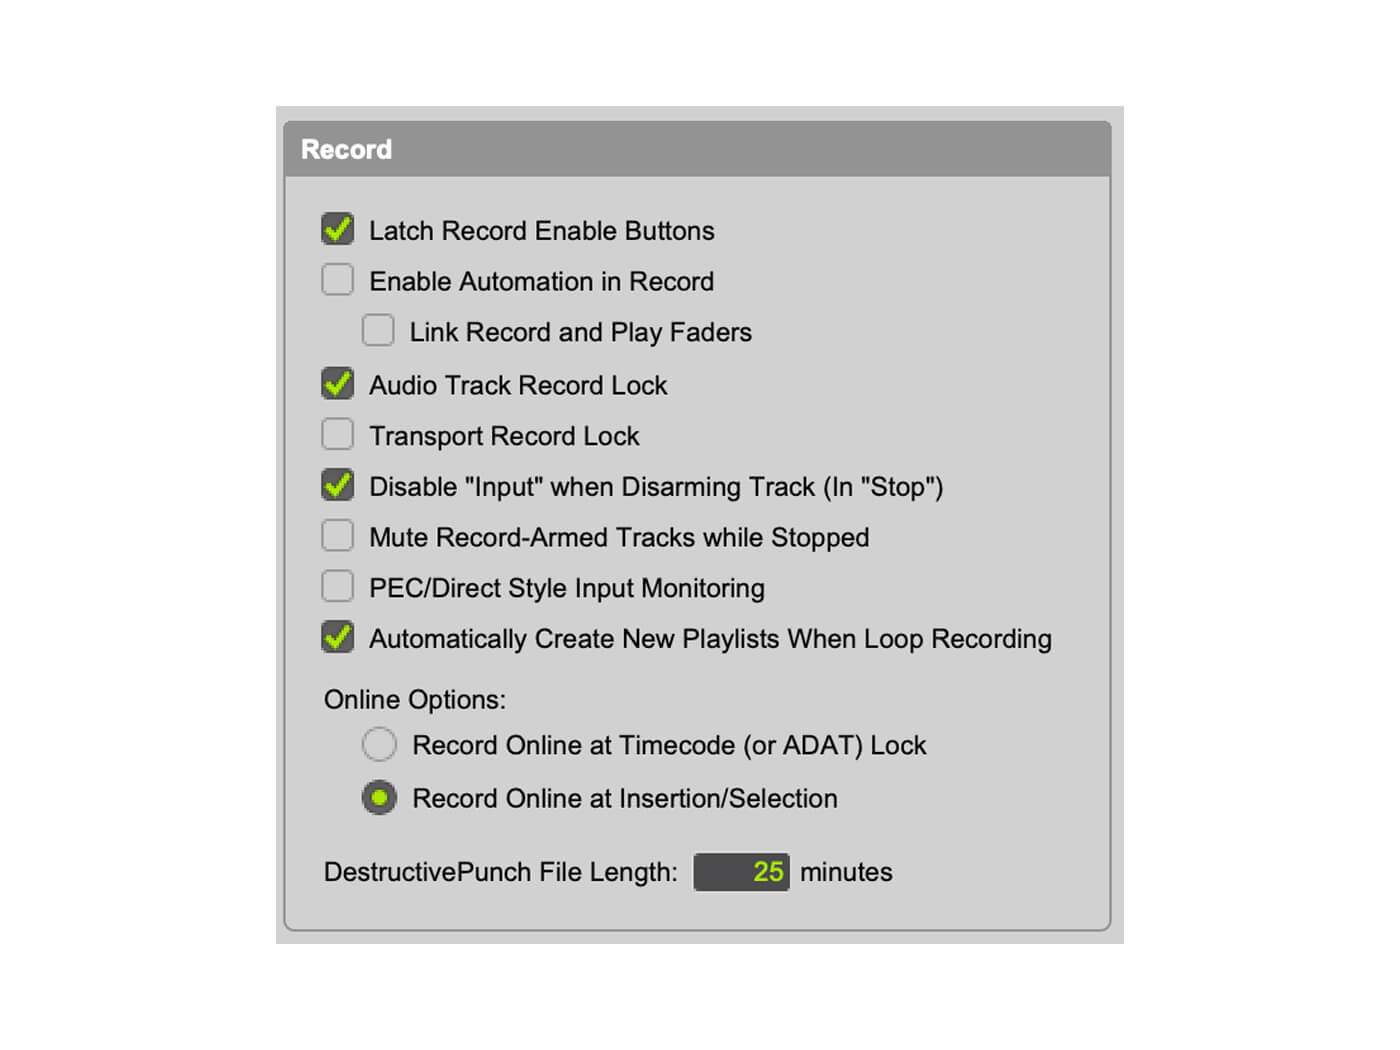
2. In the preferences window, go to the Operation pane and ensure ‘Automatically Create New Playlists When Loop Recording’ is engaged. You’ll find this in the Record section at the top right of the screen.
3. Now it’s time to record arm your audio channel and check that the gain on your audio interface is set up so as to record your voice cleanly and at the right level. Here, you should to to aim for peaks at around -12dBFS.
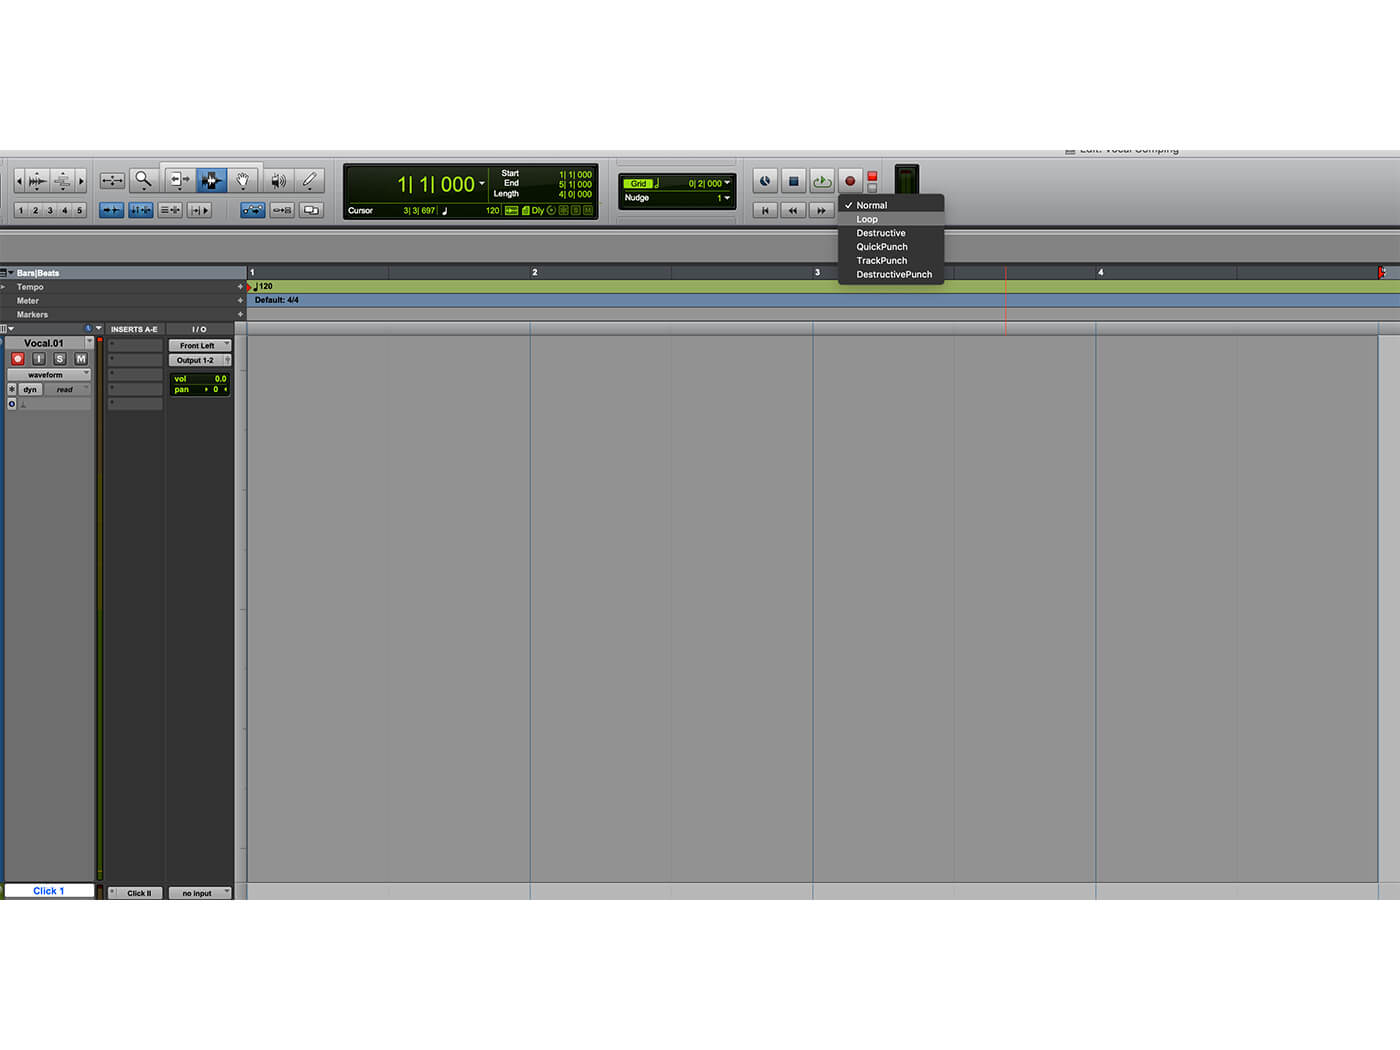
4. The next step is to highlight a four-bar region of audio and engage the Loop Record mode in Pro Tools. Do this by right clicking on the record button and selecting ‘Loop’. You are now ready to go.
5. Hit record [Ctrl]+[Space] (PC), [Cmd]+[Space] (Mac), or [3] (on the numeric keypad), and try to recite a simple line from a poem, tongue-twister or simple rhyme. With each loop, try and get the timing of your recitation to match the last take.
6. Each time the loop records a new take it, puts each pass onto a new Playlist, when you hit stop, the most recently completed playlist remains on the active Playlist. Ensure you allow at least three passes before you stop recording.

THE NAME GAME If you don’t wish to be given the option of naming the new Playlist each time you create a new one and would prefer Pro Tools simply added numbers under each take, you can suppress the New Playlist dialogue box from the Editing pane of the Preferences window.
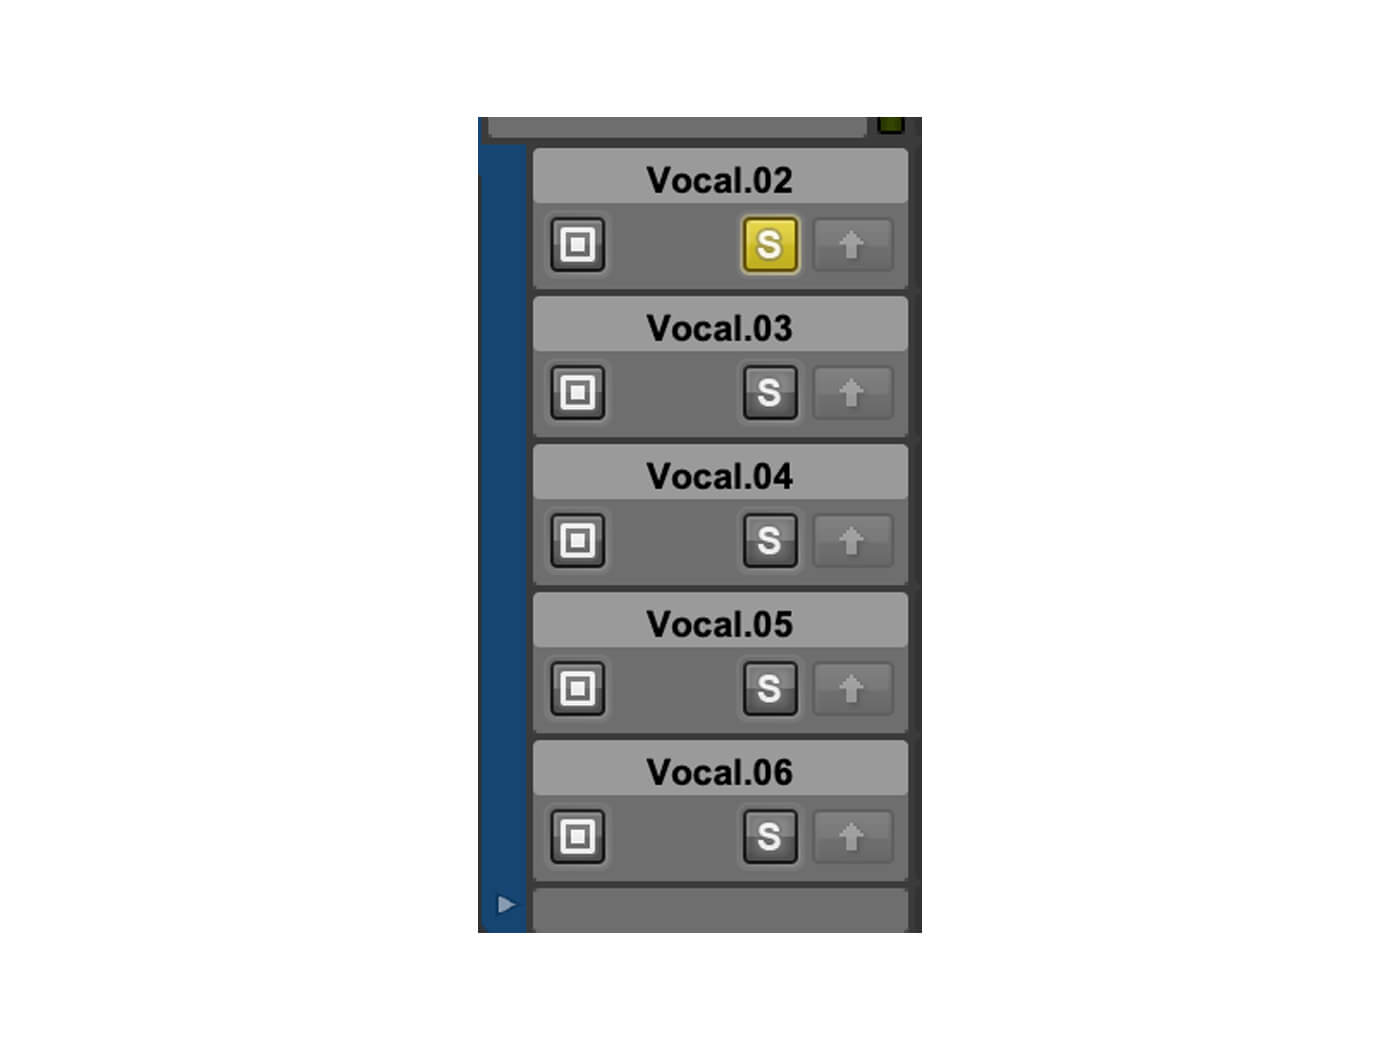
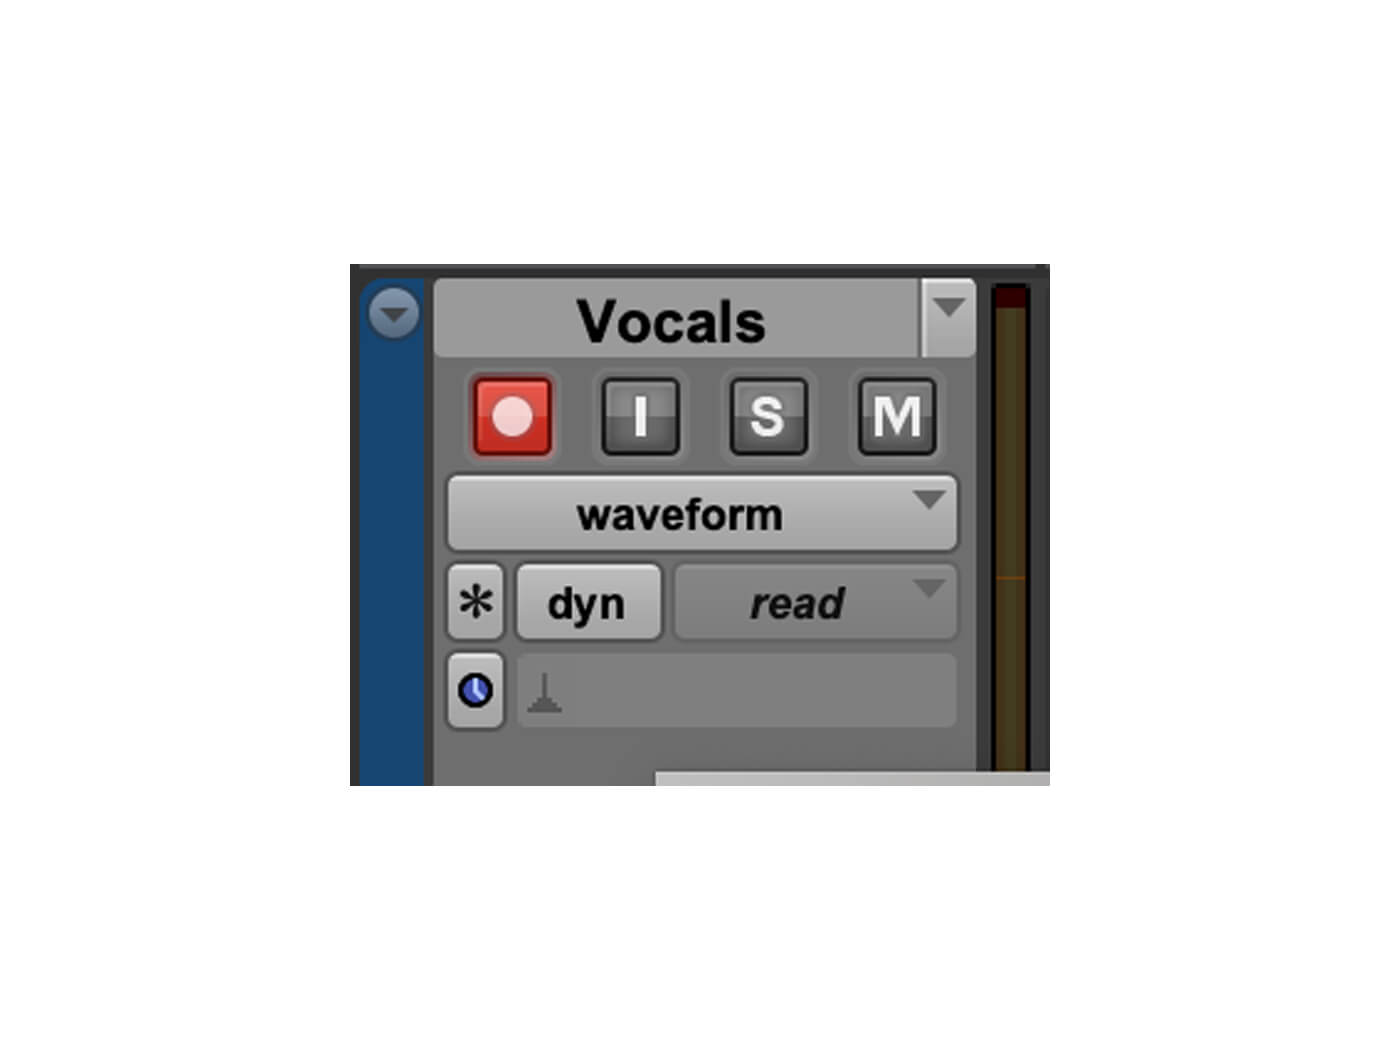
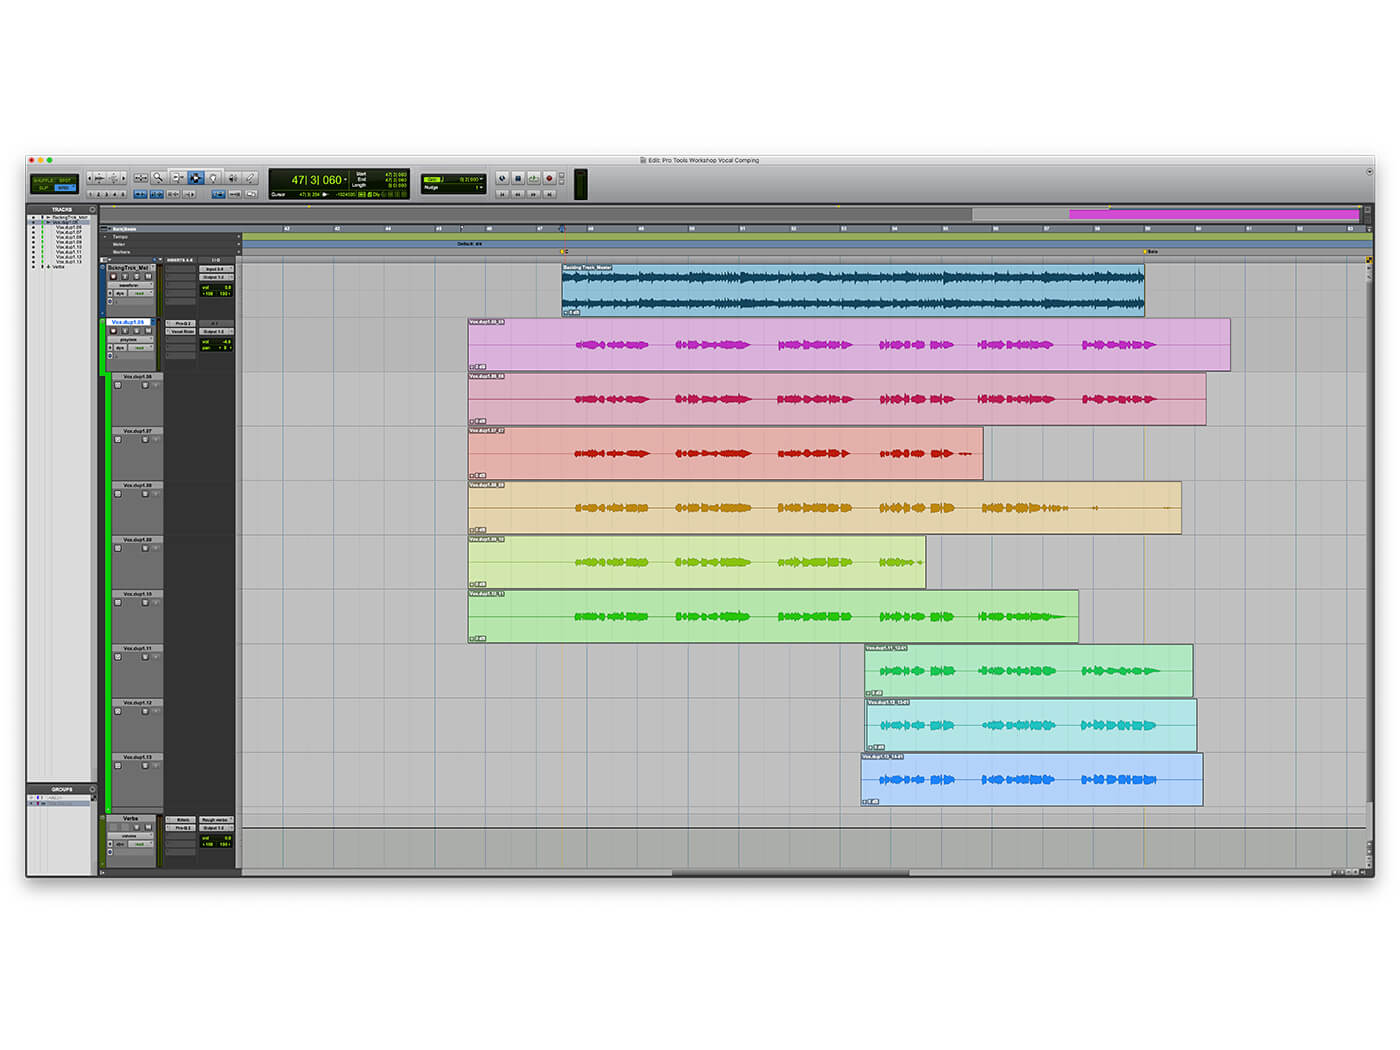
7. Switch from Waveform view to Playlist view to see all the takes you have made and listen through to them using the Solo button next to the Playlist track. If no Solo buttons are engaged, then the main track will be active.
8. Don’t worry if you’re not happy with your recorded vocal takes so far in the process. You can easily create a new Playlist track with [Start]+[\] (PC) or [Ctrl]+[\] (Mac) and start your vocal recording all over again.
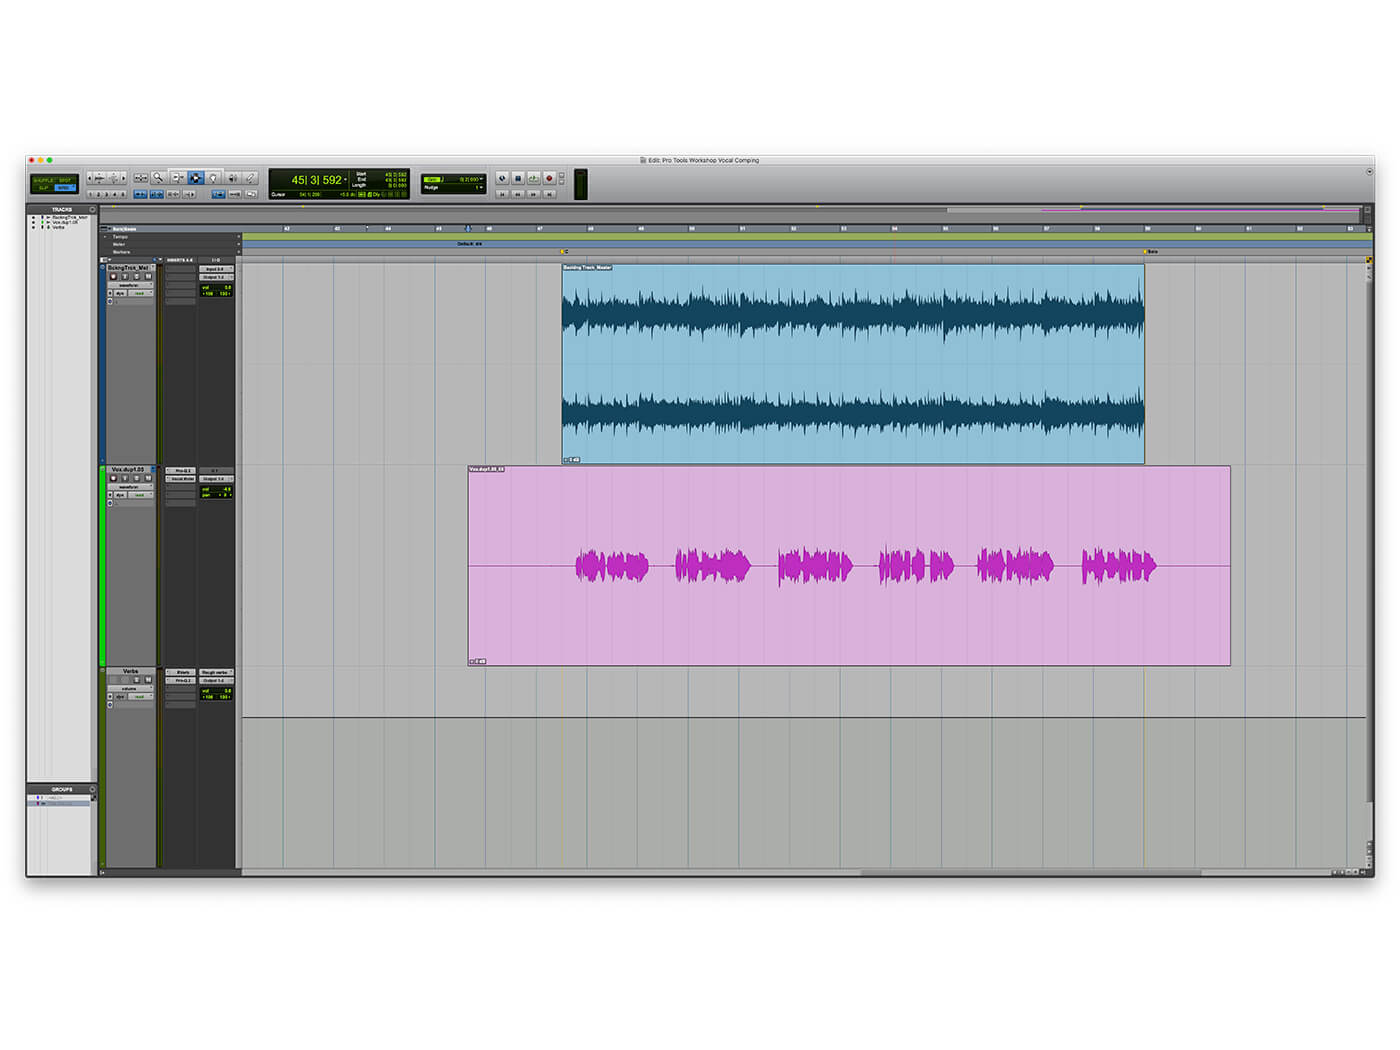
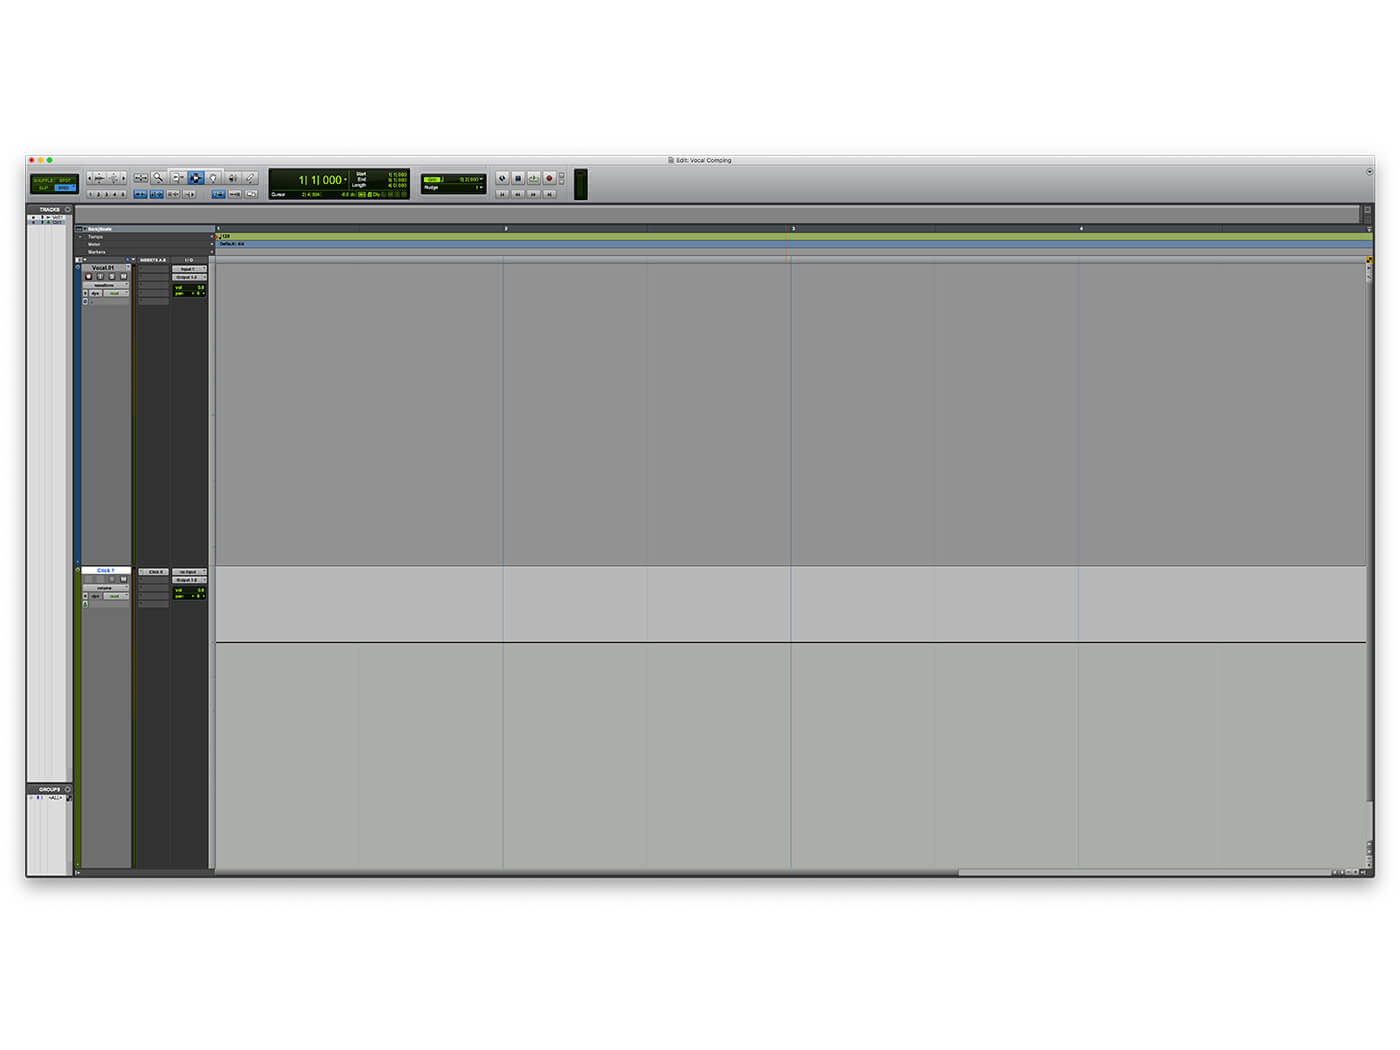
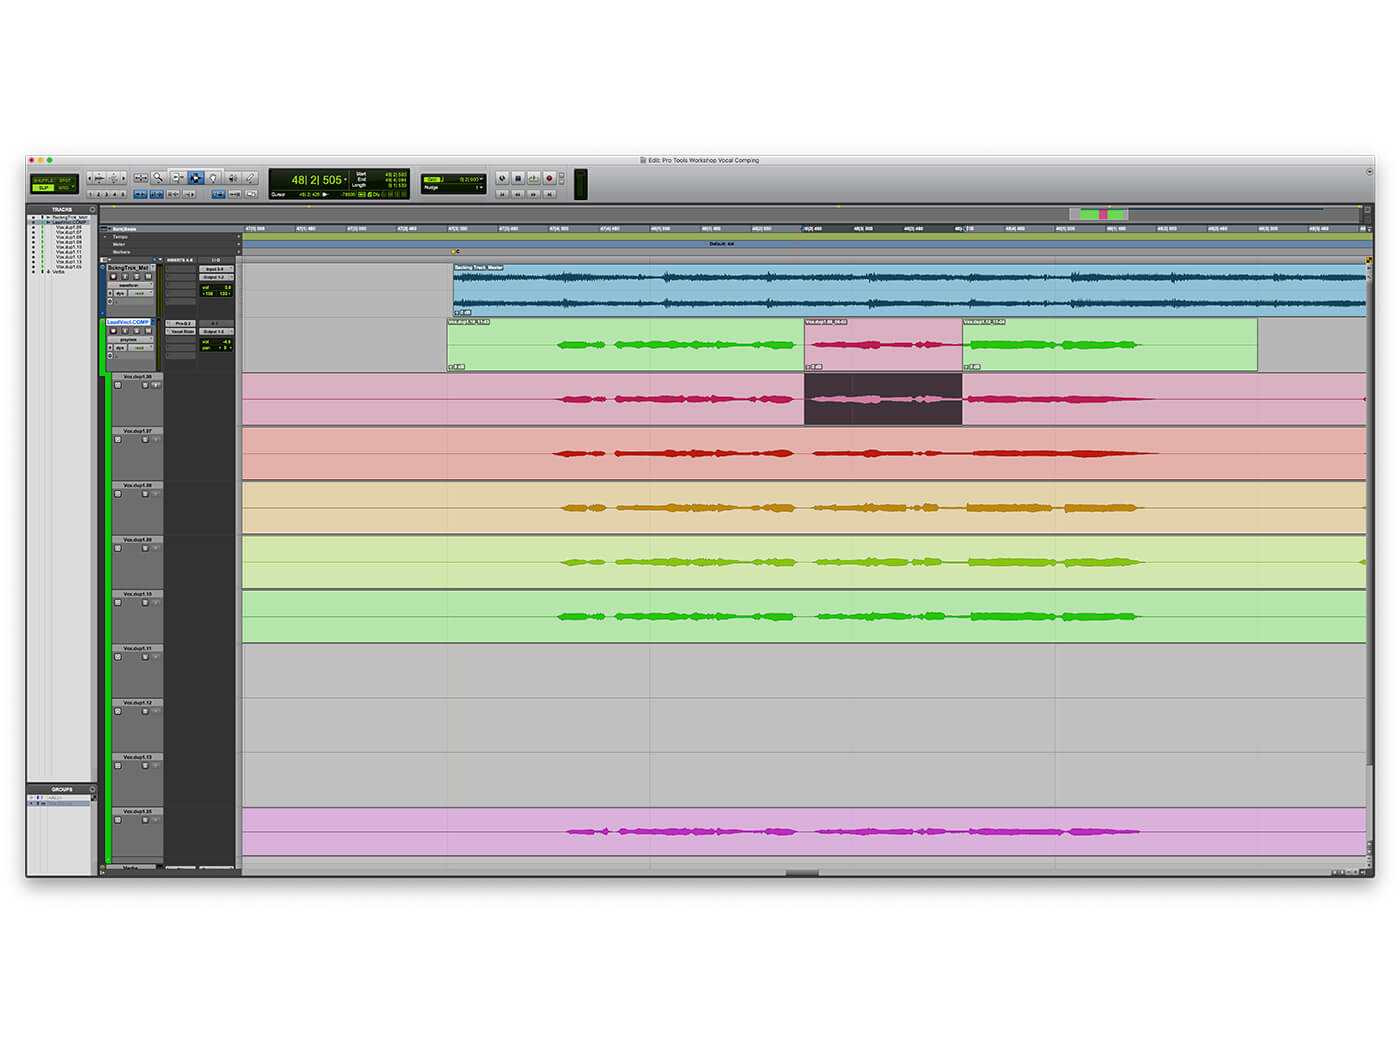
9. Now open the Vocal Comping project from the magazine cover disc. This project contains a short section of backing track, alongside a vocal recording, with various takes included in the project.
10. We find it’s usually useful to accustom yourself to the whole song before editing, so pick one of the takes – usually the most recent one – as a guide and listen all the way through with the backing. This won’t take long with this short example.
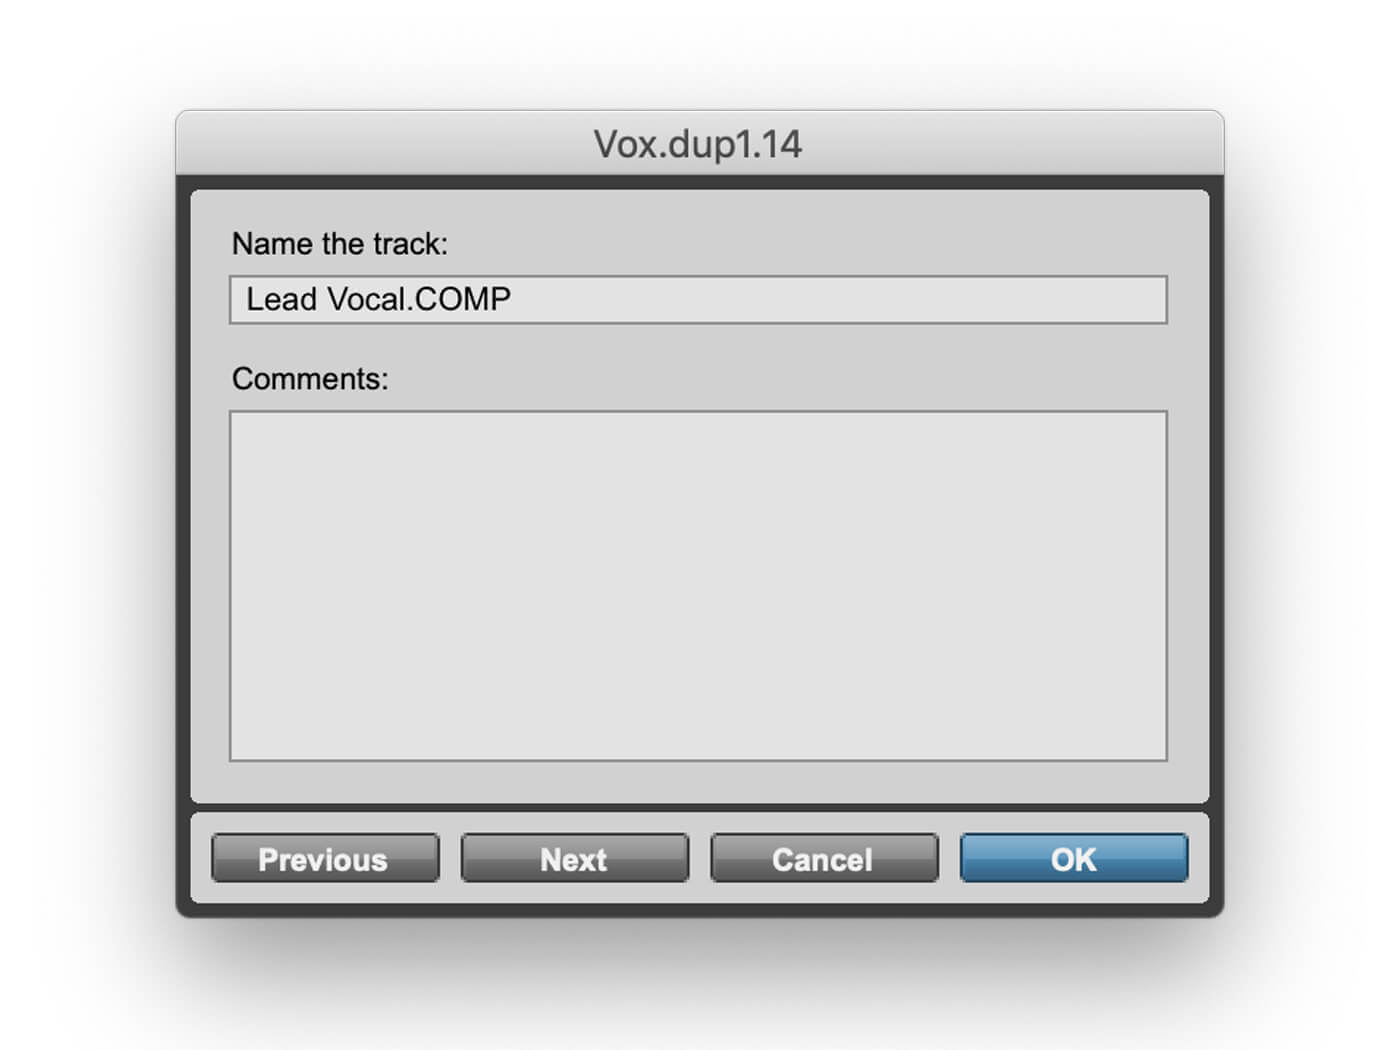
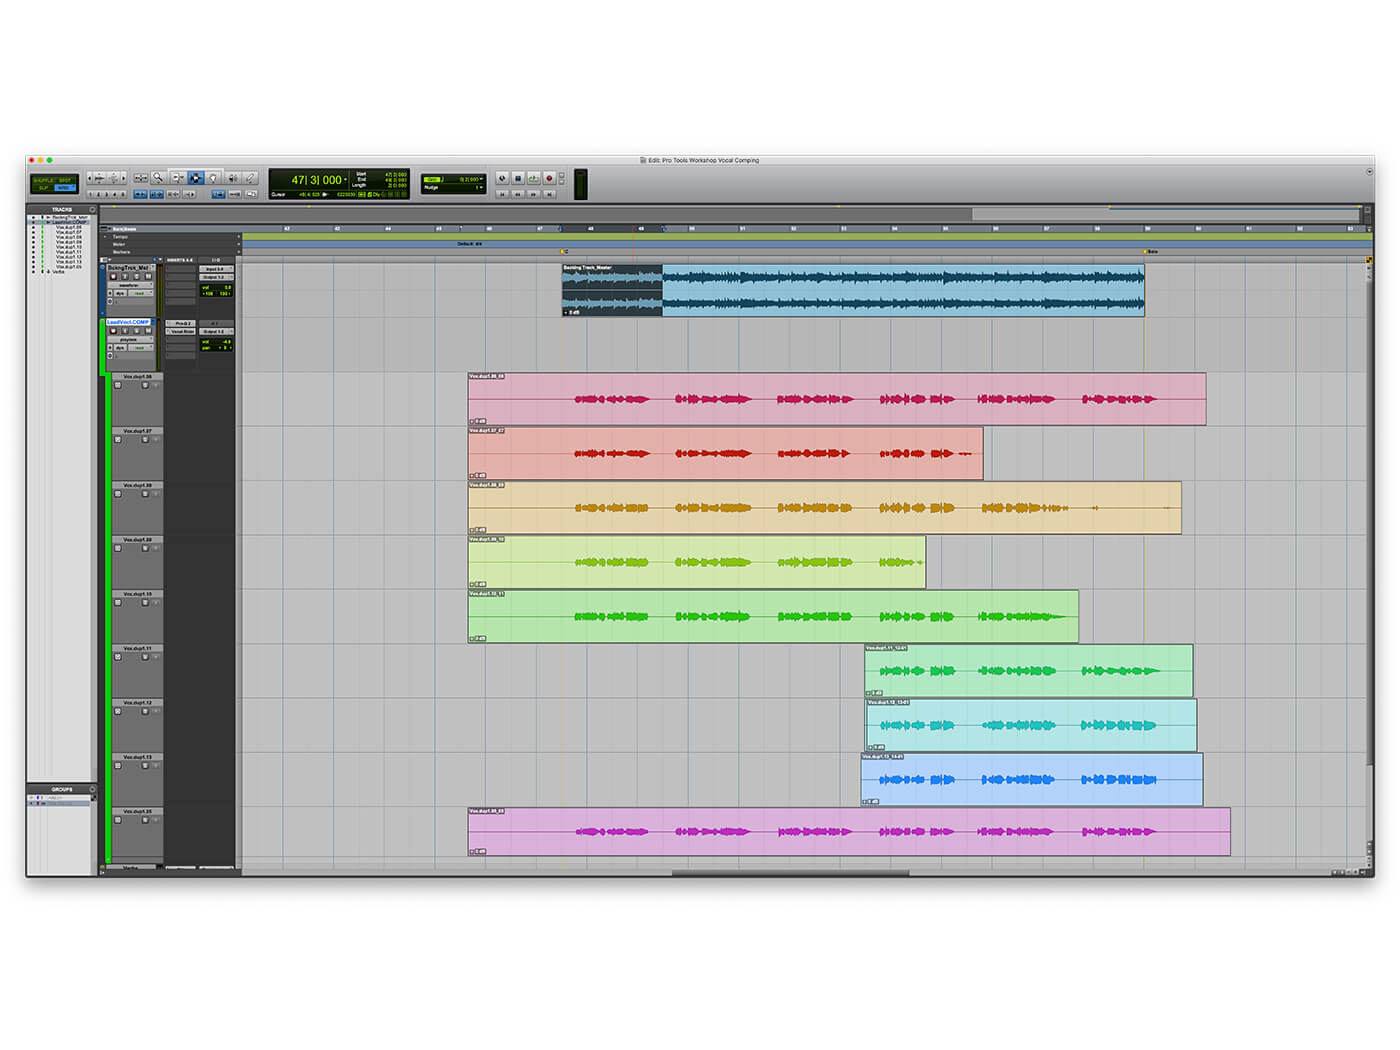
11. Create a new Playlist track – [Start]+[\] (PC) or [Ctrl]+[\] (Mac) – titled ‘Lead Vocal.COMP’ and ensure this is the active track – if it’s the main channel track, the arrow next to the track name will be blue; otherwise, the small box next to solo will be blue.
PHASE ACCURACY When comping a multi-tracked instrument, such as drums, but also vocals with a natural room reverb, group all of the audio channels into a single Edit group before starting and any edits made to one will be made to the other channels, too – ensuring phase accuracy.
12. Once you’ve started to get to know the song, loop up a single line of the vocal recording and listen through each of the takes to pick out your favourite one from each group of takes.
13. Once you’ve chosen your favourite vocal take from the group of recordings, highlight the part you want to use and press the Up arrow next to the take. This will then send it to the active comp track.
14. Don’t feel that you have to use all of a line from a single vocal take. It’s not unusual in many song productions for single words, or even smaller parts of words to be edited in and used in the final version.
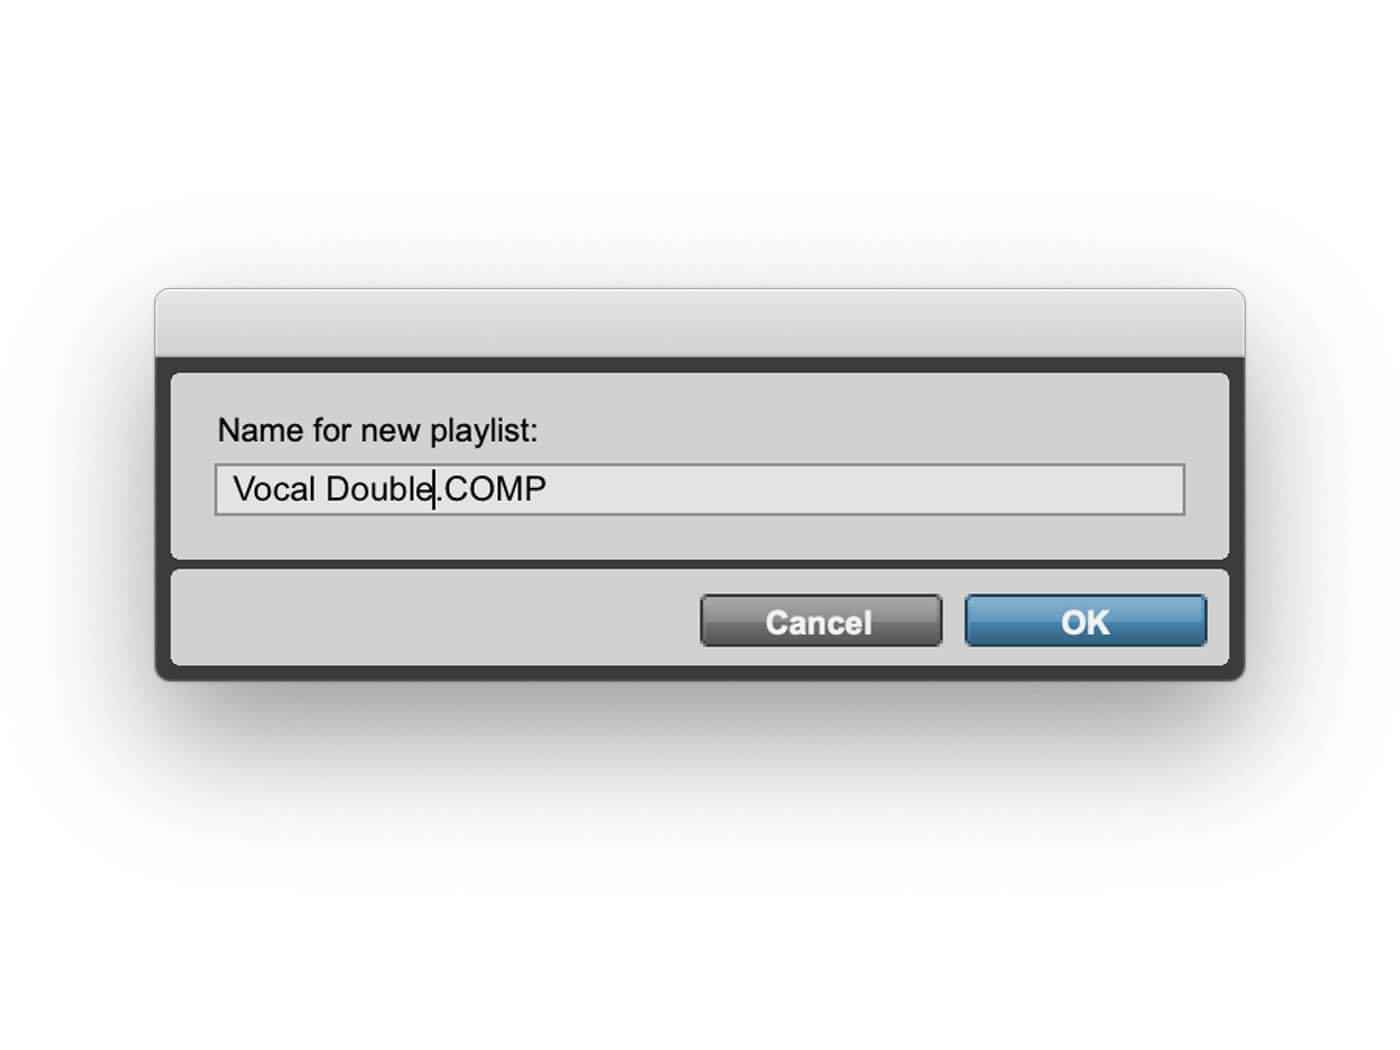
15. To create a vocal double, create another Playlist track, this time titled ‘Vocal Double.COMP’ or similar, and repeat the process above, ensuring the new track is the active track and that you don’t reuse any audio you used in the main vocal layer.
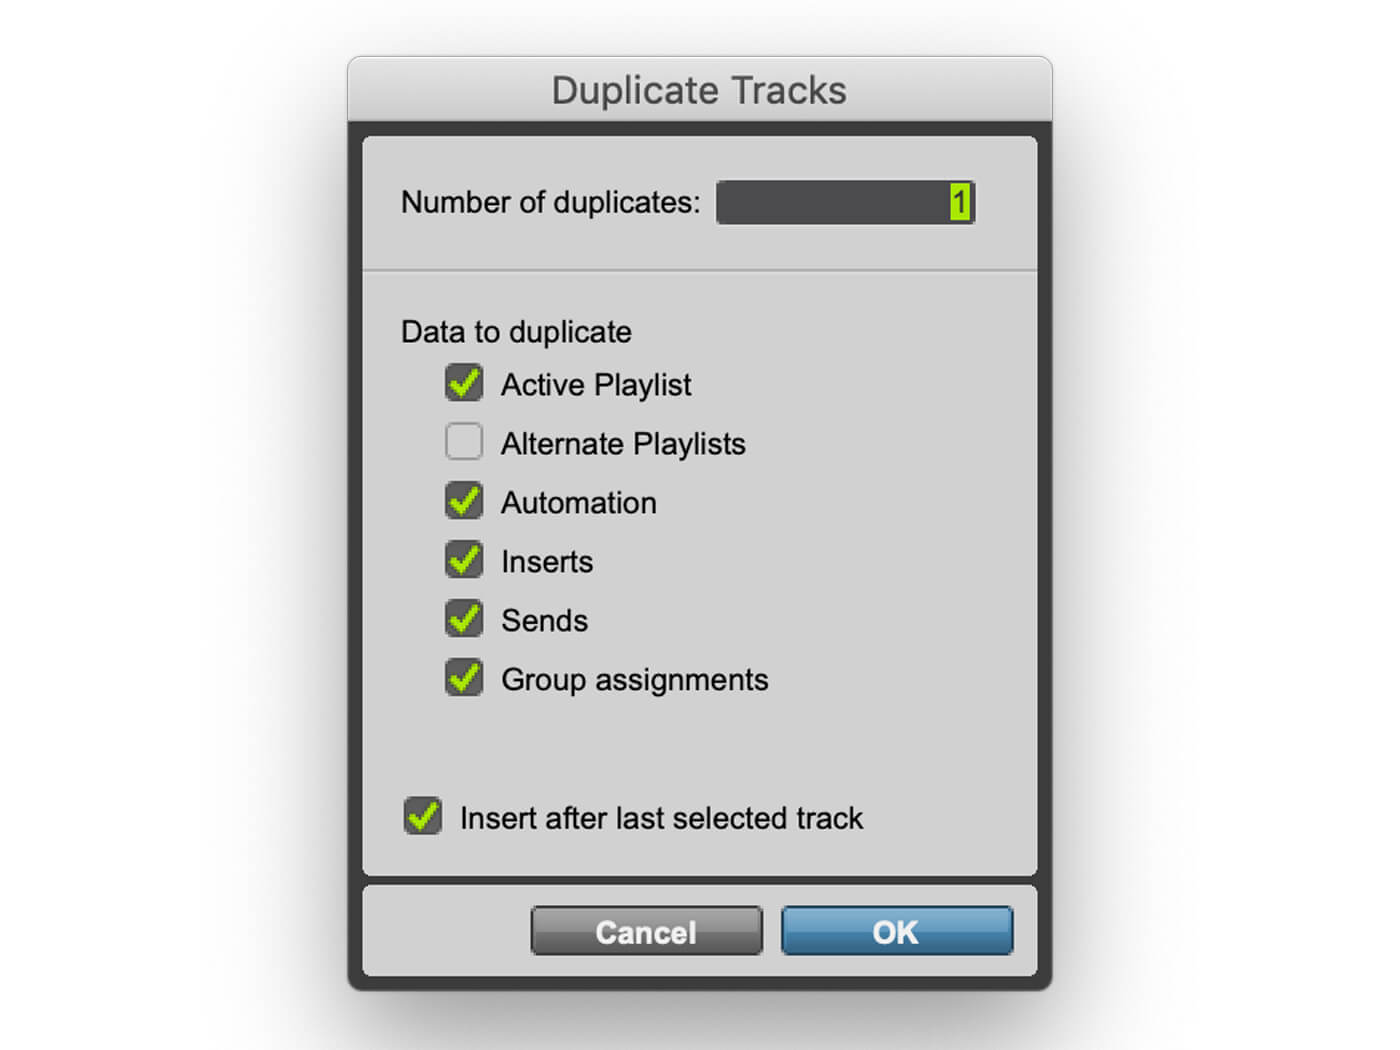
16. It is now time to duplicate the channel and select the Vocal Double.COMP as the main Playlist.
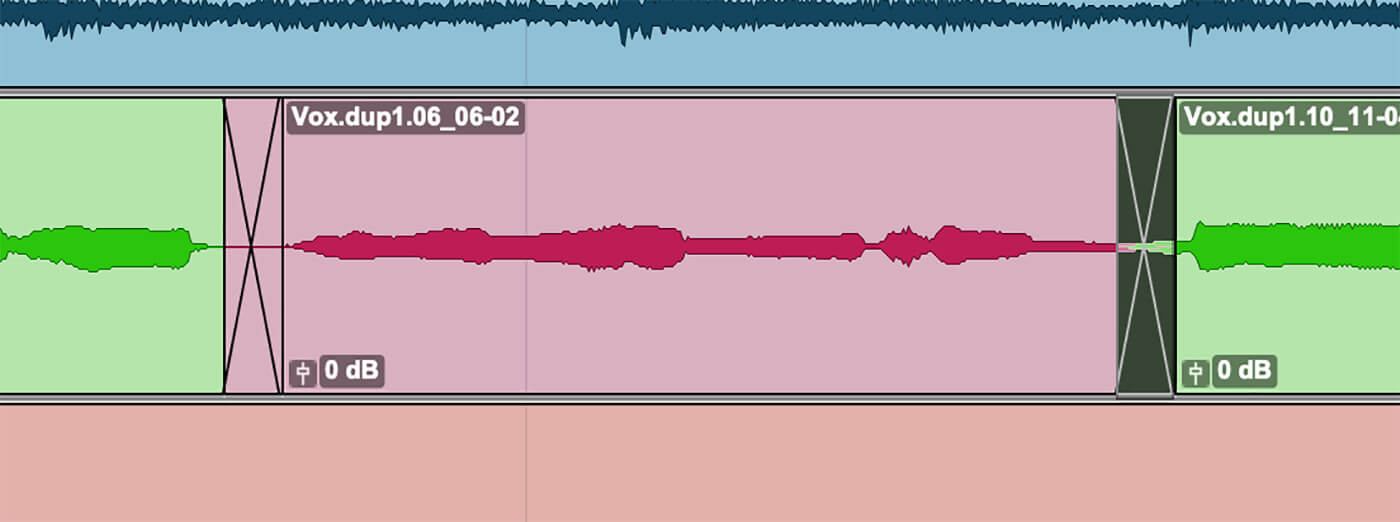
17. Check the crossfades between each vocal edit. This is one of the most common ways that clicks creep into a mix and it’s much easier to fix them now. Just add a short crossfade between any two edits that are tight and fade in/outs on edits from or to silence.
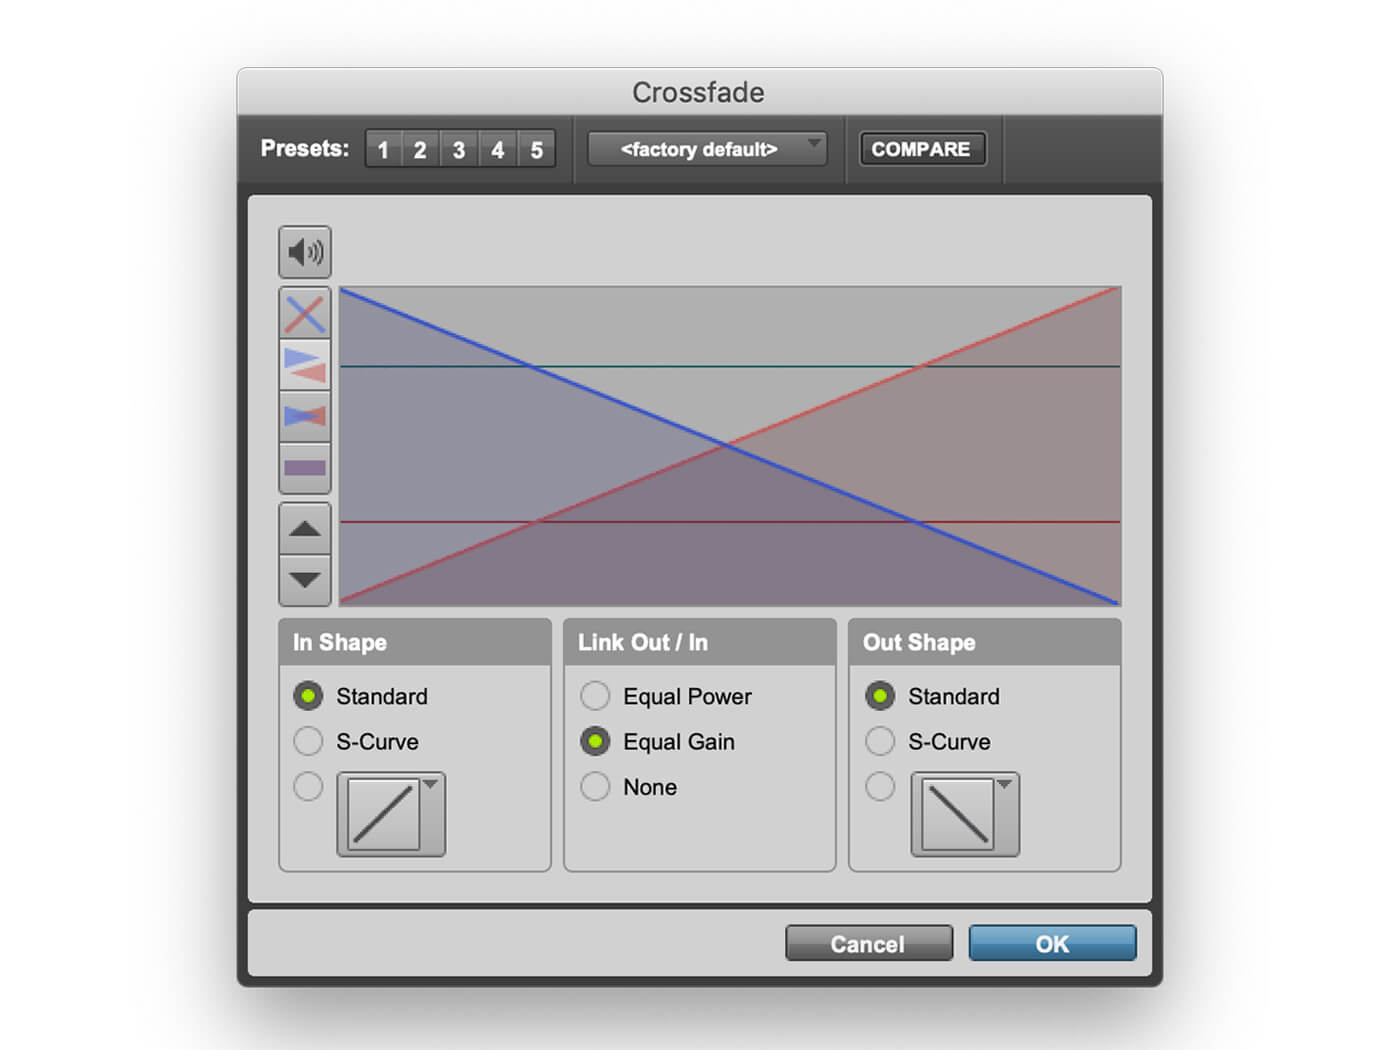
18. You can also use longer crossfades to make certain edits smoother. This is particularly useful when editing inside a word. Linear crossfades rather than equal power fades are great for this when the two signals are closely correlated.
For more Pro Tools tutorials and workshops, check here.