Make an entire track with the free PG-8X soft synth
Learn how to make a whole track using only PG-8X.
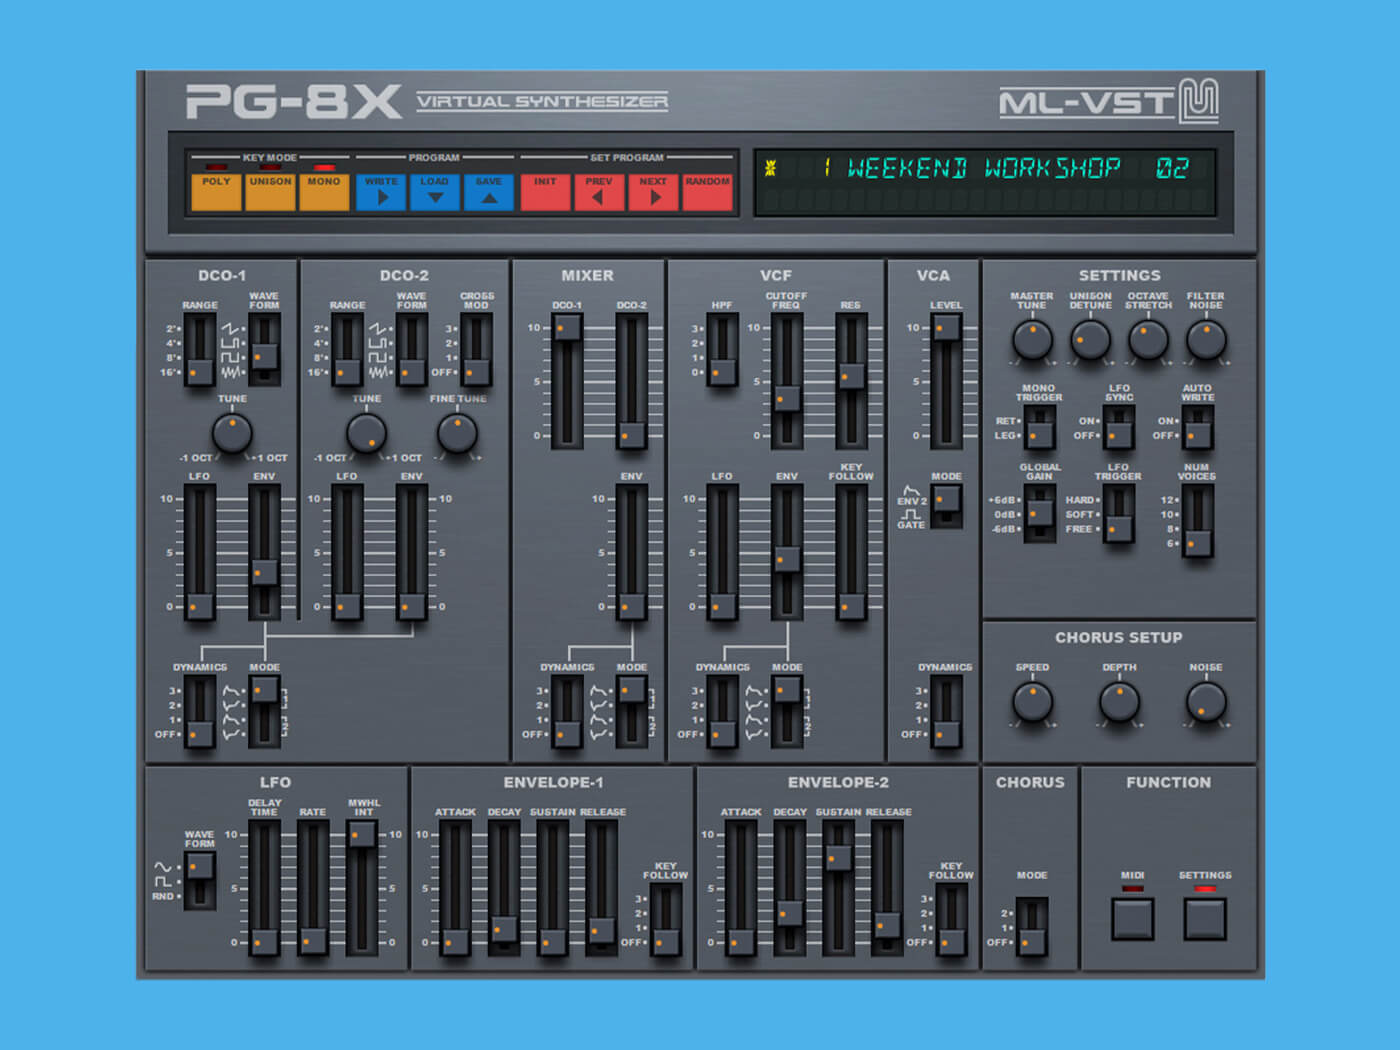
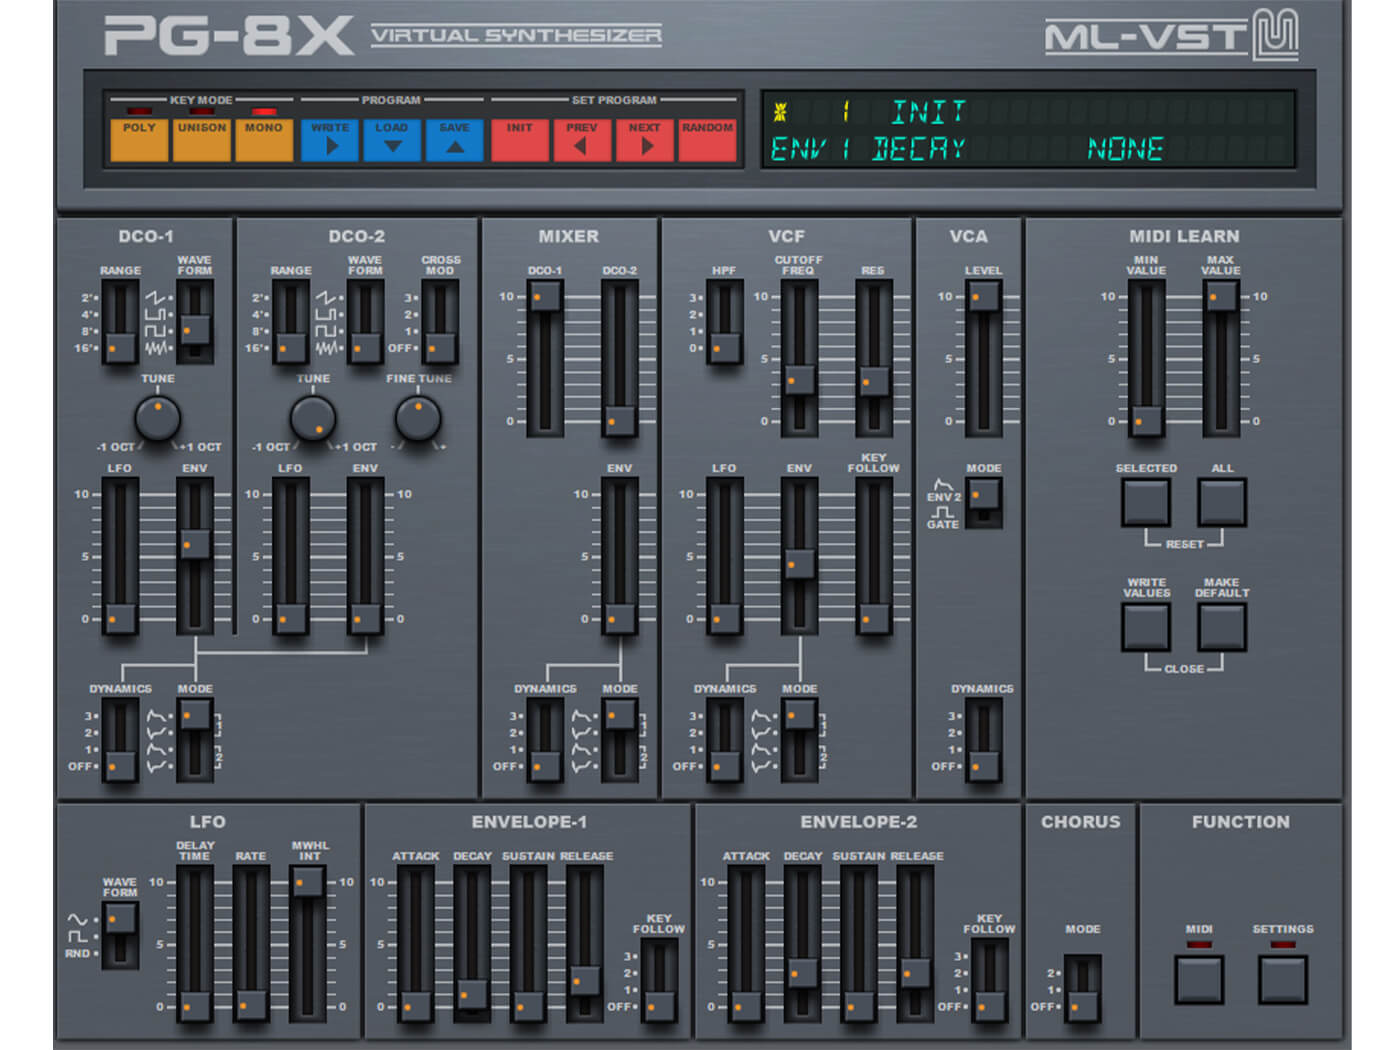
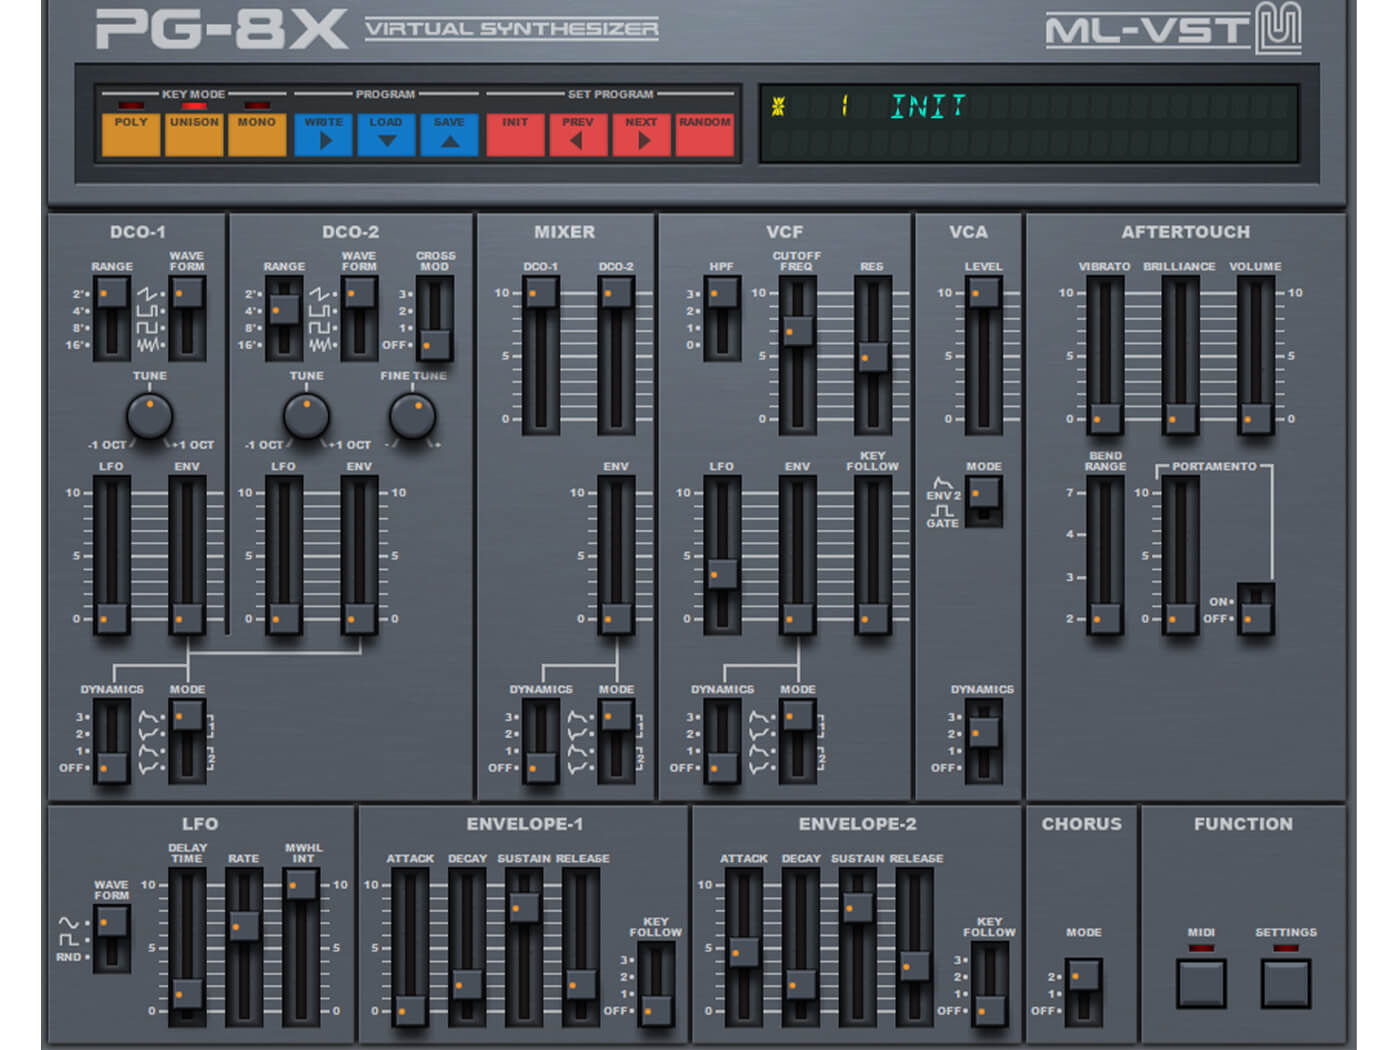
PG-8X softsynth, based on the Roland JX-3P
With vast collections of increasingly complicated synth VSTs on your computer, creativity can take a hit as you suffer choice paralysis: not being able to decide on which tool to use for the job as there simply so many great synths out there. If you do determine which tool to use, you can spend hours cycling through wavetables and various noise profiles and effects, robbing yourself of time making music.
Several genres of music have been born out of limitations. The Roland TB-303, for example, was adopted by electronic musicians because it was affordable after guitarists rejected it. Hip-hop producers sampled sped-up records then pitching them back down in their samplers to make the best use of limited RAM.
With this in mind, we are going back to the basics to make a thumping techno track using just one synth, the freeware PG-8X VSTi from Martin Lüders.
PG-8X is based on the Roland JX-8P from 1985. The JX-8P is an analogue subtractive six-voice synth with digitally-controlled oscillators and a separate panel used from programming, the PG-800. It is this programmer that the PG-8X front end is modelled on. The JX-8P found itself on countless records in the 1980s from Gary Numan to Vangelis, and Roland even recently brought it back as a Boutique module a few years ago.
What you’ll need:
- A DAW: I’m using Reaper but use whatever DAW you are most comfortable using
- PG-8X: Grab this excellent little synth VST here, or use whatever you have already
1. The kick
A decent kick is the backbone of your track so let’s build this first. Usually, when making a kick, I’d go for a sine or a filtered triangle with some pitch envelope for the transient but PG-8X doesn’t have either of these oscillators. Instead, we’ll have to improvise using the square wave.
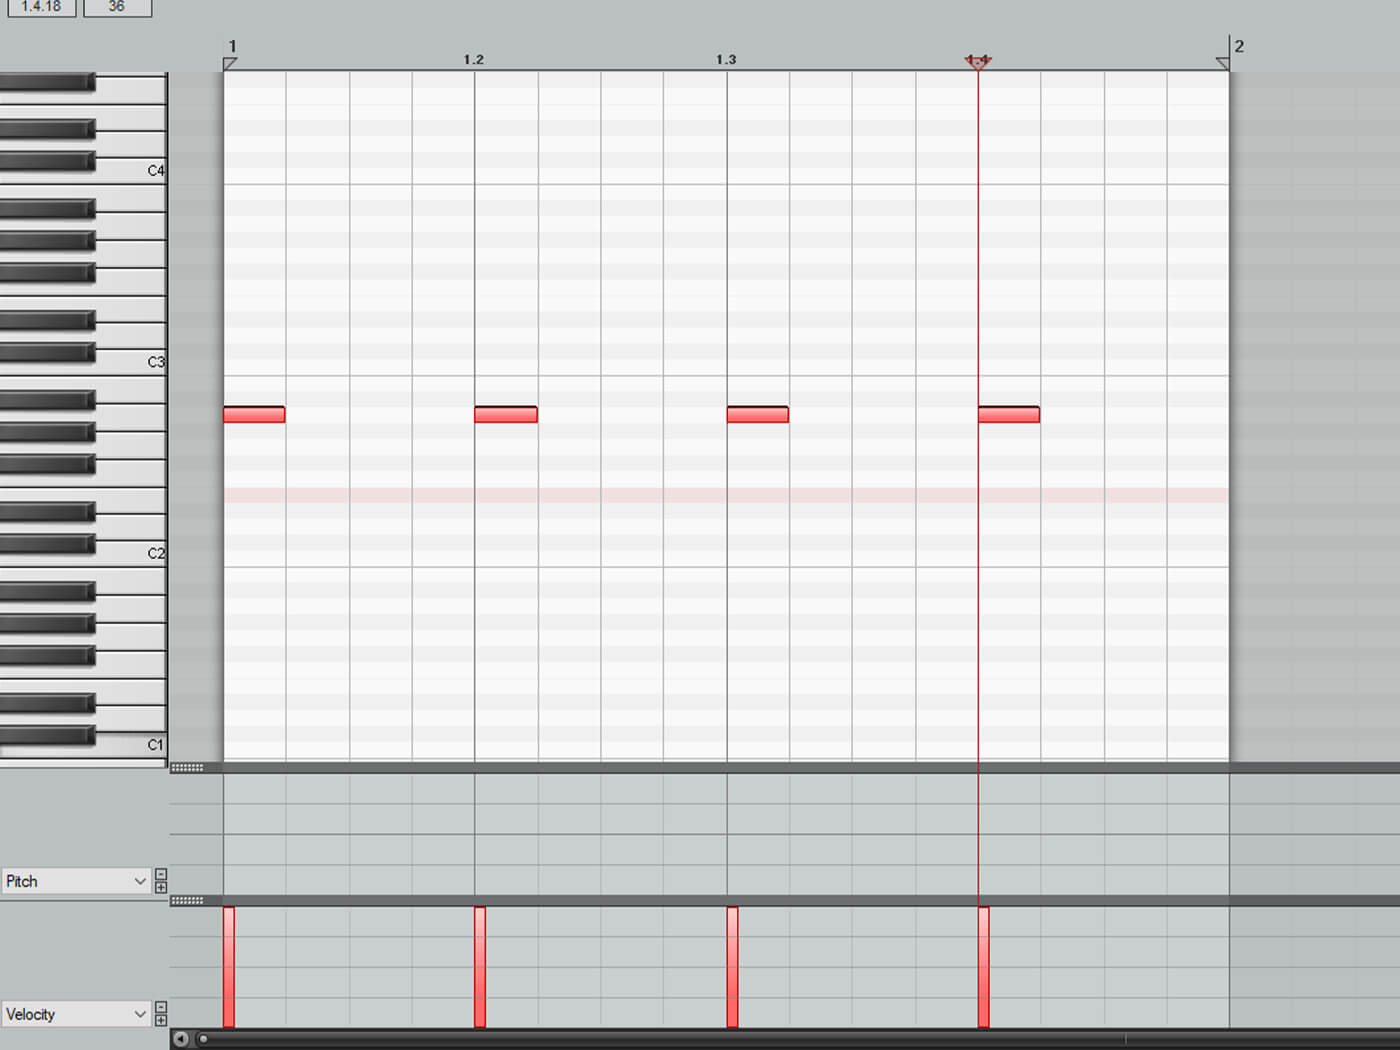
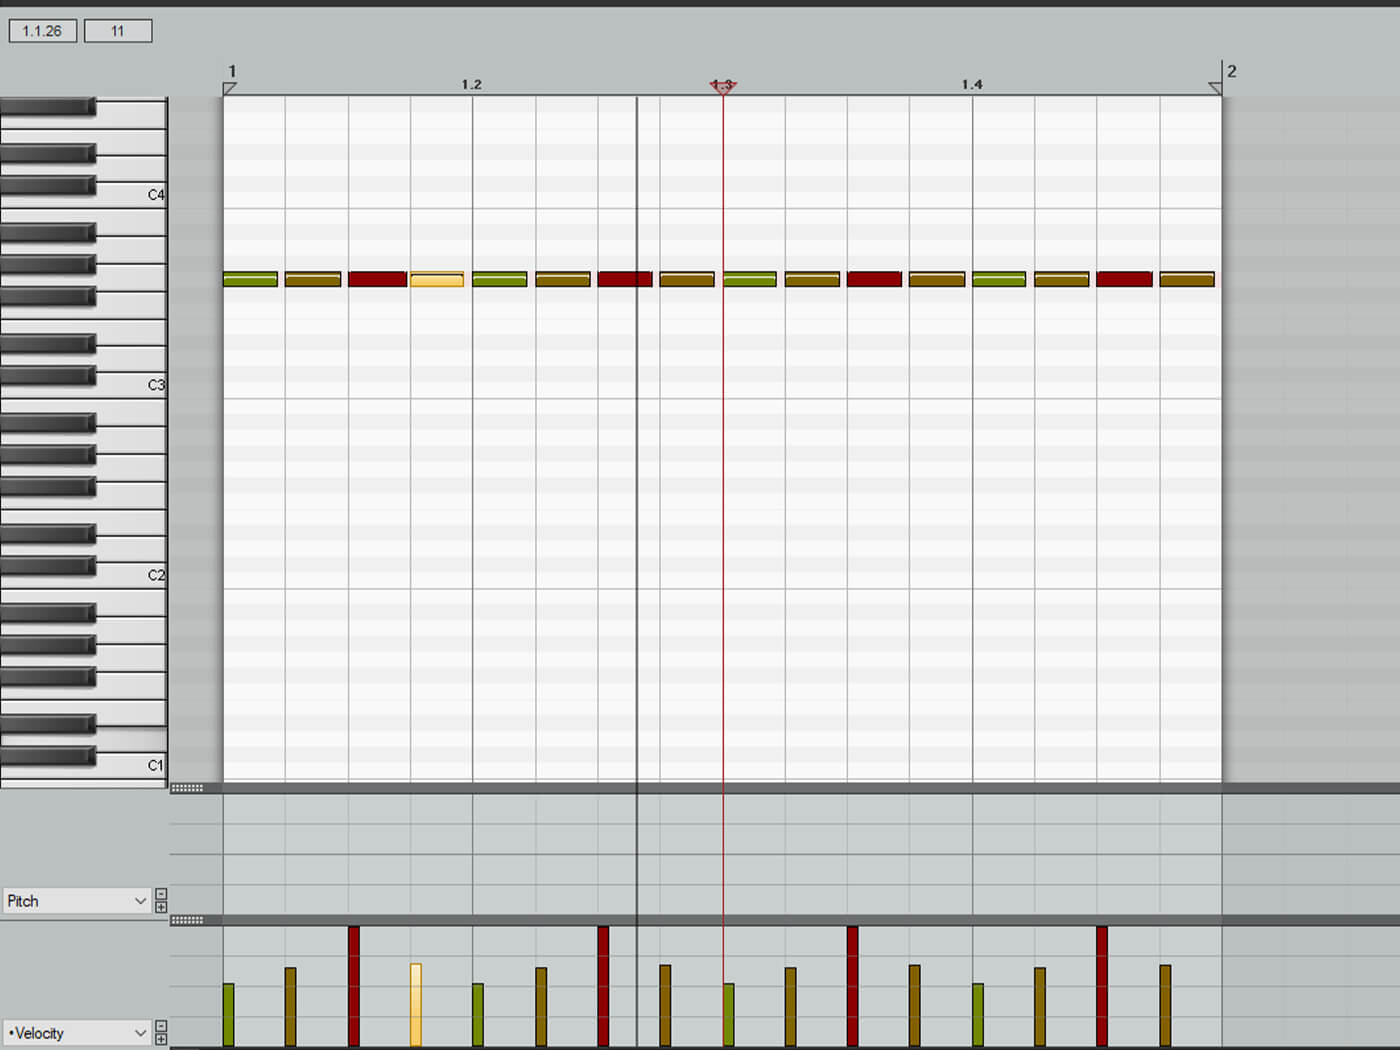
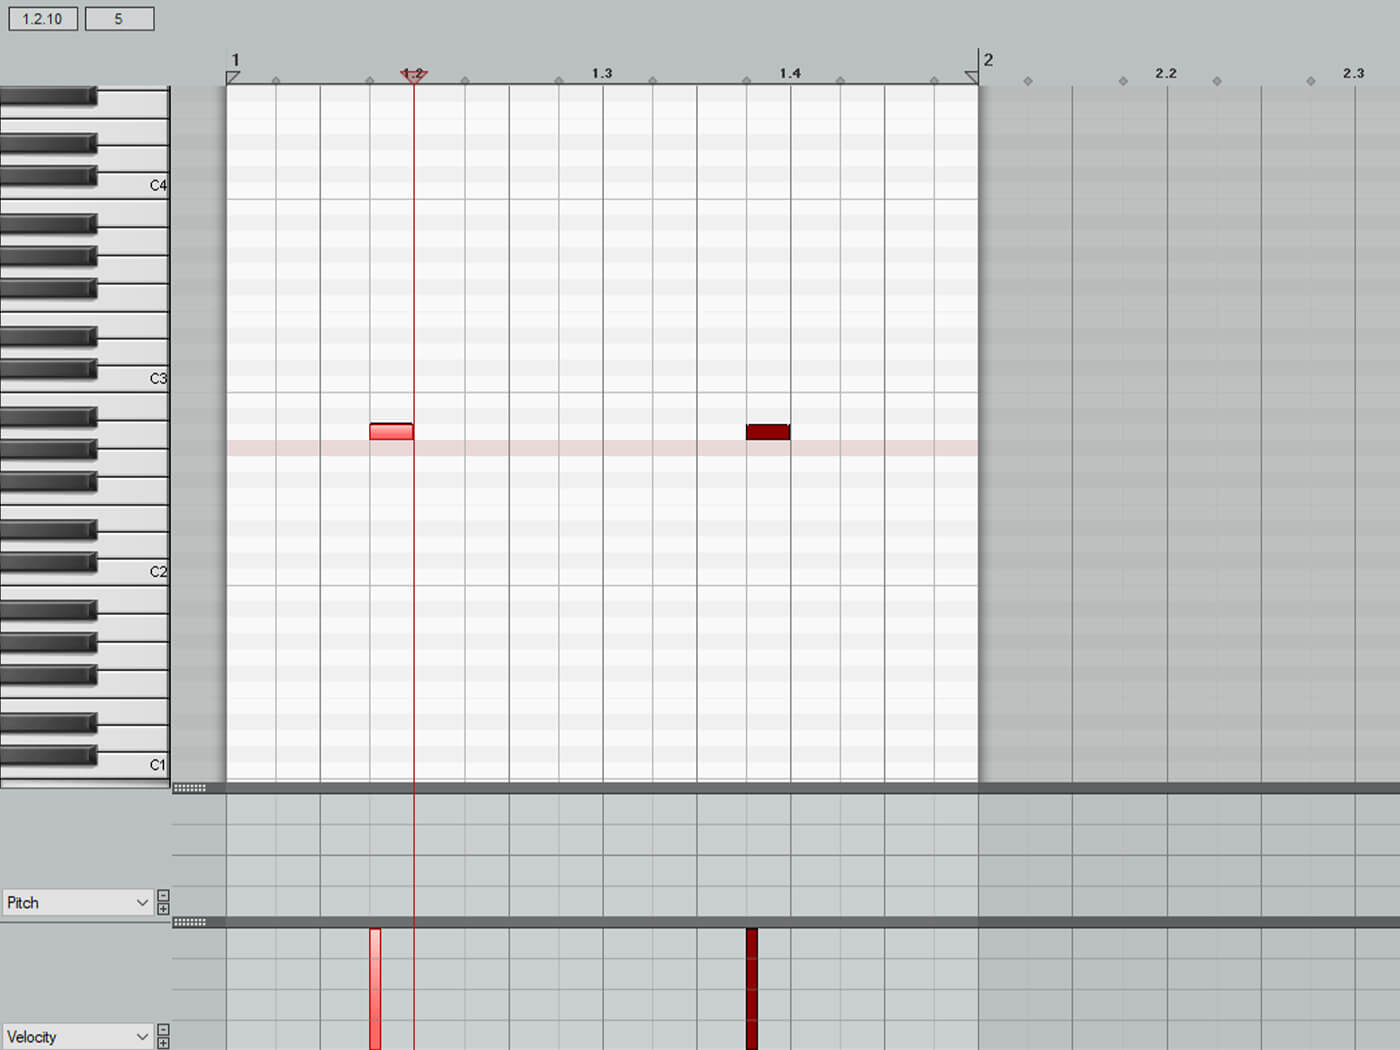
First off, select mono mode at the top left of the synth, so the notes don’t overlap and programme a simple four to the floor kick pattern. It’s handy to get a feeling for the sound you’re sculpting when they’re playing back in a loop rather than triggering the sound repeatedly with your keyboard.
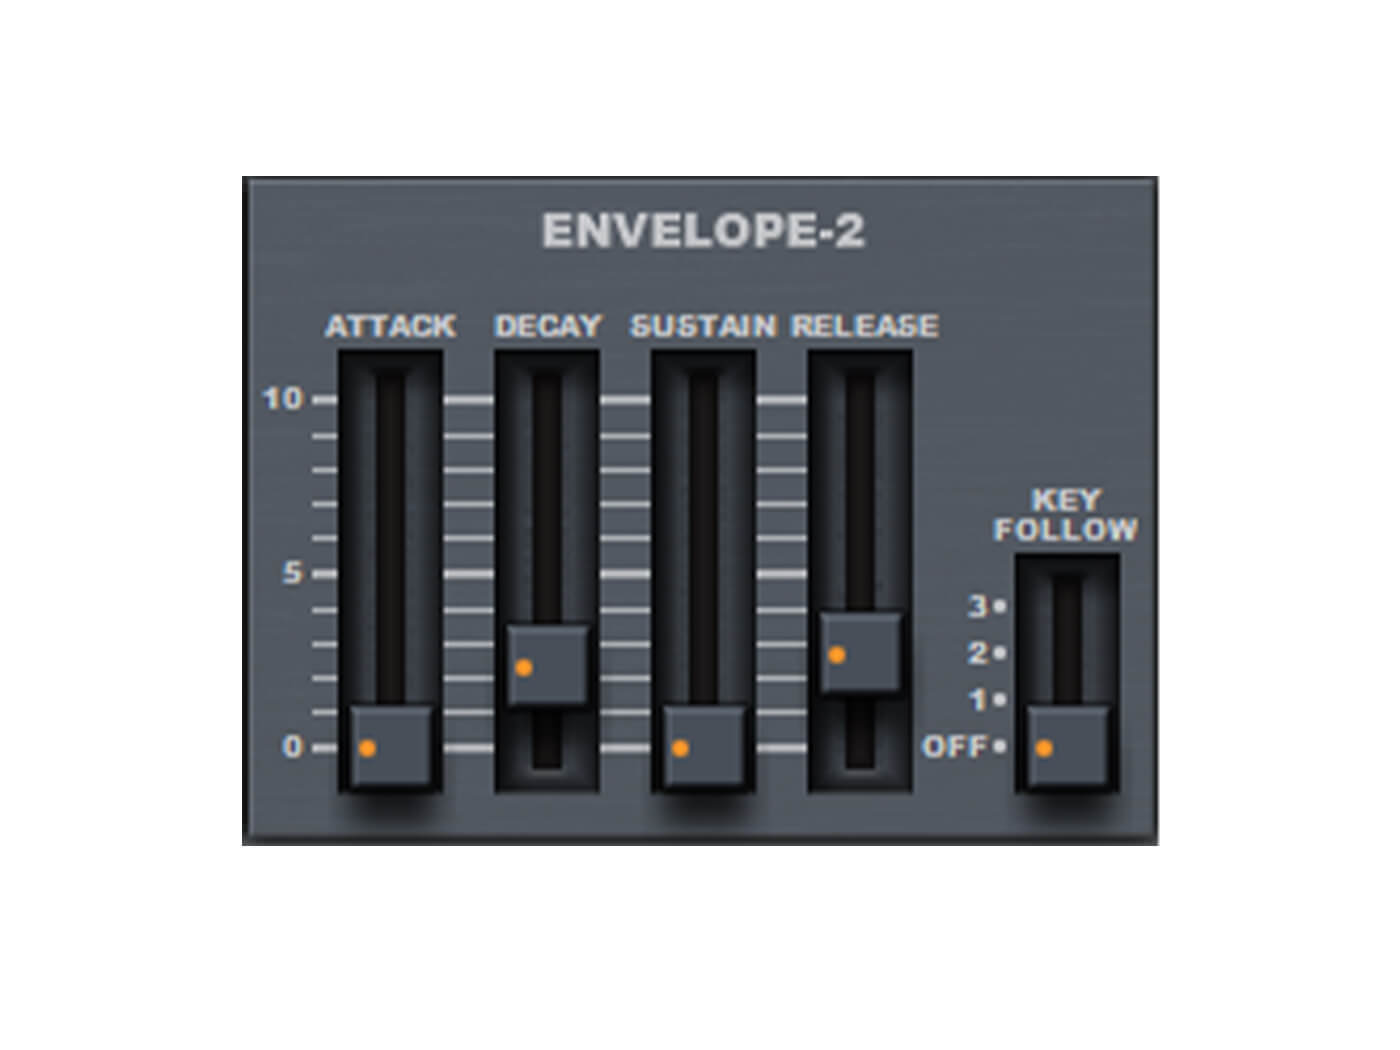
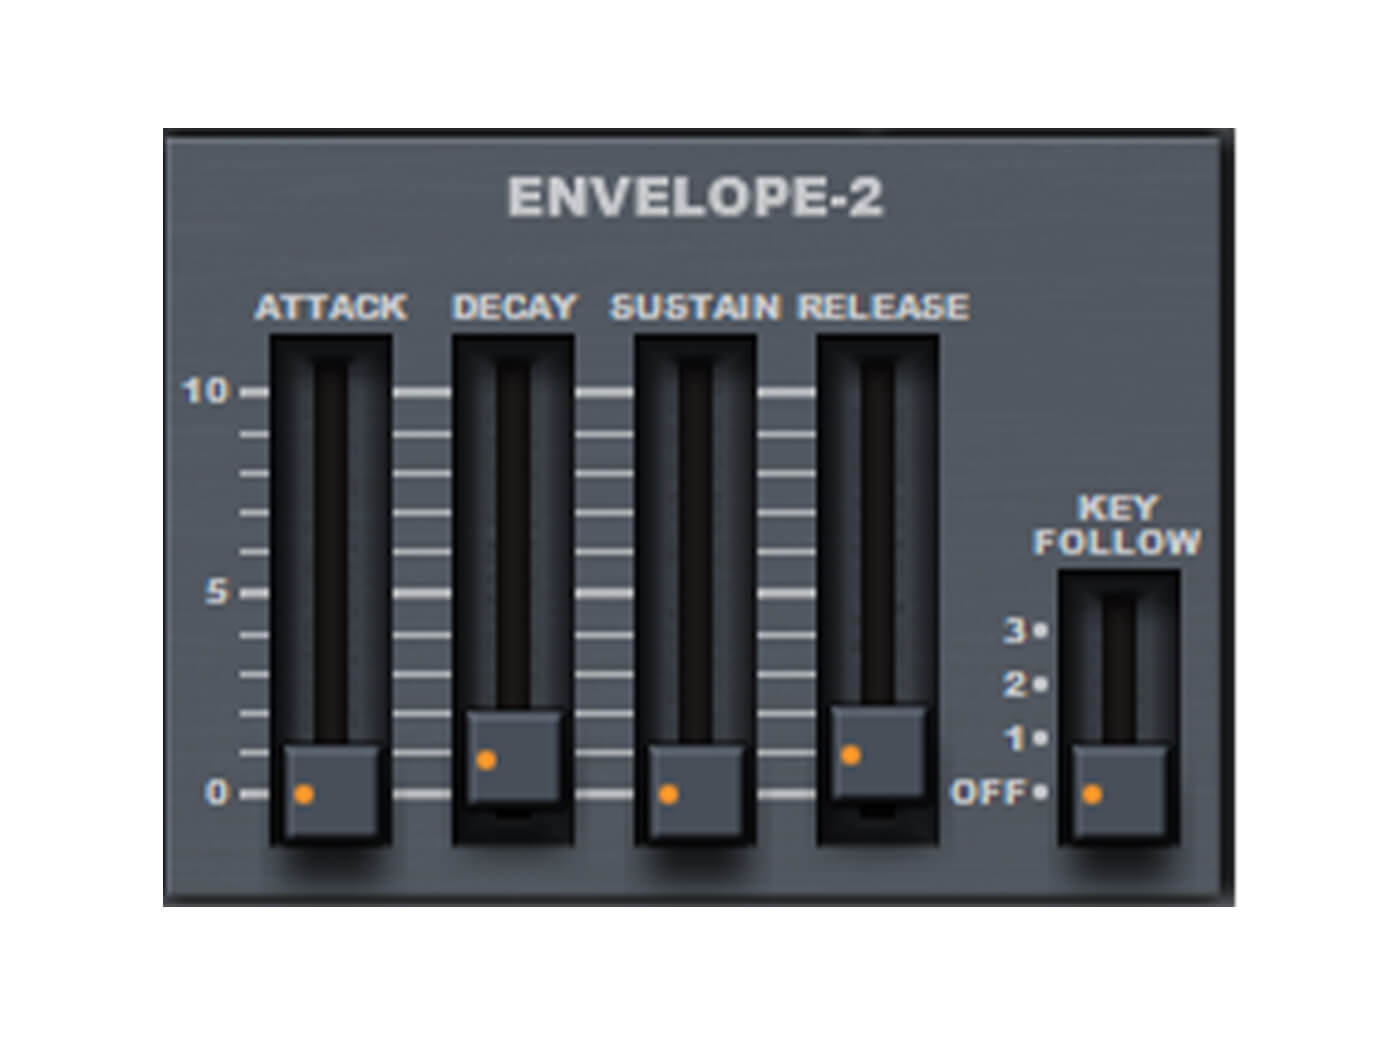
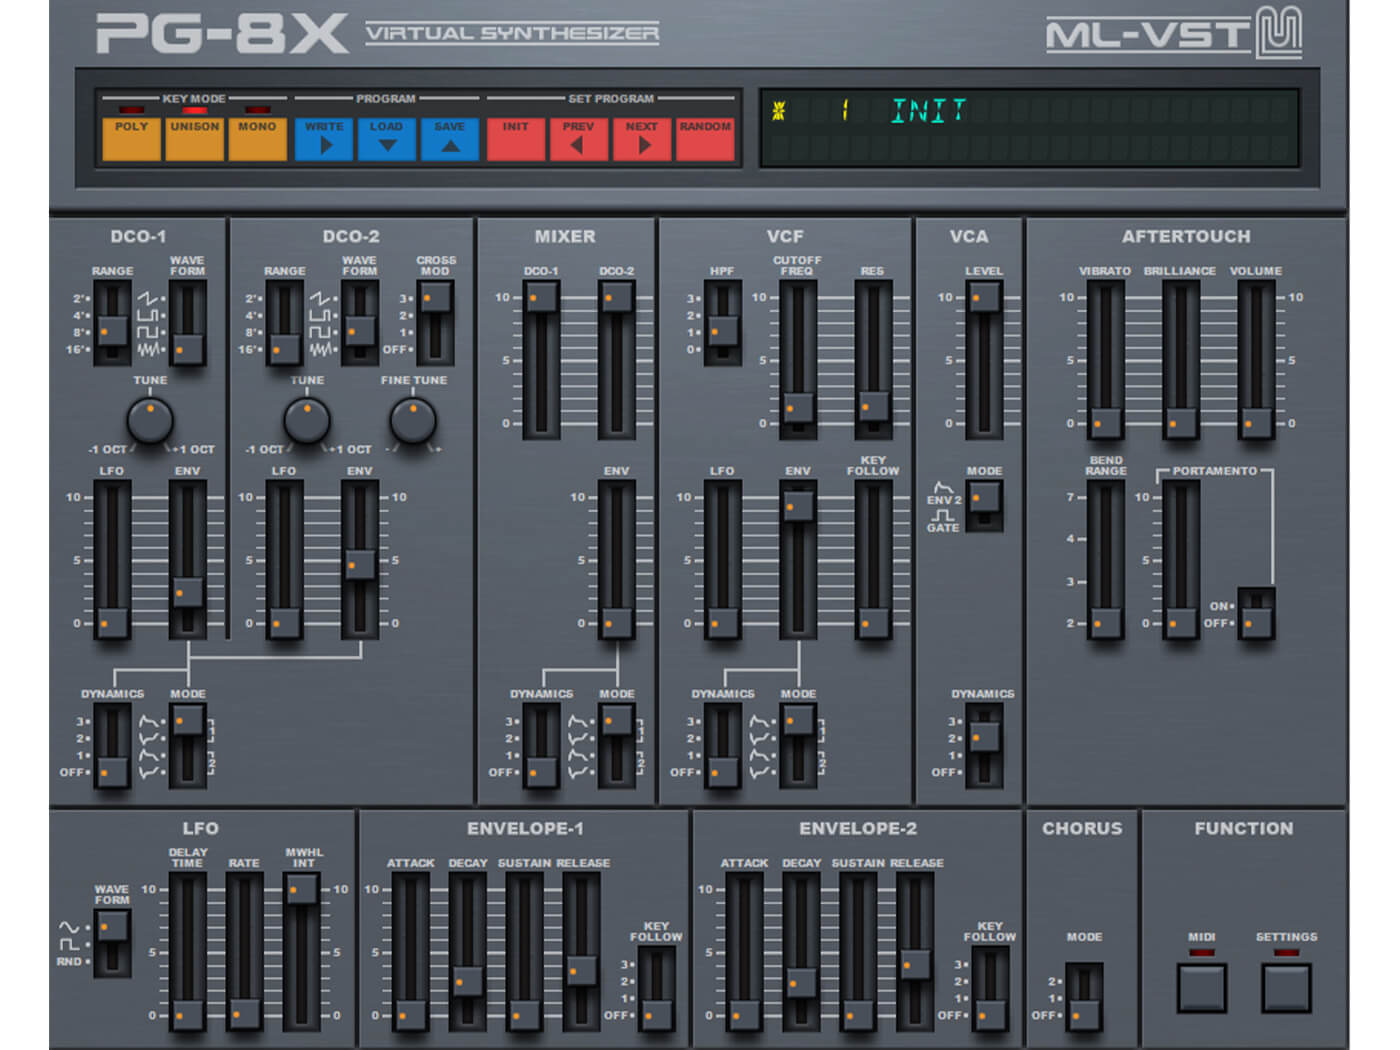
PG-8X uses Envelope 2 as the amplitude envelope, so tweak the envelope to get an idea of the overall shape of the kick. We want an instant attack, rapid decay, no sustain and a tiny bit of release to avoid clicks at the end of the sound.
You should have something like this which isn’t very kicky yet, but if you drop the range on DCO-1 to 16′, change the oscillator to square wave and lower the cutoff frequency on the filter, you should have something approaching a kick drum.
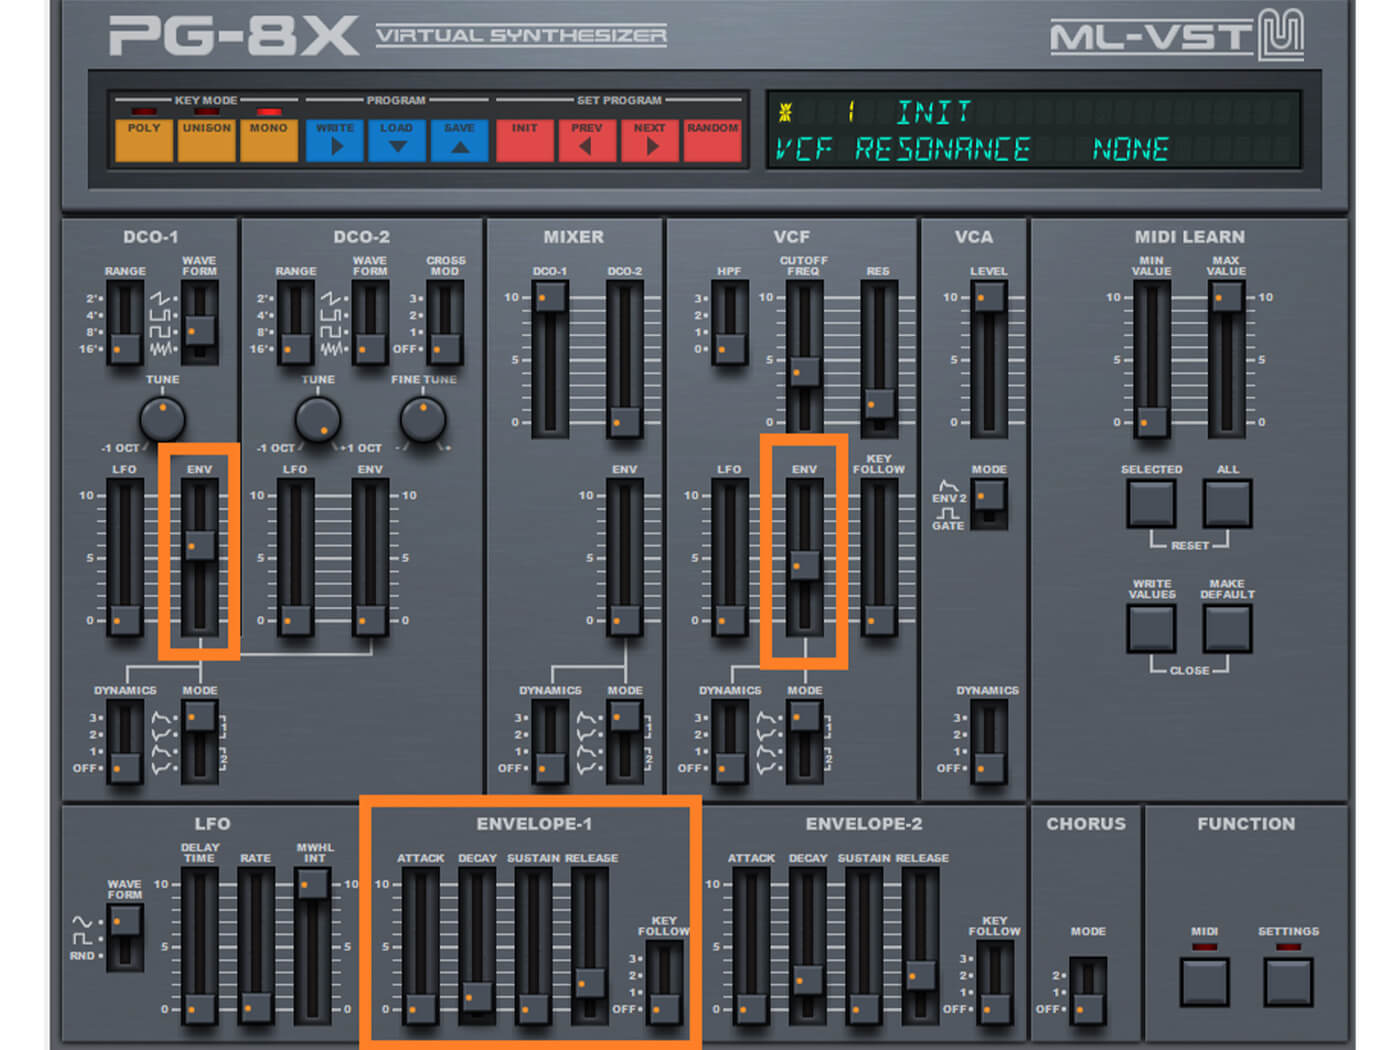
It’s still a bit flat and lacks definition, so finally use Envelope-1 to apply some click to the start of the sound with an even tighter envelope than the amplitude envelope and assign this to the cutoff frequency via the “ENV” Slider in the VCF section and oscillator pitch via the “ENV” slider in the DCO-1 section. I also added a tiny bit of resonance for extra “zap” in the attack. Once you’ve dialled these settings in you can play around with fine-tuning things to taste, try boosting the amp sustain for a rounder more gabba sounding kick or up the resonance and pitch envelope for a more aggressive attack.
If you’re not sure you’ve quite got to the right sound, you can download all the PG-8X presets at the end of this article.
2. Hi-hats
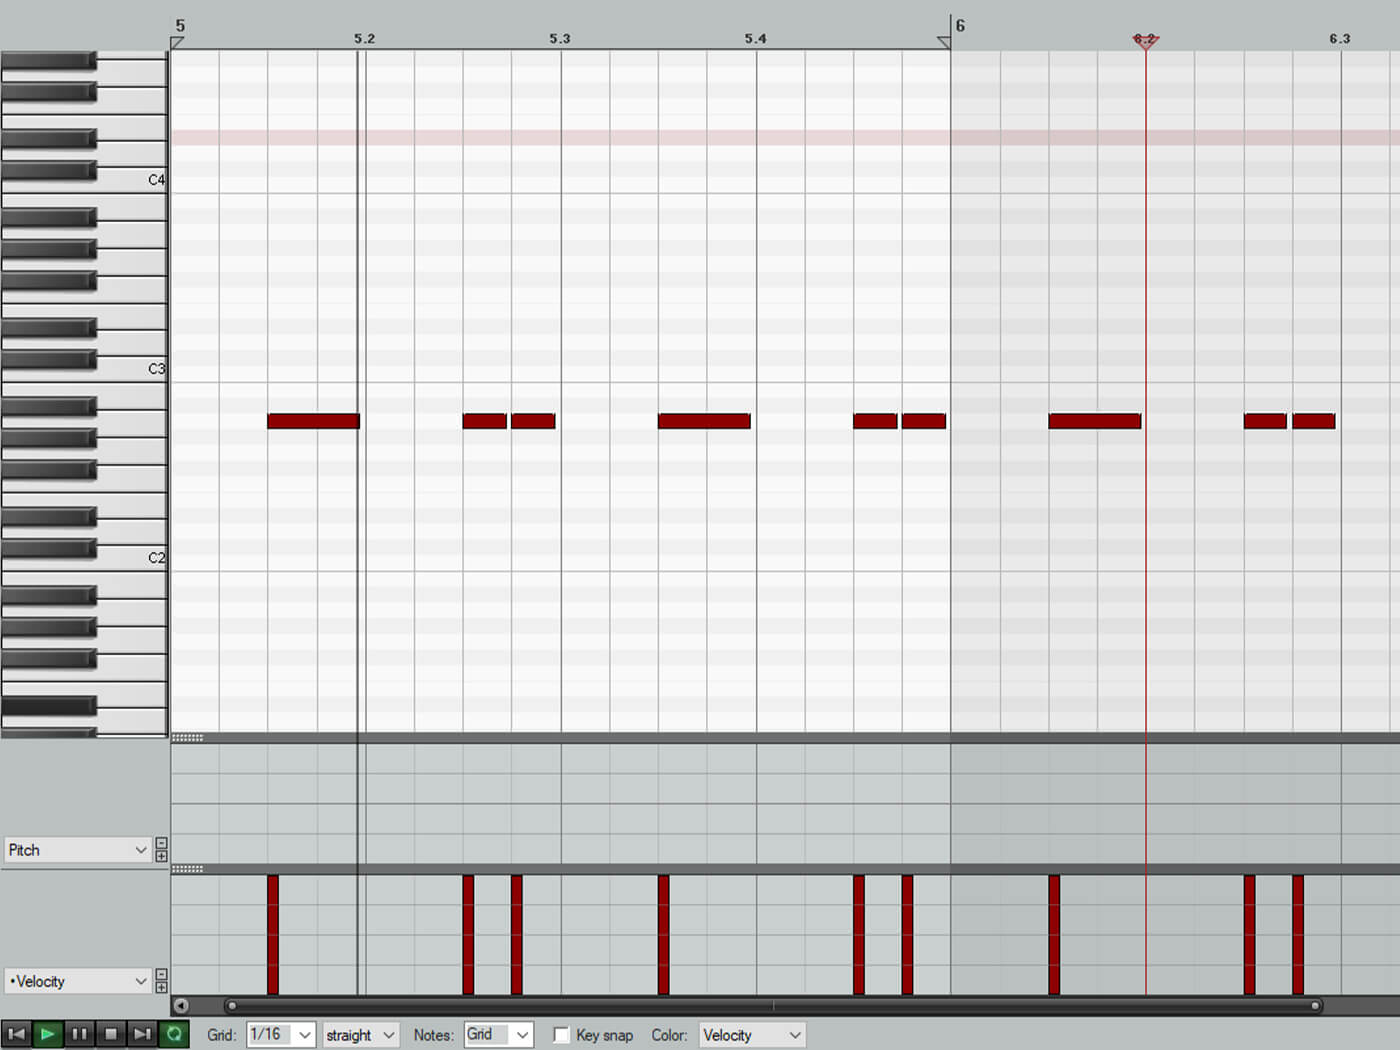
First, create another MIDI loop on 1/8th notes, as above.
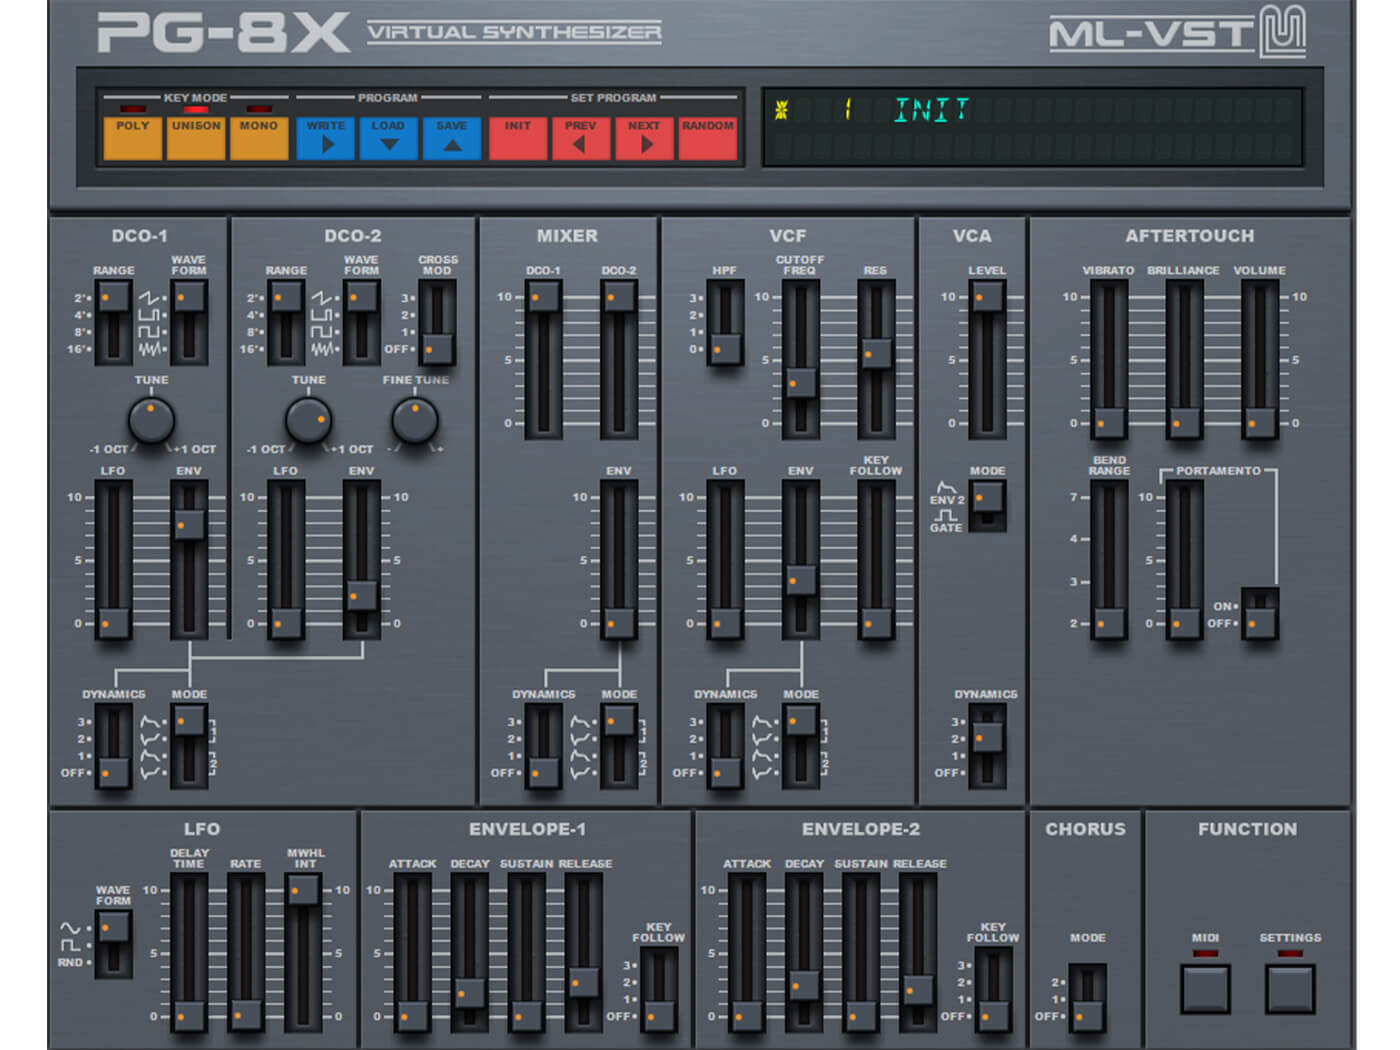
Sound-wise, we’re looking for a tight amplitude envelope (Envelope 2). You want an instant attack, a tiny decay (bring the slider up to the first indicator line) and no sustain. Then, you want a similar level of release to decay, giving a brief, percussive sound.
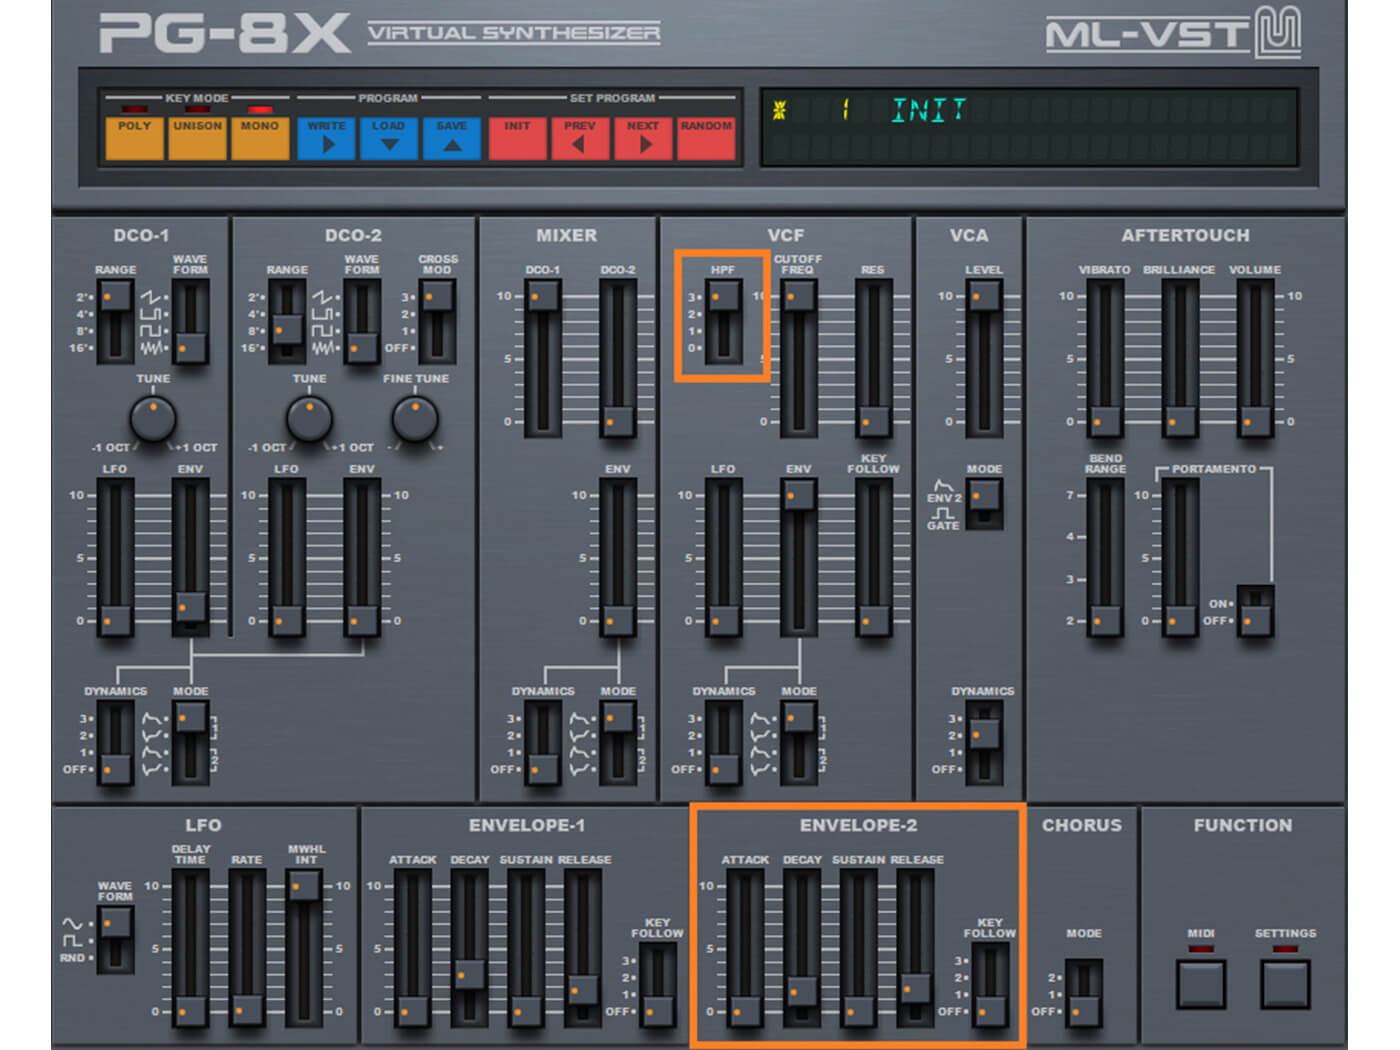
Next, change the DCO-1 waveform to white noise (the bottom option) and finally adjust the HPF to remove some of the low-end from the sound. I set mine to 1, so it only removes a tiny bit of the lows, but you may want to thin your sound out further. You should end up with a tight-sounding closed hi-hat sound.
If you also want to get an open hat sound for that classic offbeat techno groove, duplicate the channel and strip some of the MIDI notes out. With the duplicated hat, open up the decay a bit further. I also ended up moving the HPF up further to keep the open hat sounding lighter and airier. The closed hat needs a little low-end for the attack, but the open hat sounds better with the low-end removed.
This is how that should sound:
3. Snare
It’s pretty much impossible to make anything approaching a natural-sounding snare or even a classic Roland machine drum sound in PG-8X, but we can make a truly disgusting mutant clap/snare sound that will fit in the track!
I started by programming the snare pattern, which is just two snares per bar, one sixteenth note before the second and fourth kick, for that driving feeling and also to avoid the kick drums.
With this in place, set Envelope 2 with an instant attack, a slight decay and then a fair bit of release to get the right sort of shape for a snare. Set DCO-1 to white noise for some “crack” and DCO-2 to square for the body of the sound. Lower the VCF (filter) cutoff frequency to near its lowest possible value, and set the filter envelope amount to high. Then adjust the filter envelope itself, so the snare starts bright and full and rapidly gets darker. We want an instant attack, decay around three or four, no sustain and a little release for the tail.
Finally, set the crossmod to maximum on DCO-2. This helps to give the snare a surreal clap like quality.
4. Percussion
Now we are going to make a tight resonant percussion sound. Set the envelopes as per the screenshot. We’re going for a super tight sound here, something that will cut through the other elements.
In the mixer turn up DCO-2 to maximum, then turn up DCO-2s tuning to +7 semitones to give it a pleasant harmonic blend. Set both oscillators to saw waves. Set the filter cutoff to around four and the resonance around five.
Now it’s a matter of tweaking the filter envelope along with each oscillator’s pitch envelope to get a pleasing thwack at the start of the sound.
You can go wild with the settings of percussion sounds. Try adding more decay on the filter envelope (Envelope 1), and try switching the oscillators to square waves for a cowbell sound. You can also reduce the filter decay for a tight, clicky clave-type sound.
5. Bass
Next is another simple patch – a bass to fit between the kicks. Set DCO-1 to 16′, turn DCO-2 up in the mixer and set it to 8′ to give a thick octave bass sound. Set the Envelope 2 with decay around five, a tiny bit of sustain and release. I used saw waves with the synth set to mono mode, but you could also try the square wave or unison mode for a thicker sound.

Lower the filter cutoff to around four and push the resonance up to a similar position and then set the resonance to taste for a tight percussive bass.
You can alter the sound dramatically with the filter settings, amount of filter envelope and resonance, all the way from a round sub to snarling TB-303 style sound.
6. Pad
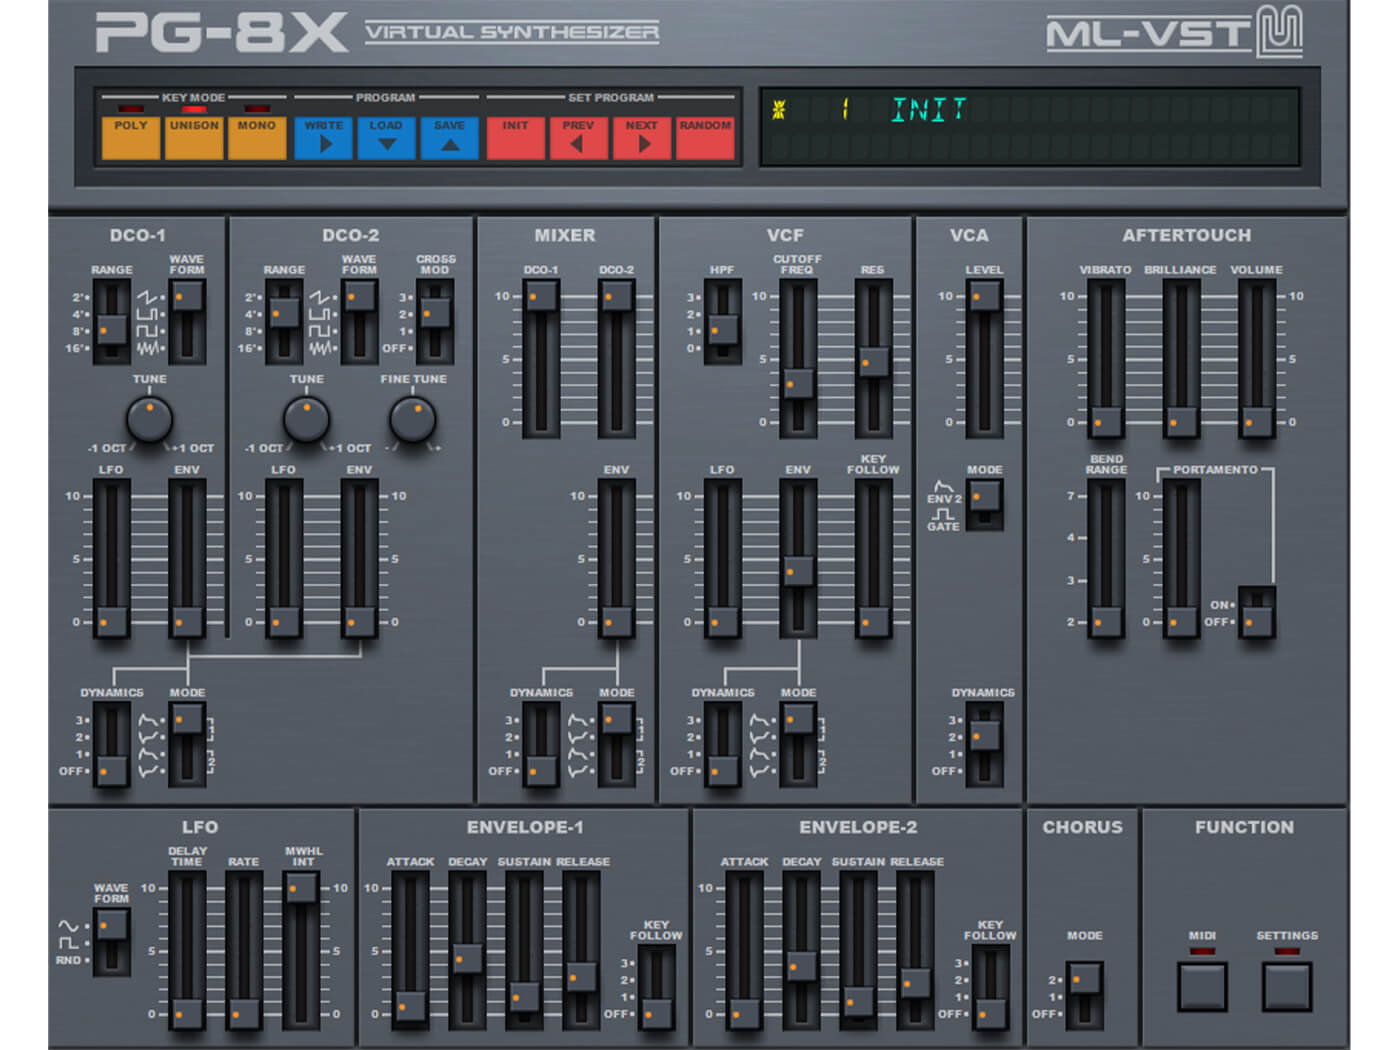
Click the red ‘Init’ button on PG-8X to initialise the synth, and turn up both oscillators in the mixer. Select the Unison key mode to give a thicker sound. Set one DCO to 4′ and the other to 2′, and both to saw waves. Add some detune via the second oscillator’s Fine Tune knob to make the oscillators sound thicker and less static. Anywhere between +6 and +18 is a good bet, but push it higher for a more unsettling timbre.
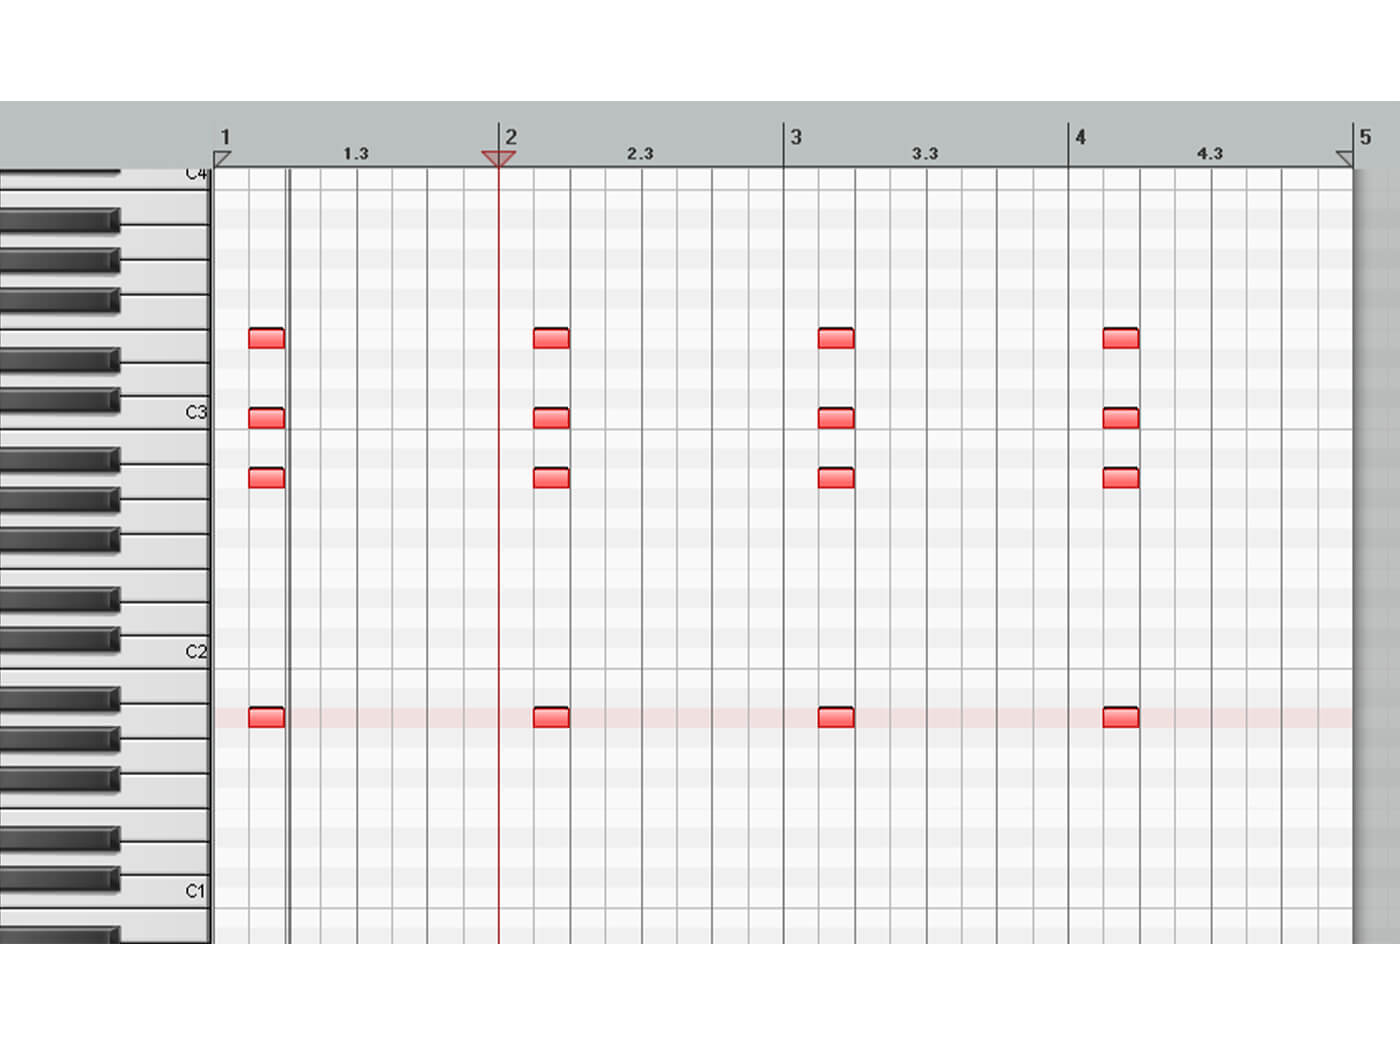
Programme a simple minor chord in the piano roll and increase the Envelope 2 attack and release, so the sound has a gentle onset and a longer tail (see above). For a bit more movement, set the LFO (the Low Frequency Oscillator) waveform to a sine wave, and assign it to the filter. Do this by bringing up the LFO slider in the VCF section. Finally, set the HPF to 3 and the chorus to 2 to widen and remove the excess low end.
The LFO isn’t synched to anything, so setting the rate is a matter of experimenting and finding what best fits your track. You can also play with the delay time, which changes how long it takes the LFO to start working after a note is played.
7. Stab
I love techno stab sounds so let’s make one! As there are only two oscillators, we are going to set the Key Mode to Poly and draw in a minor chord shape in the piano roll. Try adding in the root note an octave down for a fatter sound, as I’ve done.
We are going to use saw waves for both oscillators, which we detune (DCO-1 at 8′ and DCO-2 at 4′ providing an octave gap, and also fine-tune DCO-2 +9 ). Bring up the level of both in the mixer.
Let’s next set the amplitude envelope (Envelope 2). We’re looking for an immediate attack, but with less sustain.
The filter envelope is key to this sound, with it opening instantly at the start, then rapidly shutting to give a classic plucked feeling to the stab.
Bring up the VCF Envelope amount to four, and set the VCF cutoff frequency to three, and resonance to five for a bit more bite.
Then for Envelope 1, set attack to zero, decay to four, sustain to two and release to three. It’s also worth turning the chorus on to further detune and widen the stab, and setting the HPF to remove some of the unneeded low-end.
You can experiment with various parameters here. You could try having a slower attack on the filter envelope for a rounder sound or even applying the LFO to the filter for a more wobbly sound.
Next steps
Now you have all the elements you’d need for a track it’s worth going back through and fine-tuning the elements to get them working together as nicely as possible. Aim to do this within the synth itself as much as you can. Subtle tweaks to the filter, filter envelopes and amp envelopes can make a huge difference.
Getting each patch to sound as good as it can be, without resorting to external effects will give you the best foundation for your track. However, external effects will help you take your sounds to the next level.
It can be useful to think of the synth as carving sounds out of raw blocks of material, but once that’s done, you can move on to fine-detail work.
Here are some suggestions for effects to get the raw sounds into a more polished state.
Kick: Scoop out some of the mids around 300hz to 500hz or so to make space for other elements and remove the unneeded mud. Saturation or transient shaping can make the kick sound more present and punchy too.
Hats: Add a little top-end boost somewhere around 7kHz – 12kHz for some sizzle and some reverb to let them breathe. You could also add some chorus to thicken the hats up and give them some width.
Snare: Reverb will give the sound more depth.
Percussion: As we ended up with a tiny clave-style sound, some delay would give this a bit more space in the track.
Bass: Saturation to get the bass more warmth and presence along with some subtle compression to keep it level and present. This one you can be fairly subtle with, as I’ve been, or much more heavy-handed.
Pad: You can get creative with pads, looking at widening effects like chorus and phasers and large reverbs and delays. It can also be worth applying a high-pass filter to the pad to thin it out to make space for the rest of the low-end sounds.
Stab: Again, you can get creative here. Chorus, reverb and delay will help your stab sound different, whether you subtly mix it into the track or opt for a dub-techno style delay making it more of a sustained focal point.
And finally, here’s how all the elements sound together with effects added.
Summary
Now we’ve got the bulk of a track built using just one freeware synth! Hopefully, this has helped you learn how to make some solid bread-and-butter sounds. Now you can try this with your other synths. It does demonstrate how important it is to create elements in context, and to use the synth itself before looking at external effects. And it proves that you can make great sounds using very simple (and free) plug-ins.
Track sounding a bit wonky?
If you’re not sure you’ve nailed your patches, you can download all the presets for each sound here. Compare these to your own or use them as a starting point for further experimentation.
Find more MusicTech tutorials here, and check back for another Weekend Workshop next Friday.
If you’re looking for more inspiration, check out our brand new 30-Day Production Challenge!