Contemporary Production: Creating Expressive Instruments In Ableton
Artist, producer and tutor Erin Barra explains how to create more expressive instruments using Live’s Racks… One common misconception of electronic music and instruments is that they’re not as expressive or ‘human’ as their traditional counterparts. For those of us in the know, this seems like a silly thing to say, but it’s a belief […]
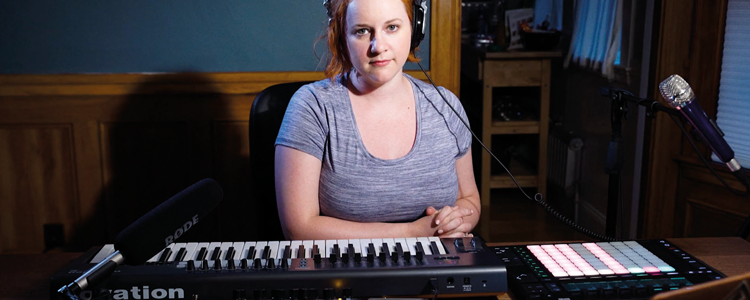
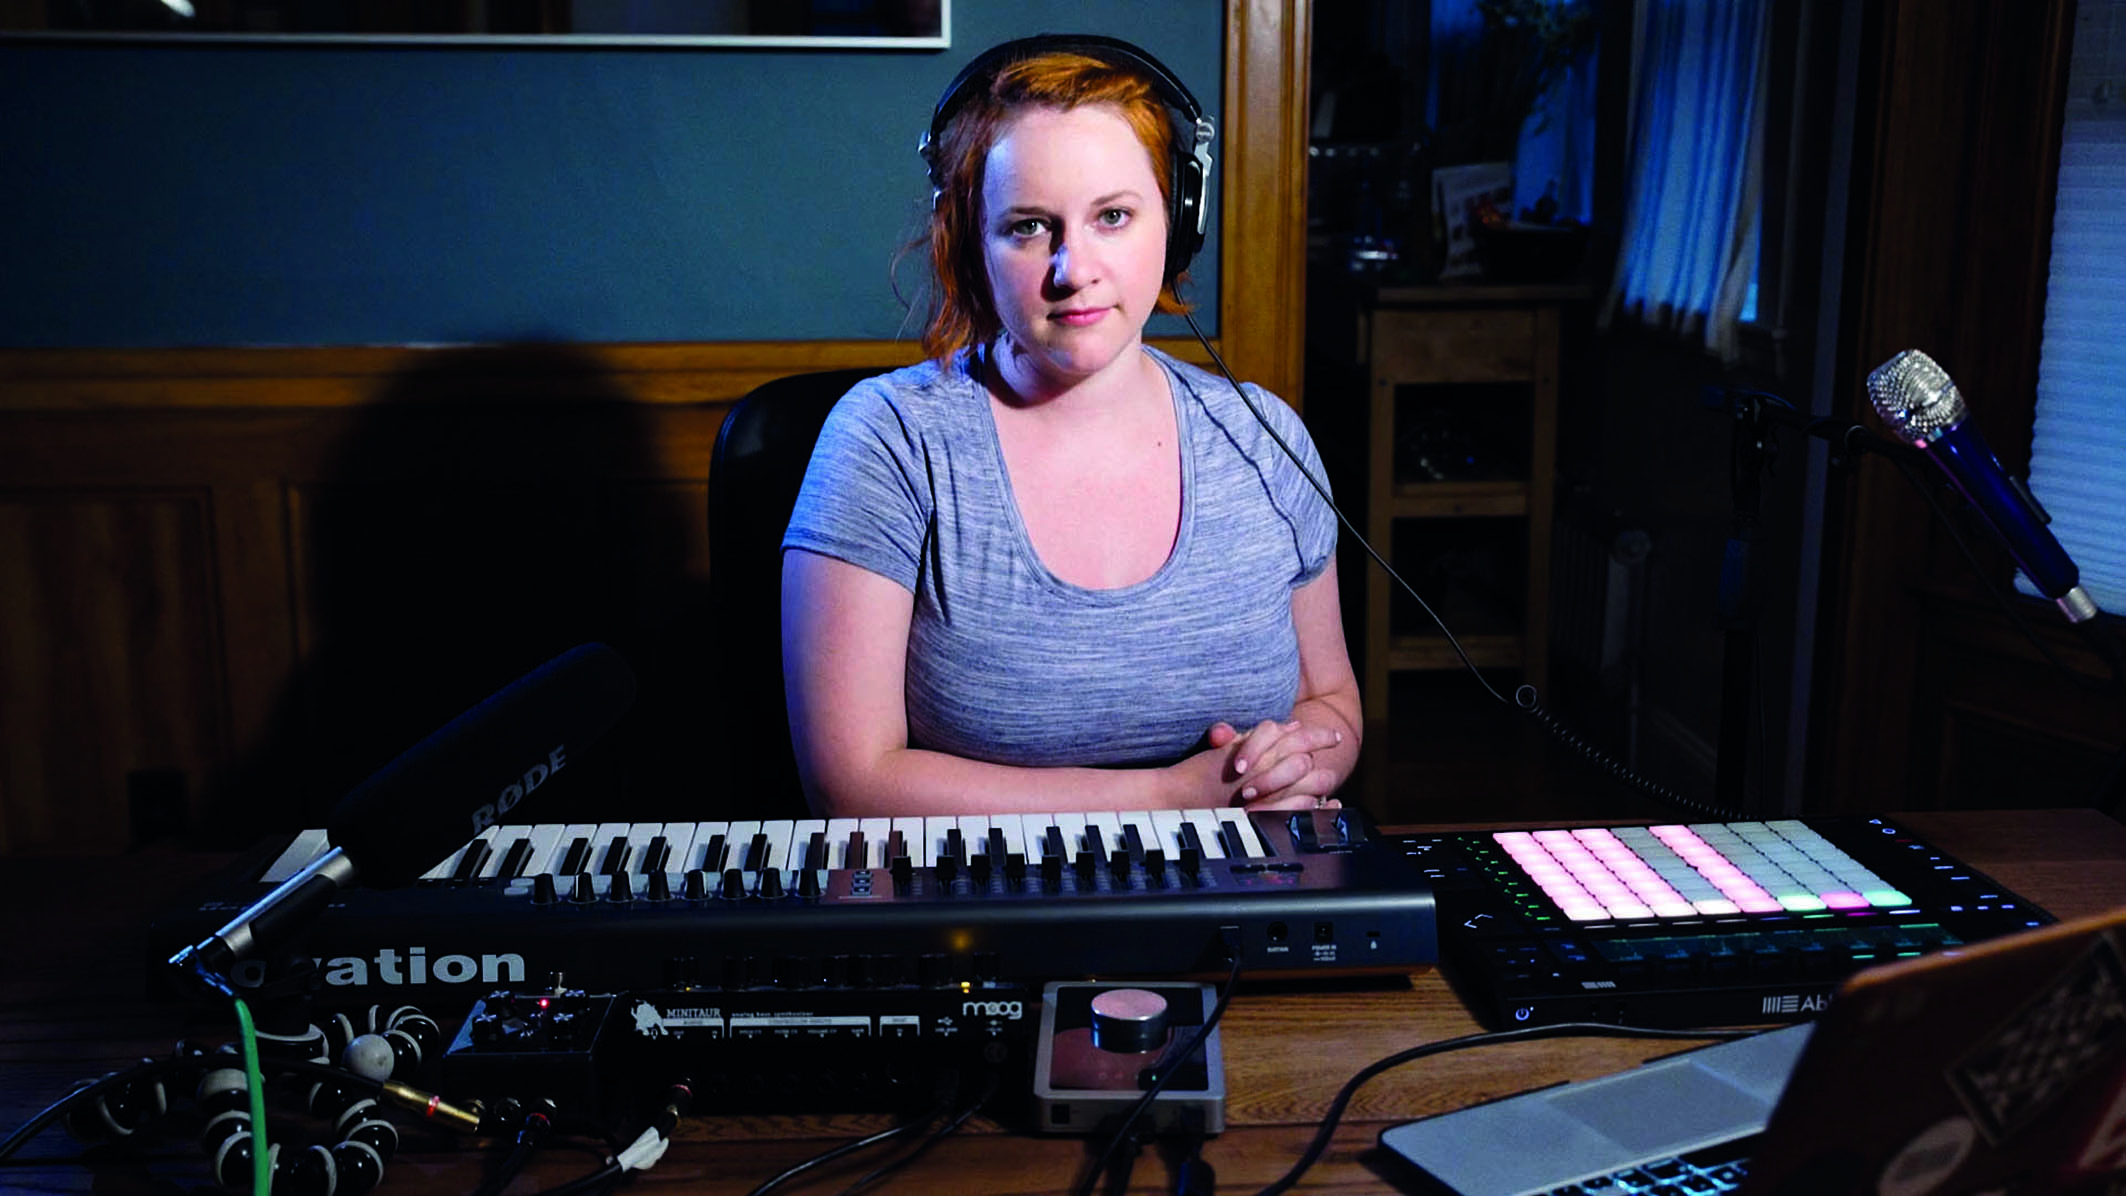
Artist, producer and tutor Erin Barra explains how to create more expressive instruments using Live’s Racks…
One common misconception of electronic music and instruments is that they’re not as expressive or ‘human’ as their traditional counterparts. For those of us in the know, this seems like a silly thing to say, but it’s a belief that often gets thrown around and repeated nonetheless.
As a writer and performer of electronic music, I’m always looking for ways to use technology to help tell a story and communicate a feeling. So, in an effort to debunk people’s assumptions that electronic music lacks humanity, I’ve decided to create a custom expressive instrument inside of Live using one of my favourite devices, the Instrument Rack.
Inside of Live, Racks come in many different shapes and sizes: Drum Racks, Instrument Racks, Audio Effect Racks and MIDI Effect Racks. At their most basic, they’re devices we can use to build complex processors with elaborate signal flow; stack synths and samplers to create our own instruments or series of instruments; as well as create something reflective and responsive.
Plus, Live’s Racks are streamlined to reduce complexity and place the most important controls right in front of us. What follows is a step-by-step tutorial that you can follow and adapt to create your own expressive Instrument Rack inside of Live.
Instrument Racks
Begin by navigating to Ableton’s browser, clicking on Instruments and inserting a default Instrument Rack onto an empty MIDI track (see Step 1 on p46). You’ll be greeted with a prompt to ‘Drop an Instrument or Sample Here’. You can grab any instrument from any of the categories in Live’s browser and drop it into the Rack. This includes any synth or sampler, whether it’s native or a third-party creation. If you drag a piece of audio or a sample into the Rack, it will automatically insert itself onto a new Simpler device and show up in the chain list.
When you browse through Live’s library, you’ll notice that certain instruments end in .adv, which stands for Ableton device, while others end in .adg, which stands for Ableton device group. The groups are already Instrument Racks in and of themselves and can be dropped right into the chain, but for simplicity, I’ll be sticking with single Ableton devices for this tutorial.
Once you drop a device into the Rack, you can see that it shows up in Detail View and is assigned to its own chain in the chain list. Each of these chains can contain their own set of devices which include MIDI Effects, Virtual Instrument and Audio Effects, in that order. When you add several chains into the Rack, each with their own device chains, the signal flow can become relatively complex. When a specific chain is selected, you can see its signal flow, represented by the round corners on the left and right of the device. I think of these like a set of parentheses in a math equation. Currently, the sentence reads:

When I arm the track, I can play this preliminary chain (see Step 2, p46). On the far left, you’ll see several show/hide circles. The one on the bottom will ‘Show/Hide Devices in the chain,’ and if I click on it, the devices currently selected in the chain will be visible or hidden. Above that is the show/hide Chain List, which shows you all the chains that are currently in the Instrument Racks chain list. When it’s open, you see the chain listed, and another prompt to keep dropping instruments, samples or chains into the Rack.
When you add another instrument, you’ll see the second device listed below the first, being assigned to its own chain, and the virtual instrument to the right. Both instruments will play simultaneously now. These device chains, which currently only hold virtual instruments, are parallel to each other and can be viewed by clicking on either title in the chain list. Now the signal flow reads:

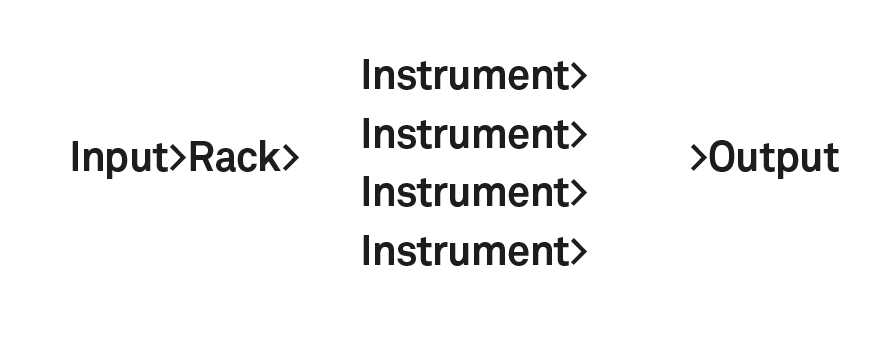
MIDI comes into the device and flows through the respective chains, being summed at the output (see Step 3 below).
I’ve added two more devices into their own chains on the Rack, one that is an instance of an External Instrument, which is sending MIDI to a hardware synth, and a Max For Live virtual instrument. Additionally, you’ll see you can now unfold the track in Session View, which reveals both devices represented with their own faders, pan pots, track activators and solo buttons. You can adjust the balance and placement of the tracks from either the track or in the chain (see Step 4 in the walkthrough on p46). Now, the signal flow reads:
Key and Velocity Assignments
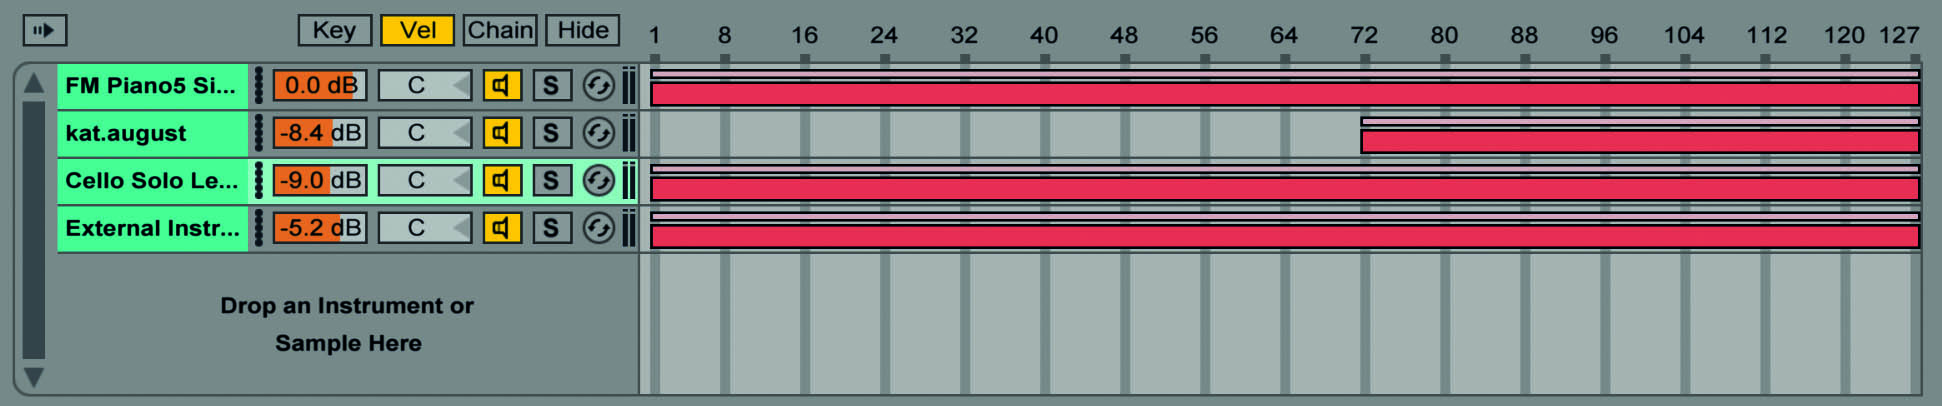
Just by simply layering instruments like this, you can create lush textures and huge sounds, but we can take this several steps further. For the time being, I’m going to limit the range of each instrument so each device chain is restricted to certain notes on my MIDI keyboard. To do this, which the chain list visible, you select the ‘Key’ button above the chains to see the current assigned range of each instrument in the chain.
You can adjust each instrument’s range by approaching the left- or right-hand-side of a key range and clicking and dragging, just like trimming a region. We can also have an instrument fade in or out over a range by adjusting the bar above the key range (see walkthrough Steps 5 and 6). A simple application of this would be splitting the keyboard so that your right hand is playing a piano sound while your left hand plays the root motion with a bass sound.
Continuing on, you can click on ‘Vel’ to open up velocity settings for each chain, and you’re able to dictate which chains play at which velocities. Velocities are ranges are from 0 to 127, 0 being silence and 127 being the loudest you can play. You can assign certain instruments to only pop through when you hit a key loudly: or vice versa, to only play when you’re hitting the keys softly. You can adjust the ranges and fades the same way as with the key range. Both key ranges and velocity adjustments can create very expressive results, especially if you program them to complement the way you play your instrument, whether it’s a MIDI keyboard, or Push.
Parallel and Serial Processing
Next up, I’ll be doing some additional processing on each chain to further customise the textures I created. At the end of the FM Piano and Cello sounds, I’ll drop a Reverb device at the end of their chains, but before the end of their parenthetical sentences.
These effects processors only apply to their respective chains, leaving the external instrument and the Max For Live device dry. On the External Instrument chain, I placed a MIDI pitch effect that will take the incoming MIDI signal and drop it down 12 semitones, before sending it along to my hardware synth. This allows me to play a single note while having the cello play at the octave I’m playing on my keyboard, which the synth is playing an octave below.
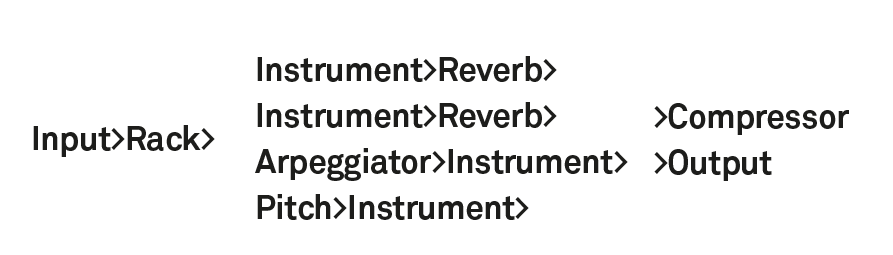
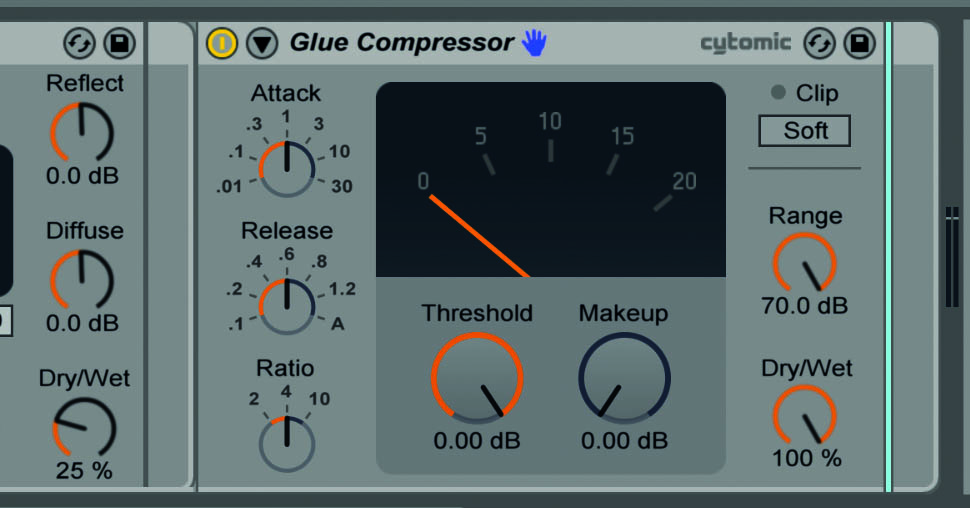
Then, on the Max For Live device, I placed a MIDI Arpeggiator Effect before the virtual instrument, which will take the incoming MIDI, arpeggiate it according to how I set the parameters on the device, and then pass it along to the virtual instrument. Lastly, I placed a Glue Compressor right before the Output, but after the summed signal (see Step 7). Now, the signal flow reads:
At this point, it’s important to note that since an Instrument Rack lives on a single track in your session, it’ll only ever be accessing one of your core processors at a time. So, although the possibilities are endless in terms of what you can create with these Racks, each core processor does have a threshold.
Chain Selector
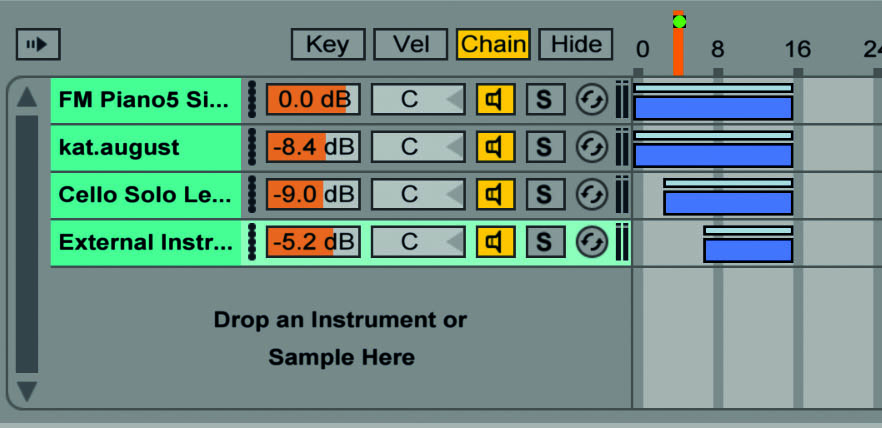
Last up for my expressive Rack is to make some adjustments within the Chain Selector. You can access it right next to the Key and Velocity settings above the chain list and it should look familiar. The Chain Selector allows me to assign each chain to a certain range of a continuous controller, giving me another way to further customise this Rack.
For my performance, I want the Rack to sonically grow as the song progresses, so I have each instrument assigned to be on different parts of the chain, starting with just the FM Piano and Max For Live device, with the Cello and External Instrument being added in later.
I can assign the chain selector to a Macro knob by right-clicking on the Chain Selector and/or MIDI mapping it to a CC on my controller, to dictate which range of the Rack it’s at in real time (see Step 8).
Macro Controls
Depending on how many instruments and effects you’ve added into your Rack, it may become difficult to navigate; you may find yourself clicking and scrolling around to access certain parameters. Ableton’s answer to this conundrum is the Macro Control. Macro Controls are a bank of eight digital knobs that you can assign to any parameter in the Rack for easy access. You can open them by clicking on the final and topmost small circle on the far left of the Rack, which is the Show/Hide Macro Controls button.
Above the controls, you’ll find the word Map, which enables you to assign parameters to the Macro knobs. By using the Macro Controls, we allow ourselves easy access to certain parameters while still being able to work in another part of the chain. Macros are also great for live performances, giving you access to many several parts of potentially many different chains, all at once.
By taking the time to customise these instruments to react to the way we play or sequence, we create expressive instruments. These tools are here to help us express ourselves, not lead us down some inhuman path. A tool is a tool and an instrument is an instrument, whether it’s a piano or an Instrument Rack inside of Live. Use them, and go forth and express yourselves!
Step by step: Rack ’em up

1. Grab an empty Instrument Rack and drop Instruments and/or samples into this area, where each one will be assigned to its own chain.

2. With the track armed, you can play all of the instruments in the Rack simultaneously, creating thick stacks or layered textures.

3. As MIDI comes into the Instrument Rack, it gets sent to each of the respective chains and then gets summed at the output; you can think of it as very much like a parenthetical phrase in mathematics.

4. You can expand the Instrument Rack in Session View to show you track parameters for each of the chains. From this view, as well as the Instrument Rack in Detail View, you can gain stage, pan, solo and mute each chain.
5. We can customise how each chain in an Instrument Rack plays by dictating which velocities each one responds to. Adding expressive textures at high velocities, like a percussive attack, can bring an instrument to life.

6. Assigning Key Ranges to each chain is useful in many circumstances, such as splitting a keyboard for live performances or layering or overlapping textures at different ranges on your controller.
7. You can place processors inside of specific chains which will only affect instruments or devices after them, or as here, after all chains have been summed.
8. The Chain Selector lets you filter specific chains from a single mappable parameter. It’s the basis of how you can quickly switch between sounds and patches live.