Back In The ADSR Step-By-Step Guide (Continued)
Martin Delaney is back in the ADSR, where he continues to guide us through ADSR within Ableton’s Simpler instrument and Operator. Check out part 1 here. 7. The Decay control sets the time it takes for the initial attack ‘spike’ to reach the level at which it’ll continue onwards. There’s no right or wrong with […]
Martin Delaney is back in the ADSR, where he continues to guide us through ADSR within Ableton’s Simpler instrument and Operator. Check out part 1 here.

7. The Decay control sets the time it takes for the initial attack ‘spike’ to reach the level at which it’ll continue onwards. There’s no right or wrong with these, it’s about what works with your project.
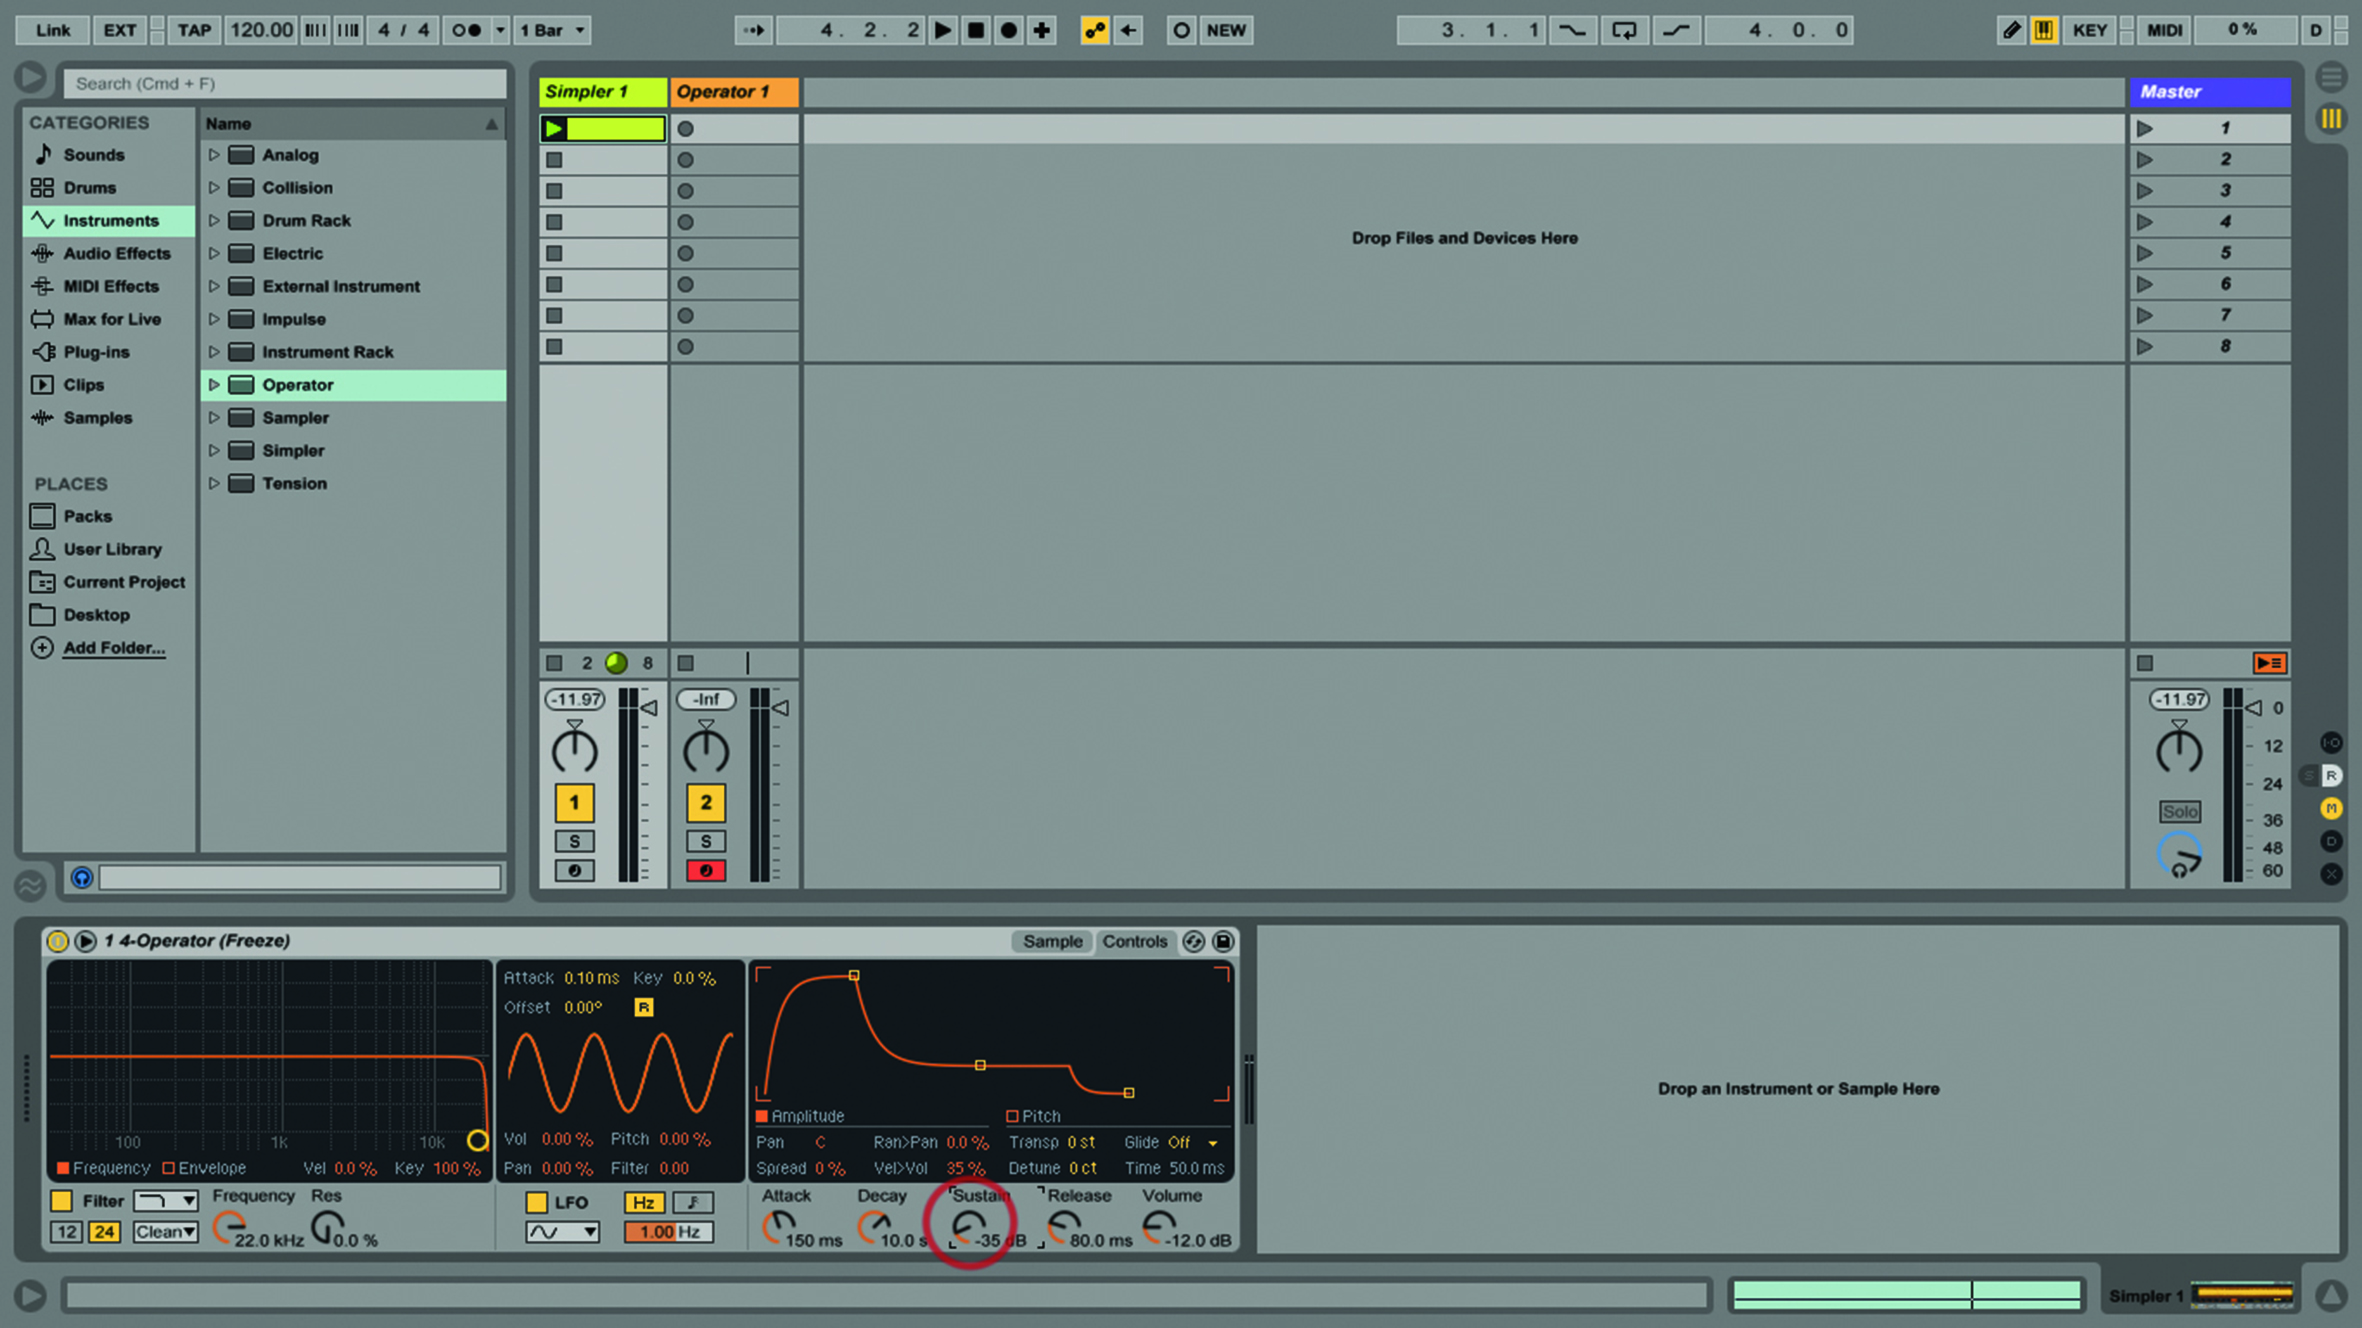
8. The Sustain control sets the level at which the sound continues, the time having been set by the Decay control before it. It’ll continue at this level until the note is released.

9. Finally, the Release control sets how long it’ll take for the note to fade to silence. It’s like a story – every sound has a beginning, a middle, and an end!

10. Without doing anything else, we’ve changed this original sample considerably. Try changing the Vel > Vol value to increase response to velocity changes if you’re using a keyboard.
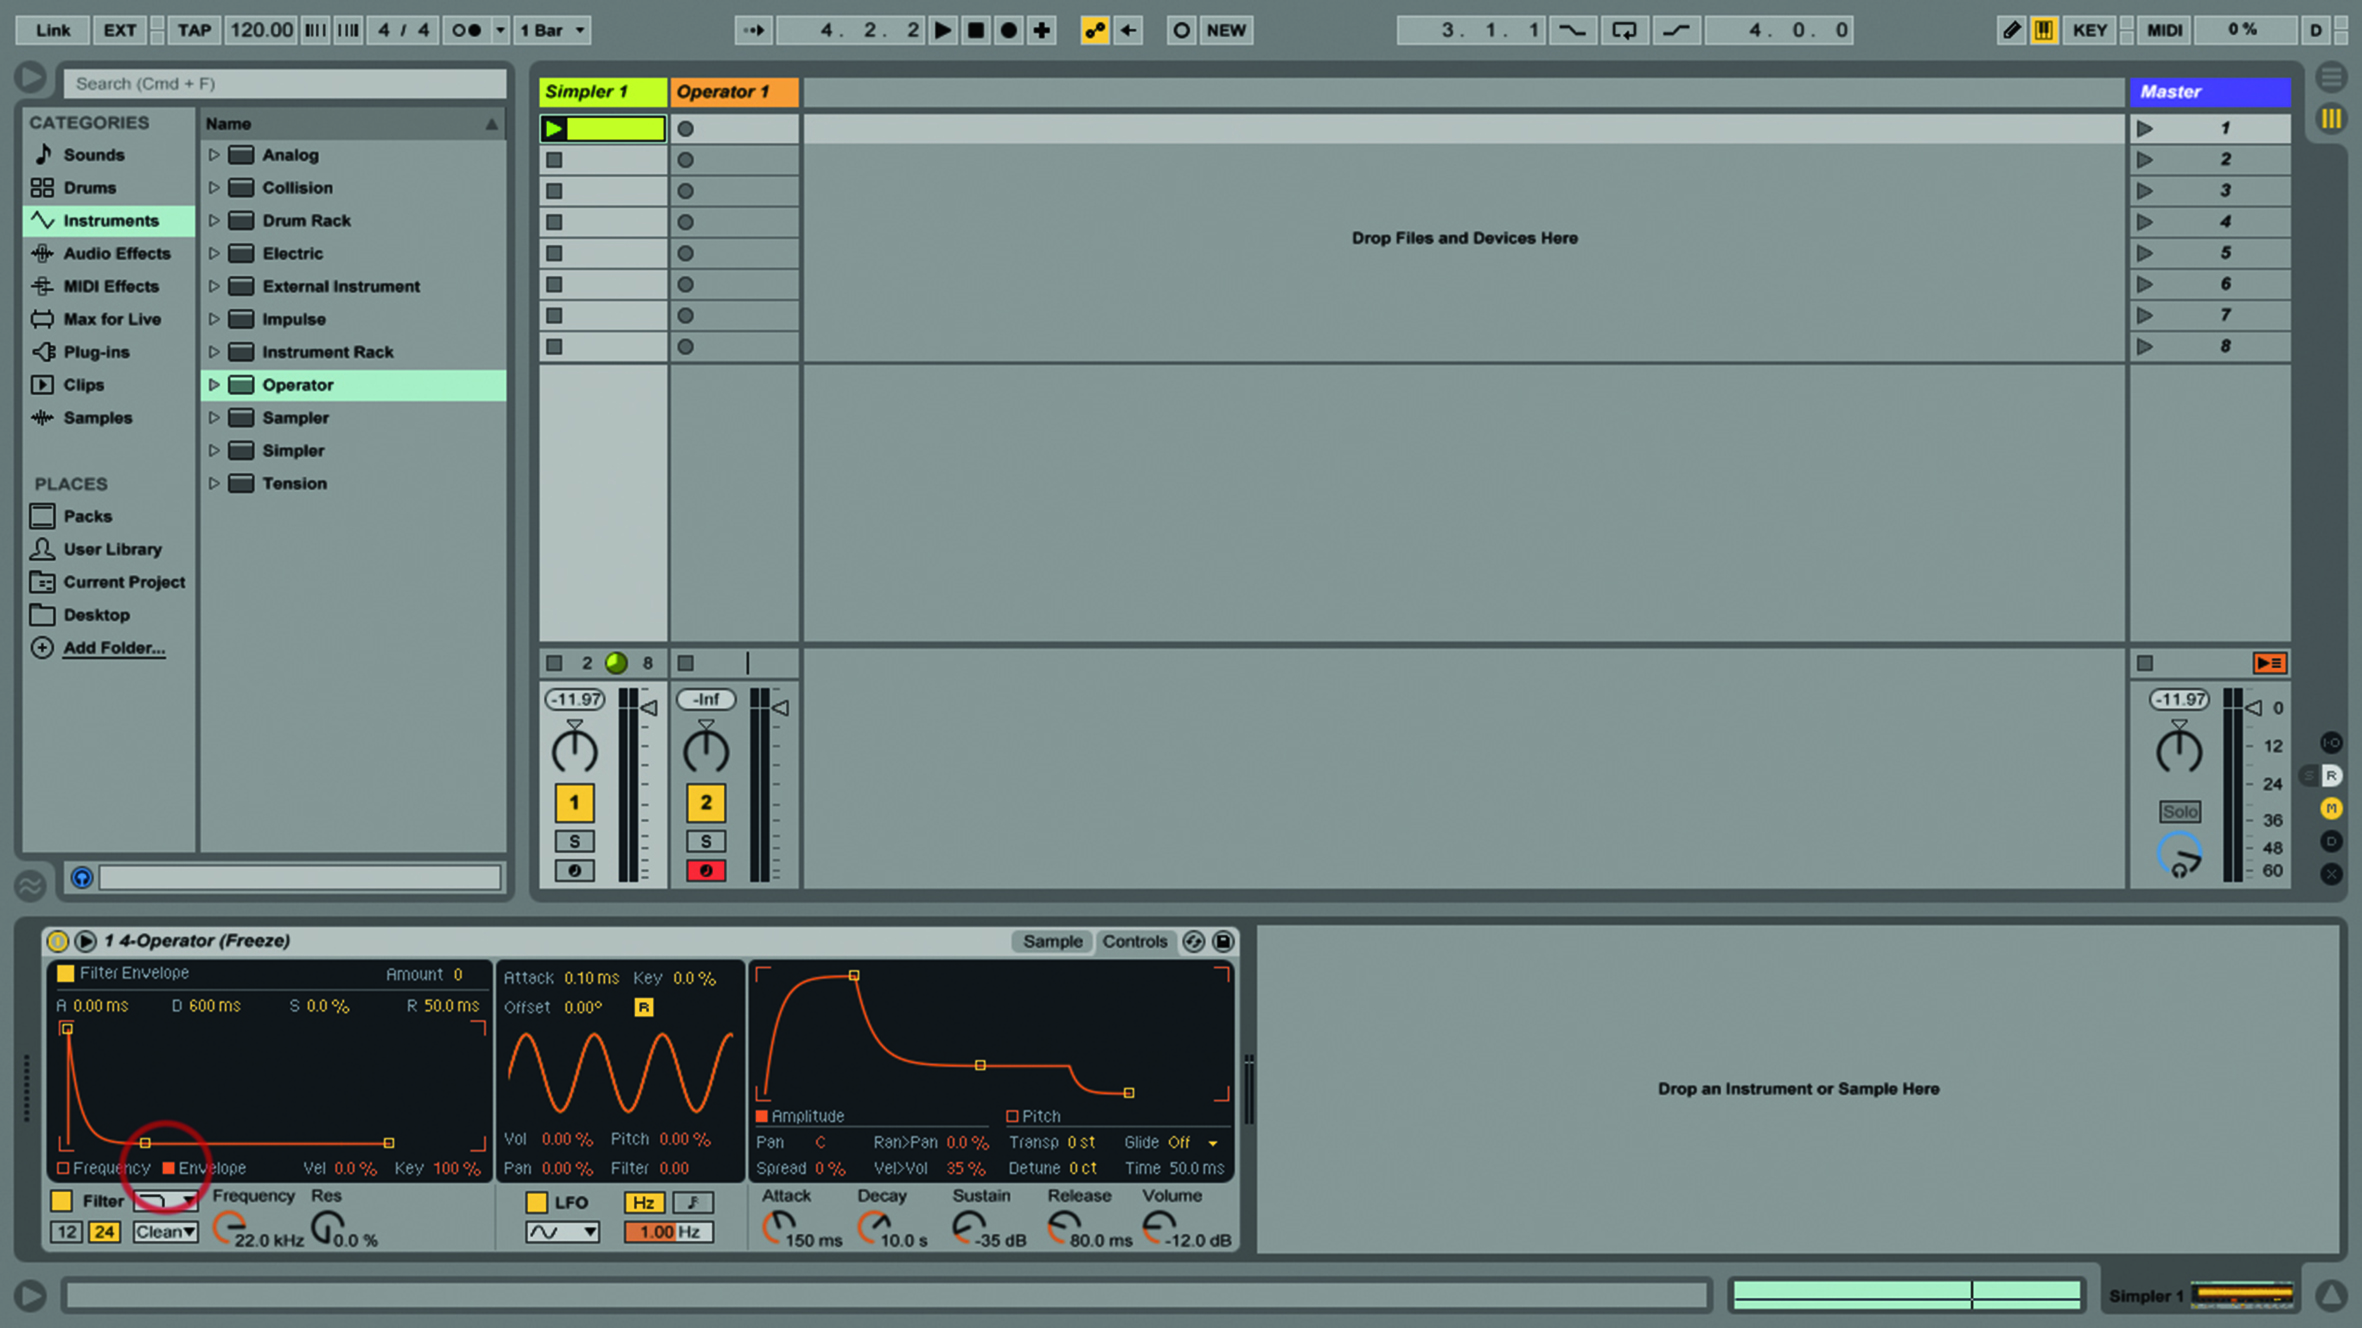
11. Note that, at the left, Simpler’s Filter also has an envelope with adjustable ADSR values – click the little ‘Envelope’ button. Related features are also found in some separate audio-effect devices.
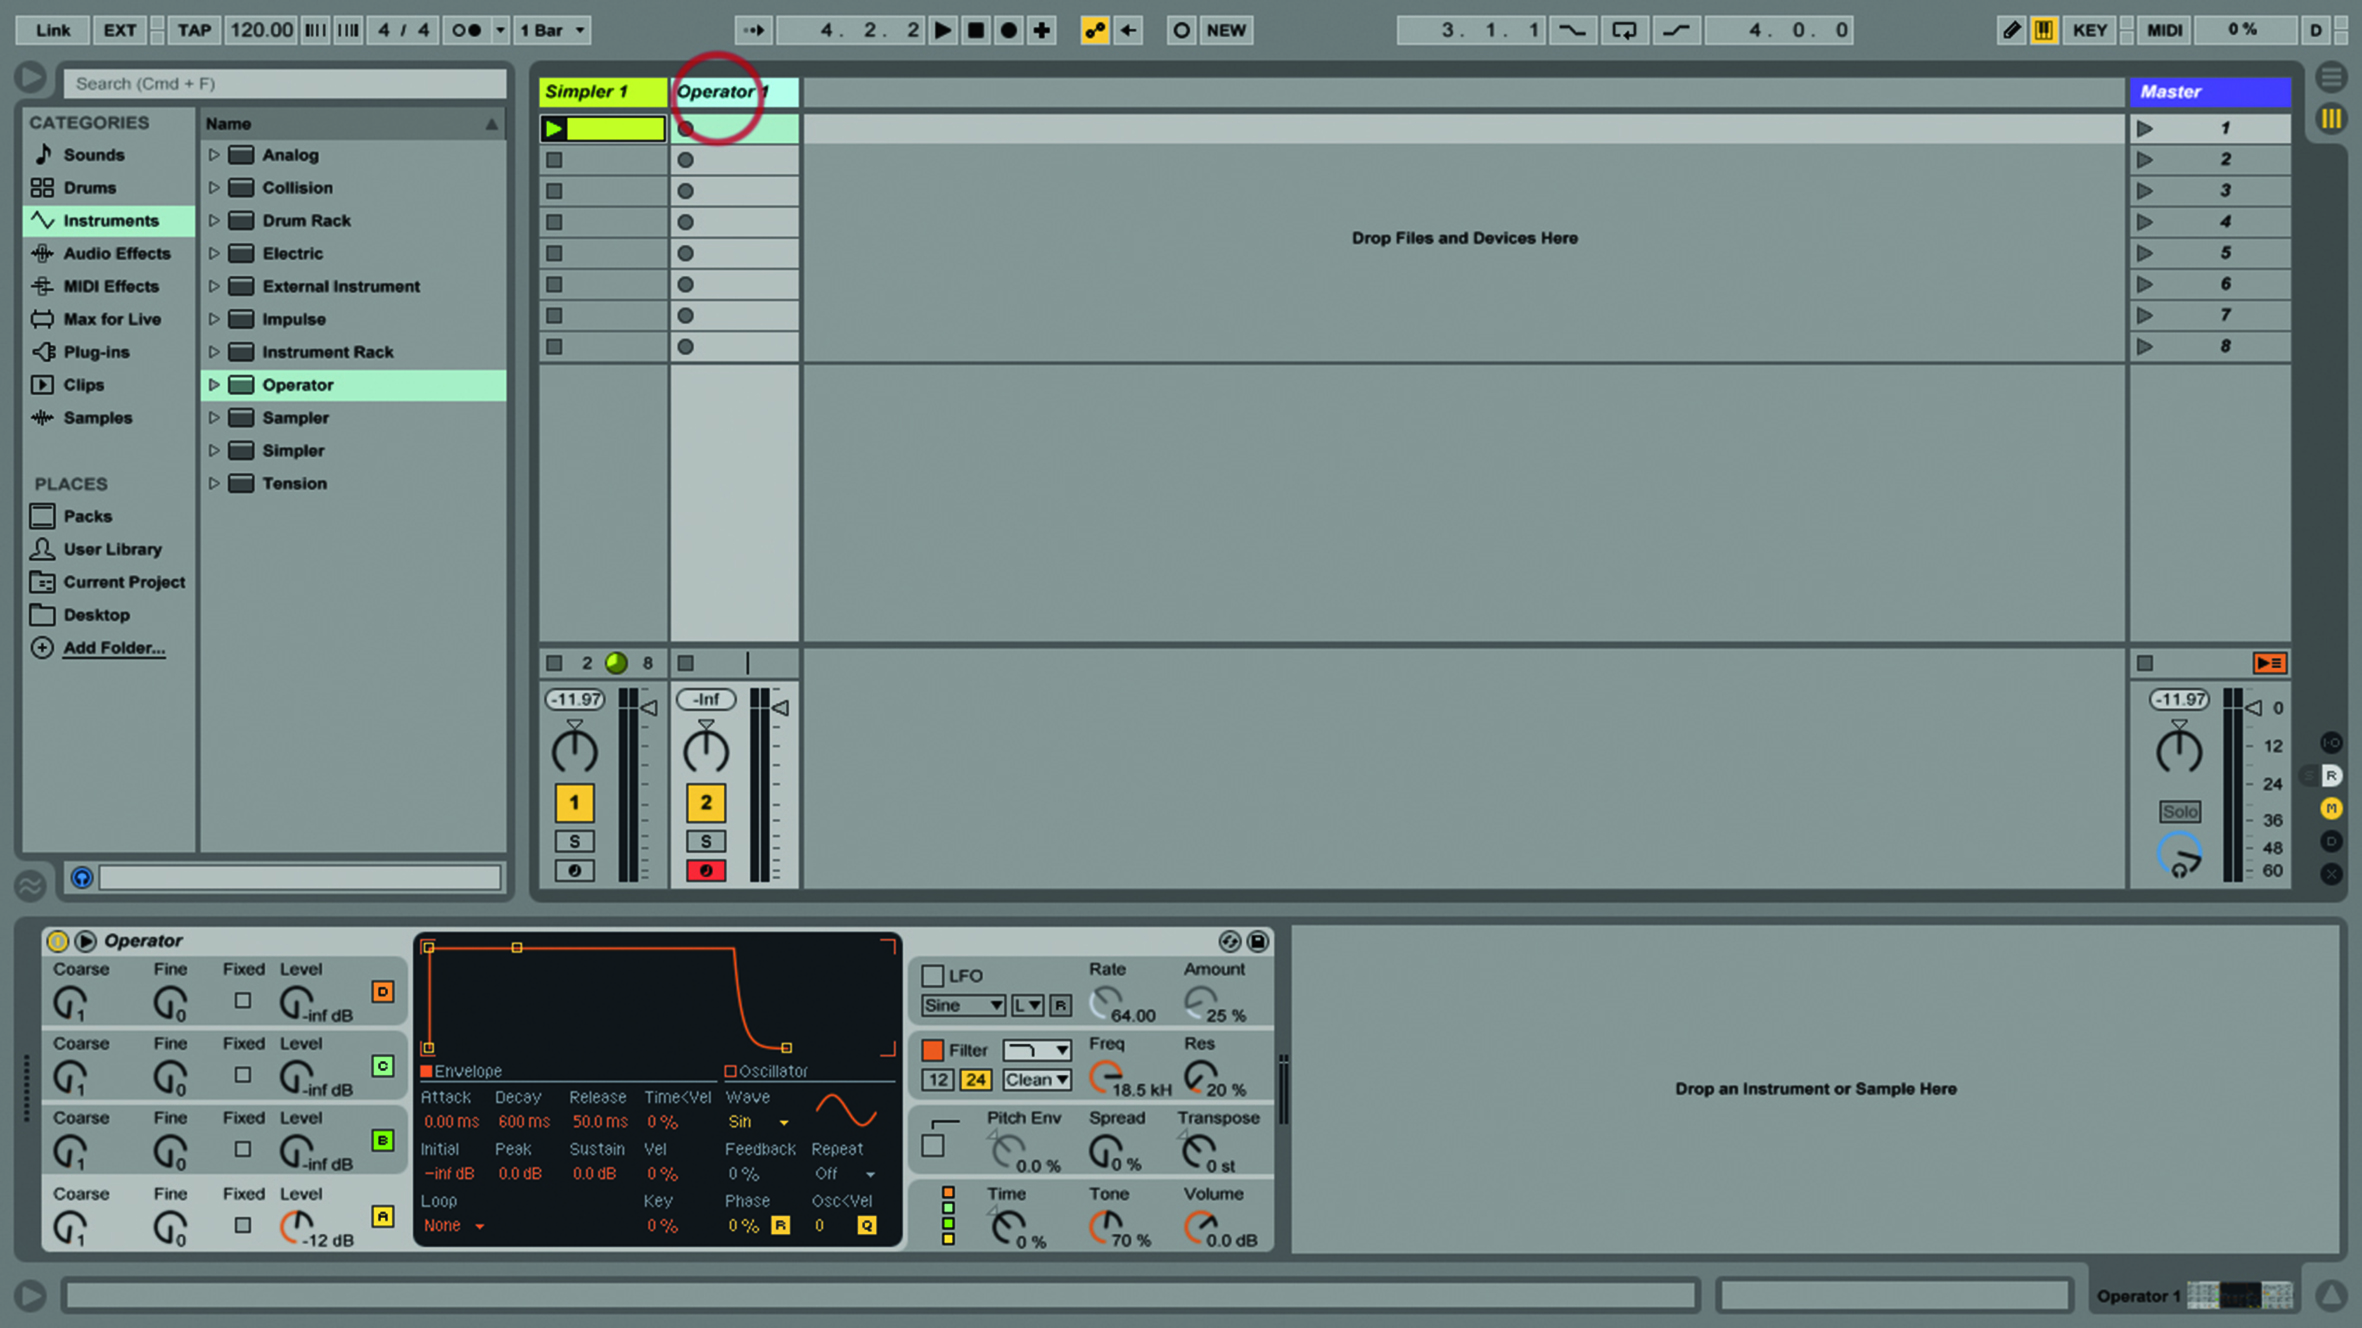
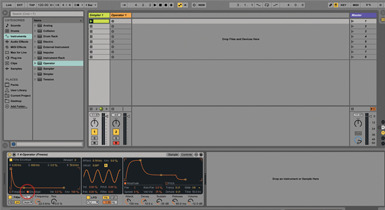
12. So let’s do something with Operator – apologies if you haven’t got it, but it’s one of the fundamental Ableton instruments, and a good example for us. Go to the Operator 1 track in our set.
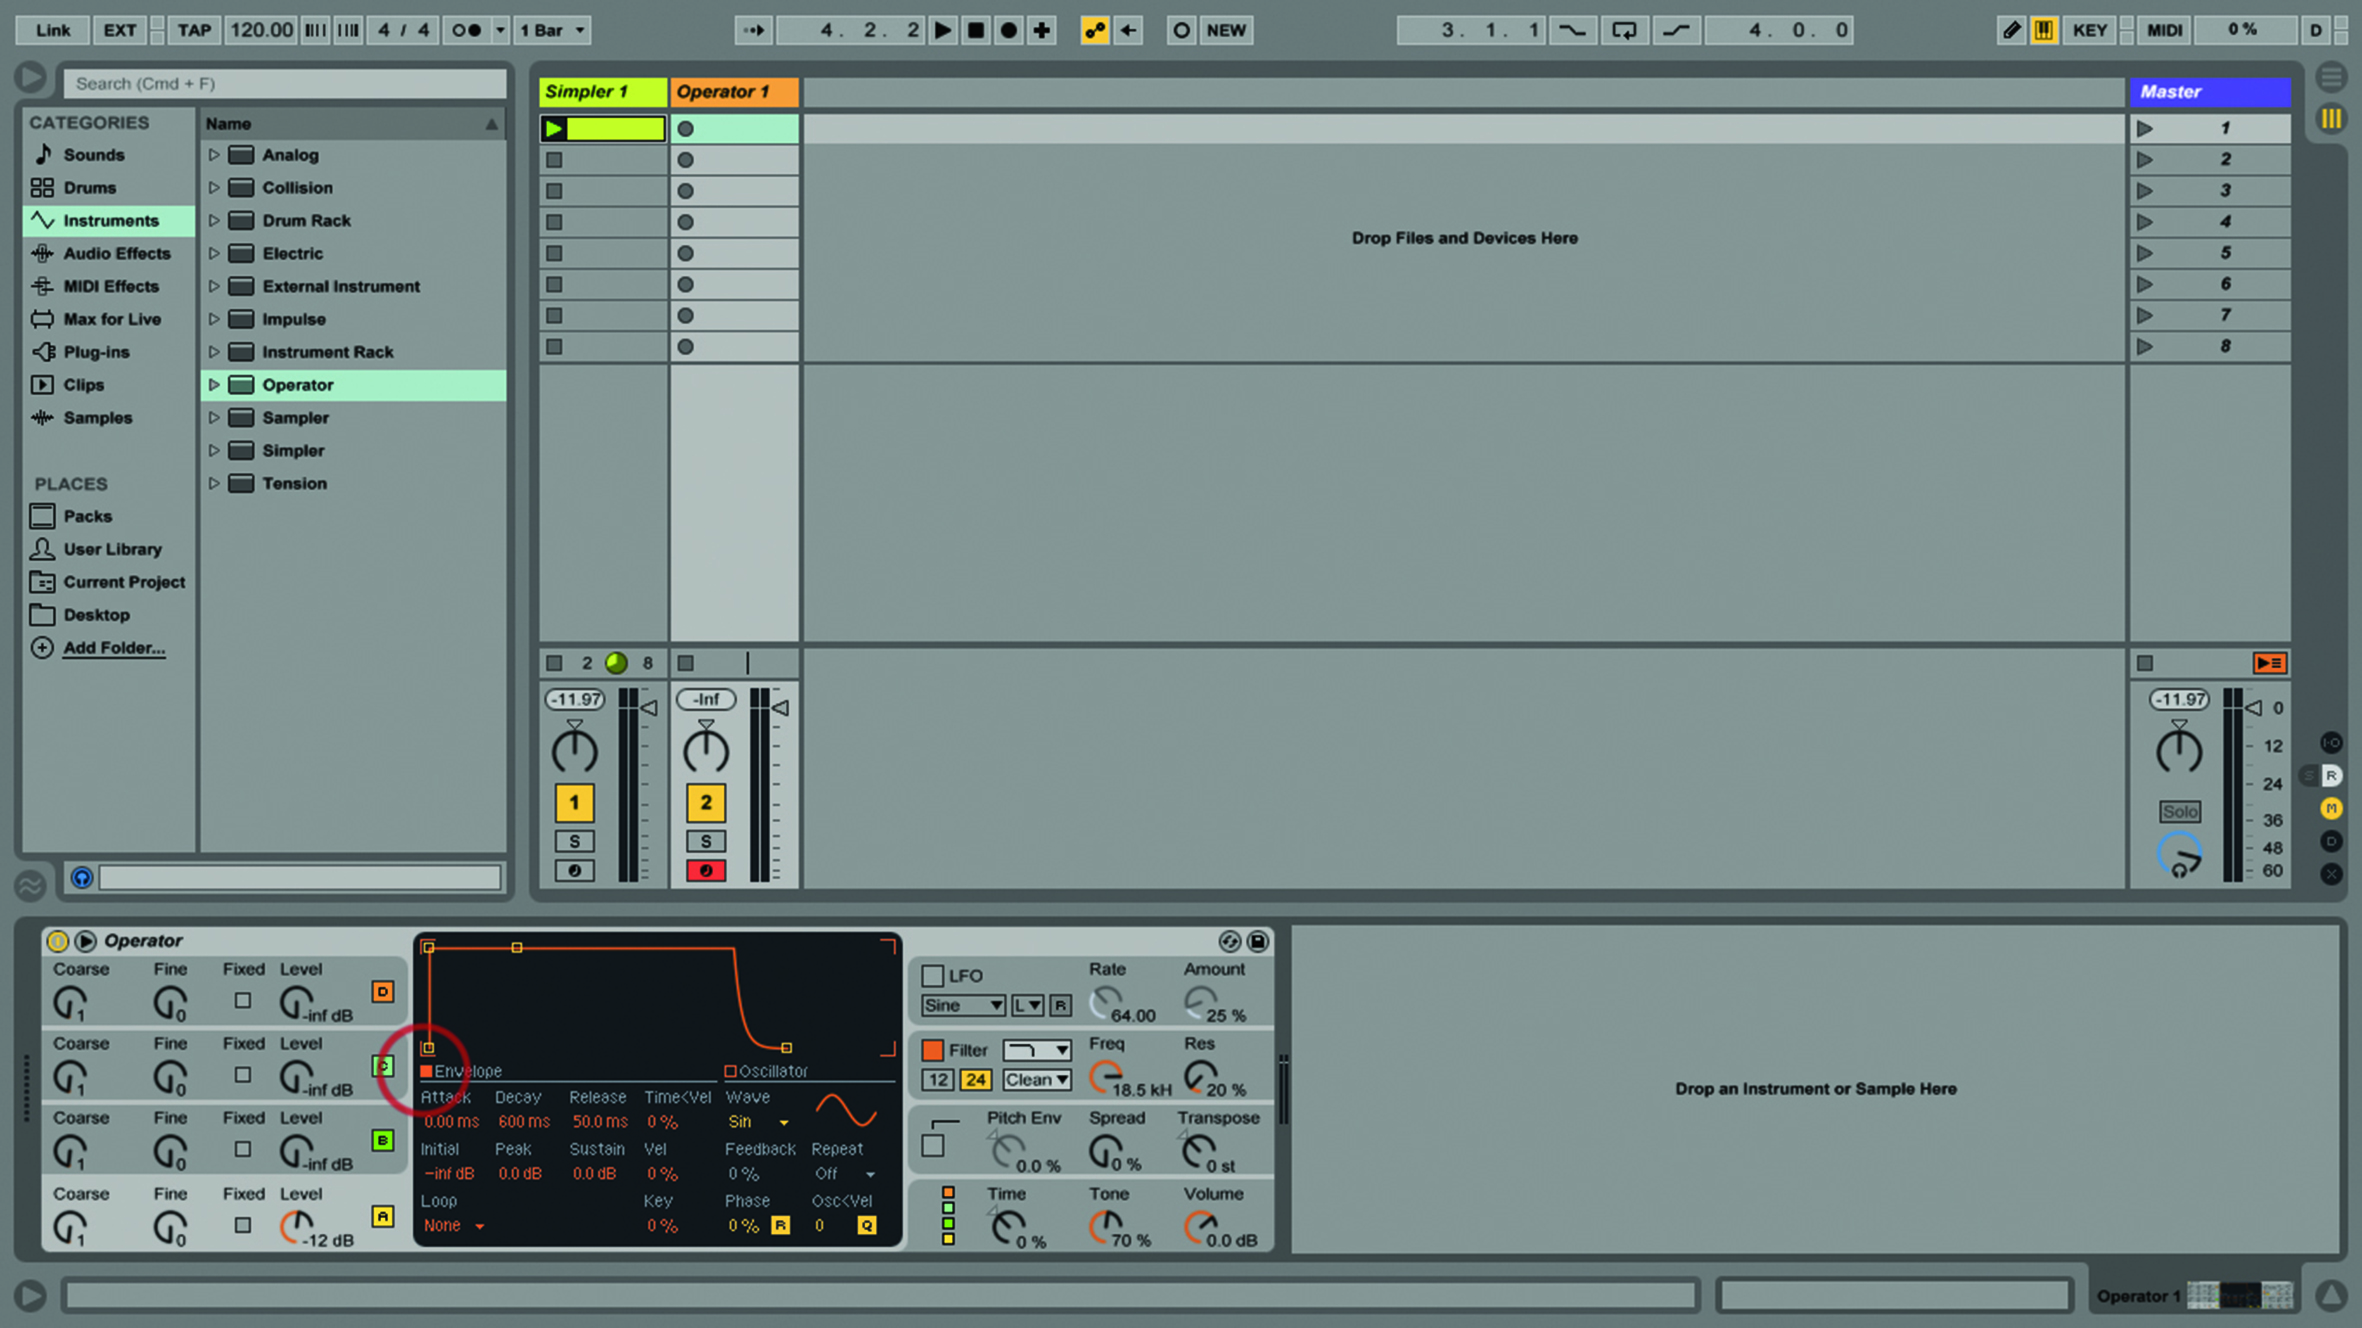
13. Click the Envelope button at the bottom left of the Envelope display to view the volume envelope for oscillator A. We’re using the default Sine wave with Oscillator A; the others are silent.

14. Set Attack to 130ms, Release to 2.00, peak to -14. Leave Decay and Sustain alone for this one. You should have a simple sound that fades in gently and out the same way.
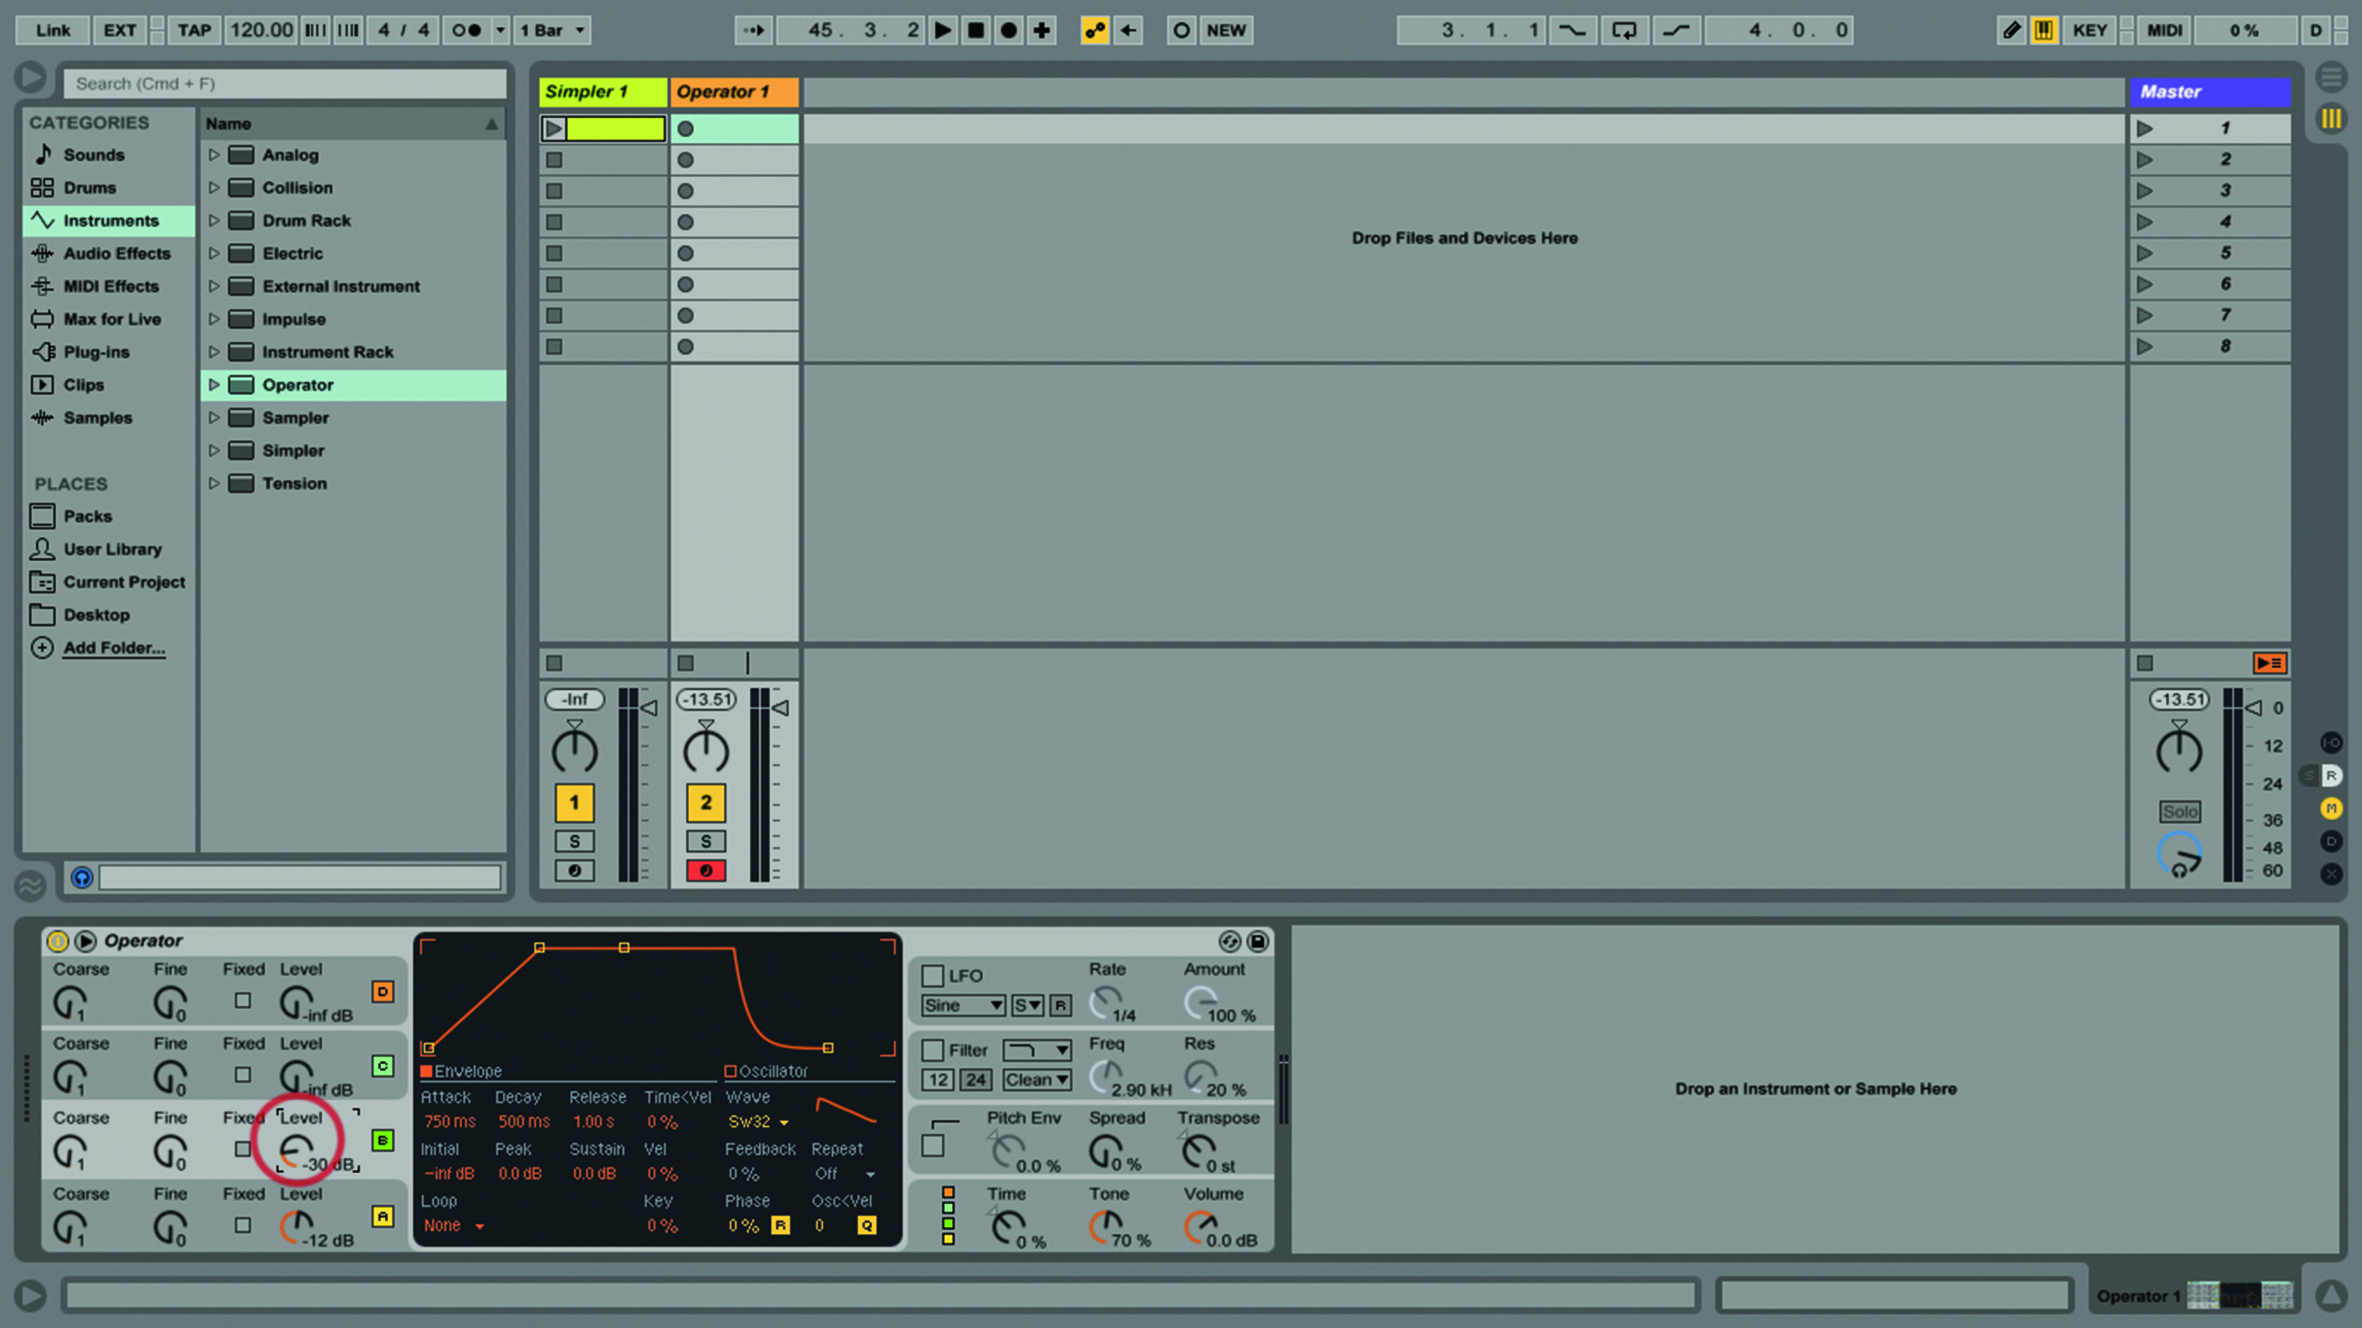
15. Now let’s use another volume envelope. Raise the level of oscillator B to -30, and set it to SW32. Bit more buzzy now! Set Attack to 750ms, Decay to 500ms and Release to 1.00ms.
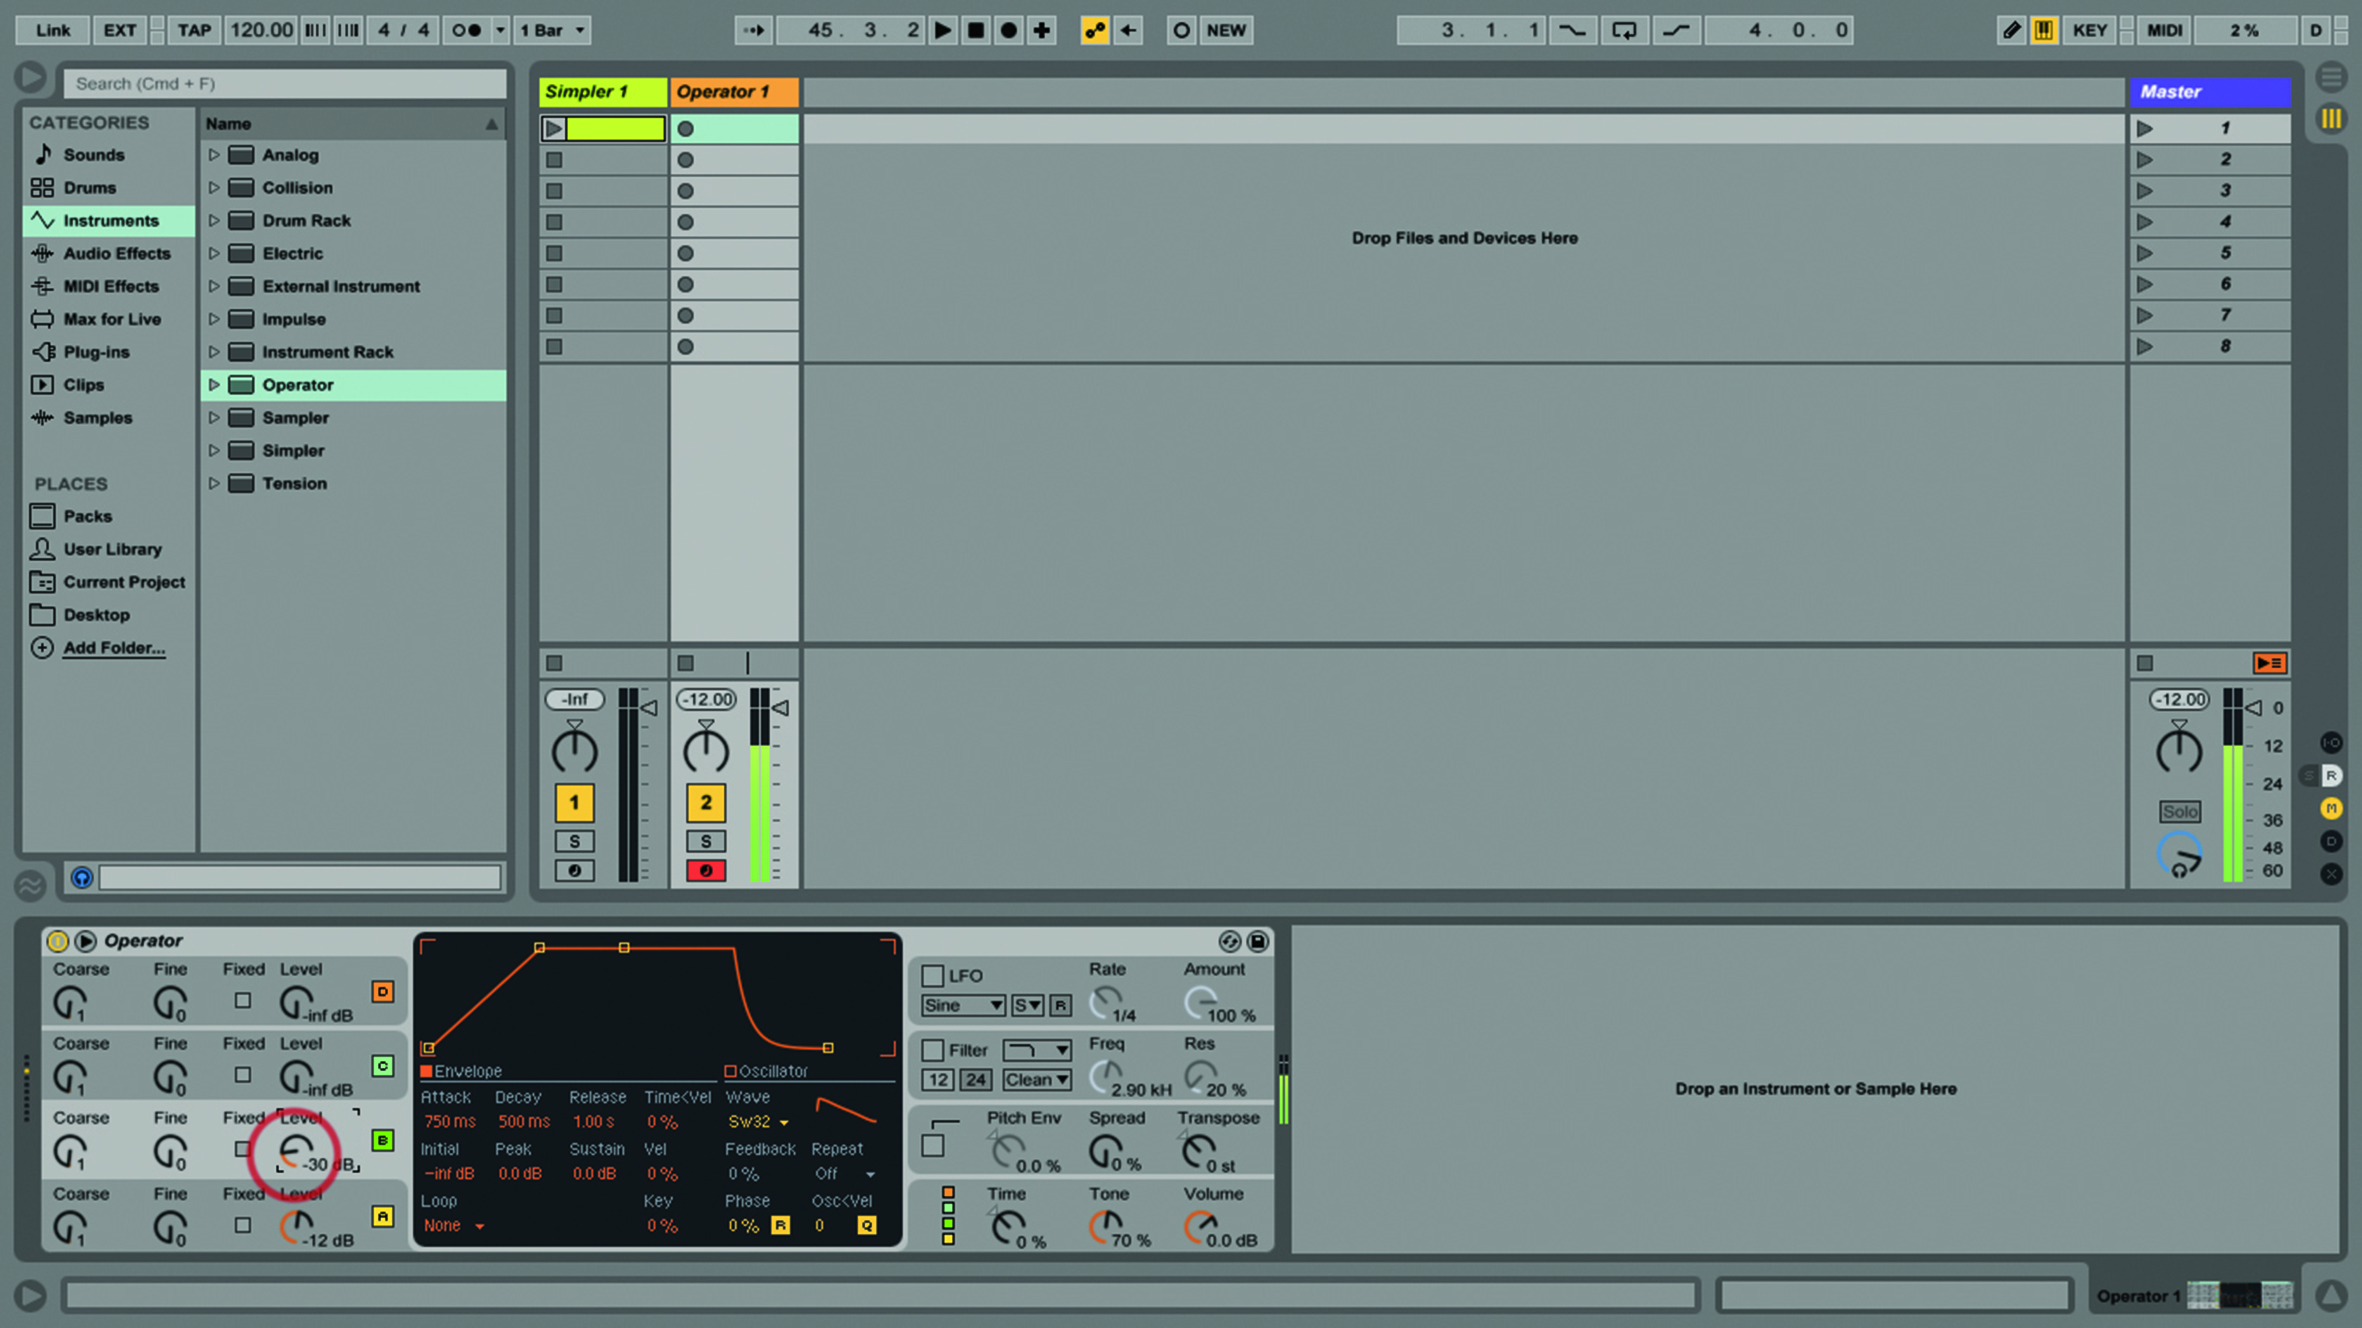
16. Now when you play, you can hear the two envelopes doing different things at different times. You can really expand on this concept if you start to use all four oscillators.

17. Go to Oscillator A and turn on Loop/Beat in the central panel and set the Repeat value to 1/8. Now you’ll hear the envelopes loop rhythmically as you play in notes.
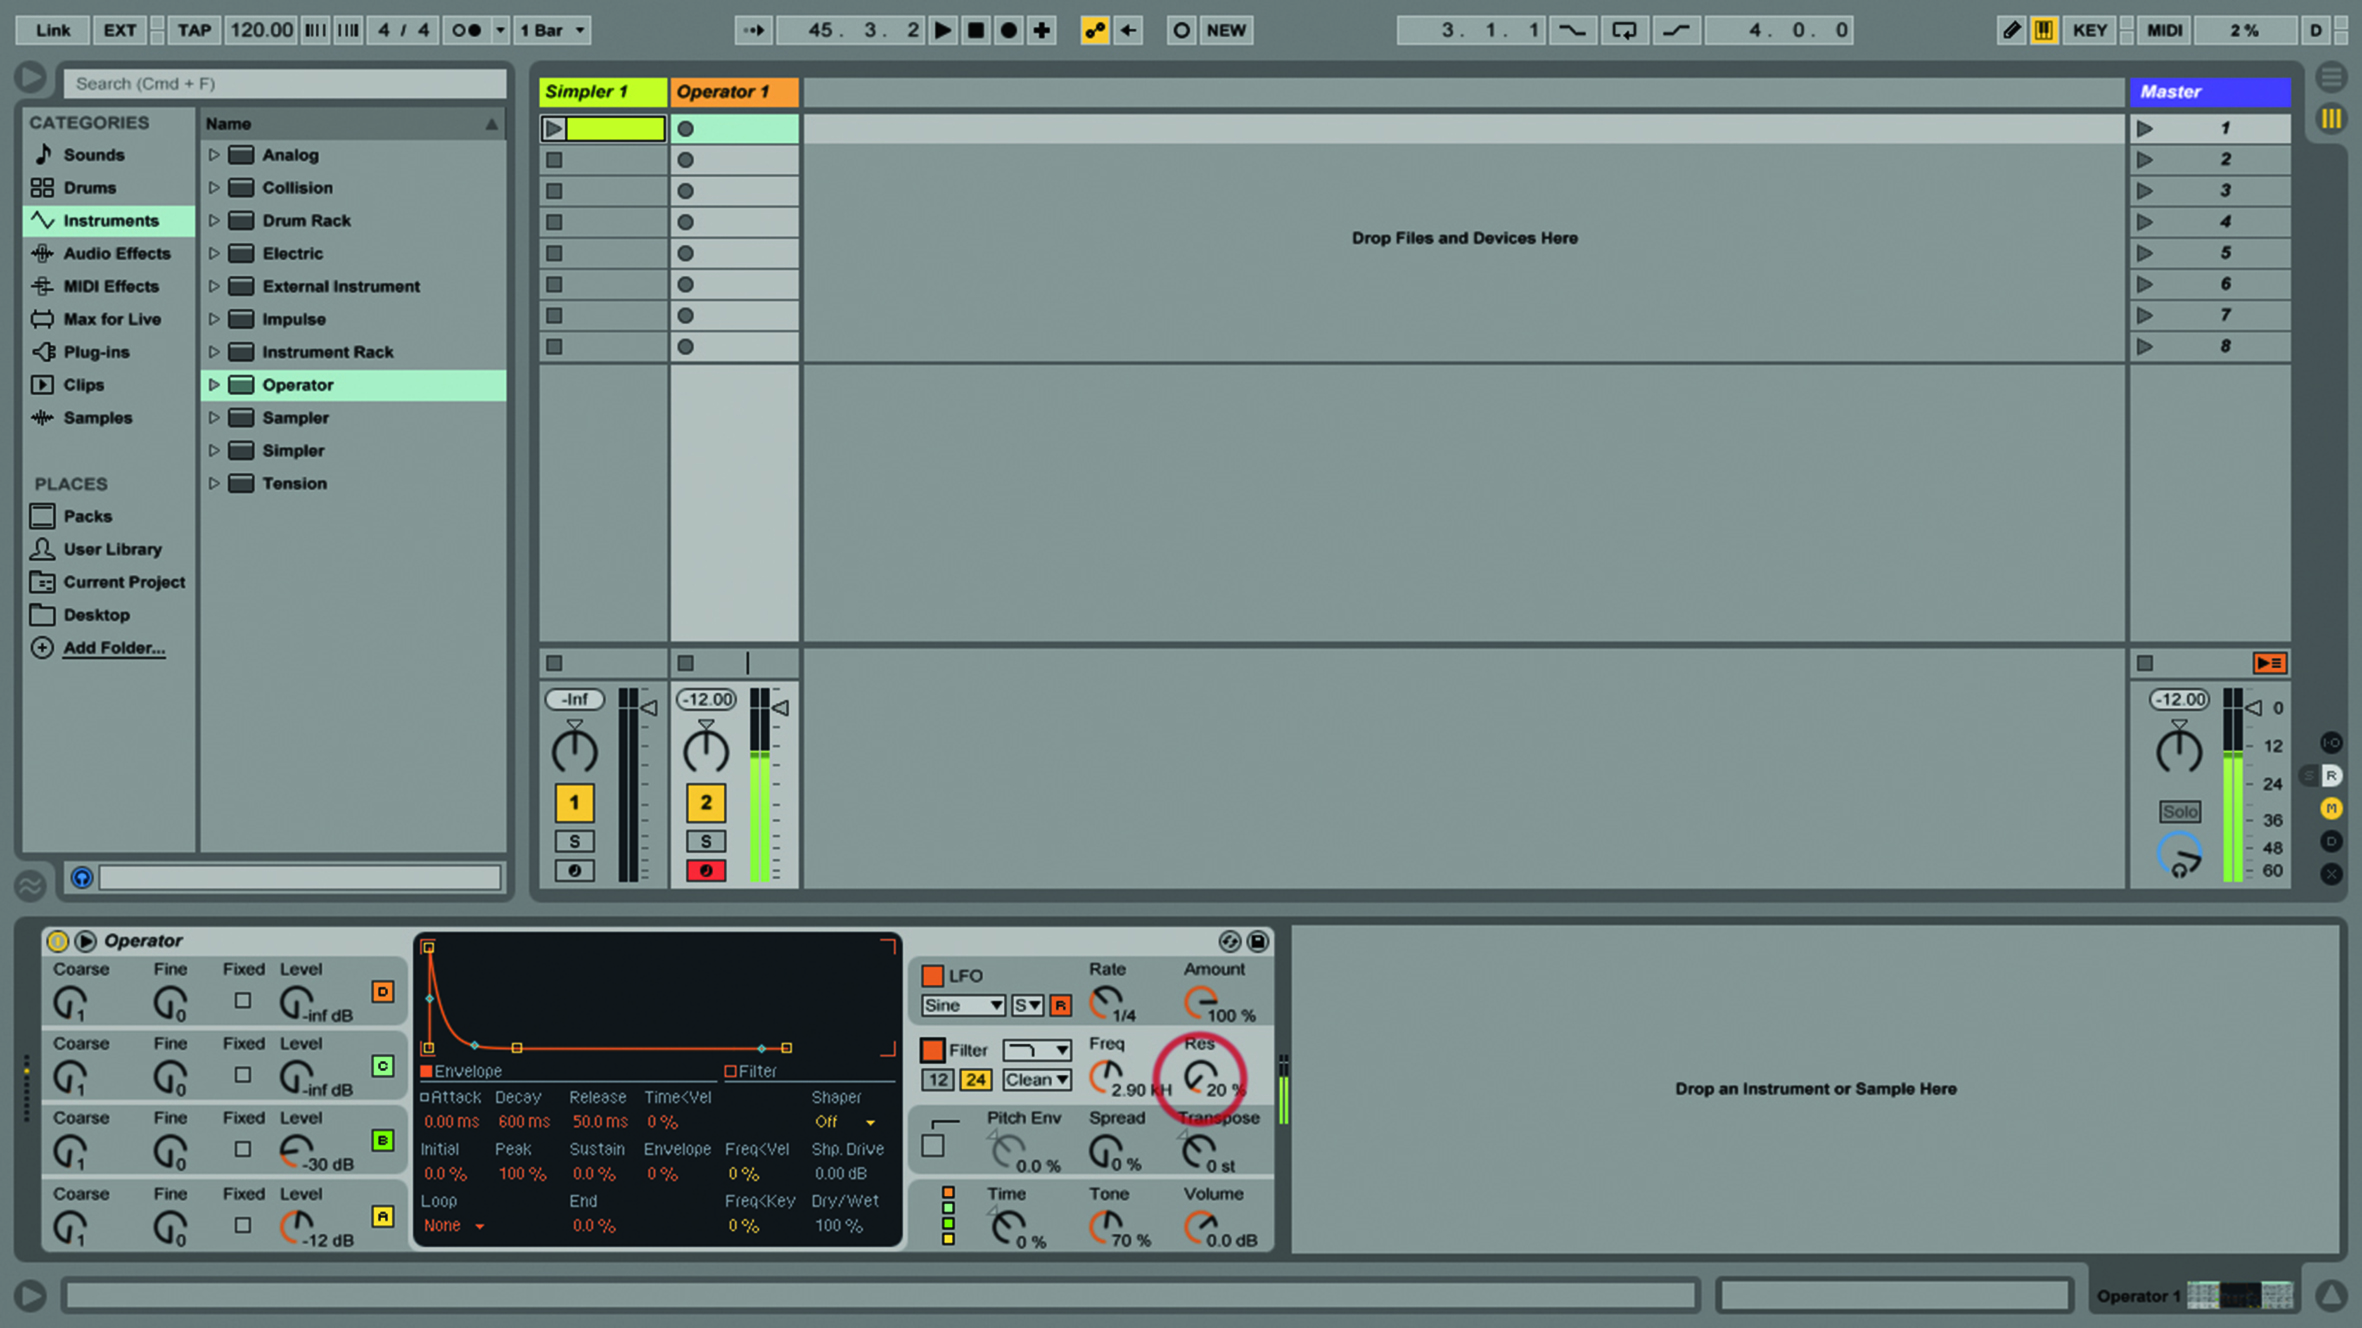
18. Best part: turn on the LFO and send it to Oscillator B only. Set to Sync, rate 1/4, amount 100%. On the Filter, set Cutoff to 2.90kHz, and Res to 20%. Sounds good?