10 tips on using microphones
New to the world of recording with microphones? Then there are some basic – and not so basic – rules and tips you should be aware of, plus one tip to rule them all.
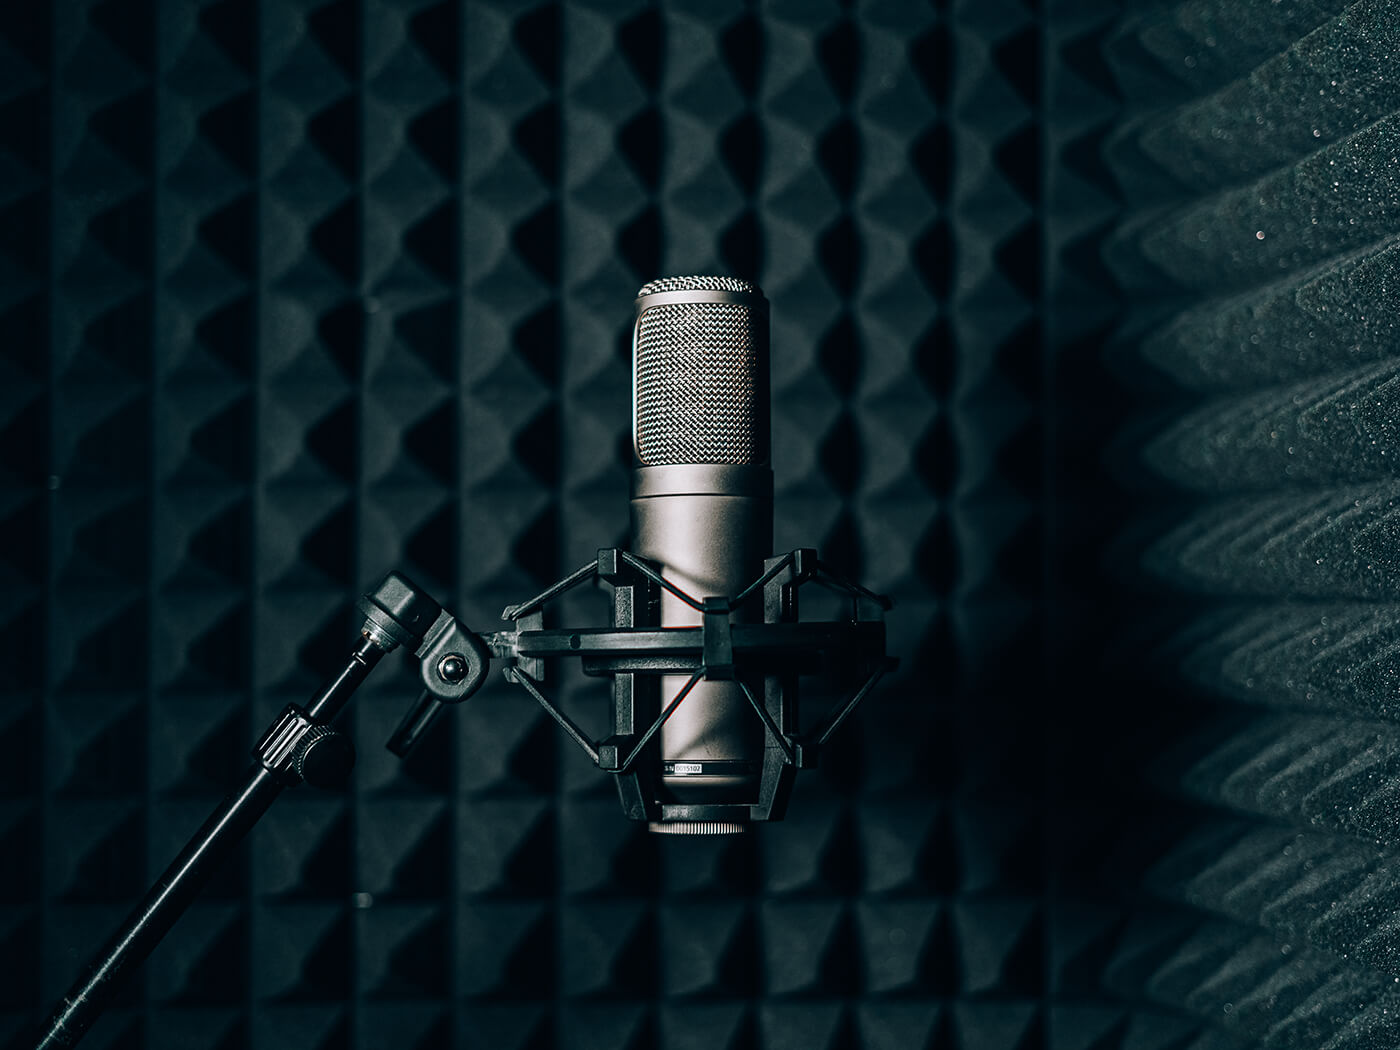
Image: Shutterstock
Know your types
Dynamic mics tend to be the workhorses of the microphone world. They are cheap, can take a bit of signal, and tend to be used as mics for some of the bigger-sounding instruments and live vocals. Condensers are more sensitive so are better for more intricate and detailed recordings of, say, acoustic instruments. They use electrical capacitors to generate charge so require batteries or phantom power. They don’t tend to ‘like’ big sounds which dynamics do. Ribbon mics use, not surprisingly, a thin ribbon of conductive material and a process similar to dynamic mics, They capture more detail with a more focused pattern, but are more sensitive. Finally, tube mics can be seen as condensers with valves that give a warmer sound.
Know your patterns
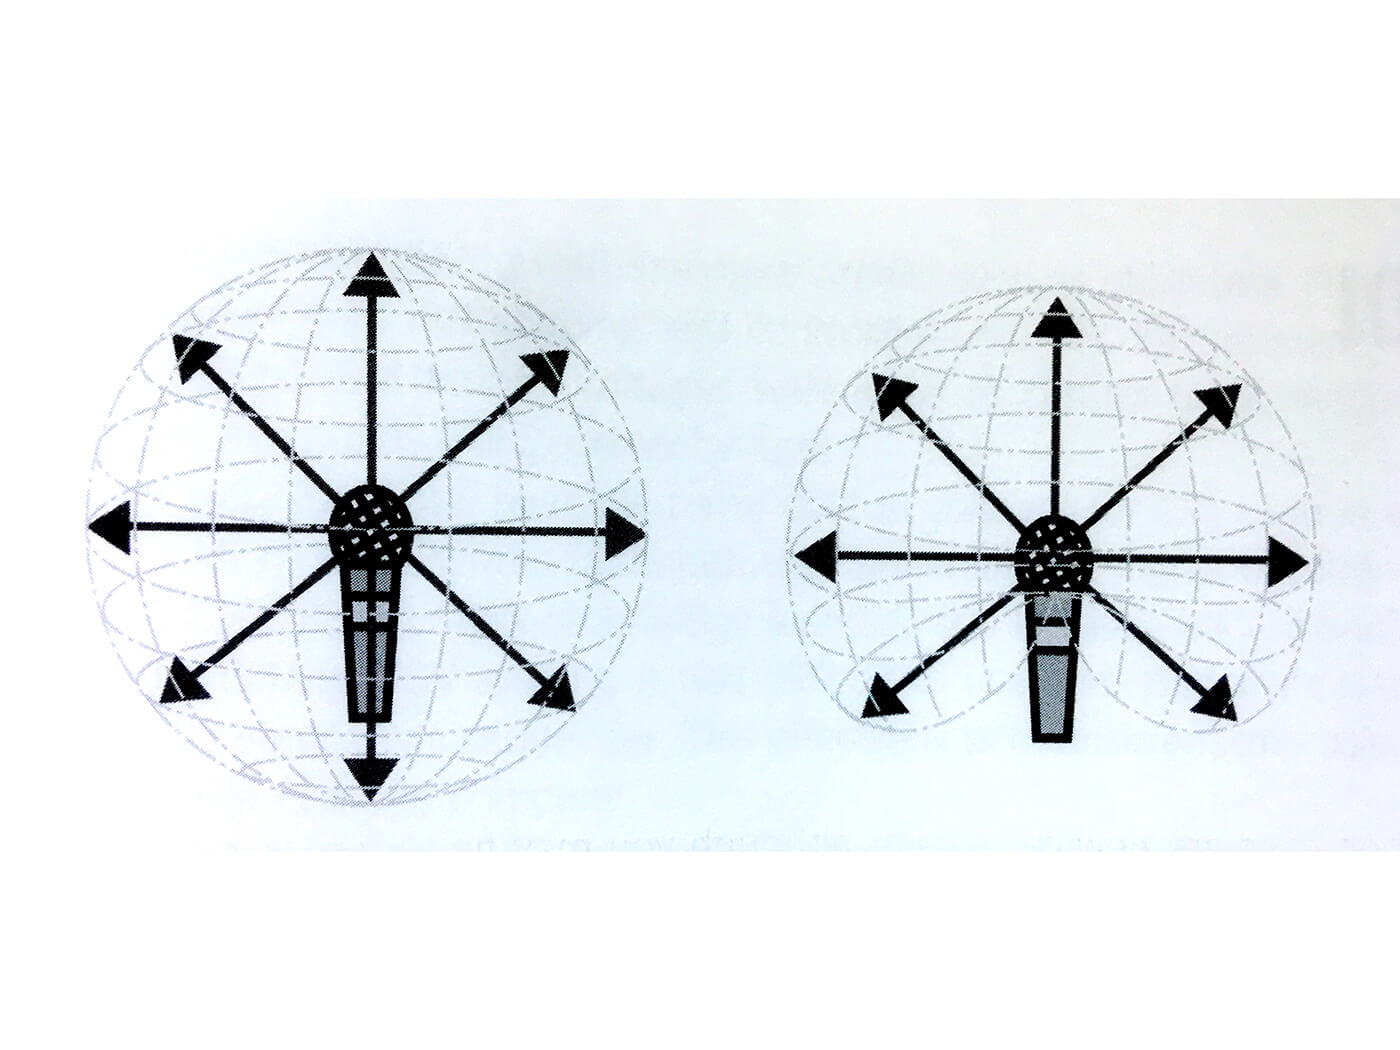
The polar pattern of a microphone refers to the area that a mic focuses on when recording; think of it as the area around its grill when it’s standing upright. Omni-directional mics pick up everything around them equally so the pattern is like a ball; cardioid patterns focus more on what the mic is pointed at, like the mouth or guitar, so tend to be used live as you’ll get less crown noise and interference from other instruments. Bi-directional or Figure of 8 mics have a focus on two opposite areas so are great for recording either a couple of instruments or an instrument and some of the room ambience.
Know your terms
The Frequency Response is simply the range of frequencies a mic is best tailored for, so for bassier recordings look for mics that go down to around 40Hz or lower. The Maximum SPL (Sound Pressure Level) refers to the loudest sound a mic can handle before distortion, so the bigger the better (120db SPL is a good starting point). Self Noise is the amount of noise the mic itself generates so the lower the better (less than 25dB-A). The Signal To Noise Ratio is the level of good signal you want to hear versus the bad noise you don’t, so high is good and look for something greater than 69.
Check your source
Now you know the mics, the patterns and the theory, it’s time to start using those mics, right? Not quite. Now is the time to check the sound source; what you are recording. Is it noisy? Is it crackling? Are the strings on the guitar ringing? Is the vocalist up to scratch? Are there any sage words of wisdom you can say or actions you can take before recording? Now is the time to check guitar strings, tunings, connections, the mental states… relax the singer, wiggle the connections, replace the strings and relax, it’s time to place the mic.
The one mic tip to rule them all
Okay, we are going to cover some general mic placement tips to be used with various instruments in later tips. This can be a complicated process, but don’t worry, there is one microphone rule that you should adhere to whatever you do with your microphones when recording a sound, and it overrules pretty much everything that follows here! This tip is: if it sounds good, then it is good. If your microphone is upside down, out of the room you are recording in, placed in a bowl of custard (don’t try this at home) and the resulting recording sounds good (it won’t), then it is good. Which leads nicely to the next tip…
Experiment
Before or after you follow the rules of mic placement, do try and experiment with the mic position on whatever you are recording. Obviously, if you are in a stressed out studio situation, then it’s best to experiment without wasting everyone’s time, but generally, taking time with altering mic positions for the best sound is (obviously) important. Similarly, vocalists might have a preferred mic that they use, but if not, try out a selection of different vocal mics as you’d be amazed at how different one mic can sound over another. It’s a good idea to, as they say, have a few go-to mics in your locker.
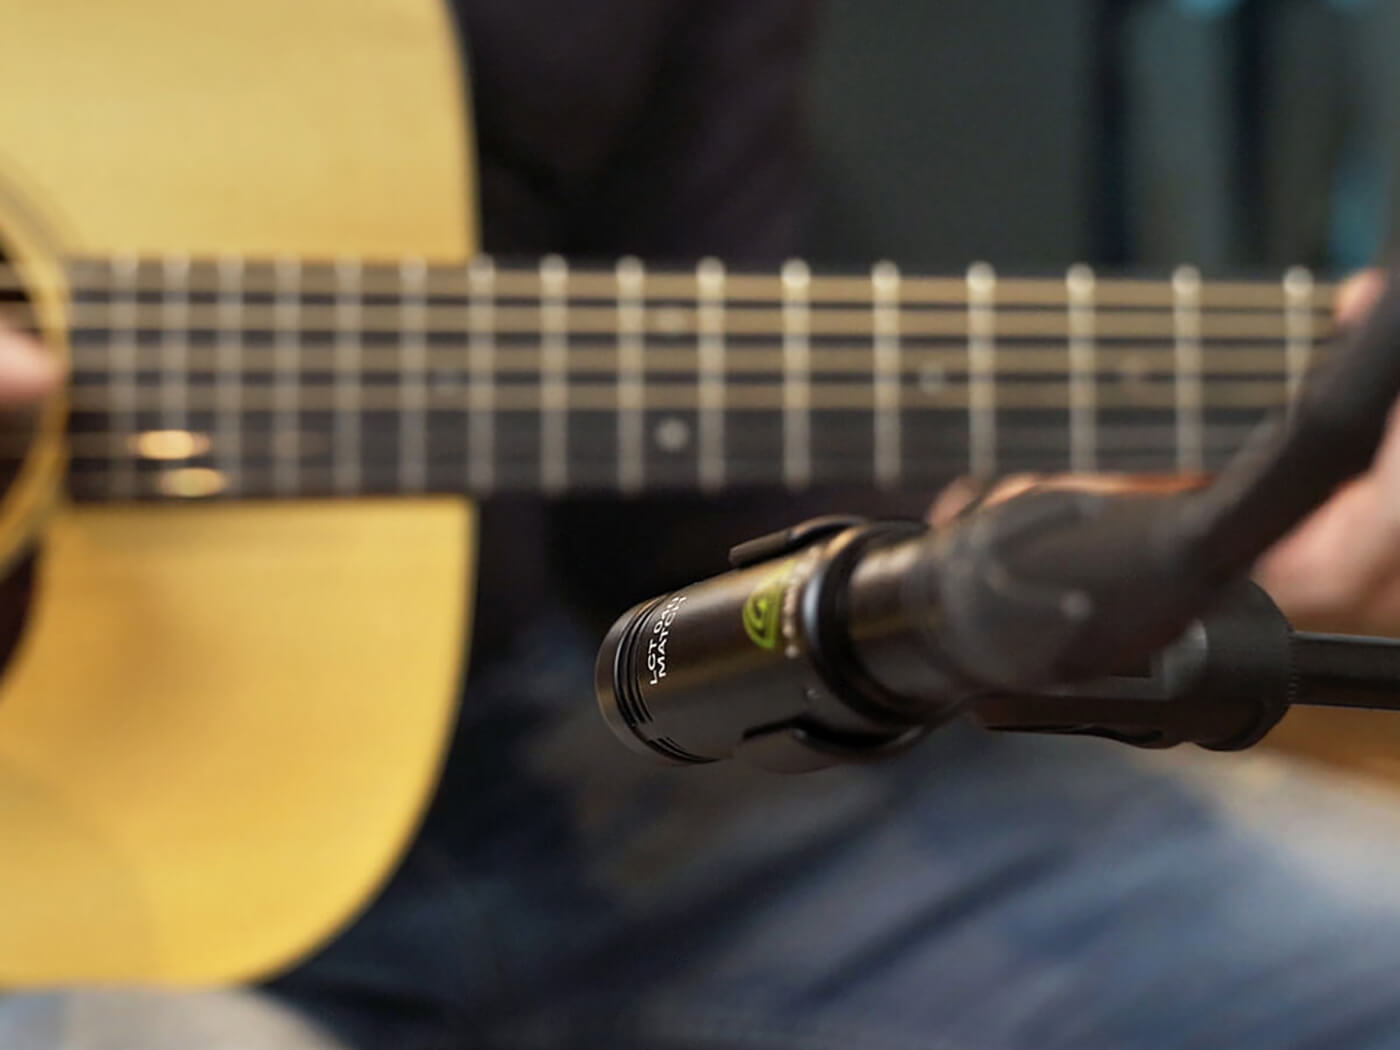
Three one-mic tips in one
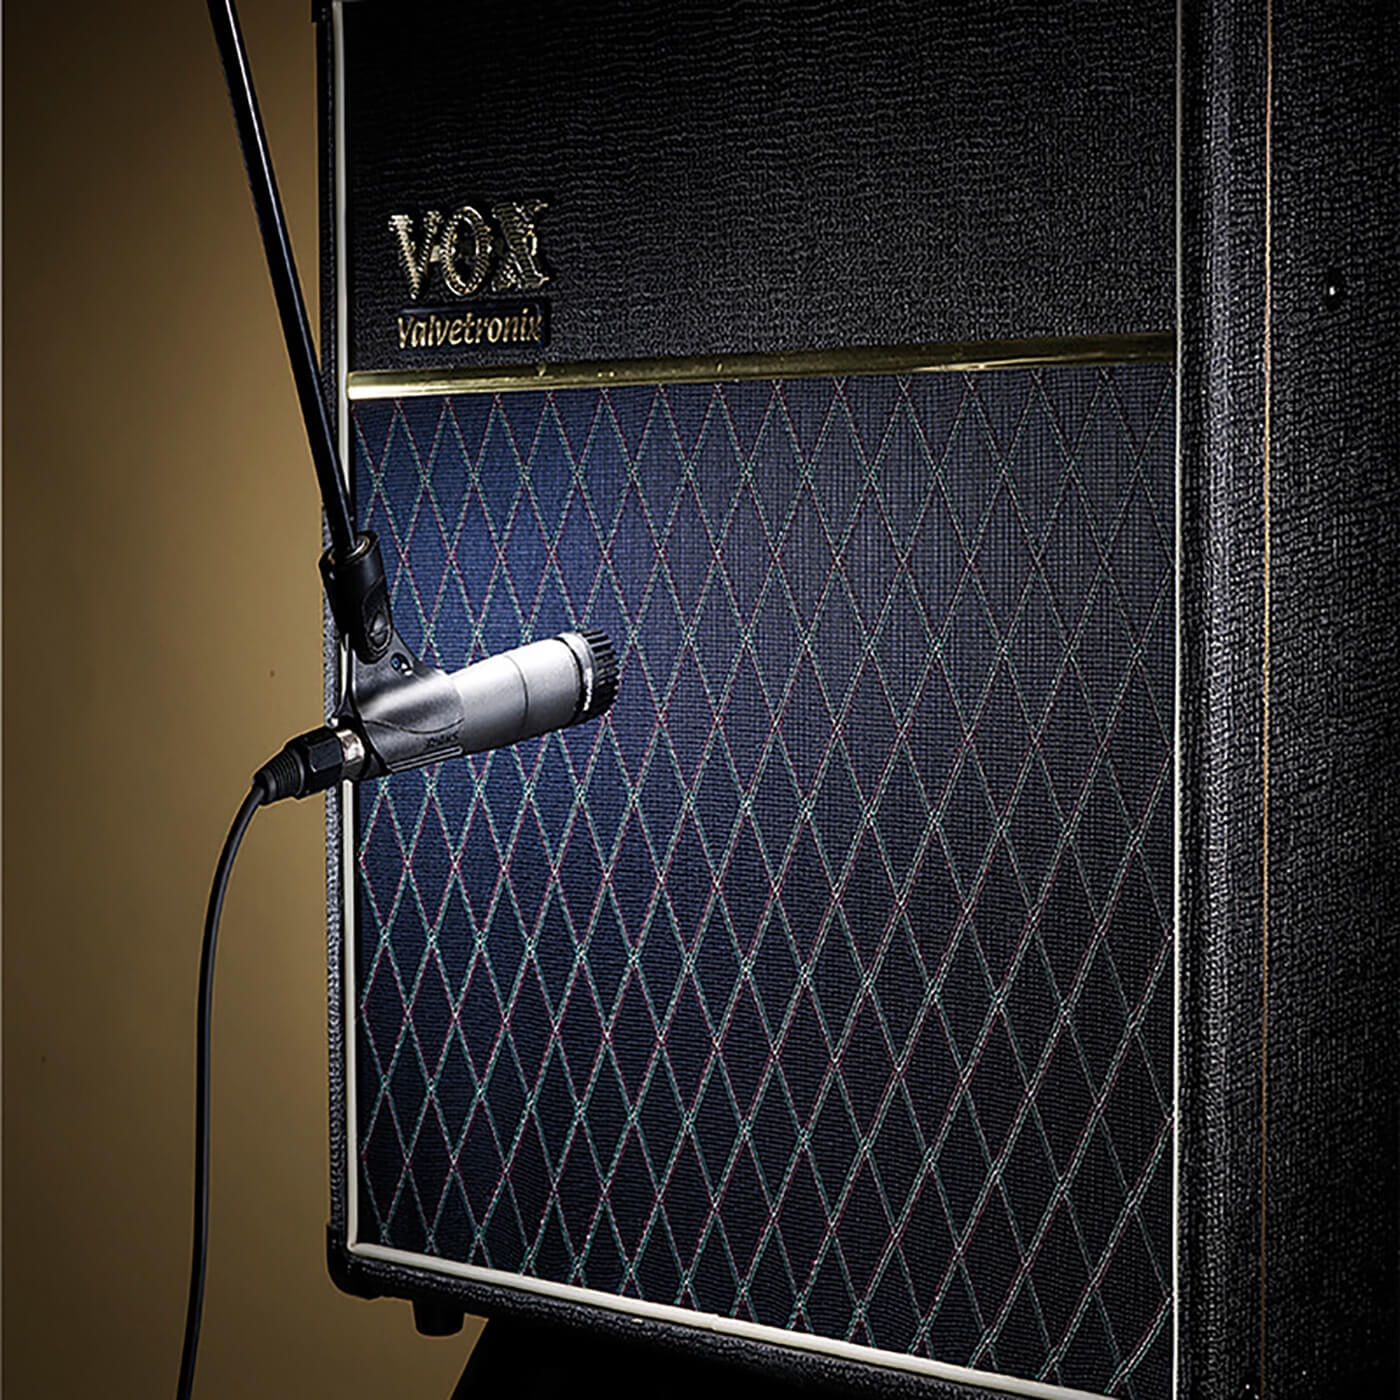
Got just one mic? You’ll be amazed with what you can get away with. With recording an acoustic guitar, for example, aim a condenser at the 12th fret, around six inches away from the body. For a thicker sound, move it in or towards the sound hole. Too thick? Do the opposite. For electric guitar, try a good dynamic pointed close to the amp’s centre for a bright tone or towards the outside of the amp for a more mellow sound. For drums, it’s even easier; take that mic and try placing it in front of the kit, over the kit or over the drummer’s shoulder pointing downwards at the kit. However, if you have a real drummer who has taken the time to bring all his kit into your studio for you to record, maybe it’s time you invested in more mics!
Three two-mic tips in one
If you do invest in more mics you will get a better sound, as you can start blending and experimenting. With acoustic guitars, for example, you could have one condenser pointed at the sound hole to capture more bass and plucking and one aimed at beyond the 12th fret for more treble. For electric guitars you can blend too, but this time you keep the dynamic on the amp and a second condenser a few feet away to capture the sound of the room, then blend the two for best results. For drums, two dynamic mics give you either more room to blend of more detail on specific parts of the kit like the kick or snare. Try, for example, keeping one as an overhead, then switch to the other between drums.
Three piano set up tips

We’ve been doing a fair bit of piano recording recently and there are one, two and three-mic setups to consider here, depending on the girth of your instrument. Upright piano setups include having one condenser mic at the front middle, 12 inches away, with the panel removed, to capture both bass and treble. For less key noise move the mic over the strings. For two mics, place one at the bass end and one at the treble (right). If you are lucky enough to be recording a grand then have the mics on stands aimed above and over. We’ll assume it’s in a great hall so capture the sound of the room too. Look, what are you doing reading this if you have the cash to record a grand? Pay an engineer for goodness sake!
Use the other rules, if you must
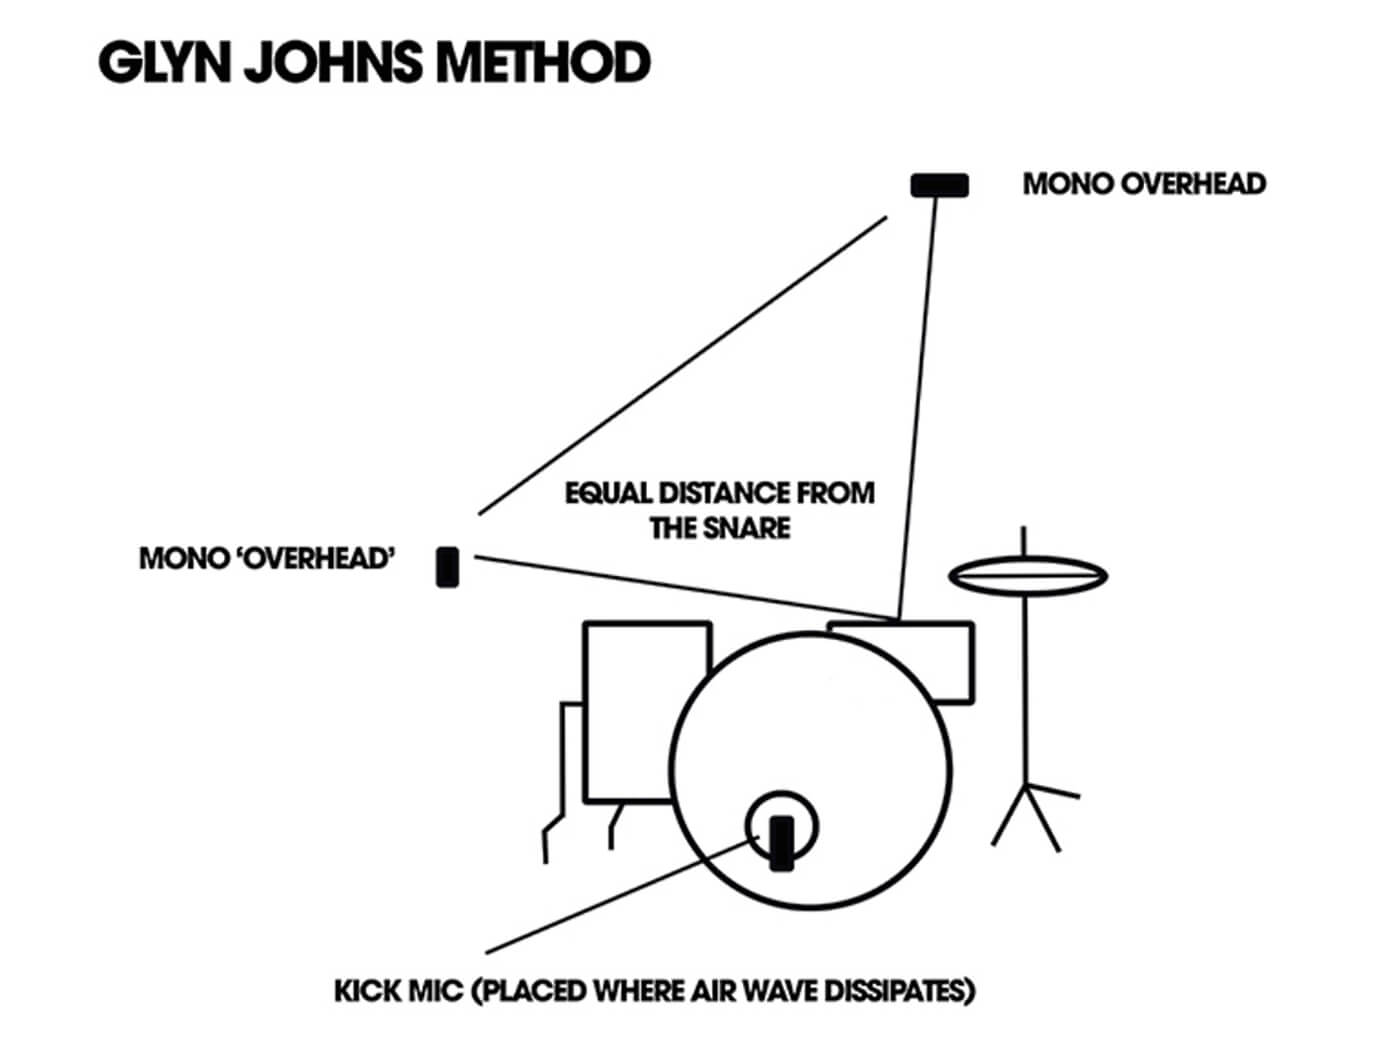
There are other microphone recording tips – rules within rules, if you like. You should always close mic if you want a purer sound with less room sound, for example. There’s also the 3:1 rule which is used when recording acoustics with two mics. You position one mic at three times the distance away from the guitar as the other to avoid any phasing issues. Then there are the Glynn Johns and Recorderman techniques (see MusicTech.net for more) and so many more, but above all just remember tip 5: if what you record with your mics sounds good, then it is good. Simple.
For more essential guides, click here.