How to set up the best turntable stereo system at home
Get your groove on.
There’s something magical about the clank of the motor starting up, the gentle movement of the tonearm and that familiar, warm crackle emanating from your speakers as you settle back and enjoy your favourite album on vinyl. But setting up a turntable system at home requires some thought.
- READ MORE: How to set up multi-room audio for your smart home
- READ MORE: Six best budget DJ turntables under $300
While many might seek to prescribe expensive record player, amplifier and speaker options, in 2021 there’s a whole range of budget-friendly routes to assembling a robust setup. Regardless of cost, the same principles apply when building a vinyl setup at home.
What to look for when setting up a vinyl system at home
Let’s take a top-down look at the fundamentals. We can group the main factors into three overarching sections. These are:
- The turntable/cartridge
- The phono preamp or phono stage
- The amplifier and speakers
- The cables
Wait, what about those all-in-one record players that come in a suitcase?
When building a vinyl system, you first and foremost need to pay attention to the build quality of your turntable. Those suitcase turntables might look stylish, but often they contain cheap, heavy tonearms and an inferior sapphire stylus instead of the industrial strength diamond that the majority of reliable turntables use). They also have a short lifespan and increase the risk of damaging your delicate discs. In short, we don’t recommend them.

What to look for in the best turntables for home use?
The heart of your vinyl setup is, of course, the turntable itself. Technically referred to as ‘the source’, it’s the device that spins your records on a circular platter, which is driven by a motor, at one of three speeds: 33 1/3, 45 or 78 revolutions per minute (RPM). Most full-length LPs play at 33 1/3 RPM, while seven-inches and 12-inch singles are usually 45 RPM. 78 RPM is rare for new vinyl; you’ll typically see them on much older shellac records.
The surrounding body of the player is referred to as the plinth. It’s vital that the plinth be placed on a stable and flat surface to avoid even the slightest vibrations.
Belt-drive vs direct-drive turntables: what’s the difference?
There are two types of turntables: belt-drive and direct-drive. In a belt-drive turntable, the motor torques an elastic belt that is attached to the platter, which spins the latter. On the other hand, in a direct-drive turntable, the motor directly rotates the platter – no elastic belt needed.
Though DJs and performing turntablists swear by direct-drive players due to their robustness, audiophiles and record collectors tend to stick to belt-drive turntables. That’s because many audiophiles claim that a directly mounted motor can vibrate through the platter, causing perceptible distortion.
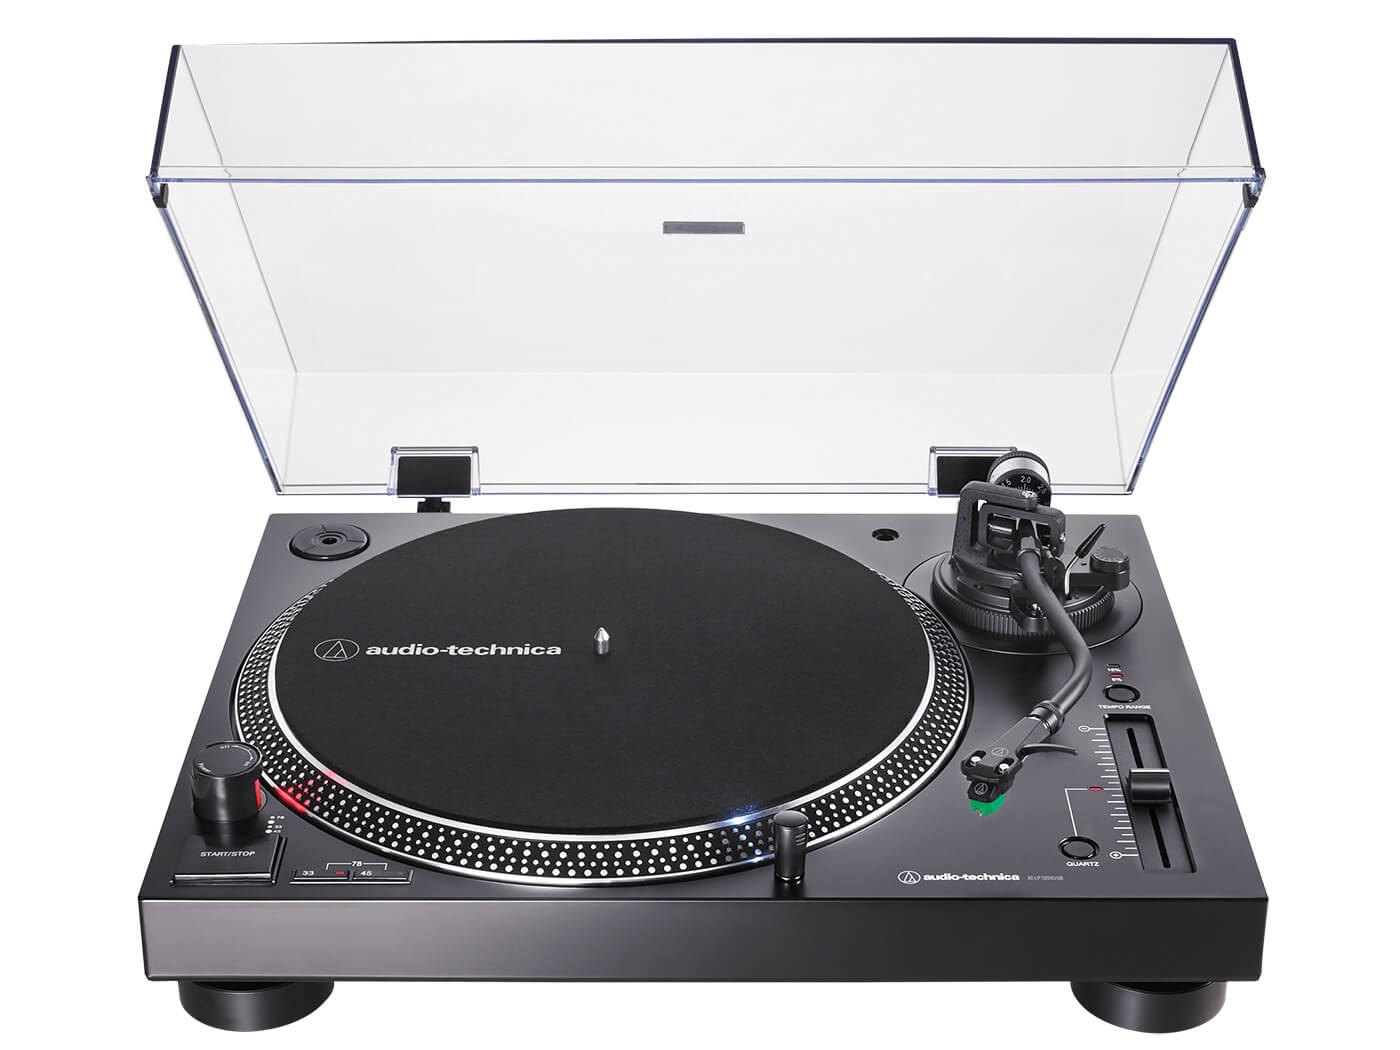
In the home listening market, then, belt-drives are very much the norm. But if you don’t buy the audiophile claim or if you’d prefer something more durable, modern direct-drive players such as Audio-Technica’s AT-LP120XUSB make for a fine listening experience – and they’re safe to start scratching with.
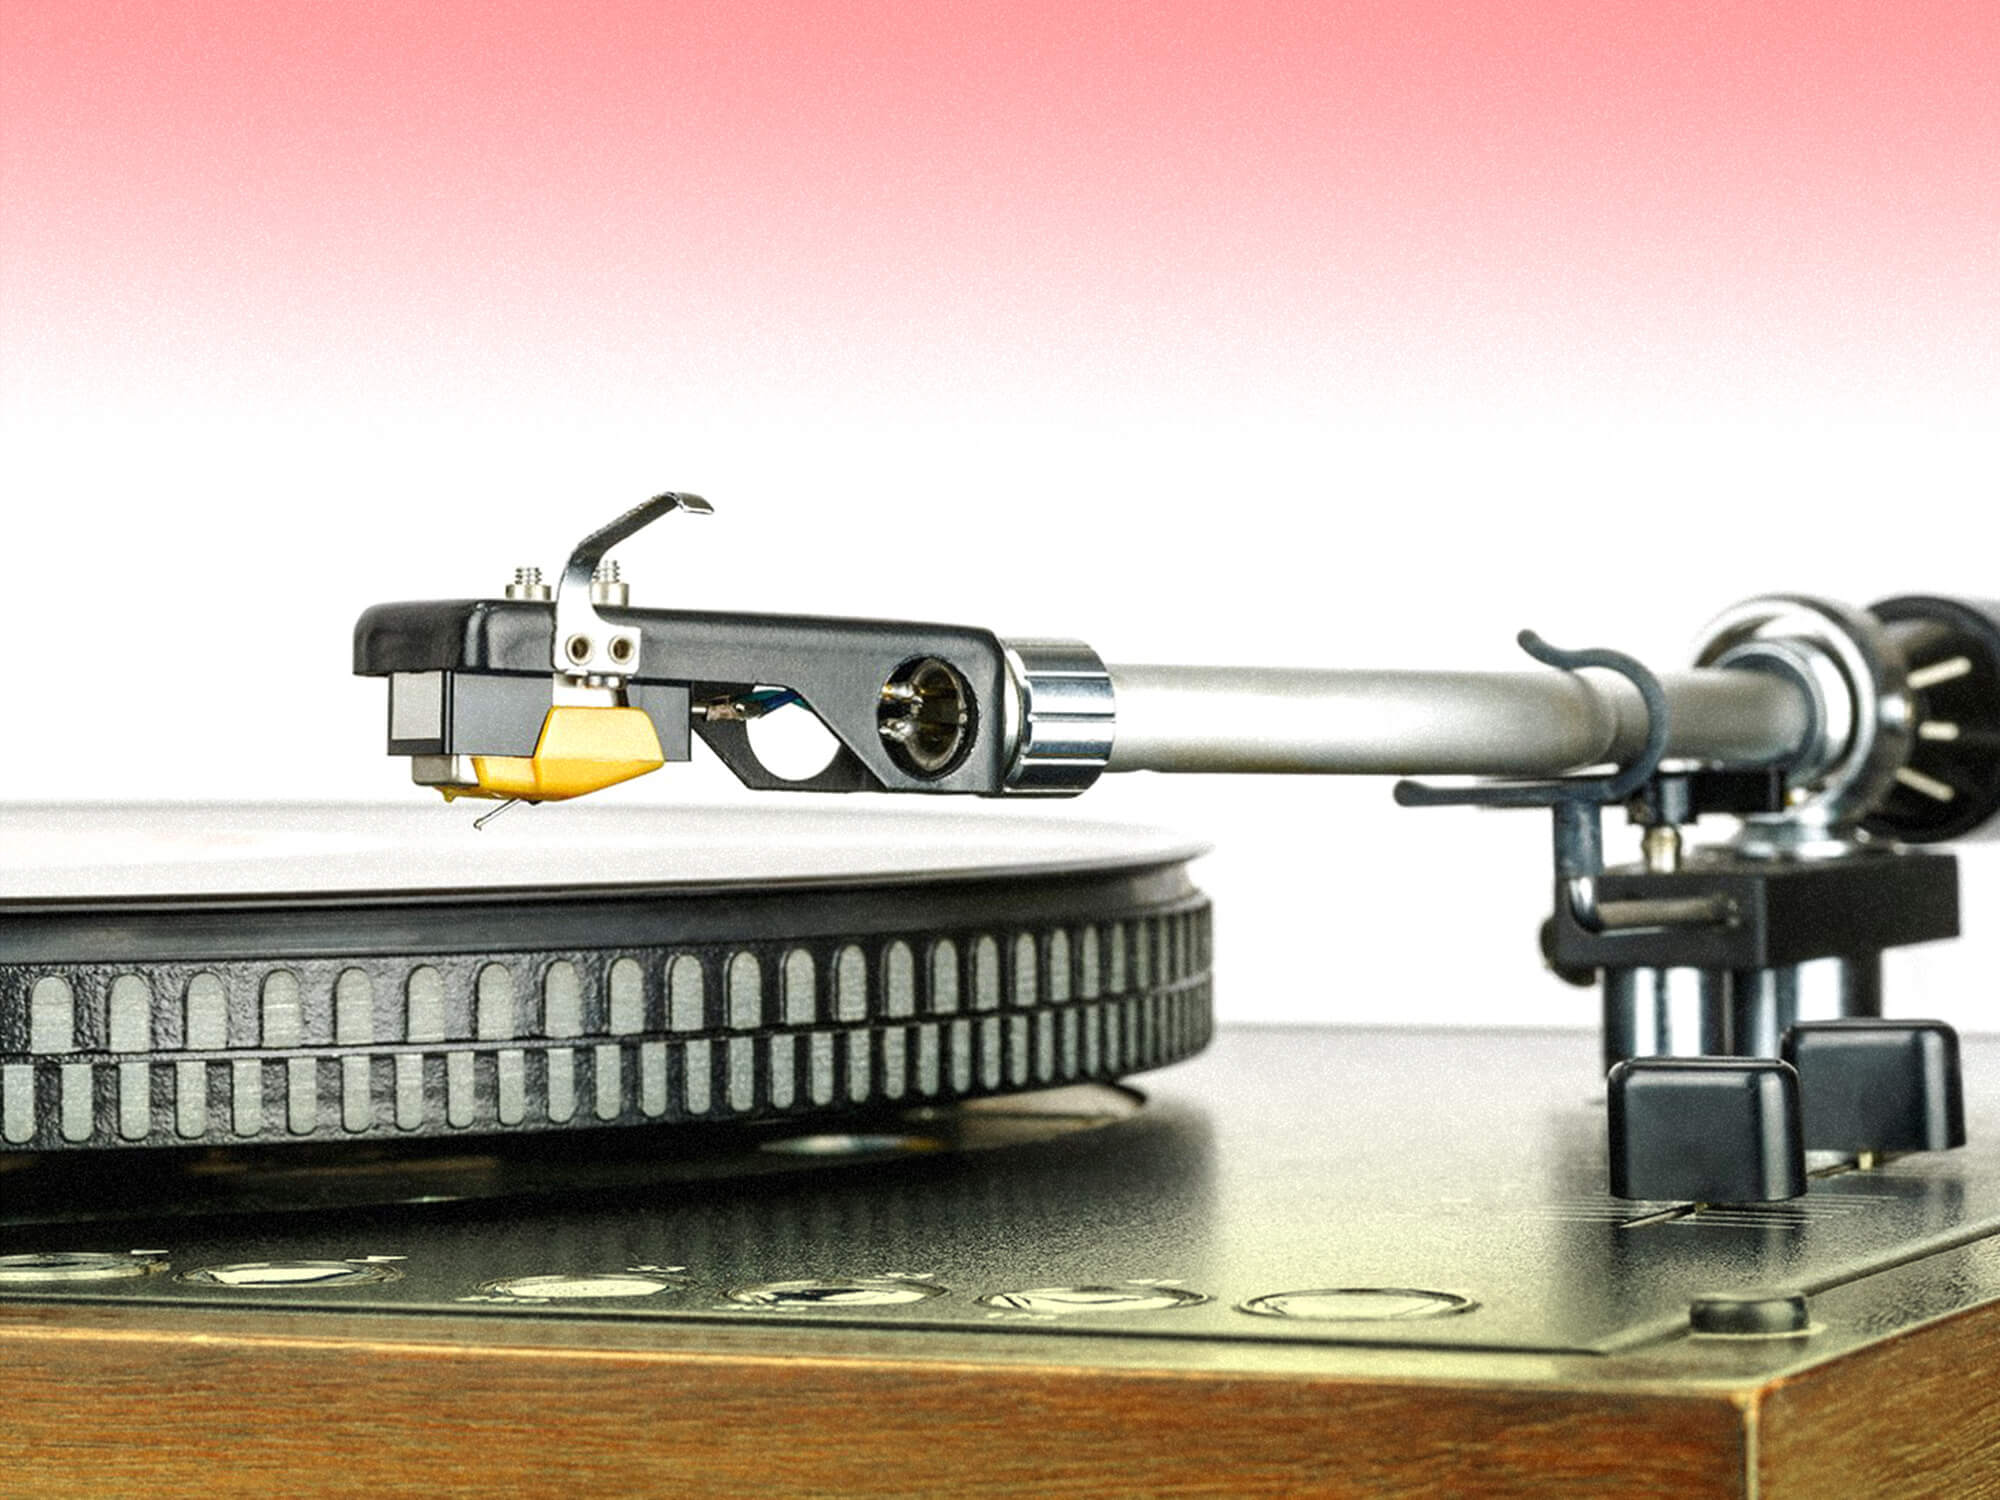
Turntable tonearms: what to look out for?
The tonearm is the next part of the mechanism to take a closer look at. While many manufacturers will pre-attach their tonearms in the factory, it might be the case that you have to attach it separately. Once that’s done, you’ll need to set the tracking weight correctly.
The tonearm steers the cartridge (which houses the stylus needle) over your records. What you don’t want is too little resistance to offset the weight of the cartridge – it means your stylus might bore its way into your precious vinyl records. Nor do you want it haphazardly skirting atop the grooves. It needs to be just right.
Most tonearms have a hefty counterweight – it usually takes the form of a radial dial – at the opposite end of the cartridge. The usual tracking weight is set between 1 and 3 grams, but most record player and cartridge manufacturers will provide the precise measurement.
Depending on your record player, you may also have an anti-skating control. The ‘skating’ here refers to a stylus skidding across the surface of your LP, which is not desirable. So the anti-skating control applies a small amount of friction to the tonearm, directing it to track at the centre of the groove. Set this to match the counterweight.
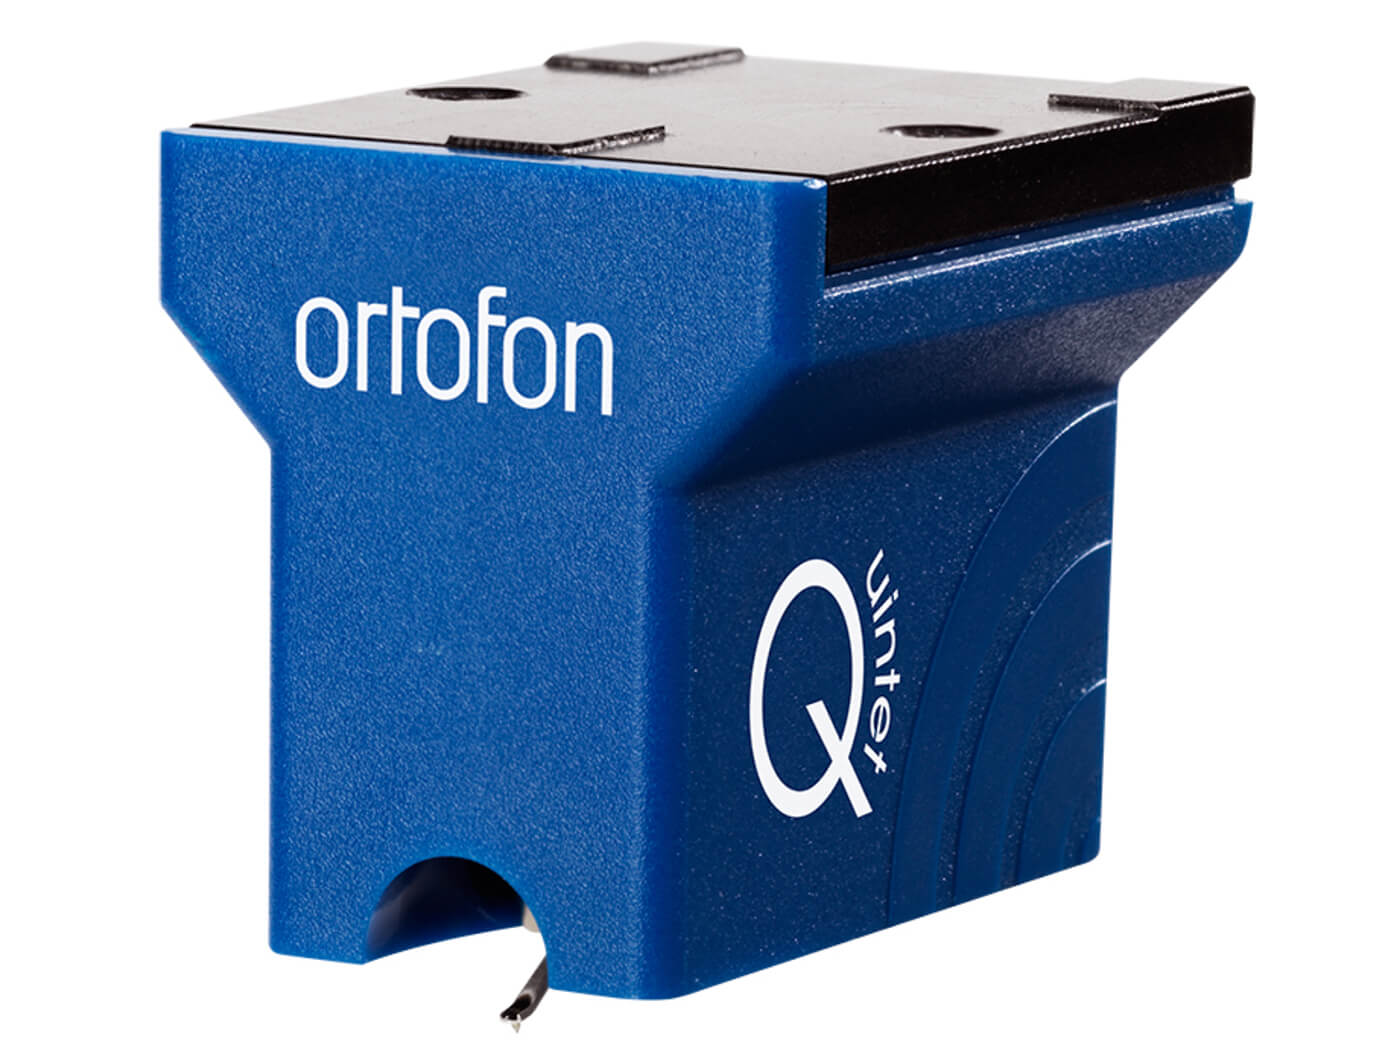
Moving magnet (MM) vs moving coil (MC) cartridges: what’s the difference?
The cartridge is one of the core elements that contribute to the overall sound of your turntable system. Its role is to transform the physical vibrations of the stylus’ movement within the grooves into transmittable electrical signals.
There are two types of cartridges: moving magnet (MM) and moving coil (MC). MM is the most common type, with the diamond stylus feeding its vibrations down a cantilever. This cantilever is attached to a magnet, which is in turn connected to a pair of tiny coils that create the electrical signal which will be ultimately sent to your amplifier (more on this later).

MC cartridges take a different spin. They bypass the magnet and place those all-important coils earlier in the chain. This makes the cartridges lighter, which means they’re able to quickly pick up more subtle changes within the record’s groove.
While you should regularly replace the stylus itself, changing up your whole cartridge will require you to reconfigure the weight settings, particularly if you’re purchasing a different brand. So we recommend getting a good cartridge from the get-go.
What is a phono preamp and why do I need it?
Listening to vinyl is a more complicated affair than with other audio sources due to one thing: the phono stage. All record players output a weak ‘phono’ signal, which omits many bass frequencies and heightens treble. This is because of the way that vinyl records are manufactured and how frequencies need to be physically tracked over the whole record: as lower frequencies require wider grooves, omitting the bulk of them saves physical space and increases runtime to 22 minutes per side.
But due to the lack of frequencies, phono signals are unlistenable. That bass-reduced signal needs to be converted into a ‘line level’ signal, which is the balanced standard for the majority of other sources. That’s where a preamplifier – specifically, a phono preamp – comes in. It adds in those missing bass frequencies and tames the enhanced trebles.
The RIAA curve explained
This EQ conundrum, where frequencies are intentionally omitted on vinyl, was first evaluated and standardised back in 1954, with the advent of the ‘RIAA curve’. An acronym for the Recording Industry Association Of America, the body introduced the RIAA curve standard in preamplification to compensate for vinyl’s loss of bass and its surfeit of treble. The curve does so by equally enhancing low end and cutting high-end frequencies at the exact same level. In doing so, the original recording’s signal is restored.
This has been the norm for the medium ever since. Some cracking standalone modern phono preamps include the Musical Fidelity LX2-LPS and the Rega Fono Mini A2D, the latter of which also sports a USB out. 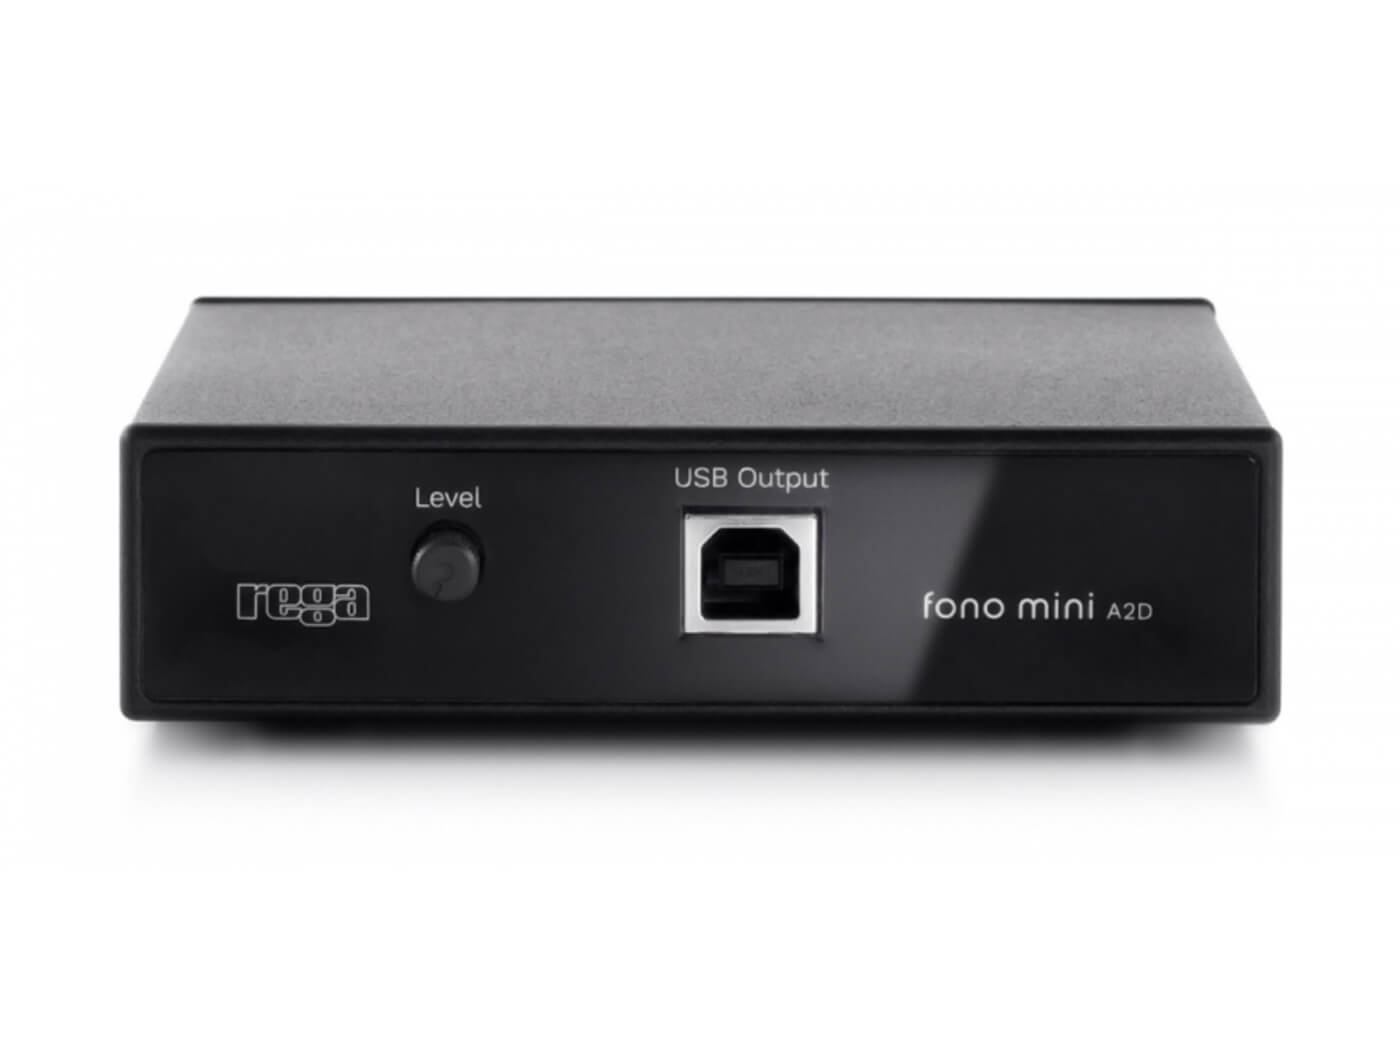
The Rega Phono A2D is an affordable standalone phono preamp
In-built phono preamps: what are these?
External or standalone phono preamps aren’t always needed. These days, many record players come with in-built phono preamps. A good way to check, if you’re not sure, is to see if your player has a Line output, or a Phono/Line selector switch at the back. If it has either one of these, you’re good to go. Good examples of phono-equipped decks include the Sony PS-LX310BT and the Pro-Ject Primary E.
Active vs passive speakers: what’s the difference?
With that line level signal moving through the chain, the next thing to figure out is how to actually hear our records. In home hi-fi, there are two main choices: the signal either passes through a passive speaker system, driven by a central amplifier, or through an active speaker system that’s equipped with an internal amplifier.
Active speakers need a dedicated power outlet while passive models don’t. Instead, passive speakers are connected to and driven by a stereo amplifier/receiver, which requires mains power. The amp receives the audio from the phono preamp and boosts it exponentially before sending it to the speakers. The amplifier also directs the relevant frequency signals to the right areas of your speaker, with higher frequencies heading to the tweeter and those boosted lows to the woofer. Many audiophiles and hi-fi enthusiasts still swear by the passive model.
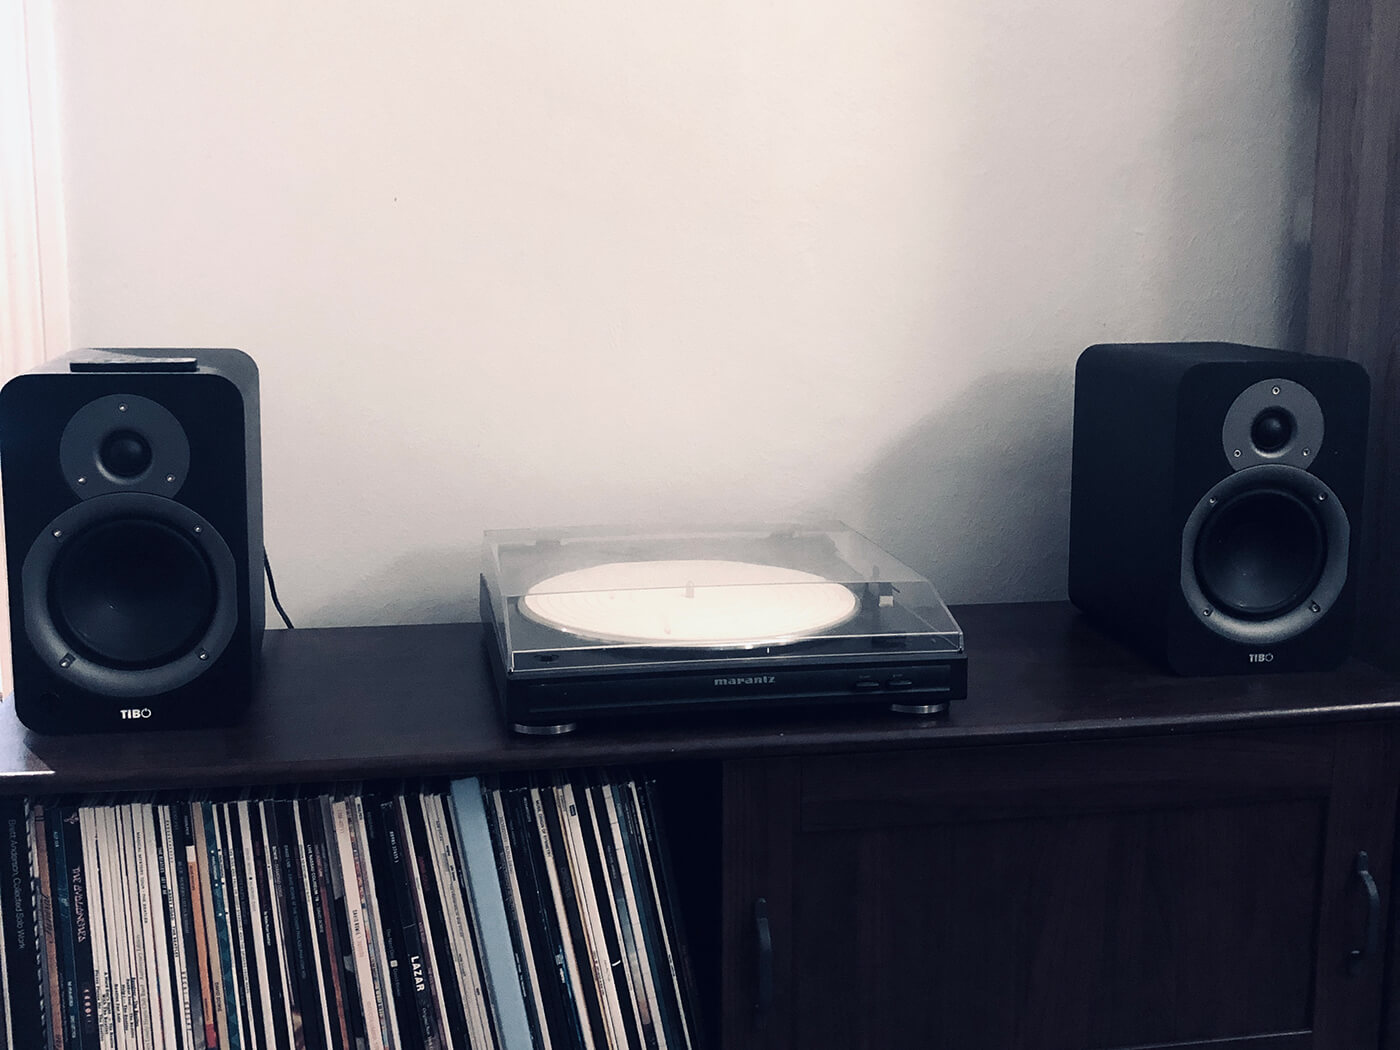
In an active setup, the signal goes straight into one main speaker, which is plugged into the mains. From there, the signal is amplified within the powered speaker and then routed to its other half, which is usually a passive speaker. However, many consider the internal amplifiers of active speakers to be lacking when compared to a standalone amp. There’s also the fact that with all-in-one devices like an active speaker, you can’t really modify and upgrade your hi-fi with different individual components, which is something that audio purists love doing.
But in terms of the benefit of consolidated cost value – after all, you’re getting both the amp and high-quality speakers in one – and the ease of setting up, active speakers are a safe option. Active bookshelf speakers can range from the sturdy, reliable likes of Kanto Audio, Timo and Dali, to the high-end echelons of pro-audio stalwarts Bowers & Wilkins.
What about headphones?
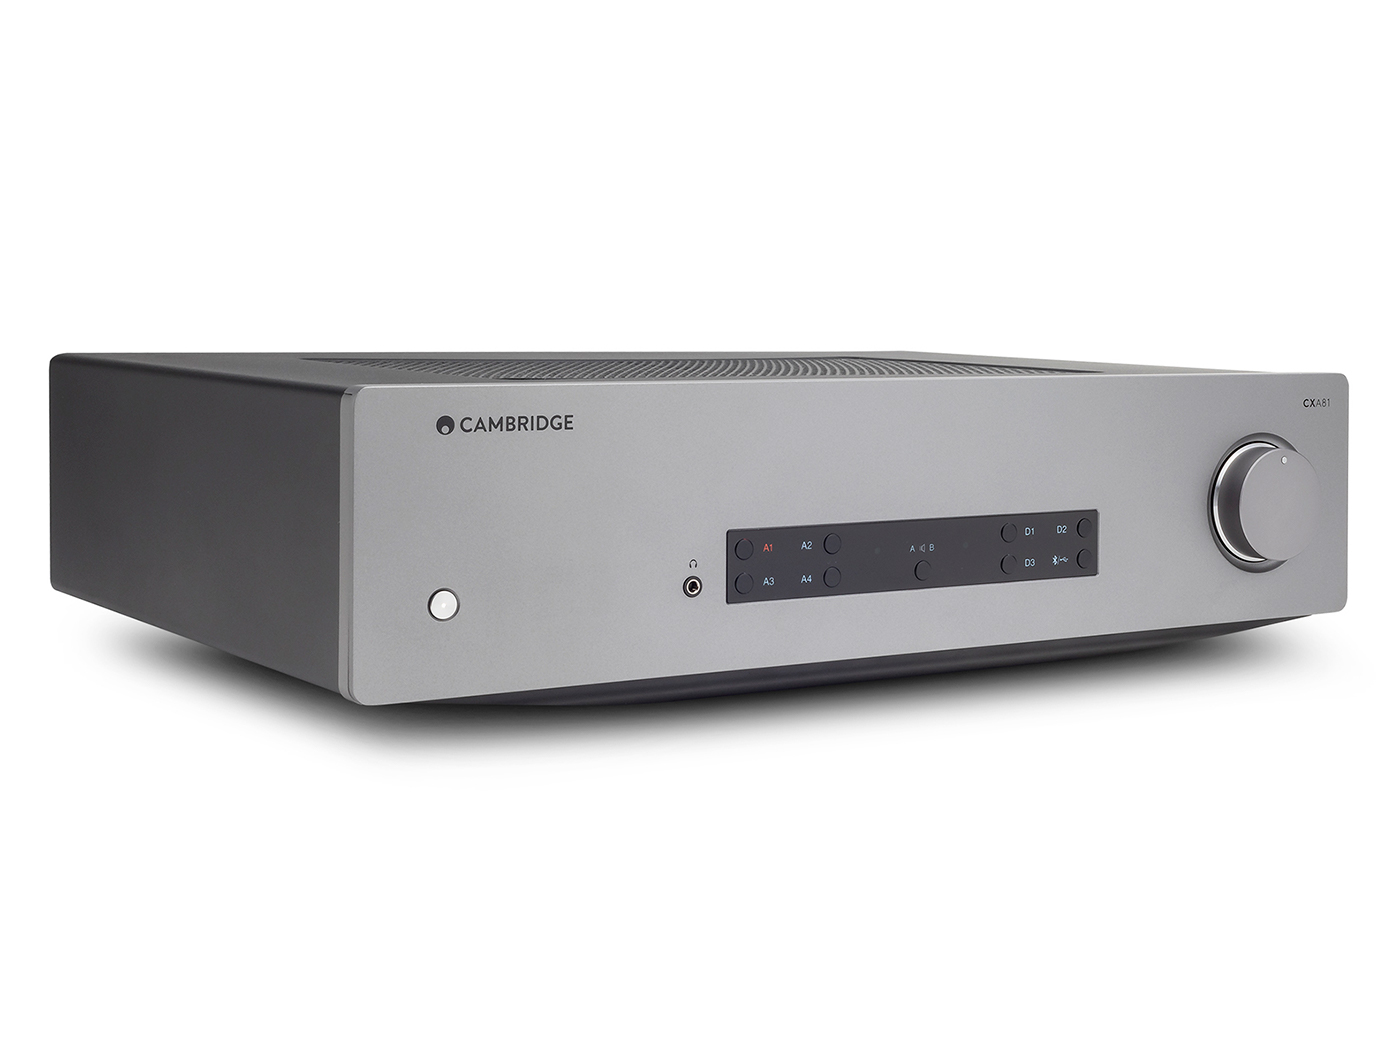
If your amplifier has a headphone output, like pro-tier choice CXA81 from Cambridge Audio, you could always route a comfy pair of cans directly in. If not, then a separately sold headphone amplifier, more finely tailored to the levels required for headphones, is worth picking up. If your turntable has an in-built phono stage, you may have a 3.5mm jack out from the turntable itself, keeping things very minimal indeed.
Why are amplifiers or receivers critical in a home vinyl stereo setup?
If the turntable is the heart of your setup, an amplifier is its engine. Amplifiers come immediately after the phono stage. While critical for boosting the signal to a level that drives a pair of passive speakers, there are numerous other benefits of getting a stereo amp. (A quick warning: do not connect active speakers to an amplifier.)
The primary purpose of an amplifier is to serve as the hub for your other sources: cassettes, CDs, Spotify, and so on. Most amplifiers have multiple inputs so you can hook up all the sources you use at home. Amplifiers also add discernible sound-enhancing characteristics, such as increased dynamic range, bass definition and overall sonic warmth.
There’s two types of amplifiers: integrated (or “standalone”) and pre/power (or “separates”). Integrated models are usually much smaller and convenient, incorporating the circuitry required for the preamp and speaker-driving power into one unit. While more and more integrated models today come with an in-built phono preamp due to the resurgence of vinyl, do your homework first. If the integrated amp doesn’t have a phono stage, then you’ll need to buy a separate phono preamp.
Pre/power amps, meanwhile, refer to two separate units, like the aforementioned separate phono preamps. As mentioned earlier, many vinyl enthusiasts prefer separates as you can then upgrade individual components.
Either way, purchasing a solid amplifier is arguably a more crucial component than the turntable itself – it can serve you well for decades, while other components tend to get replaced.
How to I connect everything?
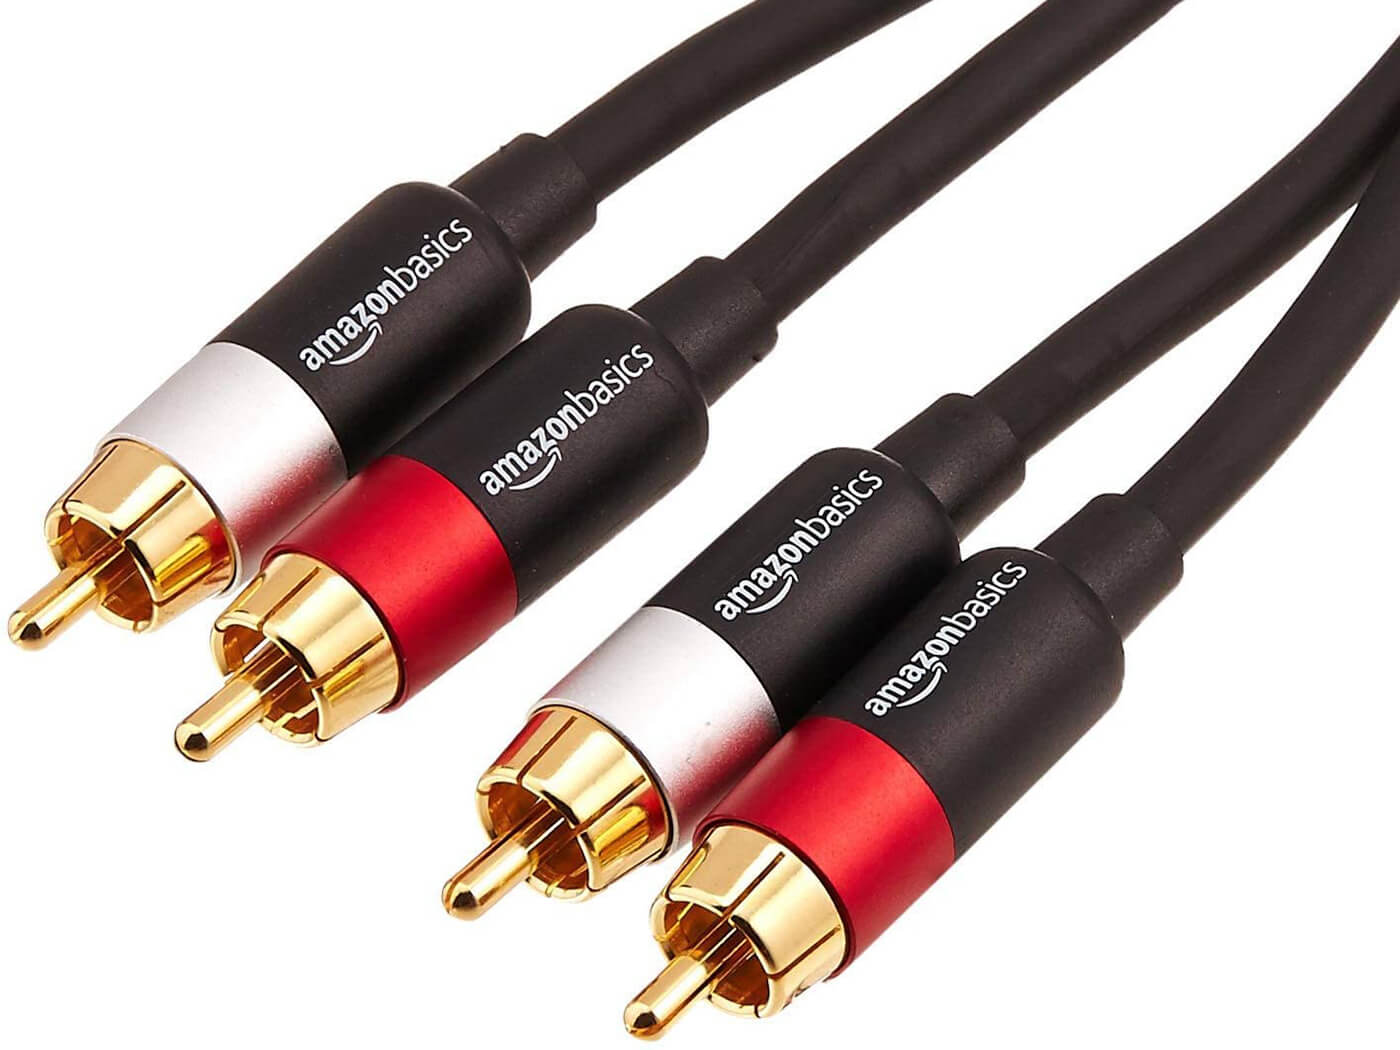
Interconnects: vinyl player to amplifier/powered speakers
You’ll need RCA cables to interconnect your record player to your phono preamp, amplifier and/or powered speakers. These should have one red and one white connector, and need to be plugged from the turntable into their corresponding sockets on the next device in your chain.
Speaker wires: amplifier to speakers
To connect passive speakers to your amp, all you need are simple speaker wires that route from each speaker – usually two per speaker – to the connectors at the back of the amplifier. These speaker wires mainly consist of a conductive metal such as silver and copper. Don’t be hoodwinked by quality comparisons here – there have been numerous tests that found no marked difference between an expensive, branded cable… and a clothes hanger. Save the cash for the more vital components.
Speaker wires, which usually come made to order, are terminated at both ends in several different ways: for instance, alligator clips, spades and banana plugs. You’ll need to ensure that you get the right termination for your speakers and your amp – just check their back panels to see what speaker-wire terminals they have.
For more guides, click here.