How to create your own distinctive beats
It’s easy to find beats these days, with free loops everywhere, but suppose you want to get weird and make your own? We explain how to go offroad with your beats and loops and take a creative route to rhythmic mayhem.
Image: Shutterstock
There’s no one way to make beats – there are so many different techniques, depending on the music, the gear and, most importantly, the people involved. It’s often difficult to avoid the clichés of beat-making, and quite often we end up at one of two extremes: defaulting to deliberately machine-like beats, or quirky off-kilter rhythms with odd loops and non-standard sounds.
It’s easy to get a room full of people to dance by playing simple straight beats, but it’s more rewarding if you throw in something unusual, and they dance to that, too. The word ‘beats’ covers a lot of ground. The musical world is highly fragmented now, which is actually a great thing – you can use almost any sound and any style, and make it work.
We’re not going to give you specific programming tips such as ‘put the snare on step X’, because we’ll aim to depart from that; if we’re trying to make beats that are ‘off’ in various ways, we can’t all follow the same template to do it. The idea with this feature is to inspire you to try some new ways of creating or sourcing or editing beats.
Timing issues
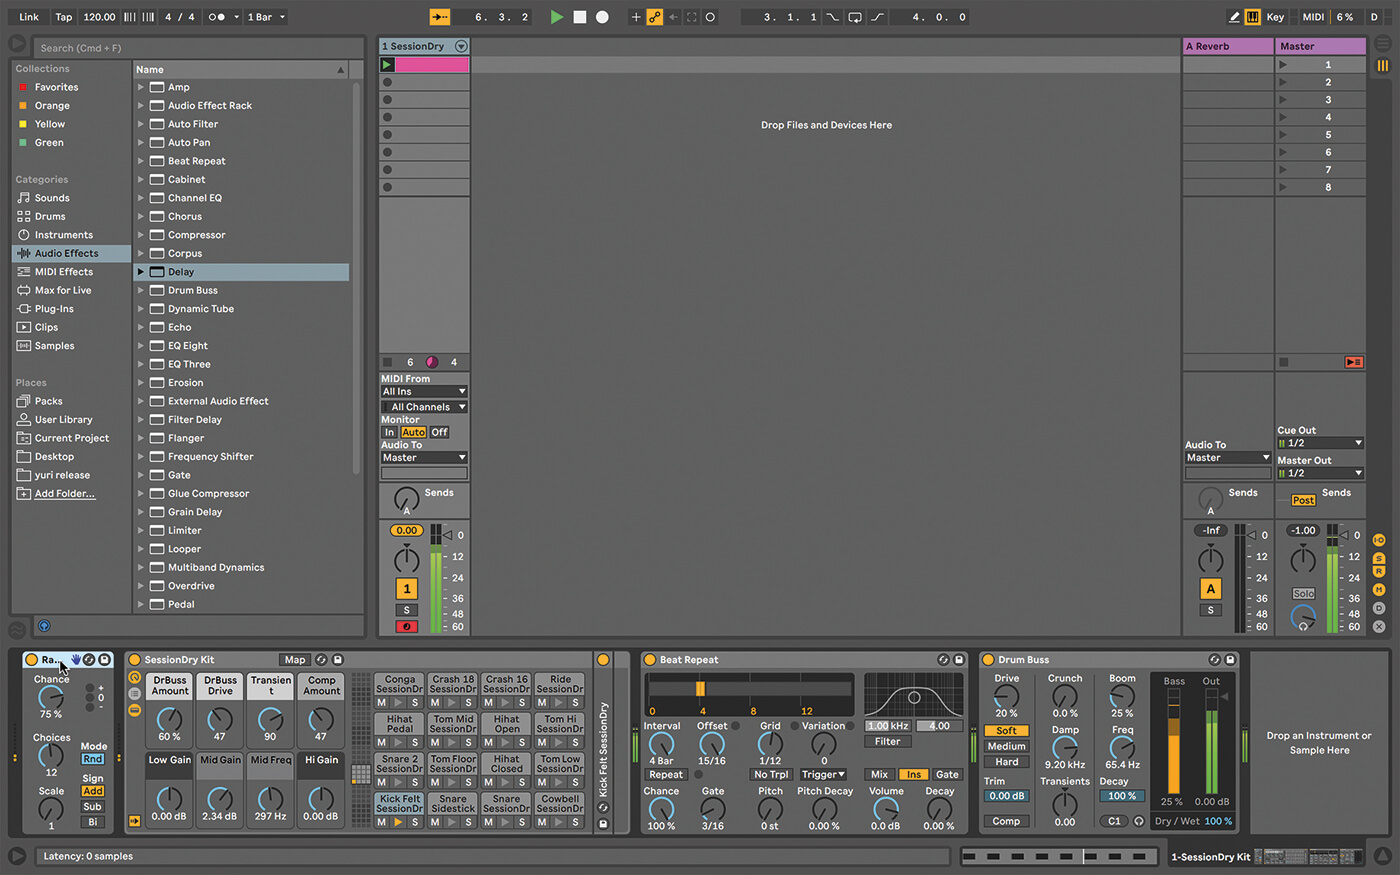
Software such as Ableton Live makes it so easy to create rhythmic loops from any kind of sound. Firstly, in Live, the actual looping part is simple – drop a sample into Live’s Session View and it’ll be ready to loop immediately. From there, you can experiment with different Warp modes (that’s what they call time-stretching) until you get something great that grabs you. Manually align the transients in the sample to a grid, in whatever note divisions you like, or type Cmd-U and quantise the whole thing, or combine the techniques.
Reorganising audio in this manner is hugely rewarding – you’ll love it! Whether you’re quantising audio samples or MIDI clips, there are a couple of things to remember in the quest to unlock your rhythmic creativity. First, you don’t have to quantise the whole thing – just apply it to the section you want to straighten out.
Secondly, quantisation is very literal, so it’ll always be ‘right’ according to the note values you’ve told it to conform to, but that doesn’t mean you have to live with the results. Don’t be afraid of something more organic or just plain weird – the rules are there to be broken.
Probably the next thing to do is adjust the clip gain, and then to position the start marker so playback begins from the ideal point in the loop; not important when you’re playing the loop on its own, but it’ll change things when you’re playing it against other parts. While you’re doing this, you could be thinking about tempo as well.
Obviously, you can change project tempo and hear your loop playing at different BPMs; if you’re adding it to an existing song, you’re kind of stuck with the project tempo as is. But you could try doubling or halving the beat, so the project tempo stays the same, but the beat will play at half or double that. You can end up with a project that is technically playing at 170bpm, but the beat is half-time, so it has an 85bpm feel.
Template up
A groove template is used to extract the timing and velocity information from one source (usually an audio recording) and apply it to another part (another audio recording or a programmed MIDI part). Ableton Live’s Grooves also has a randomisation setting, which prevents the variations from simply repeating over the course of a loop, which would kind of undo the organic intention.
For those more experimental moments, bear in mind that grooves don’t have to come from drums. More complex timing effects can be created by mixing loops of different lengths; in software, you’d do this by running two drum or percussion tracks side by side, but with different loop lengths – by this I mean, for example, a 4/4 beat against a 5/4 percussion track. Don’t just use multiples of four, like a one-bar 4/4 beat against a 2-bar 4/4, as you won’t get the same type of effect.
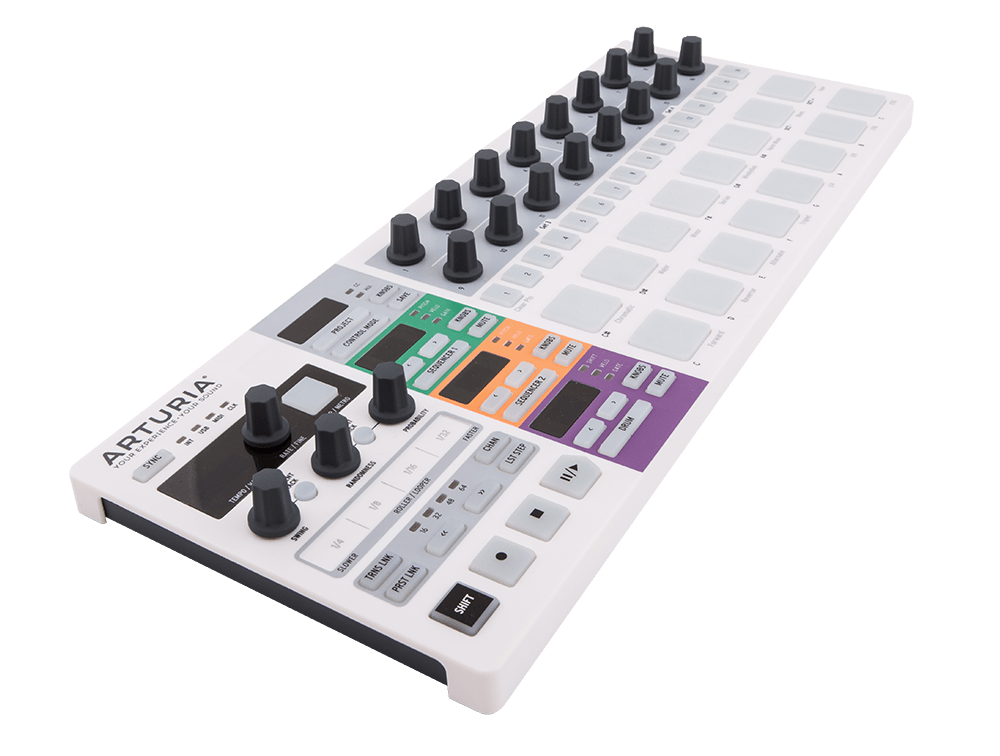
This works with some hardware drum machines and sequencers, too. With Arturia’s BeatStep Pro sequencer it’s possible to set different sequence lengths for each of the 16 sequencer tracks, and Elektron’s Octatrack sampler/sequencer allows individual track time signatures and track lengths – all of this will help you break out of the box. Alternately, sync up two drum machines and set different pattern lengths on each – that can sound really cool as well.
Processing beats
Ableton Live 10 includes a new effect called Drum Buss, which wraps up a few drum tools – including drive, compression, transient shaping and a sub control (called Boom) in one convenient plug-in.
All of these controls can help us push the beat beyond the bounds of what’s normally usable and acceptable, while keeping everything manageable in terms of track levels. Its bonus feature is that Boom can be solo’d so, if you do that, then resample the track so you get an audio sample containing just the sub – it’s time to reprocess that for new beat fodder!
If you’re not a Live user, variations on all of these effects can be found in most DAWs. You can use compression to pulverise beats, instead of using it as a tasteful mixing tool. Load a compressor onto your drum rack, raise the input level, lower the threshold, bump up the ratio, until the beat is totally pumping and squashed. If it’s really too much as it is, use the compressor’s dry/wet mix to restore a little normality.
Gating beats is a great way to transform a full-fat beat into something more percussive. Both Live’s and Logic’s gate effects can be pushed to extremes to create abbreviated, snappy little sounds. In Live, it’s possible to get a variation on this effect by using Beats Warp Mode to gate the transients. Follow that by transposing the result up or down an octave or two. Yet again, it’s about getting some distance from the original beat.
Sidechaining is a useful mixing and production tool, but it’s also something we can use in a similar way to the customised groove templates we mentioned earlier, sabotaging the regularity of a beat. Add a compressor to the drum track and load a vocal loop in another track. Set the compressor to sidechain from that vocal and start the beat and vocal playing. Lower the compressor threshold until you can hear it fluctuating with the speech pattern. At this point, you can mute the speech track (but keep the clip running), so you don’t hear the speech directly, but it’s still affecting the drums.
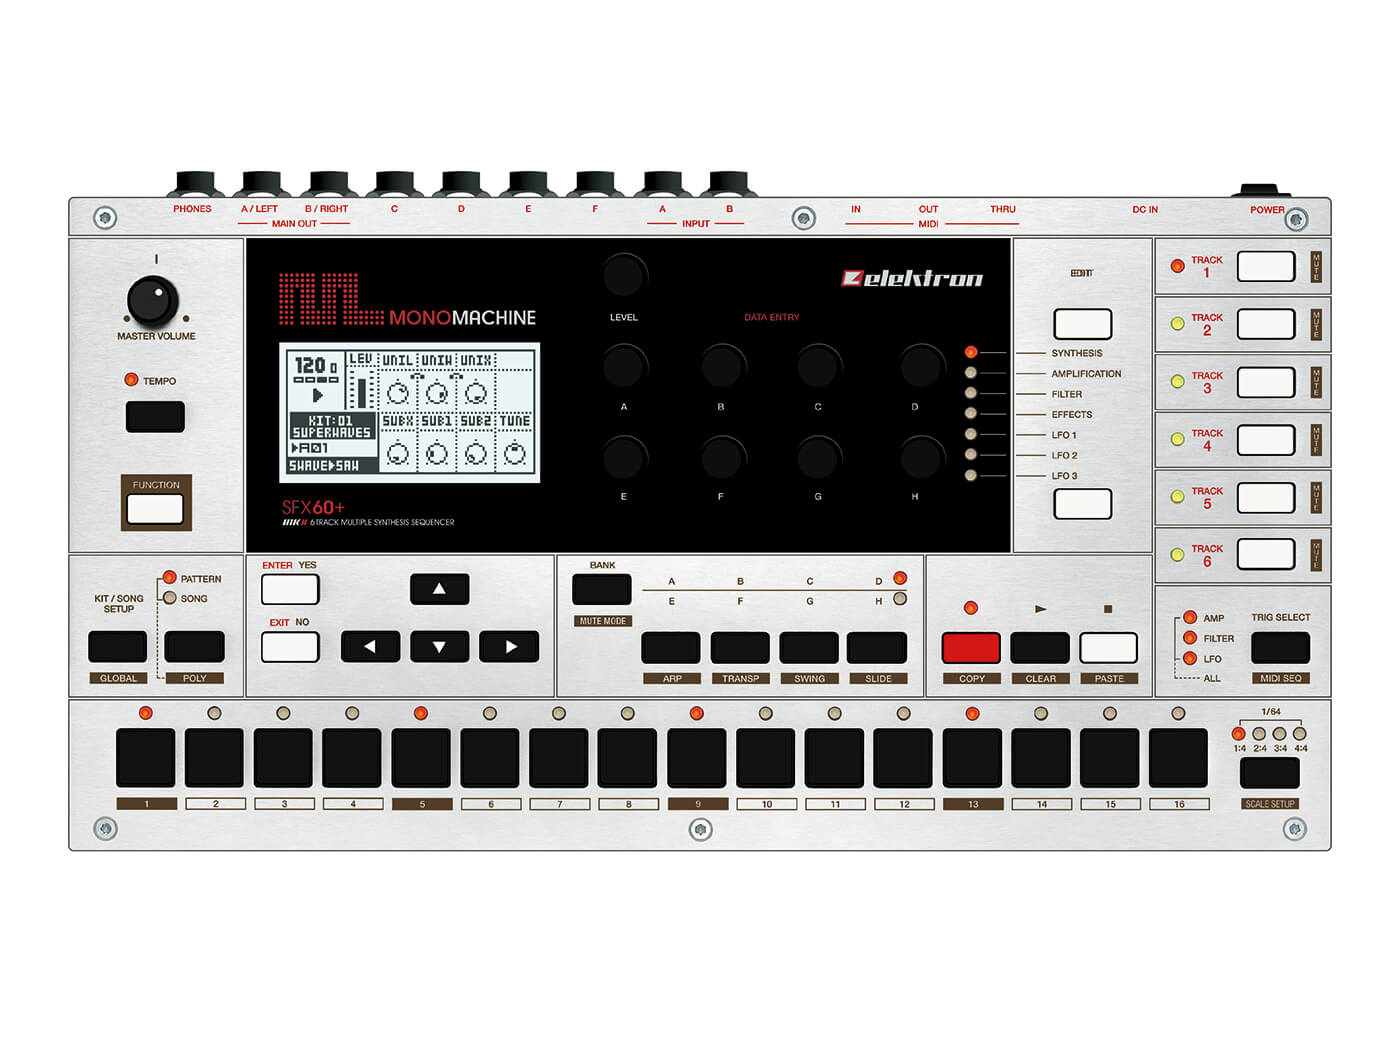
Experiment with the Attack and Ratio on the compressor. I don’t use many regular beats, and sometimes I’ll use LFOs to create rhythms instead – applying them to track volume, or even distortion levels, to create a pulse. The Elektron Monomachine is ideal for this, having three assignable LFOs for each of its six tracks, so it’s easy to go deep and pile up rhythms that cross over each other instead of all playing the same thing.
Automation and beats
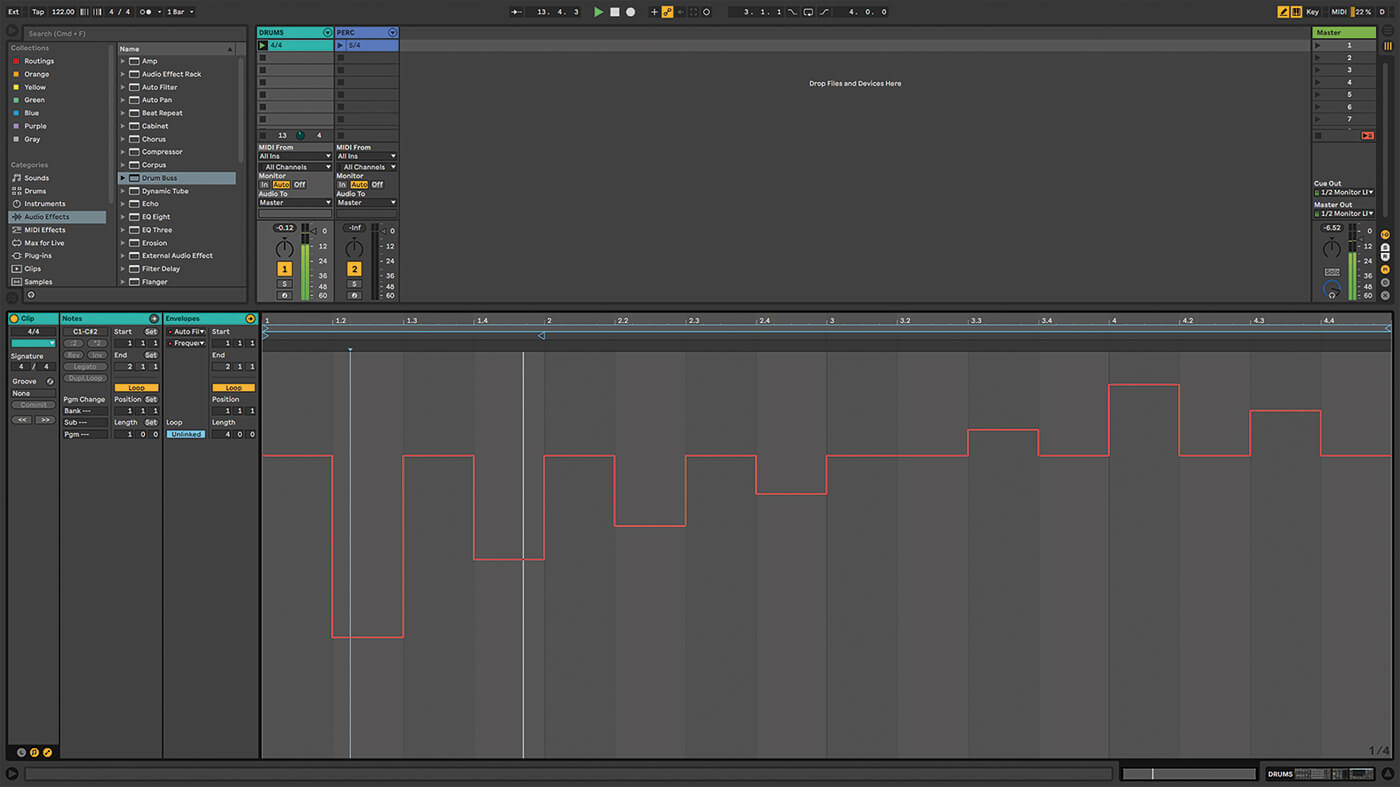
Effects are a big part of our quest, but they’re more useful if they’re moving, and any good DAW has some way of forcing instrument or effect parameters to evolve over time. Ableton Live has a useful ability to separate the length of an automation envelope from the length of the loop that contains it, so you can have a really basic 1-bar beat, and apply a
4-, or 24-, or whatever-bar filter sweep. Even better is that the unlinked envelope lengths apply per envelope, so a single 1-bar loop can have dozens or more envelopes of different lengths, all crossing over at different times.
Automation is present in drum machines in various ways as well. For example, the Elektron machines include parameter locks, which let you insert multiple parameter changes at each step in a sequence.
Using MIDI conversion
How about you lose the sound element entirely, and use the disjointed non-rhythms of a field recording to create the MIDI pattern for a beat instead? To do this in Live, import the recording, then right click/control click on the clip and choose Convert Drums to New MIDI Track. This’ll create a new MIDI track, containing a clip that attempts to represent the pitches and rhythms in the original recording. Live’s very trusting, and if you tell it ‘drums’ it’ll treat the recording as ‘drums’, no matter what the source material is – you’re then guaranteed to get beats that you never would have programmed yourself.
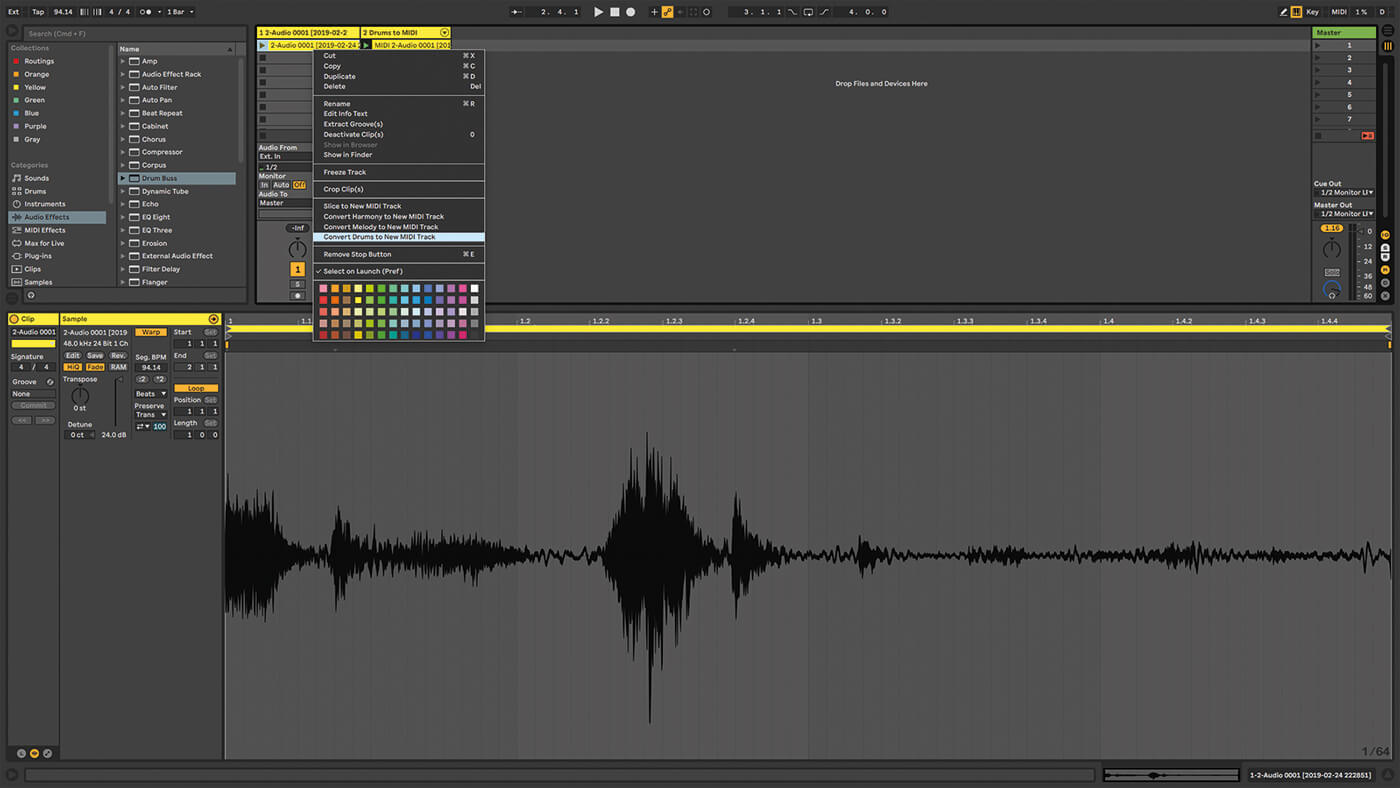
Logic Pro, Cubase, FL Studio and other DAWs usually have equivalent features. Live also offers Slice to New MIDI Track, which kind of flips the process back the other way, retaining the sound of the original sample, but slicing it into a user-defined number of sections in a drum rack, ready to rearrange and process each section individually.
Going random
We’ve talked about grooves, which employ small variations in timing and velocity to create a more human feel. We can take this further, with a simple setup in Ableton Live. Load an acoustic kit, then add a 1-bar MIDI clip with kicks at every 1/8th on the grid. Drop Live’s Random MIDI effect device into the same track, raise Chance to 75% as, even if you don’t do anything else, this will give you a random beat, as the effect triggers different sounds (pitches) in the kit.
Once that’s going, start embellishing. Tinker more with the Random effect, add arpeggiators, make longer clips. Try duplicating the track and swapping the acoustic kit for an 808-type sound, so you have two kits playing randomly at the same time. Keep them in stereo or hard pan them left and right for more separation.
It’s true that Live users have it easy when it comes to beat slicing, to the point where it’s worth running a copy of Live just to handle beats and nothing else. Further, find a drum loop and drop it into Live’s Simpler instrument. Choose Slice mode, and you have the beat sliced with little vertical lines on the waveform in the display; each is now triggered by a different note.
Drop the Random MIDI Effect device in the same track, and when you play some MIDI notes – it’ll trigger random slices from the beat. How well it works and what it does will depend on the length of the sample, the number of slices, and parameters in the Random device. Use Push if you want a more hands-on hardware sample feel.
Native Instruments Maschine software (from version 2.6 upwards) includes something called Variation Engine, which is based on functions called Humanize and Randomize. The former is going to give you more of a ‘groove’-type adjustment to existing beats, whereas Randomize is better for our theme because it generates new patterns and randomises their timing and velocity.
It’s easier (and cheaper) to create messed-up random beats with software, but hardware does a good job, too. Elektron’s classic Machinedrum and Monomachine feature delicious 12-bit sampled kits, alongside their other synthesis options, and have powerful retriggering and pitch controls that can create effective stuttering/glitchy beats. More recently, Elektron’s Digitakt drum sampler includes a sequencer that allows a different number of steps per track, a note randomiser, retriggering, and micro timing, so they clearly haven’t left behind those of us who like the weird stuff.
Akai’s MPC Live and Force sampler/sequencers both have the XYFX touchpad effect controller, which is great for filtering and stuttering beats. Arturia’s DrumBrute analogue drum machine includes a few features for the wonky beat lover; there are controls for Swing, Randomness, Unquantized Recording, Polyrhythms (different pattern lengths for each instrument), Step Repeat, and a Roller – a touchstrip which, when touched, will repeat the current step in the pattern at note values from 1/4 to 1/32 for extra real-time entertainment value! The Roller is also present in Arturia’s BeatStep Pro sequencer.
If your hardware doesn’t have any random features, as long as it speaks MIDI, it could work alongside software randomisation effects. iPad users can use apps such as Collider or Strom to randomise parameters in the Elektron Analog Rytm, and do the same with Manifold for the Octatrack. Even with a basic 16-step grid format you can do a bit of random. Something you can try during live sets is put a loop into record, and randomly trigger drum sounds as it loops round, building up a semi-random drum pattern.
It’s easy to do with both software and hardware – audiences love it if you’re creating something in front of them. When I’m doing it in software, I use the 12-bit kit sampled from the Monomachine, and force it to be monophonic, so no matter how haphazardly you enter notes, it’ll only play one sound per step, which keeps it a lot tidier. On top of that, I add beat-repeat effects and LFOs applied to distortions and filters, which gives me more layers of variety in the basic core loops.
The final question
So which is best for this kind of beat-messing exercise, software or hardware? Okay, let’s stroke those chins a bit. Hmm, well, I’ve used software and hardware options, in both live and studio settings, and they both have their strengths. For sheer unlimited flexibility and sound design, if the result is going to be something that I’m going to recycle and use in
a studio project, then software would be my first choice, unless there’s a really good reason otherwise.
For live performance, it might be different. The flexibility of software is just as valuable live as in the studio, but nothing really beats standing onstage and building beats by randomly tapping at hardware buttons or pads. The audience can see what you’re doing and they know there’s no safety net. You can screw it up, but the element of risk is what makes it exciting and takes you away from that ‘pressing the space bar and checking your email’ vibe that’s always present with a computer.
How weird can you go?
Sometimes, you can’t improve on the sound of a 909 on tape, and you can’t improve on the sublime beauty of a dead straight, simple, beat. But there are all those other times where you want to make a different statement, get a deeper texture, break out of a creative rut. Whatever the reasons, developing your favourite techniques for creating strange beats will pay off.
For more tips, check out our essential guides page.