10 Tips On Recording Guitars
Trying to get the perfect guitar tone? Having trouble with your mic positions? Wonder if you should use more than one mic? And how will the state of your strings affect the sound? You’d best read on for our ten top tips to a top guitar tone… 1. Strings, cables and noise Before you press record, […]
Trying to get the perfect guitar tone? Having trouble with your mic positions? Wonder if you should use more than one mic? And how will the state of your strings affect the sound? You’d best read on for our ten top tips to a top guitar tone…
1. Strings, cables and noise
Before you press record, make sure your setup is ready to go. Check your cables and other equipment to make sure nothing is producing crackles and hums. Yes, you can reduce noise with plug-ins later, but the better the quality of your signal to start with, the better your end results. The same goes for strings. Worn out strings will sound dull but conversely, new strings can sound bright so be sure about the sound you want to capture. Oh, and always have spare cables and strings on hand. You never know…
2. Decide on a sound
The guitar sound you are recording can be determined by a host of different factors: the guitar, the playing style, the amp, the microphone being use, the mic technique and any stomp boxes being used. As the person recording, you don’t want to be wasting valuable time experimenting with the sound too much beforehand, so either have something definite in mind if you are the producer or go with the flow and see what happens.
A more sonically-aware guitarist might have their own sound, playing style, effects and amp. Do you really want to go messing with that? If you’re trying to create your own guitar sound then don’t be afraid to be more aurally adventurous as your mix develops.
3. Or, go clean…
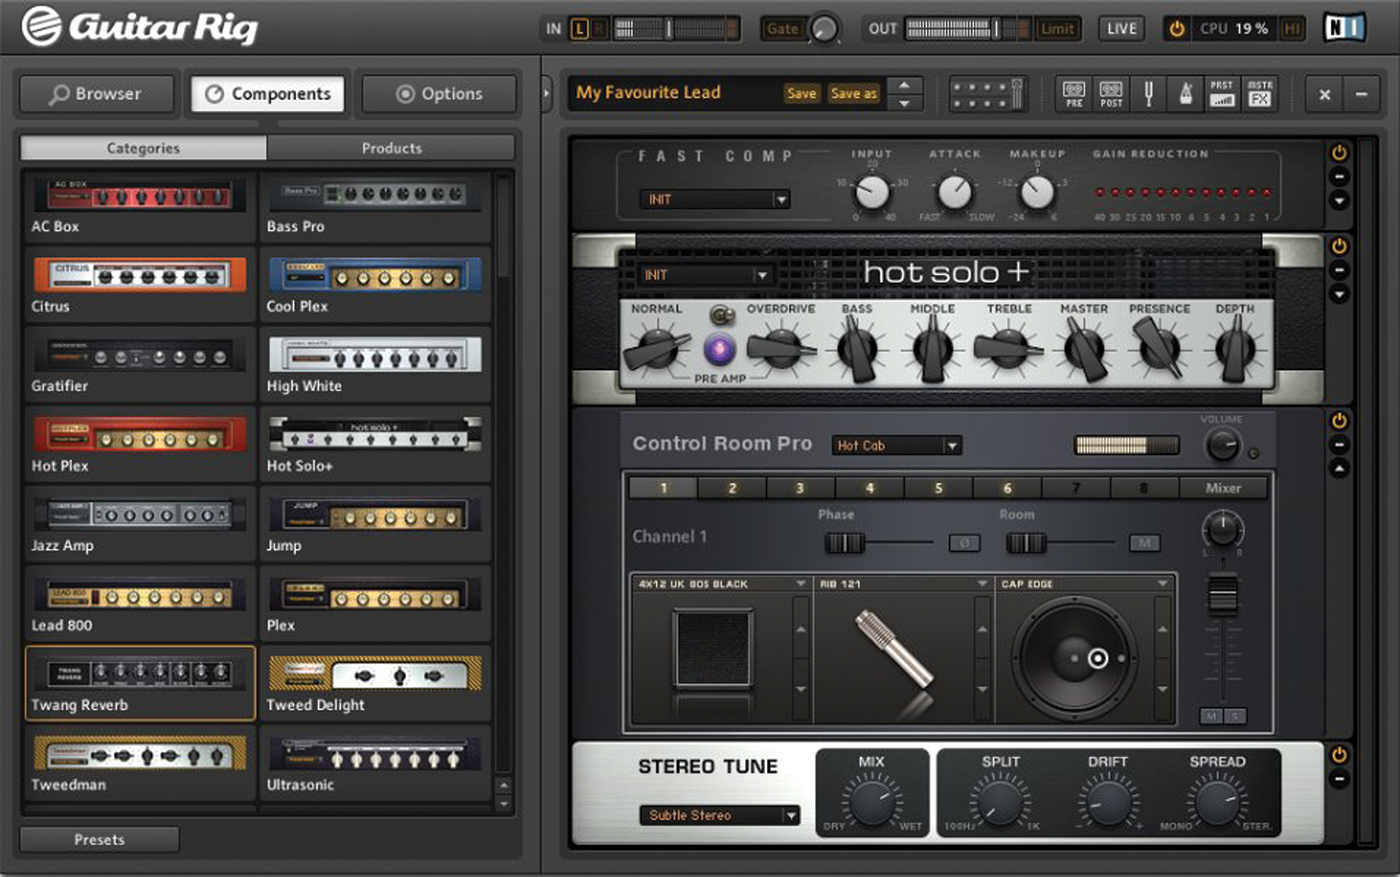
Having said that, you really can work on the sound after the recording. We now, of course, have a lot of flexibility in software to determine and shape a sound at any time. Amp simulators and effects from the likes of Native Instruments and IK Multimedia – not to mention all of the effects you might have in your DAW such as Logic’s Pedalboard – can really shape your sound once it’s recorded, so if you can’t decide on your guitar sound at source, consider recording clean and shaping it later.
From our perspective we tend to focus first and foremost on the songwriting in question, and think about the melodic content of the track when recording our intial demos. As we get our ideas together we’ll start fiddling with amp models and effects after the fact. But – like we say – we woudn’t say we’re ‘guitarists’. It’s a method that works for us.
4. Use one mic on your acoustic
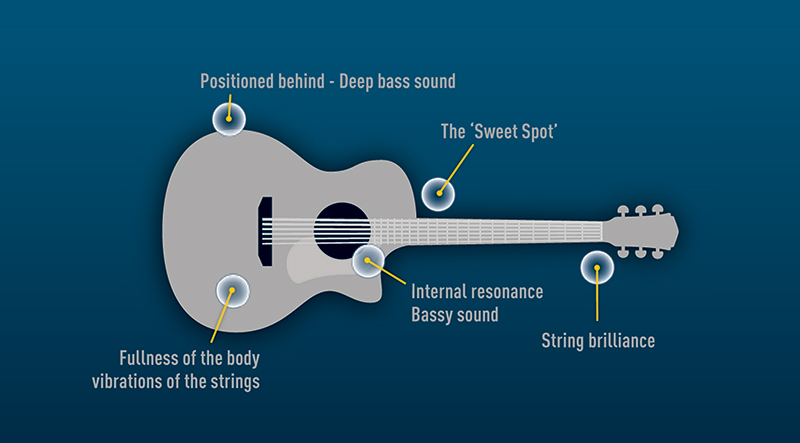
Just got one mic? Don’t worry, you can get away with using just one to record an acoustic guitar – hopefully it’s a cardioid condenser, but you can get away with a dynamic. Point it at the 12th fret between six and eight inches away and listen! Too thin or thick? Move it either closer or further.
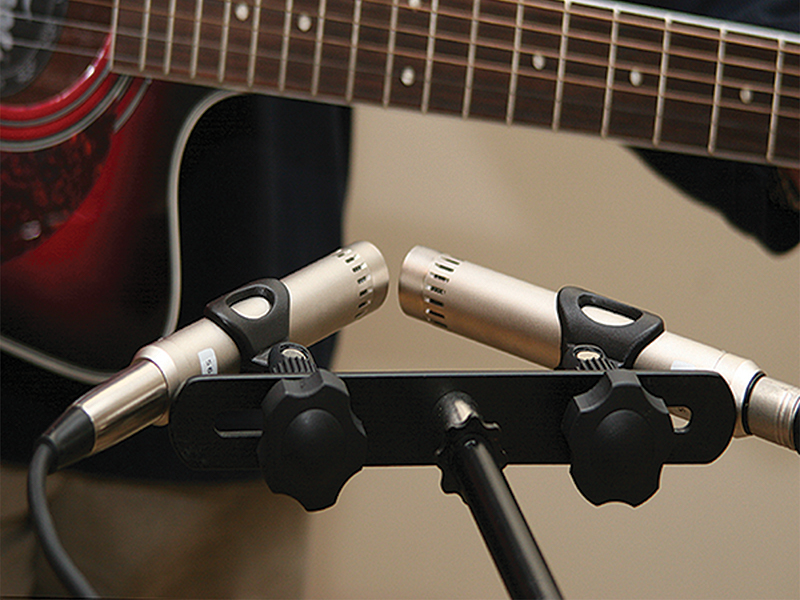
5. Now use two!
Two mics are always better than one, they say, and with an acoustic guitar you’ll get more space and more finger-plucking action should you require it. One method is to point one mic – a large diaphragm cardioid condenser – towards the sound hole to gather your more bassy tones and also some of that plucking sound. Point the other mic – diaphragm cardioid condenser – beyond the 12th fret to capture a more
treble sound.
6. Use the 3:1 rule
Phase issues are a common occurrence when using two mics and you can avoid them in the scenario in tip 5 by moving the larger microphone three times the distance away from the guitar as the smaller microphone, using what is called the 3:1 rule. Better still, use a pair of microphones in the so-called X-Y configuration.
Here they are set up almost on top of one another, capsules close together, but at 90º from one another and still each pointing between the body of the guitar and 12th fret or just beyond. Phase issues are avoided as the sound arrives at the same time to each mic.
7. Use one mic on an electric

Let’s hope your one microphone is a dynamic one this time as the bigger sound of an electric requires a mic with more balls, something that can take a bit more aggression, so your average condenser will not be at home here. Shure’s SM57 is many an engineer’s weapon of choice but you can get away with any good dynamic.
The tone here is more about the amp you are using and the mic position. Point it close to the amp to avoid room interference and close to the centre for a bright tone and move it towards the outside of the amp for something a little more mellow.
8. And now two…
Sometimes it is all about the room noise as well, though, or at least getting a good blend of the amp and the room. With this scenario, two mics are, of course, better than one to capture not just the distinctive room characteristics but also your clear guitar signal. The dynamic stays where it is but now you employ a condenser to pick up the more subtle nuances of the room.
This can be placed a few feet away (too close and you run the risk of damaging the sensitive condenser) but again, take some time to just listen to the blend of the two. Record them as two tracks so you can gradually adjust this blend of room and amp later in the mix.
9. EQ and compression
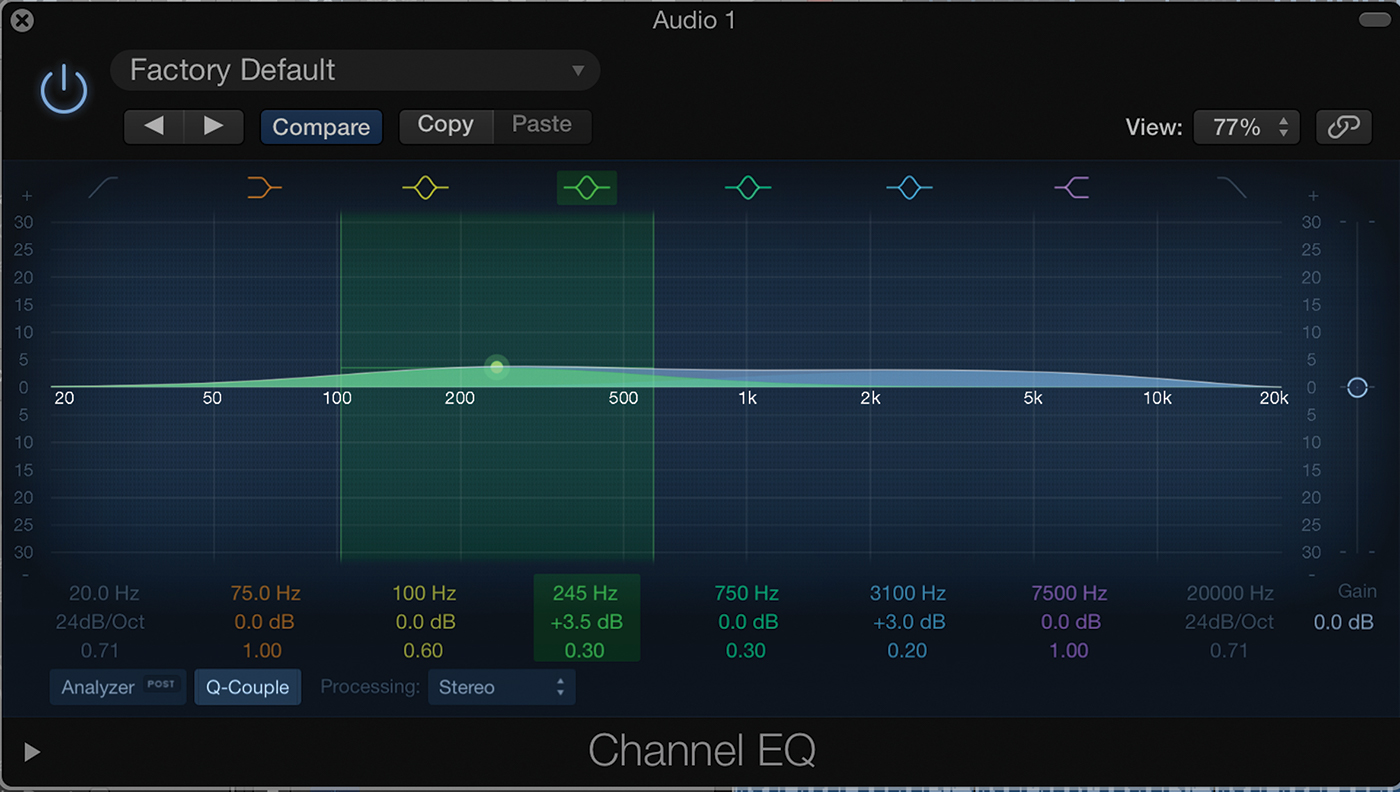
If you are happy with your tone, you shouldn’t really need to be messing about with the EQ settings on your amp while recording. Should you really need to, you can use a plug-in later which is often a more convenient option. Guitars are mid-ranged instruments by their very nature and if you find you need more clout in the upper mids when mixing, boost 2.5kHz to 5kHz; more warmth boost 250Hz. Compression should be used to even out the dynamic of expressive, trebly lead guitar lines in your tracks but won’t be needed so much on overdriven sounds.
10. A bigger sound
There are stacks of ways to stack up your guitar sound. Of course, effects can help you here in the mixing stage, but there are also some common recording practices to do the same thing. You can achieve a bigger stereo sound by recording through two amps with identical mics and pan them hard left and right, or double-track two or more mono takes and place them more precisely in stereo, perhaps introducing a delay (try 40ms) to get a real thickening going between the two.